
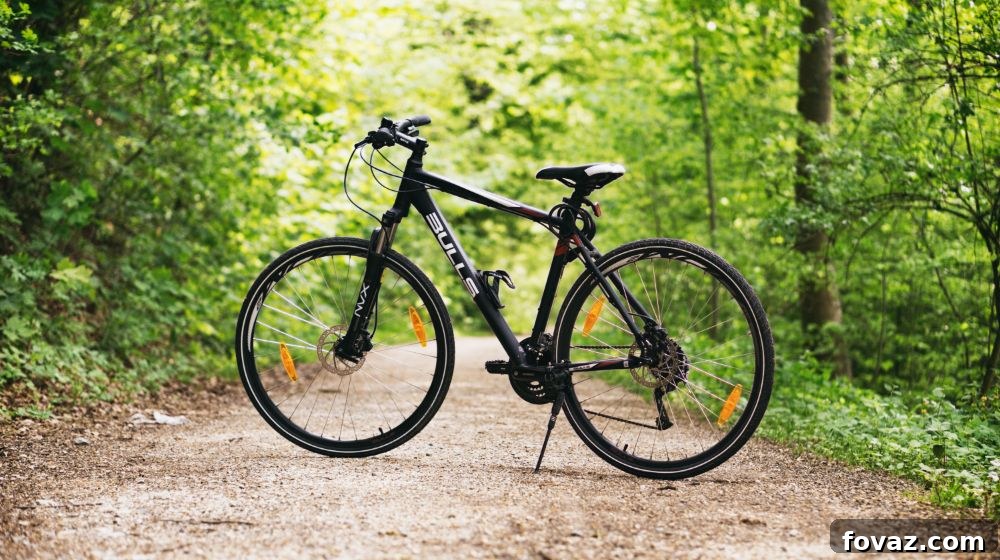
Whether you’re an avid cyclist hitting the trails, a daily commuter navigating city streets, or simply enjoy a leisurely ride on weekends, understanding basic bicycle repair and maintenance is an invaluable skill. A well-maintained bike not only offers a smoother, more enjoyable ride but also significantly enhances your safety on the road. Unexpected mechanical issues can quickly turn a pleasant outing into a frustrating experience, or worse, leave you stranded far from home. By equipping yourself with essential bike repair knowledge, you gain the confidence to handle common problems, save money on costly shop repairs, and ensure your bicycle is always ready for your next adventure. This comprehensive guide will walk you through seven crucial bike repair tips that every cyclist should master for a consistently smooth and trouble-free ride.
RELATED: Innovative Uses for Zip Ties in Cycling Emergencies
Essential Bike Repair | 7 Must-Know Tips for Every Cyclist’s Journey
1. How to Fix a Slipped or Popped Bike Chain
Few things are as disruptive during a ride as a bike chain that suddenly slips or pops off. This common problem, while annoying, is usually quite simple to fix on the spot. Chains often dislodge due to aggressive shifting under heavy pedal pressure, especially when transitioning between chainrings. When you pedal hard while shifting, the chain is already under significant stress, making it more prone to jumping off the sprockets.
To prevent this, the golden rule is to ease up on your pedal pressure slightly when shifting gears. This allows the chain to smoothly transition to the desired cog or chainring without excessive force. If the chain has already come off, don’t panic. The process of re-engaging it is straightforward. First, identify whether the chain has fallen off the front chainring or the rear cogset. Start by carefully placing the chain back onto the smallest cog in the rear cogset. Next, drape the chain over the smallest chainring at the front. With the chain loosely in place, slowly turn the pedals forward. This action will guide the chain around the sprockets and reseat it correctly onto both the front chainring and the rear cogset. Always ensure your hands are clear of moving parts when turning the pedals.
2. Addressing a Bike Chain That Constantly Falls Off
While an occasional chain derailment might be a minor inconvenience, a chain that repeatedly falls off signals a more significant underlying issue that needs immediate attention. A common cause for persistent chain slippage is a chain that is either too long for your bike’s frame or has worn out links. An excessively long chain can lack proper tension, allowing it to jump off the gears, especially over bumps or during gear changes.
To diagnose this, first inspect your chain for any visibly damaged or stretched links. If you find any, you’ll need a chain tool to remove the compromised section. Position the chain tool’s pin precisely through the center of the broken link and gradually tighten it to push the pin out, breaking the chain. It’s often helpful to leave the pin partially inserted to make rejoining easier later. If you have spare links and a master link, you can replace the damaged section. Alternatively, if the chain is simply too long, or if you’re dealing with a severely worn section without replacement links, you may need to shorten the chain by removing one or more links. While this can be a quick fix, be aware that a shortened chain can affect your gear range and potentially put additional stress on your derailleur over time. For optimal performance and longevity, consult your bike’s specifications or a professional to ensure the correct chain length and tension.
3. Troubleshooting a Bike Chain That Skips or Shifts Improperly
A chain that struggles to shift gears smoothly or constantly skips can be incredibly frustrating and even dangerous. Often, this issue stems from excessive lubrication attracting grime, which builds up on your bike’s cassette and chain. This sticky, abrasive mixture hinders the chain’s ability to engage properly with the gear teeth, leading to poor shifting performance and skipping.
The primary solution is a thorough cleaning and proper lubrication. Begin by degreasing and cleaning your entire drivetrain: the chain, cassette, and chainrings. Specialized bike degreasers and chain-cleaning tools are highly effective for this task. However, if these aren’t readily available, a stiff-bristled brush (like an old toothbrush) and some dish soap mixed with water can also do a surprisingly good job. After cleaning, rinse everything thoroughly with water and allow it to dry completely. Once clean and dry, apply a single drop of bicycle-specific lubricant to each roller of the chain while slowly backpedaling. This ensures the lube penetrates the crucial inner workings of the chain. After several rotations, use a clean, lint-free rag to gently grip the outer plates of the chain and spin the cranks backward for another rotation. This action removes any excess lube from the exterior of the chain, preventing it from attracting new dirt and grime. Remember, the lubricant should be *inside* the chain rollers, not clinging to the outside where it acts as a magnet for road debris.
4. Fixing Always Flat or Underinflated Tires
Flat tires are arguably the most common and inconvenient bike problem. They can be caused by various factors, including punctures from road debris, pinch flats from hitting obstacles with underinflated tires, or even improperly installed tubes. Consistent underinflation is a major culprit, as it makes your tires more susceptible to punctures and pinch flats, compromises handling, and increases rolling resistance.
To prevent constant flats and ensure optimal performance, start by checking the recommended PSI (pounds per square inch) range printed on the sidewall of your tire. This range indicates the safe minimum and maximum inflation levels. Always inflate your tires within this range; heavier riders or those carrying loads should aim for the higher end of the spectrum for better support and puncture resistance. Crucially, avoid using high-pressure air pumps found at gas stations, as they are often too powerful for bicycle tires and can cause tubes to explode. Invest in a dedicated bicycle pump with a pressure gauge for accurate inflation.
When changing a flat tube, meticulously inspect the inside of the tire casing for any embedded foreign objects like glass shards, thorns, or small pieces of gravel that might have caused the puncture. Run your fingers slowly along the inner surface of the tire to feel for sharp points. Before fully inflating a new tube, ensure it’s not pinched between the tire bead and the rim, as this will lead to an immediate pinch flat. After installation, inflate the tube slowly, ensuring the tire seats properly on the rim. Carrying a spare tube, tire levers, and a portable pump or CO2 inflator is highly recommended for roadside repairs.
RELATED: Boost Your Visibility: Make Your Entire Bike Reflective with This Amazing Spray Paint [VIDEO]
5. Securing Loose and Noisy Bolts for Enhanced Safety
Loose bolts on a bicycle are not just an annoyance; they pose a significant safety risk. These critical fasteners are what hold your bike’s components together, from the handlebars and stem to the seat post and wheels. Rattling noises during a ride are often a tell-tale sign of a loose bolt. Components like the seat post, handlebars, and stem are particularly prone to loosening due to friction, vibration, and the pressures exerted during riding.
Regularly checking and tightening these bolts is a fundamental part of bike maintenance. However, it’s crucial to tighten them just enough without overtightening. Overtightening bolts can lead to stripped threads, rounded bolt heads, or even crack carbon fiber components, resulting in costly repairs or component replacement. To avoid guesswork and ensure precise tightening, invest in a torque wrench. Torque wrenches allow you to apply the exact amount of force recommended by the manufacturer, which is often printed directly on the component (e.g., 5 Nm for a stem bolt). This precision prevents both under-tightening (which causes looseness) and overtightening (which causes damage).
While you don’t need to re-tighten every bolt after every single ride, make it a habit to perform a quick pre-ride safety check. Listen for any unusual noises, feel for play in your handlebars or seat, and visually inspect key fasteners. Addressing loose bolts promptly ensures your bike remains safe, stable, and performing optimally.
6. Freeing a Stuck Seatpost: Too High or Too Low
A seatpost stuck at an inconvenient height, whether too high or too low, can significantly detract from your riding comfort and efficiency. This problem commonly arises after lending a bike to someone with a different height, or when purchasing a second-hand bicycle. Seatposts can become seized in the frame due to corrosion, lack of grease, or a galvanic reaction between dissimilar metals (e.g., aluminum seatpost in a steel frame).
To resolve a stuck seatpost, first loosen the seat binder clamp completely, removing any bolts or collars. Next, apply a generous amount of penetrating oil, such as WD-40 or a specialized bike penetrating fluid, to the junction where the seatpost enters the frame. Allow the penetrating oil to work its magic by letting it soak overnight. This gives the lubricant time to seep into the corroded areas and break down any rust or gunk.
After soaking, try to twist the saddle back and forth while pulling upwards. If it still won’t budge, you may need more leverage. For a metal seatpost, you can use a pair of pliers or a large clamp on the exposed part of the seatpost, being careful not to damage the post if you intend to reuse it. Twist and pull firmly, gradually increasing the force. In severe cases, where the seatpost remains completely seized, professional intervention from a bike shop might be necessary, as they have specialized tools and techniques (like heating or cooling components) to safely remove it without damaging the frame.
To prevent future occurrences, always keep your seatpost adequately greased. Before reassembling, thoroughly clean both the seatpost and the inside of the seat tube. Apply a thin, even layer of quality bicycle grease (or carbon paste for carbon components) to the seatpost before reinserting it. If you frequently adjust your seat height, consider marking your preferred height on the seatpost with a piece of electrical tape for quick and accurate adjustments.
7. Revitalizing Grimy and Sticky Handlebars
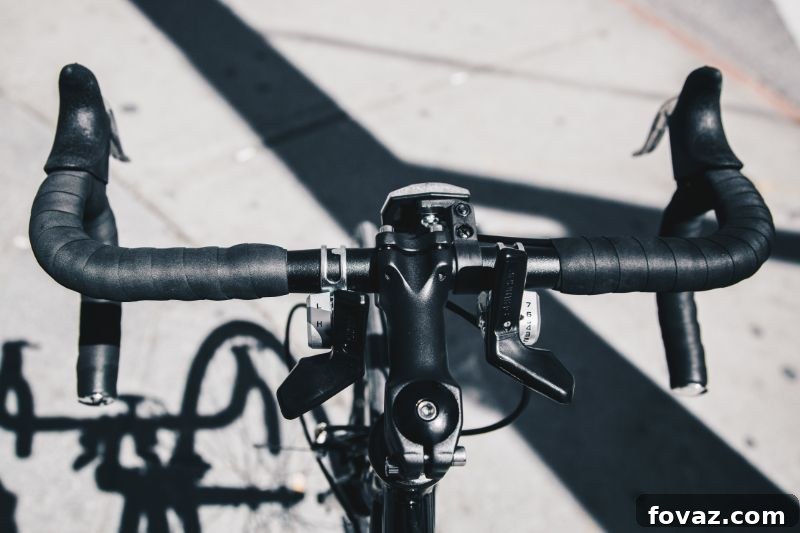
While grimy and sticky handlebars won’t mechanically stop you from riding, they significantly diminish the comfort, control, and overall enjoyment of your cycling experience. Over time, exposure to various weather conditions, sweat, dirt, and UV rays can degrade handlebar tape or grips, making them feel tacky, gummy, or simply unpleasant to touch.
The simplest and most effective solution for sticky handlebar tape is to replace it. This refreshing upgrade can make your bike feel new again. Start by carefully peeling off the old tape. If parts are stubborn, use a pair of scissors or a utility knife to gently cut away any residue, being careful not to scratch the handlebars underneath. Most new handlebar tape kits come with two smaller scraps of tape; these are designed to be placed underneath the brake levers. This small piece helps create a smooth transition and prevents any gaps from appearing between the handlebar and the brake lever body once the main tape is applied.
Begin wrapping from the dropped end of the handlebar, at the very bottom. Ensure the tape’s edge is on the underside of the bar. Wrap the tape tightly and smoothly, working your way upwards and over the top of the handlebar in a clockwise direction for the right side, and counter-clockwise for the left side (or vice-versa depending on your preference for how the overlap looks from the rider’s perspective). Overlap each turn by about one-third to one-half of the tape’s width; this creates a secure, gap-free, and cushioned finish. When you reach the brake levers, flip up the rubber hoods and carefully wrap the tape around the lever body, ensuring full coverage. Once you reach the stem, cut the tape at an angle so it finishes flush with the desired endpoint, and secure the end with the finishing electrical tape provided in the kit (or your own high-quality electrical tape), wrapping it once or twice for a neat and durable finish. Repeat the process on the other side. This small investment of time and material will dramatically improve your bike’s aesthetics and your riding comfort.
Beyond these essential repair techniques, Global Cycling Network offers further insights into common bike repair mistakes that every cyclist should actively avoid, ensuring a longer lifespan for your bicycle and safer rides:
Mastering these seven common bicycle repair challenges will not only save you money but also empower you to tackle almost any mechanical hiccup that might arise during your rides, whether for leisure, sport, or utility. With these practical bike maintenance tips under your belt, you’ll gain the confidence to explore new routes, extend your cycling adventures, and ensure every journey on your bicycle is as smooth and enjoyable as possible. Regular checks and timely repairs are key to a lasting and reliable cycling companion. Don’t let minor issues derail your passion for cycling!
What other common bike problems have you encountered that you’d like expert advice on? Share them with us in the comments section below, and we’ll provide the essential bike repair tips you need to keep rolling!
UP NEXT:
- How To Construct Your Own DIY Bike Stand
- 20 Ingenious Car Hacks to Keep Your Vehicle Spotless and Organized
- Effortless Methods To Remove Stubborn Rust From Any Surface [Infographic]
Attention all crafting DIY enthusiasts, DIY Projects is looking for YOUR talent! Click here if you’re interested in writing for us and sharing your expertise.
Stay connected and follow us on Facebook, Twitter, Pinterest, and Instagram for more exciting DIY projects and tips!