
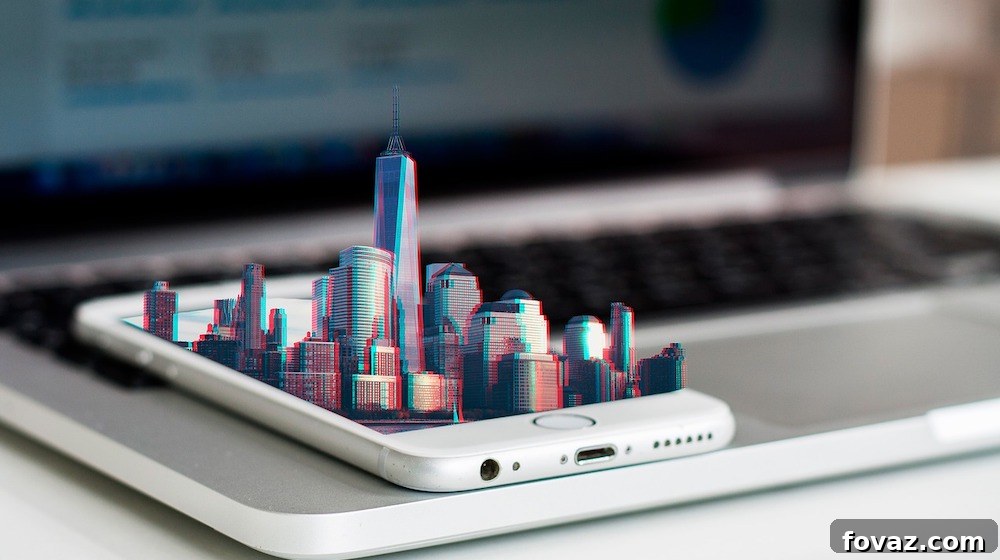
Unlock the Future: Build Your Own Smartphone Hologram Projector
In an era where technology constantly pushes the boundaries of what’s possible, our smartphones remain unsung heroes. These sleek, pocket-sized devices are much more than just tools for communication and entertainment; they are compact supercomputers brimming with untapped potential. While we often marvel at their ability to send messages, make calls, stream videos, and run intricate mobile games, the true depth of their capabilities often goes unnoticed.
With the right accessories and a touch of ingenuity, your smartphone can transcend its everyday functions. Imagine remotely controlling the lighting in your home from across the globe, or making secure payments at stores with just a tap, thanks to innovative NFC technology. These are just glimpses of the advanced functionalities that transform your device into a versatile hub for modern living. But what if we told you that your smartphone could also conjure mesmerizing 3D holographic images, bringing digital content to life in a whole new dimension? It sounds like something straight out of a science fiction movie, but with a simple DIY project, it can become your reality.
Get ready to amaze yourself and everyone around you, because you’re about to discover how to transform your ordinary smartphone into an extraordinary 3D hologram projector. This isn’t a complex engineering feat; it’s a surprisingly straightforward and incredibly rewarding DIY endeavor that requires just a handful of common household items and a few minutes of your time. Prepare to delve into the fascinating world of optics and illusion as you unlock a hidden capability of your everyday device.
The Magic Unveiled: How Your Smartphone Becomes a 3D Hologram Projector
The concept of holograms has captivated imaginations for decades, promising a future where images float in mid-air, tangible and immersive. While true holography often involves complex laser technology, this DIY projector leverages a clever optical illusion to achieve a remarkably convincing 3D effect. The magic lies in creating a four-sided pyramidal reflector, which, when placed on your smartphone screen, takes specially designed “hologram” videos and projects them into a central, seemingly three-dimensional image.
When you play a video specifically formatted for this type of projector, the image is mirrored four times, one for each side of your pyramid. These reflections converge at the center of the pyramid, creating the illusion of a single, floating 3D object. The dark background of your screen further enhances this effect, making the projected image appear to hover in space. It’s a testament to how simple principles of light and reflection can create a captivating visual experience that feels genuinely futuristic.
This project isn’t just about creating a cool gadget; it’s an accessible dive into the fundamentals of optics and perception. It demonstrates how our brains interpret visual information and how clever manipulation of light can trick our senses into perceiving depth and dimension where none physically exist. Best of all, it’s a hands-on learning experience that results in a functional, awe-inspiring device you can share with friends and family.
Inspired by innovative creators like Mrwhosetheboss, this project makes cutting-edge tech accessible to everyone. Watch the video above and follow our detailed tutorial below to bring your smartphone’s hidden potential to life.
Gather Your Tools: What You’ll Need for Your Hologram Projector
Before you embark on this exciting DIY adventure, make sure you have all the necessary materials at hand. The beauty of this project lies in its simplicity; most items are likely already in your home or easily acquired. Gathering everything beforehand will ensure a smooth and uninterrupted crafting process.
- CD Case: This is the core material for your projector. Look for a clear, standard-sized CD jewel case. The clearer and less scratched, the better the final projection quality will be. Avoid frosted or colored cases.
- X-Acto Knife or Box Cutter: Precision is key for cutting the plastic. An X-Acto knife offers finer control, making it ideal for this delicate task. If using a box cutter, ensure it has a fresh, sharp blade. Always exercise extreme caution when handling sharp tools.
- Graph Paper: Essential for accurate measurements and drawing your rhombus template. The grid lines will help you maintain precise angles and dimensions.
- Tape or Super Glue: To assemble the pyramid structure. Clear tape works well for easy adjustments, but super glue provides a stronger, more permanent bond. Consider which you prefer based on your desired durability and ease of use.
- Pen or Marker: For tracing the rhombus shape onto the CD case. A dark, fine-tipped marker will provide clear lines for cutting.
- Scissors: For cutting out your graph paper template.
- Smartphone: The star of the show! Any modern smartphone with a bright screen will work wonderfully.
Having these items ready will ensure you can move through each step of the creation process efficiently and safely. Remember, a little preparation goes a long way in any DIY project, especially when precision is involved.
Step-by-Step Guide: Constructing Your 3D Hologram Projector
Follow these instructions carefully to craft your very own smartphone hologram projector. Take your time with each step, especially when cutting, to ensure the best results.
- Create Your Template: Begin by grabbing your graph paper. Using your pen or marker, carefully draw a rhombus shape with the following precise dimensions: a base of 6 cm, a height of 3.5 cm, and two slanted sides of 1 cm each. The 1 cm sides should form the top of the rhombus, narrowing towards the center. Accuracy here is crucial for the projector’s performance, as it dictates the angle of reflection.
- Cut Out the Template: Once your rhombus is perfectly drawn, use your scissors to neatly cut it out from the graph paper. This will be your master template for cutting the plastic pieces.
- Prepare the CD Case: Carefully break off the edges of your CD case until you are left with a completely flat, clear piece of plastic. This often involves gently snapping or cutting the hinge and clasp mechanisms. The goal is to maximize your usable flat surface. Once flat, place your graph paper rhombus template on the smooth, clear plastic and trace its outline firmly with your dark pen or marker. Repeat this process until you have traced four identical rhombus shapes onto the CD case material.
- Precision Cutting the Plastic: This is arguably the most critical and delicate step. Using your X-Acto knife (or box cutter), carefully cut out each of the four traced rhombus shapes. Apply firm, consistent pressure, but be extremely careful not to crack the plastic. It’s often better to make several shallow passes rather than one deep cut. If the plastic cracks, you’ll need to start with a new piece of the CD case for that specific rhombus. Take your time; precision in these cuts directly impacts the clarity and effectiveness of your hologram. You should now have four identical clear plastic rhombus pieces.
- Assemble the Pyramid: With the small 1 cm side of each rhombus facing downwards, begin to tape or glue the four plastic pieces together. The goal is to form a pyramid-like structure with an open top and bottom. If using tape, use small, discreet pieces of clear tape along the seams. Too much tape can obstruct the projection later on. If you find tape challenging or prefer a more robust structure, switch to a small amount of super glue, ensuring it doesn’t leave smudges or cloud the plastic. The edges should meet cleanly to form a stable, transparent pyramid.
- Activate Your Hologram: Your projector is now complete! It’s time for the moment of truth. Grab your smartphone and open YouTube. In the search bar, type “hologram videos for pyramid” or explore a variety of hologram videos specifically designed for these types of projectors. Select a video and place your newly built projector directly in the dead center of your phone’s screen. For the best effect, dim the lights in your room or conduct your demonstration in a dark environment. As the video plays, the images will magically appear as a vibrant, floating 3D hologram within your pyramid.
Congratulations! You’ve successfully built your own 3D smartphone hologram projector. Prepare to watch faces light up with wonder as digital images leap off your screen and into the real world. It’s an unforgettable demonstration of simple physics creating a stunning visual spectacle.
Optimizing Your Hologram Experience: Tips for Best Results
To truly get the most out of your DIY hologram projector, consider these additional tips:
- Environment is Key: Always view your hologram in a dimly lit or completely dark room. Ambient light can diminish the illusion, making the projection appear faint or less defined.
- Quality Videos Matter: Not all “hologram videos” are created equal. Look for videos specifically designed for four-sided pyramid projectors. These typically feature four identical images arranged in a cross pattern, which is crucial for the 3D effect. Higher resolution videos will also yield clearer projections.
- Cleanliness Counts: Ensure both your smartphone screen and the plastic surfaces of your projector are free of smudges, dust, and fingerprints. Even small imperfections can scatter light and reduce the clarity of the hologram. A microfiber cloth is perfect for cleaning.
- Perfect Placement: Experiment with the exact positioning of your projector on the screen. It should be centered precisely over the cross-shaped video to ensure all four reflections converge correctly.
- Angle of View: While the hologram appears 3D, its quality can vary slightly depending on your viewing angle. Find a comfortable position where the floating image looks most realistic and vivid.
Troubleshooting Common Issues
Even with careful construction, you might encounter a few minor hiccups. Here are some common issues and how to resolve them:
- Fuzzy or Distorted Image: This is often due to imprecise cuts or imperfect angles on your plastic rhombus pieces. Ensure all four pieces are identical and that their edges meet cleanly when assembled. Also, check for smudges on the plastic or phone screen.
- Hologram Not Appearing 3D: Double-check that you are using a video specifically formatted for four-sided pyramid projectors. A standard video will not create the illusion. Also, ensure your room is dark enough.
- Projector Falling Apart: If using tape, reinforce the seams with more tape or switch to super glue for a stronger bond. Ensure the surfaces were clean before adhesion.
This simple yet incredible project serves as a fantastic demonstration of how accessible and fun technology can be. It’s a superb educational tool, a unique party trick, and a testament to the versatility of your everyday smartphone. Building this projector is not just about the final product, but about the joy of creating something amazing with your own hands.
So, go ahead, gather your materials, follow these easy steps, and prepare to bring images to life in a way you never thought possible with your smartphone. The future of visual entertainment is now in your hands!
Love this? You’ll also love…
If you enjoyed bringing a touch of futuristic magic to your smartphone, you’ll surely appreciate these other creative DIY projects designed to enhance your gadgets and everyday life.