
At a Glance: 3 Woodworking Toy Projects for Kids and Parents
- Three complete parent-kid builds: a Minecraft figure, a wooden robot, and an interlocking dino toy.
- Steps assign safe, age-appropriate roles so kids stay involved while adults handle hazardous tasks.
- Free downloadable plan PDFs are available for each project.
3 Woodworking Toy Projects You and Your Kid Can Build This Weekend
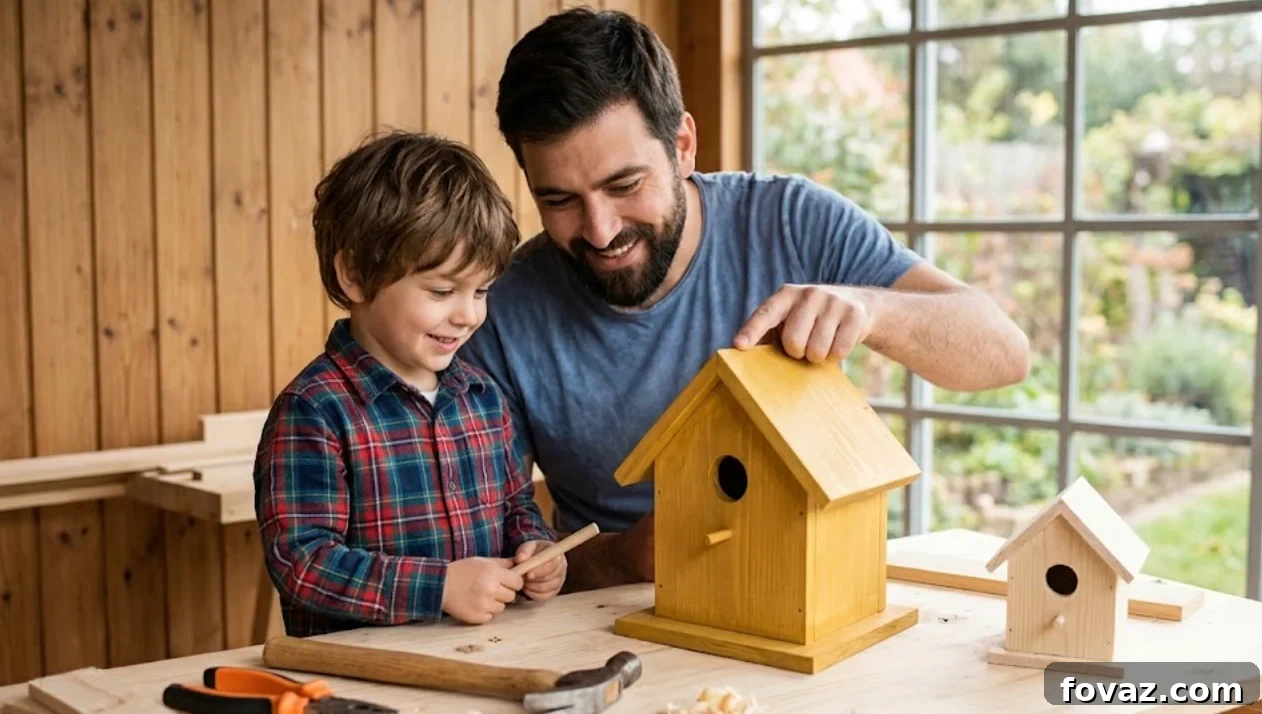
Some of the best memories come from working side by side at a bench, turning simple lumber into a toy your kid helped make. These three projects are designed to be practical, safe, and fun for both parent and child.
Each project includes a clear materials list, cut list, and step-by-step instructions with role assignments so kids can participate without handling dangerous tools. Printable plan PDFs are provided for convenience—print them and keep them on the bench during the build.
Ready to start building? Here’s how to get going on each one.
Project 1: Minecraft Steve Wooden Figure
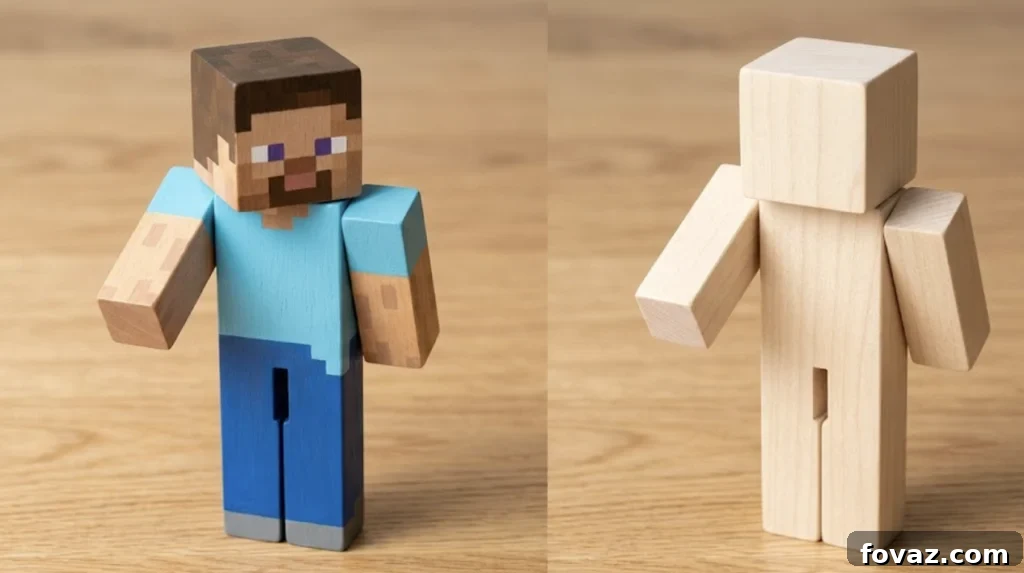
This pocket-sized Minecraft figure stands about 6.25 inches tall and uses common hobby lumber. Dowels create simple moving joints for the head and arms, making it a satisfying first build for kids who already know the character’s look.
Materials
- 1.5″ × 1.5″ basswood or poplar square (head)
- 1×2 select poplar hobby board (torso + legs)
- 1/2″ × 2″ select poplar hobby board (arms)
- 1/4″ hardwood dowel pin (~6″ total)
- Titebond II wood glue
- Acrylic hobby paints
- Sandpaper (120, 220, 320-grit)
- Combination square and 0.5mm mechanical pencil
- Painter’s tape
Cut List
| Part | Qty | Dimensions |
| Head | 1 | 1.5″ × 1.5″ × 1.5″ |
| Torso | 1 | 0.75″ × 1.5″ × 2.25″ |
| Legs block | 1 | 0.75″ × 1.5″ × 2.5″ |
| Arms | 2 | 0.5″ × 0.5″ × 2.25″ |
Steps
- Mark cut lines at 1.5″, 2.25″, and 2.5″ on the stock. (parent + kid)
- Cut the pieces to size along the marked lines. (parent only)
- Clamp the leg block and cut a center kerf slot, stopping 1/4″ from the top. (parent only)
- Drill 1/4″ dowel holes into the head bottom, torso top, and arm shoulders. (parent only)
- Sand all faces with 180-grit, then 220-grit until smooth. (kid)
- Brush glue on the leg block top, stack the torso, and clamp for 30 minutes. (parent + kid)
- Press dowel pins into joints, tape off painting areas, and paint. (kid)
📄 Full tutorial with exact dimensions, drill depths, and a printable cut list available: download the Minecraft figure plan PDF.
A reliable beginner paint set makes painting faster and less messy; look for non-toxic craft acrylics that dry quickly and come in a good range of colors.
Project 2: Wooden Robot Toy
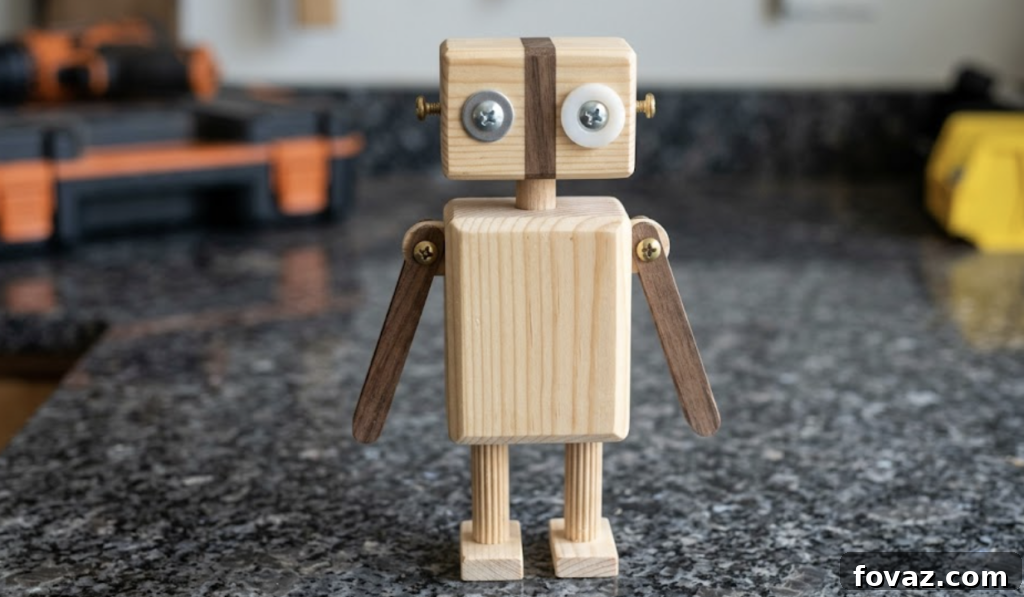
This small wooden robot has personality: a head built from layered scrap blocks, screw-and-washer eyes, brass ear details, and articulated arms. It feels like a miniature workshop creation rather than a craft project, and kids enjoy choosing the hardware for the face.
Materials
- Pine or fir craft blocks (~3/4″ thick) for head and body
- Dark wood strip for a face accent
- Thin pine strips for arms
- 1cm round dowel for legs
- Assorted screws and washers for eyes
- Small brass eye-screws or thumbscrews for ears
- Pan-head screws for arm joints
- Non-toxic wood glue
- Sandpaper (120 and 220-grit)
Cut List
| Part | Material | Qty | Dimensions |
| Head (left/right) | Pine block | 2 | 2.1 × 3.0 cm |
| Head accent | Dark wood strip | 1 | 0.5 × 3.0 cm |
| Torso | Pine block | 1 | 3.5 × 6.0 cm |
| Neck | Dowel/block | 1 | 1.0 × 1.0 cm |
| Arms | Thin wood strip | 2 | 0.5 × 5.5 cm |
| Legs | Round dowel | 2 | 1.0 cm dia. × 4.0 cm |
| Feet | Pine block | 2 | 1.5 × 2.5 cm |
Steps
- Measure and mark all parts on the pine blocks. (parent + kid)
- Cut blocks to size; keep kids back and wearing eye protection. (parent only)
- Sand all edges with 120-grit, then round corners with 220-grit. (kid)
- Drill dowel holes in the torso and foot tops; drill pilot holes for eyes and arm fasteners. (parent only)
- Glue the head layers together and clamp; insert neck and dowels with a dab of glue. Wipe excess promptly. (parent + kid)
- Let the child pick washers and bolts for the eyes; parent installs arm fasteners to keep joints articulated. (parent + kid)
- Finish the robot with a food-safe wax or mineral oil applied and buffed. (kid)
📄 Full details, hardware specs, and printable cut list are in the robot toy plan PDF.
Gather small hardware assortments and non-toxic glue beforehand to avoid mid-project pauses. Simple kits of screws, washers, and eye-screws work well for these builds.
Project 3: Interlocking Dino Toy
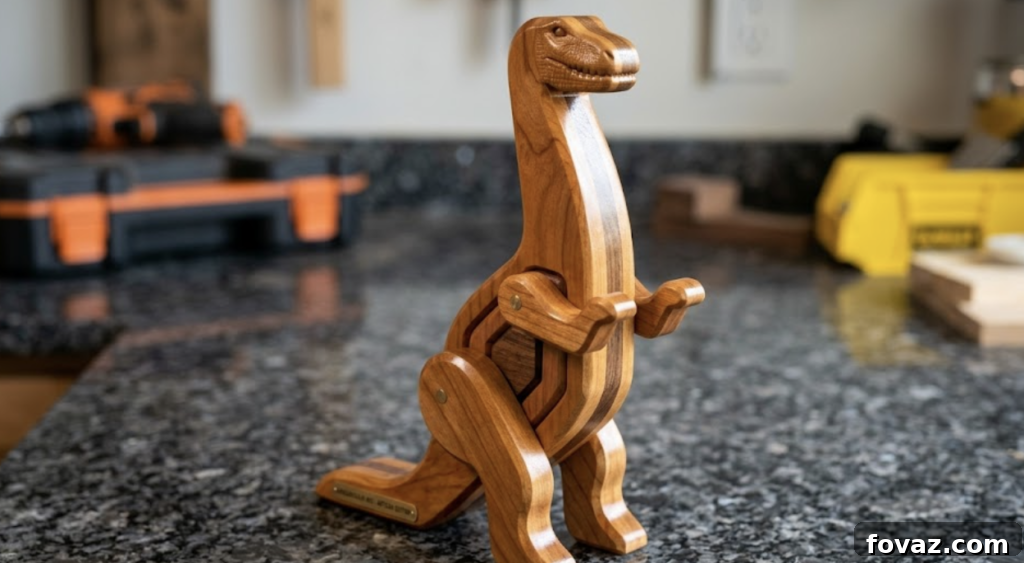
No glue or hardware: just two precisely cut pieces that slot together and stand. The simplicity of this design makes it an ideal first woodworking experience for younger kids—assembly is satisfying and repeatable.
The body comes from 3/4″ stock and the legs from 1/2″ stock. Carefully cut slots for a snug friction fit so kids can disassemble and reassemble easily.
Materials
- 3/4″ thick board (cherry or poplar) approx. 12″ × 12″ for body
- 1/2″ thick matching board approx. 6″ × 12″ for legs
- Printed dinosaur template
- Blue painter’s tape
- Glue stick or spray adhesive for attaching template
- Food-grade mineral oil or beeswax paste
- Sandpaper (120, 220, 400-grit)
- Foam or rubber sanding blocks
- Clean cotton rags or sponge brushes
Steps
- Print the template at 100% actual size. Have your child cut the paper shapes with safety scissors. (parent)
- Pair boards and confirm the grain runs horizontally across the body and tail. (parent + kid)
- Cover boards with painter’s tape and adhere the template flat on top. (kid)
- Cut the body from 3/4″ stock and the legs from 1/2″ stock, cutting slightly inside slot lines for snug joints. Keep kids back during power cutting. (parent only)
- Remove burrs with a quick pass of 120-grit. (parent)
- Sand flat faces with 220-grit in the grain direction and lightly round corners. (kid)
- Test-fit and adjust slots until the legs slide together with light friction. (parent + kid)
- Wipe away sawdust and apply mineral oil or beeswax; let sit 15 minutes and buff dry. (kid)
📄 Printable dino template, slot tolerances, and grain alignment tips are included in the dino toy plan PDF.
If sourcing supplies is inconvenient, look for basic painter’s tape, glue sticks, and food-safe mineral oil—these inexpensive items make the finishing steps easy and child-safe.
You’re Building More Than a Toy
The finished toy is great, but the real value is the time spent together. Your child will remember the smell of fresh-cut wood, the pride in assembling a toy they helped make, and the moment it stood up or moved for the first time.
Those building memories teach confidence, patience, and a basic respect for tools and materials—skills that last far beyond the completed toy.
Share What You Built
We’d love to see your builds. Share photos of completed projects on your social channels and tell us which one was your child’s favorite. Hearing from real families inspires other parents to try these projects.
Frequently Asked Questions
1. What are the best beginner toy projects? The interlocking dino is the simplest and safest start since it requires no glue or hardware. The Minecraft figure and robot are great next steps for sanding, drilling, and basic assembly.
2. What ages are appropriate? These builds suit children ages 5 and up with adult supervision. Younger kids can sand, paint, and assemble; parents should handle cutting and drilling.
3. Do I need a full workshop? No. A stable workbench, hand saw or small power saw, drill, and a few clamps are sufficient. Optional power tools speed things up but aren’t required.
4. Can I use pallet wood? Use only pallets stamped “HT” (heat treated). Avoid pallets stamped “MB” (methyl bromide). Fresh hobby lumber from a hardware store is cleaner and safer for toys.
5. What’s the safest finish? Food-grade mineral oil or beeswax paste are the safest finishes for toys handled by children. They are non-toxic, easy to apply, and highlight the grain without harsh chemicals.
Quick Poll
Help us pick what kid-friendly project to write about next.
Did you like the build plans? Suggest what blueprints we should make next. Comment below with your ideas and photos of your builds.