Do you remember that once-loved laptop, now gathering dust in a corner, retired due to age or malfunction? Instead of letting it contribute to electronic waste, imagine transforming it into something truly useful and impressive: your very own DIY Bluetooth speaker. This guide will walk you through reclaiming valuable components from your old tech to create a custom audio device, saving you money while giving new life to old hardware.
RELATED: Crafting Your Dream DIY Bedroom Home Recording Studio on a Budget
Revitalize Old Tech: A 7-Step Guide to Building Your Own Bluetooth Speaker
In an age where technology quickly becomes obsolete, the idea of repurposing old devices is not only environmentally conscious but also incredibly rewarding. Your defunct laptop, far from being junk, harbors several components with untapped potential, particularly its often-underestimated speakers. This project offers a fantastic opportunity to delve into DIY electronics, creating a high-quality, custom Bluetooth speaker that rivals commercial offerings, all while extending the lifecycle of your electronics.
Step 1: Unearthing the Potential of Your Old Laptop
Laptops are indispensable tools, central to our daily lives for work, entertainment, and communication. However, like all technology, they have a finite lifespan. Eventually, they slow down, encounter irreparable issues, or simply become too outdated to handle modern demands. Rather than consigning them to a landfill, consider the wealth of useful materials and components still residing within.
One of the most valuable, and often overlooked, assets within a dead laptop is its speaker system. Especially laptops manufactured in the late 2000s and early 2010s often boasted surprisingly robust and high-fidelity speakers. During this era, manufacturers heavily invested in multimedia capabilities, designing speakers with features like enhanced bass and clear audio output to elevate the user’s media consumption experience.
Today, purchasing a pair of high-quality Bluetooth speakers can be a significant investment. By tapping into the existing, quality speakers from your old laptop, you can bypass this expense entirely. This project is not just about building a speaker; it’s about smart recycling, creative engineering, and achieving premium sound without the premium price tag. So, dust off that forgotten laptop – it’s time to embark on a journey of transformation.
Step 2: Careful Disassembly and Speaker Retrieval
With your old laptop ready, the initial phase involves its careful and methodical disassembly. This process typically begins with unscrewing all visible screws from the back panel, often hidden beneath rubber feet or labels. Once all screws are removed, you’ll need a plastic prying tool or an old credit card to gently separate the plastic casing. Exercise patience and caution, as forceful prying can damage the plastic clips or the casing itself.
As you open the laptop, you’ll encounter a myriad of internal components. It’s crucial to proceed meticulously, separating parts with care to avoid damage to fragile connectors or delicate circuits. Lay out each component on a clean, flat surface in an organized manner. This systematic approach will not only help you identify the speakers but also ensure that other potentially reusable components are preserved for future DIY endeavors. While many parts like the screen, hard drive, or RAM might be repurposed later, our immediate focus for this project is solely on extracting the laptop’s internal speakers. Gently detach them from their mounting points and any connecting cables, preparing them for their new life as part of a custom audio system.
Step 3: Preparing and Enclosing Your Laptop Speakers for Optimal Sound
A significant advantage of using laptop speakers is that many of them come pre-built within their own sealed enclosures. These enclosures are acoustically designed to optimize the speaker’s sound output within the laptop’s limited space. This means you often won’t need to construct a separate, complex speaker box from scratch, simplifying the build process considerably.
Laptop speakers are typically quite flat and compact. Depending on their specific shape and size, you have several options for combining them. You might glue them side-by-side to create a wider soundstage, or stack them if space is a concern, forming a more compact unit. The goal is to create a stable, unified block that will be easier to house in your final design. For adhesion, hot glue is a popular choice for its quick drying time and strong bond. Alternatively, epoxy or super glue can offer a more permanent and rigid connection. Ensure the speakers are aligned correctly and securely fastened to each other, forming a solid foundation for your upcoming Bluetooth module and power system. This step is about consolidating the raw audio components into a manageable and acoustically sound unit.
RELATED: Setting Up Your Ultimate DIY Home Studio for YouTube Content Creation
Step 4: Empowering Your Speakers with Bluetooth Connectivity
To transform your repurposed laptop speakers into a modern, wireless audio system, the next critical step is to integrate a Bluetooth module with an amplifier. This miniature Bluetooth amplifier acts as the brain of your speaker, receiving wireless audio signals from your phone or other Bluetooth-enabled devices and amplifying them to drive your speakers. There are many affordable and compact mini Bluetooth amplifier boards available online (e.g., PAM8403-based modules or similar TDA series amplifiers), specifically designed for DIY audio projects.
The process involves soldering the speaker wires to the designated output terminals on the amplifier board. Most boards will clearly label the positive (+) and negative (-) terminals for both left and right speaker channels. Ensure a clean and secure solder joint for optimal sound transmission. Once the speakers are connected, you can use a strong adhesive, like hot glue or a durable epoxy, to firmly attach the amplifier board to your conjoined speaker unit. Position it thoughtfully, considering future access for power input and any potential control buttons the amplifier might have. This step effectively upgrades your old laptop speakers into a functional, wire-free audio powerhouse, ready to connect to any modern device.
Step 5: Ensuring Reliable Power: Integrating USB Compatibility
Most small Bluetooth amplifier modules operate efficiently on a 5-volt power supply, a standard voltage that makes them incredibly versatile. This compatibility opens up a world of convenient power options, chief among them being USB power. To facilitate this, you’ll need to solder a USB socket onto the amplifier board’s power input terminals. You can use a micro-USB, mini-USB, or even a USB-C breakout board, depending on what type of cable you prefer to use for charging or powering your device. Carefully identify the 5V (VCC) and Ground (GND) pins on both the USB socket and the amplifier board and solder them together, ensuring correct polarity.
Once the USB socket is integrated, your DIY Bluetooth speaker can be powered from virtually any USB source. This includes portable USB power banks for complete wireless freedom, a standard USB wall adapter for home use, or even a USB port on a computer or car charger. This flexibility is key to making your homemade speaker as practical and user-friendly as a commercially produced unit. For those looking for even greater portability, consider integrating a small rechargeable lithium-ion battery with a corresponding charging protection circuit, allowing your speaker to operate independently for extended periods without being tethered to an external power source.
Step 6: Crafting the Aesthetic: Designing Your DIY Bluetooth Speaker Enclosure
With the internal electronics assembled and functional, it’s time to focus on the external presentation – the enclosure. This is where your creativity truly shines, transforming a collection of components into a sleek, finished product. Beyond simply making it “neat,” the enclosure protects the delicate electronics and contributes significantly to the speaker’s overall aesthetic and, in some cases, acoustic performance.
Start by conceptualizing a design that complements the combined speaker and amplifier unit. You can opt for simplicity by using plastic strips, cut and glued to form a perimeter and provide a basic frame around your speakers. However, don’t limit yourself. Consider more durable and visually appealing materials such as thin plywood, acrylic sheets, or even 3D-printed custom parts. These materials allow for more robust enclosures and more intricate designs. Think about incorporating control buttons (if your amplifier has them), a power switch, and the USB charging port into the design for easy access.
For the speaker grill, which protects the speaker cones while allowing sound to pass through, thin acoustic fabric is an excellent choice. It’s aesthetically pleasing and minimally impacts sound quality. Alternatively, a finely perforated metal mesh or a custom-cut plastic grill can offer more rugged protection. The goal is to create an enclosure that not only looks professional but also enhances the durability and portability of your unique DIY Bluetooth speaker, reflecting your personal style and craftsmanship.
Step 7: Connect, Play, and Enjoy Your Upcycled Audio Masterpiece
Congratulations! You’ve successfully brought your old laptop back to life in an entirely new form. Your DIY Bluetooth speaker is now ready to fill your space with your favorite tunes. The final steps involve placing your speaker and pairing it with your preferred audio device.
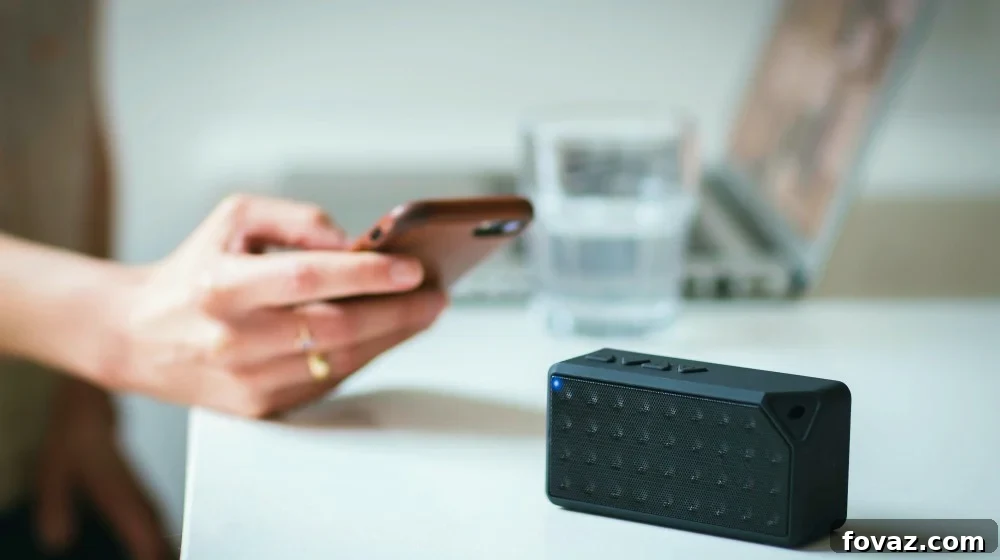
Consider where your speaker will best serve you. Its compact size, depending on your design, might make it perfect for your desk, a bookshelf, or even a kitchen counter. If you designed it with mounting in mind, securing it to a wall can create an unobtrusive, integrated audio solution that saves space and enhances your room’s aesthetic. Once placed, simply turn on your speaker, activate Bluetooth on your smartphone, tablet, or computer, and select your newly created device from the list of available connections. Within moments, you’ll be streaming music wirelessly, enjoying the impressive sound quality from speakers you salvaged and personally transformed.
This project is more than just building an electronic device; it’s a testament to ingenuity, sustainability, and the satisfaction of creating something functional and beautiful with your own hands. Revel in the rich audio and the unique story behind your custom-built Bluetooth speaker.
For those who are both DIY enthusiasts and audiophiles, this video from Kirby Meets Audio offers a fascinating perspective on turning any speaker into a Bluetooth speaker, providing further inspiration and technical insights:
The quest for high-fidelity audio doesn’t have to be a costly endeavor. By cleverly repurposing an old, defunct laptop, you can construct a bespoke Bluetooth speaker that delivers sound quality comparable to brand-new, expensive models. This project is a shining example of how recycling and DIY skills can merge to create valuable, personalized tech. Not only do you save money, but you also contribute to reducing electronic waste, making a tangible impact on environmental sustainability.
Beyond crafting a DIY Bluetooth speaker, what other innovative ways have you found to repurpose components from an old laptop or other discarded electronics? Share your ingenious ideas and creations with us in the comments section below!
UP NEXT:
- The Coolest $5 Bluetooth Outdoor Wireless Speaker: An Essential Summer Project
- Build Your Own DIY Vocal Booth and Launch Your First Podcast: A Complete Guide
- 8 Genius Ways to Re-Purpose Your Old Tires: Creative Upcycling for Your Home & Garden
Calling all passionate DIYhards and creative crafters! DIY Projects needs YOU to share your talents and inspiration. Click here if you’re ready to contribute your amazing projects and ideas to our community.
Stay connected with the vibrant DIY community! Follow us on Facebook, Twitter, Pinterest, and Instagram for daily inspiration, tips, and project ideas!