
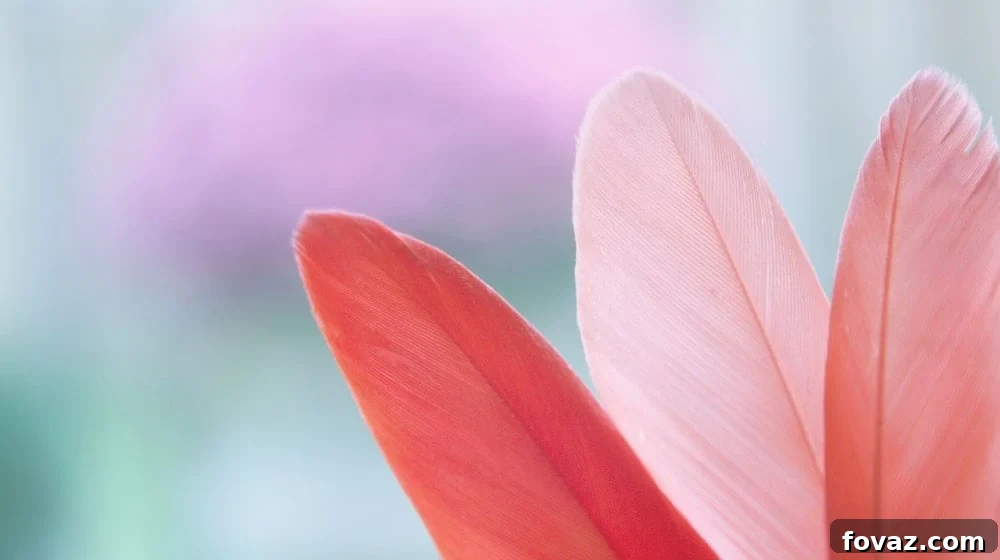
Are you searching for a delightful, budget-friendly craft project that sparks creativity and can involve the whole family? Look no further! This comprehensive guide will walk you through the enchanting world of feather painting, a simple yet rewarding DIY activity that transforms ordinary feathers into stunning works of art. Whether you’re a seasoned crafter or just starting, learning how to paint feathers is an enjoyable journey that promises beautiful results and endless possibilities for home decor, personalized gifts, and unique accessories.
DIY Painted Feathers: Unleash Your Creativity with Feather Painting
Feathers have long been symbols of freedom, grace, and natural beauty. Their delicate structure and soft texture make them an ideal canvas for artistic expression. Imagine capturing that whimsical essence and enhancing it with vibrant colors and intricate designs! Our step-by-step tutorial on making DIY painted feathers is designed to be straightforward and fun, ensuring that you can create beautiful pieces in minutes. These handcrafted feathers are incredibly versatile, perfect for adding a touch of rustic charm to your living space, personalizing your accessories, or crafting thoughtful gifts. Get ready to dive into a craft project that’s as relaxing as it is rewarding, promising unique creations that are bound to impress!
Why Choose Feather Painting for Your Next Craft?
- Relaxing and Therapeutic: The repetitive motion of painting and the focus required can be incredibly calming, making it a wonderful stress-remover.
- Budget-Friendly: With just a few basic supplies, you can create a wide array of beautiful items without breaking the bank.
- Highly Customizable: Express your unique style through endless color combinations, design patterns, and personal touches.
- Versatile Applications: Painted feathers can be incorporated into countless craft projects, from elegant wall art and charming mobiles to unique jewelry and fashion accessories.
- Engaging for All Ages: This is a fantastic activity for kids and adults alike, fostering creativity, fine motor skills, and a sense of accomplishment.
- Connect with Nature: If you use ethically sourced or naturally shed feathers, it’s a beautiful way to appreciate and interact with natural elements.
What You’ll Need for Your Painted Feather Project:
Gathering your materials is the first step towards creating your stunning feather art. Here’s a detailed list of what you’ll need to get started:
- Acrylic Paint: This is your primary medium. Acrylics are versatile, fast-drying, water-soluble when wet, and permanent when dry. Choose a selection of your favorite shades, including some metallics or glitters for extra sparkle and dimension.
- Paint Brushes: A variety of sizes will be beneficial for different aspects of your design. You’ll want a larger, flatter brush for applying base coats and broader strokes, and a fine-tipped brush (like a detail brush or liner brush) for intricate designs, delicate lines, and small dots.
- Feathers: The canvas for your art! You can purchase craft feathers from art supply stores, which often come pre-cleaned and in various sizes and colors. Alternatively, you can responsibly collect naturally shed feathers from outdoor areas, ensuring they are clean and free of parasites before use. Consider different sizes and shapes for varied artistic outcomes.
- Water: Essential for cleaning your brushes between color changes and after you’re done painting. Keep a small container of water handy.
- Paper Towels or an Old Cloth: For blotting excess water from your brushes, cleaning up any paint spills, and wiping brushes clean.
- Palette or Clean Surface: A ceramic plate, a plastic lid, an old piece of cardboard, or a dedicated artist’s palette works perfectly for dispensing and mixing your paints.
- Optional: Sealant Spray: A clear acrylic sealant (available in matte or glossy finish) can protect your painted feathers from wear and tear, moisture, and fading, giving them a more durable and professional finish.
Step-by-Step Guide to Painting Beautiful Feathers:
Step 1: Gather Your Inspiration and Set Up Your Workspace
Before you even dip your brush, take a moment to envision your final piece. What aesthetic are you aiming for? Do you want a feather with vibrant, multi-colored segments, a subtle ombre effect, or an elegant design in monochromatic tones? Select your acrylic paint colors and squeeze small, manageable amounts of each onto your clean palette or mixing surface. Remember, it’s always easier to add more paint than to put it back. Lay down newspaper or a protective sheet to keep your workspace clean.
Step 2: Laying Down Your Base Colors with Creativity
Begin by dipping your chosen paintbrush (a flatter, medium-sized one is often best for this) into your first color. Gently start applying the paint to the feather. You have several creative options here:
- Solid Color: Cover the entire feather with a single, even coat for a classic look.
- Gradient/Ombre: Apply one color to the tip and another to the base, then blend them together while the paint is still wet for a smooth transition.
- Color Blocking: Paint distinct sections of the feather with different, contrasting hues for a bold statement.
- Dipping Technique: For a simple and clean edge, you can gently dip a portion of the feather into a shallow pool of paint.
Work with the natural grain and direction of the feather barbs, applying smooth, even strokes. Don’t be afraid to experiment with color combinations – this is where your unique style begins to shine! Allow the first layer to dry completely before moving on, especially if you plan to add contrasting colors or detailed designs. This prevents colors from muddling and ensures crisp, clean layers.
Step 3: Drying and Preparing for Detailing
Once your initial layers of paint are applied and you’re happy with the base colors, it’s crucial to let the feathers dry thoroughly. Depending on the thickness of your paint and environmental humidity, this could take anywhere from 15 minutes to an hour. Place them on a flat, non-stick surface or hang them gently to ensure air circulation. While your base colors are drying, prepare your detailing paints. Black and white acrylics are excellent for adding depth and intricate patterns, but feel free to choose any contrasting or complementary colors. Squeeze small amounts onto a fresh section of your palette and get your fine-tipped brushes ready for precision work.
Step 4: Adding Intricate Designs and Embellishments
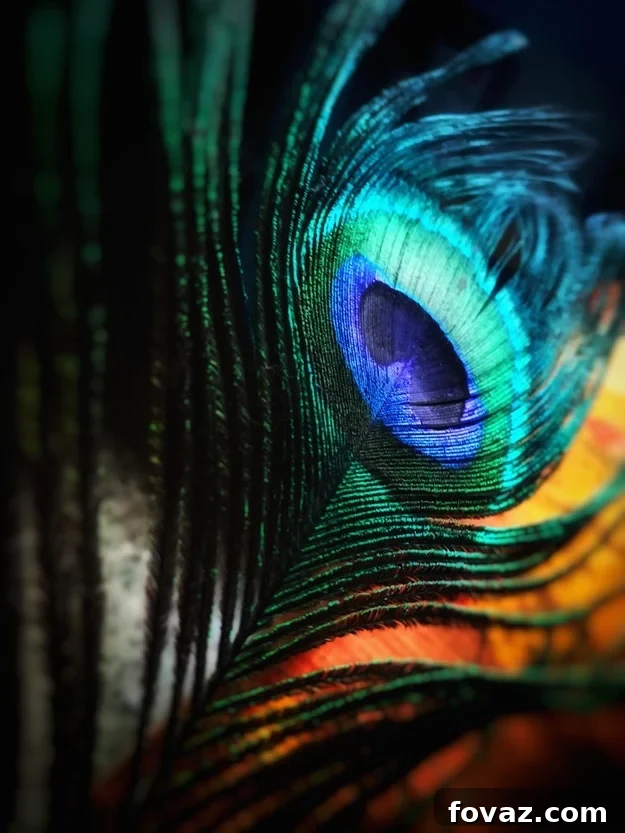
Now comes the most exciting part: bringing your feather to life with unique designs! With your fine-tipped brush, begin to add delicate lines, dots, stripes, chevrons, tribal patterns, abstract swirls, or even tiny geometric shapes. You could draw inspiration from natural feather patterns, mandala designs, or simply let your imagination guide your hand. For steadier lines, try to brace your painting hand on your non-painting hand or the table. Remember, there are no mistakes in art – only unique variations and opportunities for creativity! This stage allows for incredible personalization, transforming a simple feather into a statement piece.
Step 5: The Final Dry and Optional Sealing for Durability
After all your artistic touches are complete, allow your exquisitely painted feather to dry completely one last time. This final drying step is vital to prevent any smudging or damage and to ensure the longevity of your artwork. Once thoroughly dry, if you wish to protect your feather from moisture, dust, and handling, you can apply a thin, even coat of clear acrylic sealant spray. Do this in a well-ventilated area, holding the spray can at the manufacturer’s recommended distance (usually 8-10 inches) and applying light, even passes. Avoid over-saturating the feather. This will give your feather a more durable, professional finish and ensure your beautiful creation lasts for years to come. And just like that, you’re done! You’ve successfully crafted a stunning, personalized piece of feather art.
Creative Ways to Use Your DIY Painted Feathers: Endless Inspiration!
The beauty of these painted feathers lies in their incredible versatility. Once you’ve created a collection, the craft projects you can use them for are truly limitless! They can add a touch of whimsy, elegance, or bohemian charm to almost anything. Here are just a few ideas to spark your imagination and inspire your next project:
- Enchanting Wall Art: Frame a single, beautifully painted feather or arrange a collection of them in a shadow box for a captivating display. You can also create a gallery wall featuring various sizes and colors.
- Dream Catchers: Incorporate them into homemade dream catchers for a personalized touch and a burst of vibrant color, enhancing their mystical appeal.
- Unique Jewelry: Attach small, delicate painted feathers to earring hooks or necklace chains to create one-of-a-kind, bohemian-inspired accessories.
- Hat Embellishments: Add a distinctive flair to your fedora, cowboy hat, or any headwear. A painted feather can instantly elevate a simple hat.
- Garlands and Mobiles: String several painted feathers together to create whimsical garlands for parties, nurseries, or charming mobiles that dance in the breeze.
- Vase Fillers: Arrange them artfully in a clear vase or bottle for a subtle yet elegant centerpiece or a unique floral alternative.
- Gift Toppers and Tags: Use them as unique and beautiful embellishments for wrapped presents or as personalized gift tags, making any gift feel extra special and handcrafted.
- Hair Accessories: Glue them onto plain hair clips, barrettes, or headbands for a nature-inspired fashion statement that stands out.
- Bookmarking: A delicate painted feather with a ribbon attached can serve as a beautiful and unique bookmark for your favorite novels.
- Costume Accents: Elevate theatrical costumes, masquerade masks, or festive outfits with hand-painted feather details.
- Wreath Embellishments: Add them to a seasonal or decorative wreath for an organic and artistic touch.
- Scrapbooking and Card Making: Flat painted feathers can be a stunning addition to scrapbook pages or handmade greeting cards.
Let your creativity soar! These DIY painted feathers are more than just a craft; they are tiny canvases waiting to tell a story and infuse your life with personalized beauty.
Visual Learning: Watch the Feather Painting Process!
Sometimes seeing the process in action can clarify steps and spark even more creative ideas. For those who prefer a visual demonstration, we highly recommend checking out this excellent video tutorial from LoveLifeAlways190. It provides a fantastic complement to our written instructions, allowing you to see various techniques in action and gain further inspiration for your own unique feather creations.
Watching the step-by-step process unfold can greatly enhance your understanding and confidence, making your feather painting journey even more enjoyable and successful. Don’t hesitate to pause, rewind, and re-watch sections as you follow along!
Share Your Feather Art & Join Our Creative Community!
Did you enjoy our detailed tutorial on feather painting? We’d absolutely love to hear your thoughts, see your magnificent creations, and learn from your experiences! Please share your tips, tricks, or even photos of your painted feathers in the comments section below. Do you have any other cool DIY projects or unique craft ideas you’re passionate about? Share them with us – we’re always eager to discover and try new things! Our passion lies in fostering a vibrant community of DIY enthusiasts who love to explore their creative side through engaging craft projects, innovative home decor solutions, clever upcycling ideas, delicious recipes, practical tutorials, and anything else you can empower yourself to create. This platform was specifically designed with the vision of inspiring people to unleash their inner artist and realize the immense potential of handmade creations. We believe that with a little guidance and a lot of imagination, any project is truly just a click away. Stay connected with us and become part of our growing family of creators on Facebook, Twitter, Pinterest, and Instagram! Let’s build a world where creativity knows no bounds and every handmade item tells a story.
Explore More Inspiring DIY Projects:
If you’ve enjoyed the process of transforming simple feathers into stunning works of art, you’ll surely love these other exciting DIY adventures. Click through to discover new ways to express your creativity, learn new skills, and add more handcrafted beauty to your life!
Flower Hair Accessories Fit for a Princess
How to Make Felt Balls
Fun & Creative DIY Paint Chip Calendar