
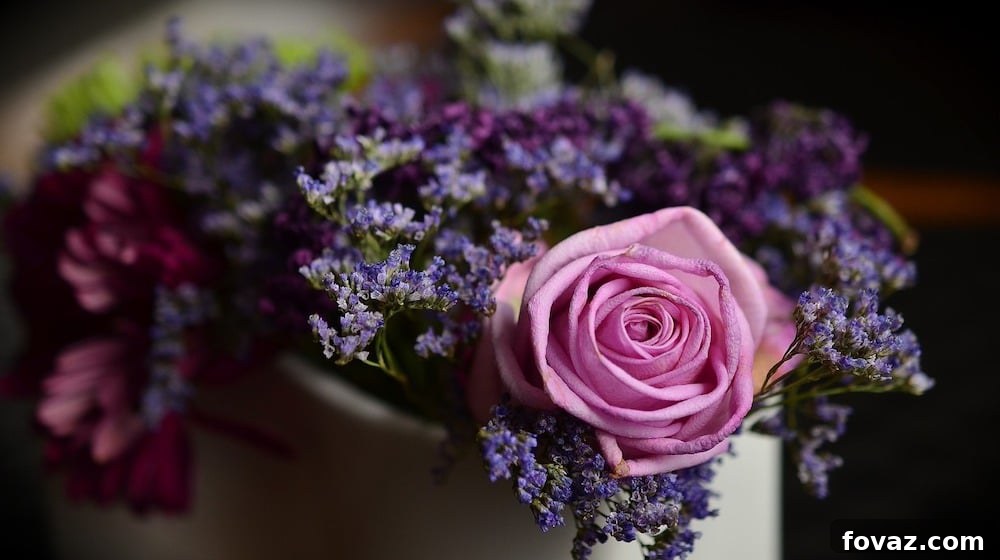
Do you dream of transforming ordinary flowers into breathtaking displays? Have you ever walked into a room and wished you could create that stunning floral centerpiece yourself? If you have a passion for petals and a desire to learn the art of flower arranging, you’ve come to the right place. Creating your own beautiful flower arrangements is not only a rewarding hobby but also an accessible skill for anyone. Forget the notion that you need to be a professional florist; with a few essential tips and a little practice, you’ll be crafting gorgeous blooms that brighten any space in no time at all.
Unlocking Your Inner Florist: A Beginner’s Guide to Stunning Flower Arrangements
There’s an undeniable joy in hand-picking your favorite flowers and arranging them into a display that reflects your personal style. Whether you’re decorating your home, preparing for a special occasion, or simply want to indulge in a creative pastime, DIY flower arranging offers endless possibilities. This comprehensive guide will walk you through everything you need to know, from gathering your basic tools to mastering fundamental design principles, ensuring your first arrangement is not just good, but truly gorgeous. We’ll demystify the process, turning what might seem intimidating into an enjoyable and straightforward artistic endeavor.
The Essential Florist’s Toolkit: What You’ll Need
Every artist needs their tools, and a budding florist is no different. While you don’t need a professional setup, having the right basic equipment can make a significant difference in the ease and success of your arrangements. These items are generally inexpensive and readily available, forming the foundation of your flower arranging journey.
- Rubber Gloves: Essential for protecting your hands, especially when dealing with thorny stems or flowers that might release irritating sap. They also provide a better grip, preventing slips when cutting.
- Sharp Knife or Floral Clippers: A clean, sharp cut is crucial for maximizing water absorption by the flowers. A dedicated floral knife offers precise, angled cuts, while sturdy floral clippers are excellent for thicker stems and removing thorns. Avoid using regular scissors, which can crush the stems and hinder water uptake.
- Flower Shears: While clippers work for most stems, specialized flower shears are designed for delicate cuts and shaping, ensuring minimal damage to the plant tissue.
- Vase or Container: This will be the home for your arrangement. Start with a variety of sizes and shapes. Glass vases are popular for their versatility, but don’t limit yourself! We’ll discuss container selection in more detail below.
- Floral Foam: A game-changer for holding flowers in place and providing a continuous water source. It comes in blocks that can be cut to fit your container and soaked in water. This is particularly useful for creating structured or dense arrangements.
- Floral Tape: Also known as stem tape or waterproof tape, this adhesive tape is excellent for creating a grid over the mouth of your vase. This grid provides additional support, allowing you to position stems exactly where you want them, preventing them from flopping.
- Flower Food / Preservative: A sachet of flower food, often provided with purchased bouquets, contains nutrients and anti-bacterial agents that significantly extend the life of your cut flowers by inhibiting bacterial growth in the water and providing essential sugars.
- Utility Bucket: A clean bucket or basin is invaluable for hydrating your flowers upon arrival and for collecting discarded leaves and stems during preparation.
Preparing Your Blooms for Their Spotlight Moment
Proper preparation is the secret to long-lasting and vibrant flower arrangements. Skipping these vital steps can drastically shorten the lifespan of your beautiful blooms. Think of it as giving your flowers the best possible start in their new home.
- Remove Thorns: For roses and other thorny varieties, carefully remove thorns using your sharp knife or clippers. This prevents painful pricks and also removes potential sources of bacterial contamination in the water.
- Remove Any Excess Leaves: Any leaves that would fall below the waterline in your vase should be removed. Submerged leaves will rot quickly, contaminating the water with bacteria that clog the stems and prevent the flowers from drinking properly.
- Cut Stems at a 45-Degree Angle: Using a sharp knife or clippers, cut 1-2 inches off the bottom of each stem at a sharp, 45-degree angle. This angled cut increases the surface area for water absorption and prevents the stems from sitting flat on the bottom of the vase, which can block water uptake. Make these cuts under running water or while the stems are submerged in a bucket of water to prevent air bubbles from entering the vascular system.
- Hydrate Immediately: After trimming, place your flowers into a bucket of fresh, cool water mixed with flower food. Let them hydrate for at least 30 minutes, or ideally a few hours, before arranging. This “conditioning” process allows them to fully rehydrate and perk up, making them more resilient during arrangement.
Mastering the Art of Arrangement: Step-by-Step Techniques
Now that your flowers are prepped and ready, it’s time for the fun part: arranging them! This section breaks down the process into manageable steps, focusing on foundational principles that will help you create balanced, beautiful, and professional-looking displays.
Choosing Your Canvas: The Perfect Vase
The vase isn’t just a container; it’s an integral part of your arrangement’s design. The shape, size, and material of your vase will influence the overall aesthetic and structure of your floral masterpiece. Consider the following:
- Tall, Cylindrical Vases: Ideal for long-stemmed flowers like gladioli or delphiniums, creating elegant, vertical arrangements.
- Wide-Mouthed Vases: Perfect for creating lush, rounded, or overflowing arrangements, but often require floral tape or foam to support stems.
- Narrow-Neck Vases: Excellent for showcasing a few statement blooms or a single, striking flower, offering natural support.
- Low Bowls or Compotes: Best for compact, dome-shaped arrangements or dramatic centerpieces where height isn’t the primary goal.
- Opaque vs. Transparent: Transparent vases highlight the stems and water, demanding clean cuts and water. Opaque vases allow you to hide mechanics like floral foam or wire.
Always ensure your chosen container is thoroughly clean to prevent bacterial growth that can harm your flowers.
Establishing Your Foundation: Floral Foam & Tape
For many arrangements, especially those with specific shapes or heavier blooms, you’ll need support to keep your flowers in place.
- Using Floral Foam: Soak floral foam in water mixed with flower food until it is fully saturated and sinks naturally. Never force it under water, as this can create dry pockets. Cut the foam to fit snugly into your vase, leaving about an inch above the rim for easy insertion of stems. This provides both structural support and continuous hydration.
- Using Floral Tape (Grid Method): For clear vases or arrangements where foam isn’t desired, create a grid across the mouth of your vase using floral tape. Crisscross strips of tape to form a sturdy lattice. This grid will hold stems securely in various positions, allowing for more precise placement and preventing flowers from shifting.
The Core Principles of Design: Balance, Proportion, and Focal Points
Even for beginners, understanding basic design principles elevates an arrangement from a simple collection of flowers to a work of art.
- Balance: An arrangement should feel stable and visually pleasing. Symmetrical balance means both sides mirror each other. Asymmetrical balance uses different elements on each side but distributes visual weight evenly.
- Proportion: Consider the size of your arrangement in relation to its container and the space it will occupy. A general rule of thumb is that the arrangement should be 1.5 to 2 times the height of the vase.
- Focal Point: This is the area of your arrangement that first catches the eye. It’s usually created with the largest, most vibrant, or most uniquely shaped flowers. Placing your focal flowers slightly off-center often creates a more dynamic composition.
Building Your Arrangement: Layers of Beauty
Now, let’s bring your vision to life. This step-by-step approach will guide you in constructing a cohesive and stunning arrangement.
- 1. Create Your Green Base: Begin by adding foliage (greens) to your vase. This establishes the basic shape and size of your arrangement, creates a lush foundation, and helps support the other flowers. Use different textures and shades of green for added interest.
- 2. Place Your Focal Flowers: Insert your largest or most striking flowers first, typically in the center or slightly off-center, to create your focal point. Ensure they are well-hydrated and cut to varying heights within your green base to add depth.
- 3. Incorporate Secondary Flowers: Add medium-sized flowers around your focal point. These flowers should complement the focal blooms in color and texture, supporting the main theme without overpowering it. Vary their heights and angles.
- 4. Fill in with Smaller Flowers and Textural Elements: Use smaller, delicate blooms (filler flowers) and additional foliage to fill any gaps, add texture, and create a sense of fullness. These can also be placed around the perimeter of the arrangement to soften the edges. Think about how different shapes and forms interact.
- 5. Create Depth and Movement: Avoid making all stems the same length. Varying heights, angles, and depths creates a more dynamic and natural-looking arrangement. Some flowers can extend outward, while others remain nestled within.
- 6. Consider Color and Texture: While starting, you might stick to a single color palette (e.g., all whites and greens, or various shades of pink). As you gain confidence, experiment with complementary colors (e.g., purple and yellow) or analogous colors (e.g., shades of blue and green) for different effects. Mix soft, delicate textures with bold, architectural ones for visual intrigue.
- 7. Step Back and Evaluate: Periodically step away from your arrangement to view it from different angles. Look for any imbalances, empty spaces, or areas that seem too crowded. Don’t be afraid to adjust and refine until you are pleased with the overall composition.
Nurturing Your Creation: Prolonging Freshness
Your beautiful arrangement deserves to last as long as possible. A few simple care tips can significantly extend the life of your cut flowers, allowing you to enjoy their beauty for days, or even weeks.
- Keep Water Levels High: Check the water level daily and top it up with fresh, cool water mixed with flower food. Flowers are thirsty!
- Refresh Water Regularly: Every 1-2 days, completely change the water in the vase. Clean the vase thoroughly to remove any bacterial buildup, re-cut the stems at an angle, and replenish with fresh flower food solution.
- Strategic Placement: Place your arrangement in a cool spot away from direct sunlight, heat sources (like radiators or electronics), and ripening fruit. Ripening fruit releases ethylene gas, which can cause flowers to age prematurely.
- Remove Spent Blooms and Leaves: As individual flowers wilt or leaves turn yellow, remove them promptly. This not only keeps the arrangement looking tidy but also prevents rotting material from contaminating the water and accelerating the demise of other blooms.
Embrace Your Creativity: Beyond the Basics
Don’t be overwhelmed by your first few attempts. Remember, practice makes perfect! As you become more comfortable with the basic techniques, start to experiment. Try using unconventional containers – a beautifully cleaned antique teacup, a rustic watering can, or even a hollowed-out pumpkin for a fall theme. Play with different flower combinations, seasonal blooms, and color palettes. Your unique personality can truly shine through in your floral designs. The most important thing is to enjoy the process and celebrate the beauty you create.
Did you find these flower arranging tips helpful and inspiring? We’d love to hear about your floral creations! Share your thoughts and experiences below in the comments section.
For more DIY and craft news, follow us on Facebook, Twitter, Pinterest, and Instagram!