
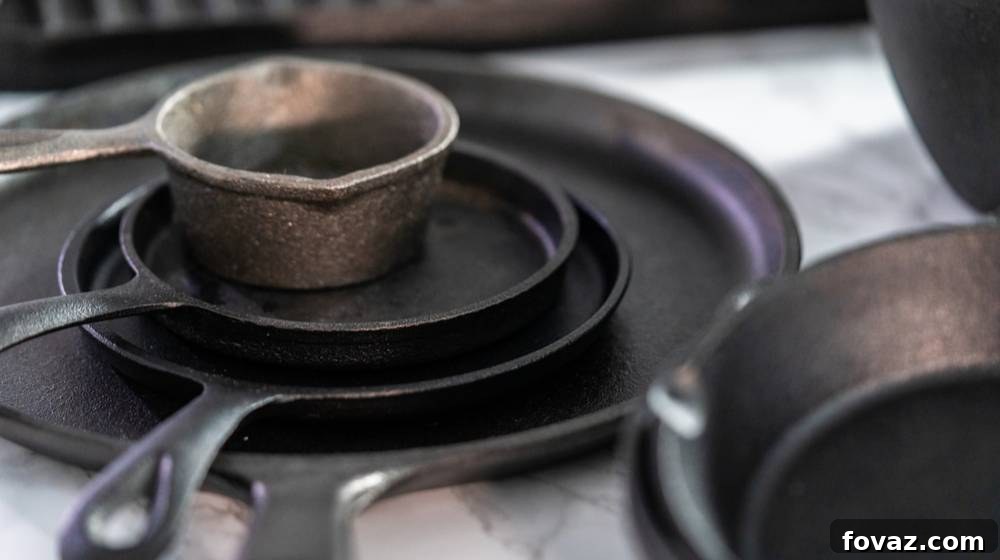
Restore Your Rusty Cast Iron Griddle: A Comprehensive Guide to Bringing It Back to Life
Is your beloved cast iron griddle showing signs of rust? Don’t despair or rush to buy a replacement! Cast iron cookware is renowned for its durability and the ability to last generations, but it requires proper care and occasional restoration. A rusty griddle isn’t a lost cause; it’s an opportunity to learn the rewarding process of bringing it back to life. With this comprehensive, step-by-step guide, you’ll transform your rusty griddle into a gleaming, non-stick cooking surface, ready for countless meals. Say goodbye to rust and hello to culinary perfection!
RELATED: How To Restore Furniture
The Enduring Charm of Cast Iron and Why Restoration Matters
Cast iron has been a kitchen staple for centuries, cherished for its even heat distribution, natural non-stick properties (when properly seasoned), and incredible longevity. Unlike modern non-stick pans that can scratch and wear out, cast iron only gets better with age and use. However, its Achilles’ heel is rust. When exposed to moisture without adequate protection, iron reacts with oxygen to form iron oxide – rust.
Why Rust Happens to Your Cast Iron
Rust on cast iron typically occurs for a few common reasons: improper drying after washing, leaving it in a humid environment, or acidic foods eroding the protective seasoning layer. Even a single drop of water left on the surface can initiate the rusting process. While disheartening, rust is a superficial issue that rarely compromises the structural integrity of your cast iron. It’s a clear signal that your griddle needs a little tender loving care and a fresh start.
The Benefits of Restoring Your Cast Iron Griddle
- Cost Savings: Restoring an old griddle is significantly cheaper than purchasing a new one, especially for high-quality cast iron pieces.
- Sustainability: You’re reducing waste by extending the life of your cookware, contributing to a more sustainable lifestyle.
- Heirloom Quality: Restored cast iron can become a family heirloom, passed down through generations, carrying stories and memories.
- Enhanced Performance: A properly restored and seasoned griddle offers superior non-stick properties and heat retention, making cooking a joy.
- Personal Satisfaction: There’s immense satisfaction in taking something old and neglected and transforming it into a functional, beautiful object once more.
Essential Materials for Cast Iron Griddle Restoration
Gathering your materials before you begin will make the restoration process smooth and efficient. Most of these items are common household staples or easily found at any hardware store.
Materials You’ll Need:
- Steel Wool (Coarse Grade): This is your primary weapon against rust. Coarse steel wool provides the abrasive power needed to scour away stubborn rust layers without damaging the underlying iron.
- Mesh Sponge or Stiff Bristle Brush: Ideal for scrubbing away loosened rust particles and cleaning the griddle once the heavy rust is removed. A good quality brush will make the scrubbing easier.
- Pastry Brush or Paper Towels: For applying a thin, even coat of oil during the seasoning process. A pastry brush ensures precision, while paper towels can also work effectively.
- Mild Dish Soap: Contrary to popular myth, mild dish soap is perfectly fine to use during the *restoration* phase when you’re stripping away old seasoning and rust. Its degreasing power is helpful here.
- High Smoke Point Cooking Oil (e.g., Avocado Oil, Vegetable Oil, Grapeseed Oil, Flaxseed Oil): Essential for creating a new, durable seasoning layer. Oils with high smoke points polymerize better, forming a tougher, more resilient finish.
- Oven: Required for the baking step where the oil transforms into a hard, non-stick seasoning.
- Aluminum Foil: Placed on the bottom rack of your oven to catch any excess oil drips from the griddle, preventing a smoky mess.
- Paper Towels or Clean Cloths: For drying the griddle thoroughly and wiping away excess oil.
- Safety Gloves (Optional but Recommended): Protect your hands during the scrubbing process, especially from sharp rust flakes or rough steel wool.
Step-by-Step Guide: Bringing Your Rusty Cast Iron Griddle Back to Life
Follow these steps carefully, and you’ll soon have a cast iron griddle that looks and performs like new.
1. Assess and Aggressively Remove Rust
Begin by thoroughly examining your cast iron griddle. Take note of all the rusted areas – surface rust, pitted spots, and any stubborn patches. Understanding the extent of the rust will help you gauge how much effort you’ll need to put in.
Using a ball of coarse steel wool, start scouring the rusty surfaces of your cast iron griddle. Apply firm, consistent pressure, working in circular motions. The goal is to aggressively remove all visible rust until you uncover the bare, shiny grey cast iron underneath. This might require considerable elbow grease and persistence, especially for heavily rusted pieces. Don’t be afraid to scrub vigorously; cast iron is tough! For deeply pitted areas, you may need to spend extra time, ensuring you get into every crevice. Remember, any rust left behind will prevent proper seasoning and could quickly reappear.
RELATED: How To Season & Restore A Cast Iron Skillet | Kitchen DIY
2. Thoroughly Cleanse with Warm Water and Mild Soap
Once you’ve successfully stripped away the majority of the rust and any remaining grime or old seasoning, it’s time for a deep clean. Rinse the griddle thoroughly under warm running water. Then, add a small amount of mild dish soap to a mesh sponge or a stiff bristle brush. Gently scrub the entire surface of the griddle, both inside and out. At this stage, soap is your friend; it helps to remove any lingering rust particles, grease, or residue that could hinder the new seasoning layer from bonding correctly.
Start with light pressure and gradually increase it, ensuring you scrub every inch of the griddle. Pay close attention to corners, edges, and any textured areas. After scrubbing, rinse the griddle meticulously under warm water until all soap suds are gone and the water runs clear. It’s crucial that no soap residue remains, as this could affect the seasoning process.
3. Immediately Dry to Prevent Flash Rust
This step is critical. As soon as you finish rinsing, it’s imperative to dry the cast iron griddle immediately and completely. Cast iron is highly susceptible to “flash rust” – rust that forms almost instantly on bare, wet iron. Use paper towels or a clean, lint-free cloth to thoroughly wipe down every surface of the griddle, ensuring no moisture remains.
For an even more effective dry, place the griddle on a stovetop over low heat for a few minutes. This process will evaporate any lingering moisture from the pores of the iron that paper towels might miss. Once the griddle is heated and completely dry, it should look uniformly dull gray, completely free of any rust. If you spot any new rust forming, you’ll need to go back to scrubbing and re-drying.
RELATED: How To Season & Restore A Cast Iron Skillet | Kitchen DIY
4. Apply a Thin, Even Coat of Cooking Oil for Seasoning
Now that your griddle is clean and dry, it’s time to prepare it for seasoning, which is the process of baking oil onto the surface to create a natural non-stick, rust-resistant layer. Choosing the right oil is important; oils with high smoke points like avocado oil, grapeseed oil, or vegetable oil are excellent choices as they polymerize well, forming a hard, durable finish.
Pour a very small amount of your chosen cooking oil onto the griddle – think a teaspoon or less for most griddles. Using a pastry brush or a clean paper towel, spread the oil evenly over every surface of the griddle: cooking surface, sides, handles, and even the underside. The key here is “thin.” Wipe away *all* excess oil until the griddle appears almost dry. You want an incredibly thin, almost invisible layer of oil. Too much oil will result in a sticky, uneven seasoning layer.
5. Bake and Polymerize for a Durable Season
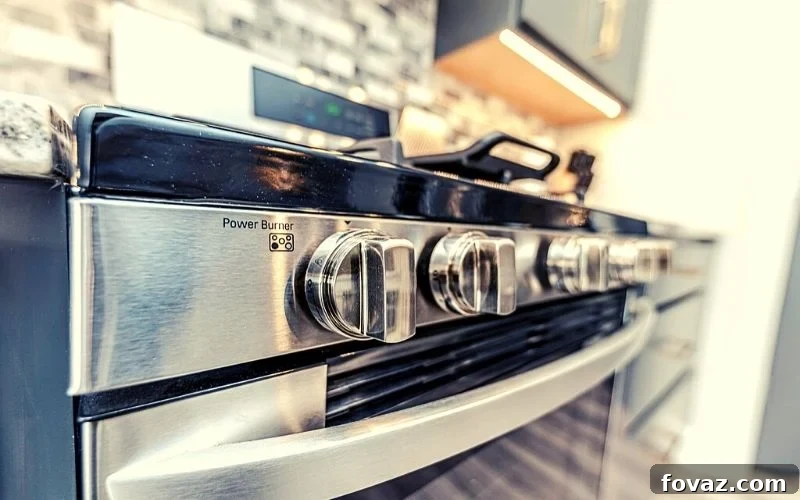
Preheat your oven to 350-400°F (175-200°C). To prevent a messy clean-up from any potential oil drips, lay a sheet of aluminum foil on the bottom rack of your oven. Place your lightly oiled cast iron griddle upside down on the middle or top rack. Baking it upside down helps prevent oil from pooling and creating sticky spots.
Bake the griddle for one hour. During this time, the oil will polymerize, transforming into a hard, plastic-like layer that bonds with the iron. After an hour, turn off the oven but leave the griddle inside to cool down slowly with the oven. This slow cooling helps the seasoning to set properly. Once the oven has cooled significantly (at least 1-2 hours), carefully remove the griddle.
For best results and a more robust, durable seasoning, repeat the oiling and baking process at least 2-3 times. Each layer contributes to a stronger, slicker, and more rust-resistant surface. The griddle should emerge from the oven looking darker, with a subtle sheen, and feeling smooth and dry to the touch, not sticky.
6. Cool and Prepare for Culinary Adventures
Once you’ve completed all the seasoning cycles and the griddle has cooled down completely, it’s ready for use! It should now have a uniform, dark finish and feel smooth, marking a successful restoration. Your griddle is no longer just a piece of metal; it’s a non-stick, ready-to-cook surface.
For its first use, consider cooking something with a bit of fat, like bacon or frying potatoes. This helps to further “bed in” the new seasoning. Avoid cooking acidic foods like tomatoes or wine sauces immediately after restoration, as they can strip away new seasoning layers.
Video Guide: See the Transformation in Action
Sometimes, seeing the process in motion can provide invaluable insight. Watch this video from Our Half Acre Homestead to witness a very rusty skillet transformed into a brand new pan:
Beyond Restoration: Maintaining Your Cast Iron for a Lifetime
Restoring your cast iron griddle is a fantastic achievement, but the journey doesn’t end there. Proper ongoing maintenance is crucial to prevent rust from returning and to ensure your griddle continues to perform beautifully for decades to come.
Daily Cleaning Rituals
After each use, clean your cast iron griddle promptly. Avoid leaving food residues to dry on it. Use hot water and a stiff brush or pan scraper to remove stuck-on food. For stubborn bits, you can use a small amount of salt as an abrasive. While some purists avoid soap entirely, a tiny drop of mild dish soap is generally acceptable for a well-seasoned pan if rinsed thoroughly and dried immediately. Never use harsh scouring pads or abrasive cleaners, which can strip the seasoning.
Proper Drying and Storage
This is perhaps the most critical aspect of cast iron care. After washing, *always* dry your griddle immediately and completely. You can hand-dry it with a towel, but for superior results, place it back on the stove over low heat for a few minutes until all moisture has evaporated. Once dry and slightly warm, apply a very thin layer of cooking oil (a few drops wiped with a paper towel) to all surfaces. This provides a protective barrier against moisture. Store your cast iron in a dry place, preferably not stacked directly on top of other items to allow for air circulation.
Re-seasoning When Needed
Over time, especially with heavy use or if you cook acidic foods, your griddle’s seasoning might thin out or develop patchy spots. If you notice food sticking more frequently or see minor rust spots reappearing, it’s a good indication that your griddle needs a touch-up seasoning. Simply repeat steps 4 and 5 of the restoration process, applying a thin coat of oil and baking it in the oven. Regular re-seasoning, even just once or twice a year, will keep your cast iron in prime condition.
Conclusion: A Lifetime of Culinary Joy from Your Restored Griddle
Restoring a rusty cast iron griddle is more than just a chore; it’s an investment in your kitchen and a testament to the enduring quality of this timeless cookware. What seemed like a disposable item has now been granted a new lease on life, ready to fry, sear, and bake its way through countless delicious meals. With proper care and the knowledge you’ve gained, your cast iron griddle will not only look brand new but will also perform flawlessly for many years, perhaps even a lifetime. Embrace the legacy of cast iron, and enjoy the satisfaction of cooking with a piece you personally brought back from the brink!
Share Your Cast Iron Restoration Journey!
Have you successfully restored a rusty cast iron griddle or skillet? We’d love to see your before-and-after photos and hear about your experience! Share your results and tips in the comments section below. Your insights could inspire fellow DIY enthusiasts!
Up Next:
- 200 Home Maintenance Tips and Repair Ideas You Can DIY
- Simple Ways To Remove Stubborn Rust From Anything [Infographic]
- Interesting Uses For WD-40 DIY Junkies Should Know
Calling all crafting DIYhards, DIY Projects needs YOU! Click here if you want to write for us.
Don’t forget to stay connected with us on Facebook, Twitter,and Instagram!