
How to Sew a Dress: Your Ultimate Dressmaking Class Guide
Project 3 – Crafting an Elegant Kate Middleton-Inspired Dress
Welcome back, aspiring dressmakers! The moment you’ve been eagerly anticipating has arrived: learning how to make a dress from a sewing pattern. This comprehensive lesson is designed to bring together all the essential skills you’ve acquired so far, culminating in the creation of a beautiful, wearable garment. Dive into the exciting world of patterns by heading to your local fabric store or exploring online retailers to find a simple dress pattern that captivates your imagination. While specific instructions might vary slightly between different pattern companies and garment types, the fundamental techniques you’ll master here are universally applicable to almost any sewing project.
For this particular project, we’re drawing inspiration from the timeless elegance of The Duchess of Cambridge, Kate Middleton. Imagine a chic and comfortable cotton summer dress, perfect for a garden party or a casual outing. Our chosen style features a sophisticated princess bodice, renowned for its flattering, contoured fit that gracefully shapes the torso. Complementing this, an effortlessly stylish A-line skirt will be incorporated, celebrated for its universally appealing silhouette that gently flares from the waist, offering both comfort and elegance. This combination not only results in a stunning dress but also provides an excellent learning opportunity for mastering foundational dressmaking techniques.
As you embark on this creative journey, remember that sewing patterns are designed for all skill levels. If you’re a beginner, it’s crucial to select a pattern explicitly labeled “easy,” “beginner-friendly,” or “Learn to Sew.” These patterns typically feature fewer pieces, simpler construction methods, and more detailed, step-by-step instructions, ensuring a successful and enjoyable first experience. Don’t be discouraged by complex-looking patterns; there’s a perfect starting point for everyone in the wonderful world of dressmaking.
In this immersive dressmaking project, you will gain hands-on experience and master several crucial sewing techniques, including:
- How to accurately cut your fabric using pattern pieces
- How to precisely line up and pin your pattern pieces for sewing
- How to confidently sew your fabric pieces together to form the dress
- How to professionally finish the seams for durability and a neat appearance
- How to perfectly hem the dress for a polished, ready-to-wear look
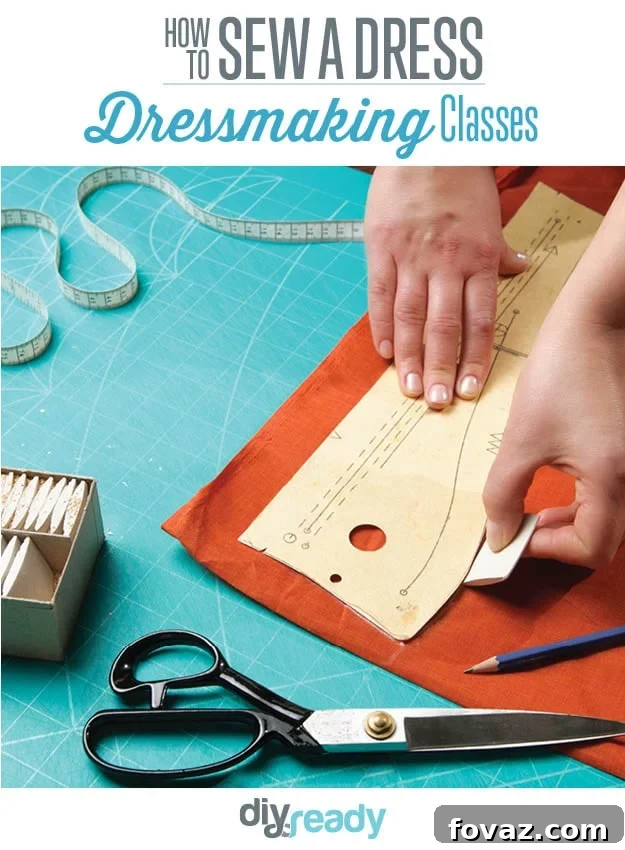
Mastering the art of dressmaking begins with precision, and the first step after selecting your pattern and fabric is understanding how to properly cut your pattern pieces. Before you even think about scissors, make sure your fabric is pre-washed and pressed according to its care instructions. This crucial step prevents future shrinkage and ensures your finished garment maintains its shape. Lay your fabric flat on a large surface, ensuring it’s on-grain and wrinkle-free. Carefully unfold your pattern pieces and lay them onto the fabric following the layout guide provided in your pattern instructions. Pay close attention to grainline arrows and fold lines, as these dictate how the fabric will hang. Pin your pattern pieces securely to the fabric, placing pins perpendicular to the cutting line every few inches to prevent shifting. Use sharp fabric shears or a rotary cutter for clean, precise cuts. Remember to cut notches outwards or snip just inside the seam allowance to mark these important alignment points. Don’t forget to transfer all other markings, such as darts, button placements, or pocket positions, using tailor’s chalk, a fabric marker, or tailor’s tacks. Accuracy in cutting lays the foundation for a well-fitting and beautifully constructed dress.
Once your fabric pieces are expertly cut, the next vital step in our dressmaking journey is learning how to accurately line up and pin them together for sewing. This stage demands patience and meticulous attention to detail, as proper alignment directly impacts the garment’s fit and finish. Begin by identifying corresponding pieces that need to be sewn together – for example, front bodice to back bodice at the shoulder seams, or bodice to skirt at the waistline. Match up notches or dots precisely, as these are your primary guides for alignment. Place the fabric pieces right sides together, ensuring all edges are perfectly aligned. Begin pinning from one end, matching notches first, then working your way along the seam. Insert pins perpendicularly to the raw edge, about every 1 to 2 inches, making sure to pierce through both layers of fabric. This perpendicular pinning technique makes it easy to remove pins as you sew without disrupting the fabric. For curved seams or areas requiring extra precision, consider basting stitches – either by hand or machine – to temporarily hold the layers together before permanent sewing. Remember, a well-pinned seam is a strong foundation for a well-sewn seam.
With your fabric pieces meticulously cut and perfectly pinned, you’re ready to bring your dress to life on the sewing machine. Learning how to sew your pattern pieces together is where the magic truly happens. Before you begin, set up your sewing machine. Ensure you have the correct needle for your fabric type (e.g., universal for cotton, ballpoint for knits), thread your machine with high-quality polyester thread, and select an appropriate stitch length (typically 2.5 for general seams). Always do a test stitch on a scrap piece of your fabric to check tension and stitch quality. When sewing, guide your fabric under the presser foot, keeping the raw edge aligned with the designated seam allowance marking on your needle plate (usually 5/8 inch or 1.5 cm). Begin and end each seam with a few backstitches to secure the stitching and prevent unraveling. Sew slowly and steadily, especially around curves, allowing the machine to feed the fabric without pulling or pushing. For darts, start sewing from the widest part and gradually taper your stitching to a fine point at the dart’s end, knotting the thread tails at the tip for security. A crucial habit to develop is pressing your seams as you sew. After each seam is stitched, take it to the iron. Press the seam flat first to meld the stitches, then press the seam allowances open or to one side, as directed by your pattern. This “press as you go” method creates crisp seams and a professional finish throughout your garment, making a significant difference in the final appearance of your dress.
Achieving a professional-looking dress involves more than just sewing straight seams; it requires understanding how to properly finish your seams. Seam finishing is the process of neatening the raw edges of fabric within a garment to prevent fraying, enhance durability, and create a clean, high-quality interior. Neglecting this step can lead to your beautiful dress falling apart after a few washes. There are several popular methods for finishing seams, each suitable for different fabric types and desired aesthetics. For most woven fabrics like the cotton we’re using, a simple zigzag stitch applied to the raw edge of each seam allowance (after pressing the seam open) is highly effective. If you have a serger, this machine offers the ultimate professional finish, trimming and encasing the raw edge with a strong, flexible stitch. For delicate fabrics or an exquisite finish, consider French seams, where the raw edges are enclosed within the seam itself, resulting in a beautifully clean interior. After finishing, always press your seams again to ensure they lie flat and smooth. A well-finished seam speaks volumes about the care and craftsmanship invested in your handmade dress, elevating it from a DIY project to a cherished wardrobe staple.
The final touch that elevates a handmade dress to a professional garment is a perfectly executed hem. Learning how to hem the dress is the grand finale of your dressmaking project. The hem provides weight, stability, and a polished edge to your garment. First, try on your dress (or have someone help you) to determine the desired length. Use tailor’s chalk or pins to mark the hemline evenly around the entire circumference. Carefully remove the dress and lay it flat. Measure precisely from the marked hemline upwards to establish your hem allowance – typically 1.5 to 2 inches, but check your pattern instructions. Trim any excess fabric to ensure a consistent hem allowance. Press the raw edge of the hem allowance up by a quarter or half an inch, then press it up again by the full hem allowance, encasing the raw edge. This creates a neat, double-folded hem. You have several options for stitching the hem: for a quick and durable finish, machine stitch close to the folded edge. For a nearly invisible hem, use a blind hem stitch on your sewing machine or, for the most discreet finish, hand-sew with a slip stitch. Whichever method you choose, ensure your stitches are even and secure. A beautifully hemmed dress signifies attention to detail and completes your garment with finesse, making it truly ready to wear and admire.
Should you encounter any challenges or have questions at any point during your dressmaking journey, please don’t hesitate to reach out! Feel free to ask me directly in the comment section below, or send an email to [email protected]. We’re here to support your creative endeavors.
We are incredibly excited to see your creations! How did your elegant, Kate Middleton-inspired dress turn out? Share your finished garment with our vibrant community!