
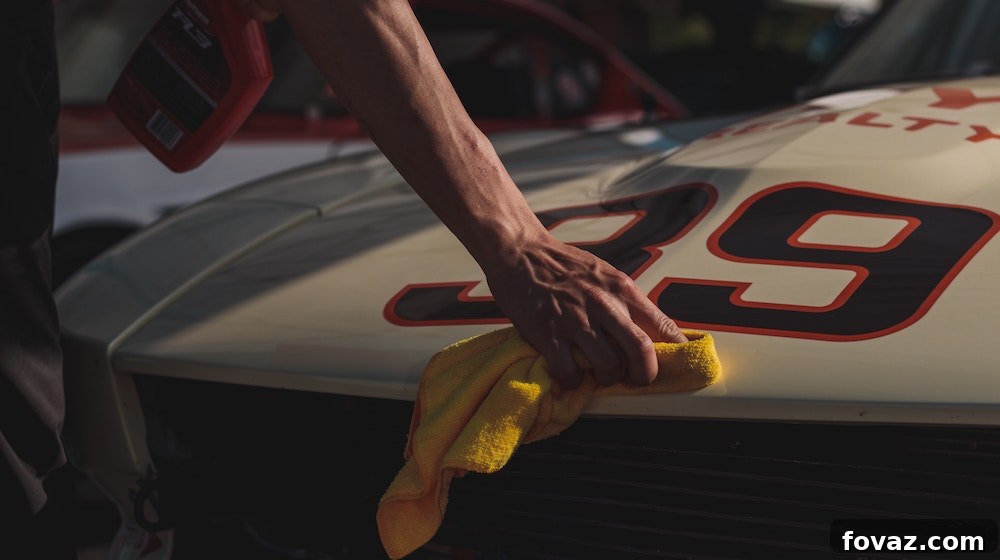
Tired of expensive car wash bills and the feeling of detachment from your own vehicle’s care? While automated car washes offer convenience, they often fall short in delivering a truly meticulous clean and can drain your wallet over time. More importantly, they prevent you from truly understanding the nuances of your car’s condition and needs. It’s time to take control! Discover the satisfaction and savings that come with personally caring for your vehicle. By learning simple, effective techniques, you can achieve a showroom-ready shine right in your driveway, giving your car the proper maintenance and attention it deserves.
Mastering DIY Car Cleaning: Your Ultimate Guide to a Sparkling Ride at Home
Skip the Carwash: Achieve a Professional Clean Without the Cost
Taking personal charge of your car’s cleanliness is more than just a chore; it’s an investment in your vehicle’s longevity and appearance, and a significant boost to your bank account. Regular, hands-on cleaning allows you to spot potential issues early, maintain its resale value, and foster a deeper connection with your ride. You’ll be surprised at how enjoyable and rewarding the process can be, transforming what might seem like a daunting task into a fulfilling activity. We’ve compiled a list of ingenious tips and hacks that make cleaning your car at home incredibly easy and budget-friendly, ensuring you get a professional-level finish without breaking the bank.
1. Polish Headlights to Perfection with Toothpaste.
Over time, your car’s headlights can become cloudy and yellowed due to oxidation, drastically reducing visibility and detracting from your vehicle’s aesthetic appeal. Before you consider costly restoration kits or replacements, try a common household item: toothpaste! The mild abrasive properties in standard toothpaste are surprisingly effective at buffing away the oxidized layer, restoring clarity to your headlight lenses. Simply apply a small amount of toothpaste to a soft cloth or sponge, rub it onto the headlight in circular motions, and then rinse thoroughly. You’ll be amazed at how this simple trick can significantly improve light output and make your car look years younger. For a detailed step-by-step guide, check out this tutorial on Instructables.
2. Banish Stubborn Pet Hair with Just a Squeegee and Water.
For pet owners, the joy of having furry companions often comes with the challenge of persistent pet hair clinging to car upholstery. Vacuuming alone often isn’t enough to tackle deeply embedded strands. Don’t fret! A simple squeegee and a spray bottle of water can be your secret weapon. Lightly mist the hairy areas with water – just enough to dampen, not soak – then drag the squeegee across the fabric in one direction. The rubber blade creates friction and static, gathering the hair into clumps that can be easily picked up or vacuumed. This method is incredibly effective for carpets and cloth seats, saving you time and frustration. Learn more about this surprisingly effective hack and other car cleaning revelations by visiting this insightful post.
3. Optimize Your Cleaning Flow: Always Go Top-Down.
Efficiency is key when cleaning your car, and a systematic approach can save you significant time and effort. A fundamental rule for any thorough cleaning job, especially for your car, is to always work from the top downwards. This principle applies to both the exterior and interior. When washing the exterior, start with the roof, then move to the windows, side panels, and finally the wheels and lower body. For the interior, begin with the headliner, then the dashboard, seats, and finally the floor and mats. This ensures that dirt, dust, and cleaning solution runoff are directed downwards, preventing you from having to re-clean already sparkling areas. Following a top-down approach minimizes drips, streaks, and the spread of grime, leading to a more effective and satisfying clean. Discover more professional detailing tips and systematic cleaning strategies here to refine your DIY car care routine.
4. Tackle Interior Dust: Vacuum Vents as You Clean.
Your car’s air vents are notorious for accumulating dust, allergens, and small debris, which can then be circulated throughout the cabin every time your heating or air conditioning is on. A clean interior isn’t just about aesthetics; it’s about air quality. While you’re vacuuming the rest of your car’s interior, make it a point to specifically address these often-overlooked areas. Use a soft-bristle brush attachment on your vacuum cleaner to gently dislodge dust from the vent slats, then immediately vacuum it up. For deeper cleaning, you might even use a can of compressed air to blow out stubborn particles, followed by another pass with the vacuum. This simple step vastly improves the air you breathe inside your car and keeps your cabin feeling fresh. Get more valuable car cleaning insights and techniques for maintaining a pristine vehicle interior by clicking here.
5. Detail Narrow Areas with an Old Toothbrush.
While your vacuum and larger brushes handle the broad surfaces, many intricate parts of your car’s interior remain untouched. Think about the seams of your dashboard, the crevices around gear shifts, radio buttons, door handles, and cup holders. These narrow spaces are magnets for dust, crumbs, and sticky residue. This is where an ordinary toothbrush becomes an indispensable detailing tool. Its small head and soft bristles are perfect for reaching into tight spots where cloths or sponges simply can’t go. Use it dry to brush away dust, or lightly dampened with an interior cleaner to scrub away grime. This attention to detail will elevate your car’s cleanliness from merely “clean” to “spotless,” making a noticeable difference in its overall appearance.
6. Achieve Crystal Clear Vision: Clean Your Windshield with Steel Wool and Glass Cleaner.
Are you constantly battling a hazy windshield that even repeated wiping can’t seem to clear? Over time, road film, sap, and hard water spots can build up, creating a stubborn residue that impairs visibility. For a truly sparkling, streak-free windshield, professional detailers often turn to an unexpected tool: very fine grade steel wool (specifically #0000 or “super fine”). When used correctly with a high-quality glass cleaner, the steel wool gently abrades away embedded contaminants without scratching the glass.
First, ensure your windshield is clean of loose dirt. Then, spray your favorite automotive glass cleaner generously. Lightly rub the #0000 steel wool over the glass in overlapping sections, using minimal pressure. The key is gentle, even strokes. Immediately follow up by wiping with a clean microfiber cloth to remove any residue. The results are astounding, providing unparalleled clarity and improved driving safety. However, exercise extreme caution and always test a small, inconspicuous area first, ensuring you use only the finest grade steel wool. Watch this helpful video for a visual demonstration of this technique.
7. Reach Every Hidden Cranny: Use a Screwdriver and Cloth for Nooks.
Some areas in your car’s interior are so tight and deep that even a toothbrush struggles to reach them effectively. These include the gaps around seat rails, dashboard seams, air vent vanes, and the very edges of various trim pieces. For these exceptionally challenging spots, a simple screwdriver, when used carefully, can become a precision detailing tool. Wrap a clean, soft microfiber cloth around the tip of a flathead screwdriver, securing it tightly. You can dampen the cloth with an all-purpose interior cleaner for more stubborn grime. Gently insert the cloth-wrapped tip into the narrow crevices and along the edges, using it to dislodge and wipe away accumulated dirt. The firm but pliable tip allows you to access and clean areas that would otherwise remain untouched, ensuring every square inch of your interior is pristine. Discover more about this clever hack and other ingenious cleaning solutions for those hard-to-reach spots here.
8. Revitalize Your Car Ceiling with a Microfiber Cloth.
The headliner, or car ceiling, is often overlooked during routine cleaning, yet it can accumulate dust, nicotine stains, and other marks that affect the freshness of your interior. Cleaning this delicate surface requires a gentle touch and the right tools. A microfiber cloth is an ideal choice because of its soft texture and superior ability to lift dirt without being overly abrasive. Begin by vacuuming the headliner gently with a brush attachment to remove loose dust. Then, lightly dampen a clean microfiber cloth with a dedicated fabric or upholstery cleaner, or a very mild all-purpose cleaner diluted with water. Avoid saturating the cloth. Gently dab and wipe the headliner in small sections, working from the center outwards to prevent creating water rings. This careful approach helps to remove stains and refresh the fabric, making the entire interior feel cleaner and more inviting. For comprehensive instructions on effectively cleaning your car’s ceiling and preserving its delicate material, refer to this detailed guide on WikiHow.
9. Discover the Secret Power of Coffee Filters for Interior Dusting.
Who would have thought that a simple coffee filter, usually reserved for your morning brew, could be a secret weapon in your car cleaning arsenal? Unlike paper towels or many cloths, coffee filters are virtually lint-free, making them perfect for dusting and polishing sensitive interior surfaces. Use a dry coffee filter to gently wipe down your dashboard, instrument panel, navigation screen (if applicable), and other plastic or vinyl surfaces. They excel at picking up fine dust and leave behind no annoying fibers or streaks. They are also excellent for cleaning interior glass and mirrors, providing a crystal-clear, streak-free finish that cotton cloths often struggle to achieve. This inexpensive and readily available item is a fantastic eco-friendly alternative for quick touch-ups and maintaining a pristine interior. Unlock more creative uses for everyday items in car cleaning with these amazing details from Lifehacker.
10. The Final Touch: Ensure a Lasting Shine.
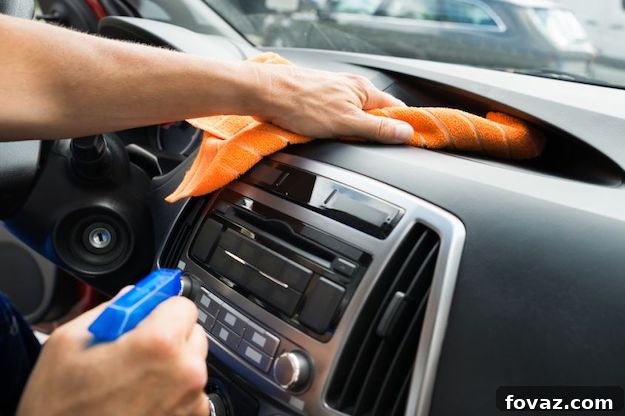
After all your hard work cleaning, don’t let your efforts go unnoticed! The final step in any thorough car cleaning routine is to protect your paintwork and enhance its shine. Applying a protective layer not only makes your car look spectacular but also shields it from environmental contaminants, UV rays, and minor abrasions, making future cleanings easier. Whether you opt for a traditional car wax, a synthetic sealant, or a quick detailer spray, this step is crucial for achieving that “just washed” gleam. Don’t forget to treat your tires with a good tire shine product to complete the polished look. A shiny, well-protected car speaks volumes about your care and attention to detail, and it’s incredibly satisfying to see the fruits of your labor glisten under the sun. Learn how to achieve a brilliant, long-lasting shine using easily accessible household products with this fantastic tutorial from Sekine Motors.
Need More Visual Guidance? Watch This Comprehensive Car Cleaning Video:
As you can see, giving your car a thorough, professional-level clean doesn’t have to be a daunting or expensive task. With a little time, the right techniques, and a few clever hacks, you can achieve remarkable results right at home. Beyond the monetary savings, there’s immense satisfaction in personally caring for your vehicle and seeing it sparkle. It’s an opportunity to transform a routine chore into a rewarding activity that leaves you with a cleaner, fresher, and more appreciated automobile. We truly hope these tips and tricks prove useful in your journey to mastering DIY car detailing!
Ready for More DIY Inspiration? Explore These Creative Hacks:
Click here for more exciting DIY hacks.
You’ll also love these related DIY projects:
11 DIY Painting Tricks For A Successful Home Transformation
DIY Wood Projects | 3-Step Crate Shelves For All Your Storage Needs
15 Insanely Innovative DIY Projects You Can Have With Paper Binder Clips
Featured Image Source