
How to Create Stunning No-Sew Curtains: An Easy DIY Tutorial
Are you dreaming of beautifully dressed windows but feel intimidated by a sewing machine? Do you wish for a quick and cost-effective way to refresh your home decor? Look no further! This comprehensive guide will walk you through the magical world of no-sew curtains, allowing you to transform any space with custom window treatments without a single stitch. Forget needles, threads, and complex patterns – this project is designed for everyone, regardless of crafting experience. Get ready to discover how effortlessly you can achieve designer-look curtains using just fabric and one ingenious tool.
Why Choose No-Sew Curtains for Your Home Makeover?
The allure of no-sew curtains extends far beyond their simplicity. For busy individuals, budget-conscious decorators, or anyone new to DIY projects, this method offers unparalleled advantages. First and foremost, speed is a major factor. You can measure, cut, and hang beautiful new curtains in a single afternoon, instantly updating the look and feel of a room. Secondly, it democratizes home decor, making custom window treatments accessible to everyone. No longer do you need specialized skills or expensive equipment; all you need is a vision and the right materials. This approach allows for incredible flexibility in fabric choice, letting you match your curtains perfectly to your existing interior design or experiment with bold new styles. Embrace the freedom to create personalized accents that truly reflect your taste, all while saving money on custom-made alternatives.
Essential Materials for Your No-Sew Curtain Project
Before you embark on your creative journey, gathering the right supplies is crucial. The beauty of no-sew curtains lies in their minimal material requirements, making this a truly accessible DIY endeavor. Here’s what you’ll need to achieve professional-looking results:
- Your Dream Fabric: This is where your personal style shines! Choose a fabric that complements your room’s aesthetic. Opt for materials like cotton, linen, broadcloth, or even burlap for a rustic touch. Consider the weight and drape – lighter fabrics are generally easier to work with, but a slightly stiffer fabric can provide more structure. Ensure you purchase enough fabric to account for your window measurements, plus extra for hems and potential pattern matching.
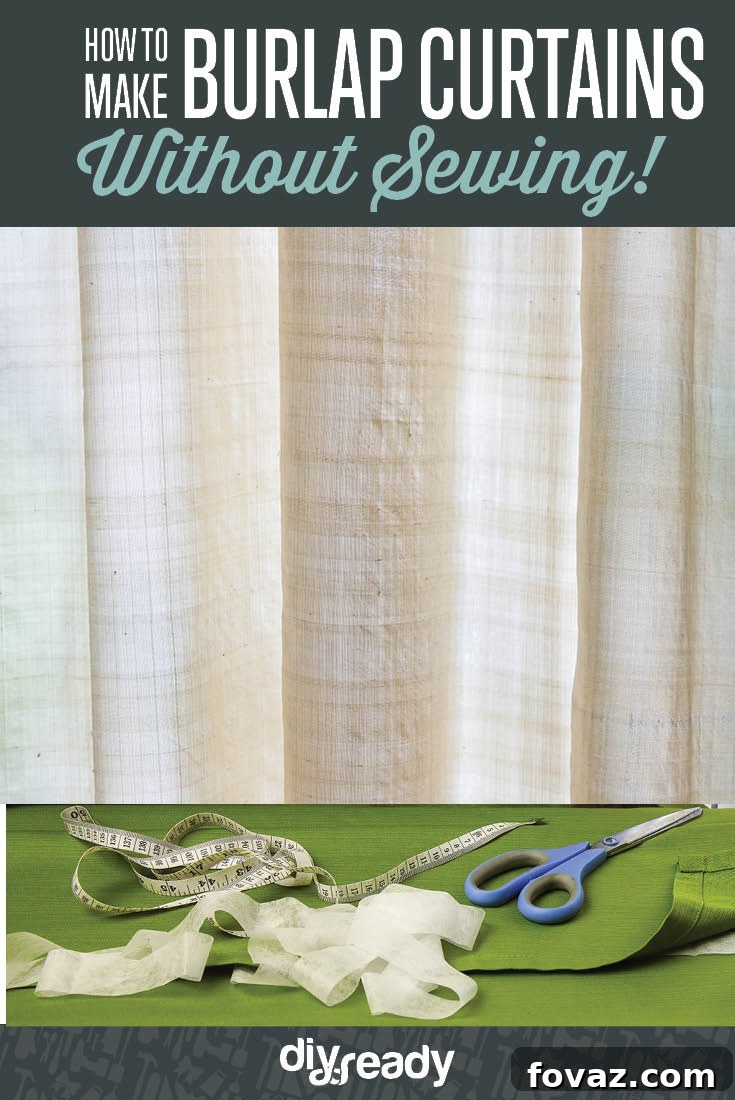
- The “Magic Ingredient”: Fusible Hem Tape: This adhesive wonder is the heart of any no-sew project. Available in various widths, hem tape creates a strong, durable bond when activated by heat. It replaces traditional stitching, providing a clean, crisp hemline. Look for brands that offer strong adhesion and are suitable for your chosen fabric type.
- Sharp Scissors: A good pair of fabric scissors will ensure clean, straight cuts, which are essential for a polished finish.
- Measuring Tape or Yardstick: Accurate measurements are key! A flexible tape measure is ideal for fabric, while a yardstick can help with marking straight lines.
- Iron and Ironing Board: Heat is what activates the hem tape, so a reliable iron is non-negotiable. An ironing board provides a flat, stable surface for precise application.
- Pencil or Fabric Marker: For marking cutting lines and hem folds on your fabric.
- Straight Pins (Optional but Recommended): These can help hold hems in place temporarily before applying the hem tape, ensuring everything stays aligned.
Step-by-Step Guide: Crafting Your Perfect No-Sew Curtains
With your materials ready, let’s dive into the simple yet rewarding process of creating your own no-sew curtains. Follow these easy steps, and you’ll have beautiful window treatments in no time.
Step 1: Accurately Measure Your Windows
Begin by deciding how high and wide you want your curtains to be. For a standard look, curtains should extend at least 4-6 inches beyond the window frame on each side and 6-12 inches above the frame. For length, decide if you want them to just skim the floor, puddle slightly, or end at the windowsill. Measure the desired finished width and length for each curtain panel. Remember, you’ll need to add extra fabric for hems: typically 1-2 inches for side hems, 2-3 inches for the top (for a rod pocket or clip-ring attachment), and 3-6 inches for the bottom hem, depending on your preference for a weighty drape.
Step 2: Prepare and Cut Your Fabric
Before cutting, iron your fabric to remove any wrinkles or creases, ensuring a smooth surface for accurate measurements. Lay your fabric flat on a large surface. Using your measurements, mark the cutting lines for each panel, adding the extra inches for all four hems. Carefully cut your fabric panels using sharp scissors. Take your time to ensure straight, even cuts.
Step 3: Create the Side Hems
Fold in each raw side edge of your fabric panel by about 1 inch. Press firmly with your iron to create a crisp crease. Then, open the fold, lay a strip of hem tape along the crease, and refold the fabric over the tape. Press firmly with a hot iron, holding it in place for the recommended time (check hem tape instructions) to activate the adhesive. Repeat this process for the other side of each curtain panel. This creates clean, finished edges that prevent fraying.
Step 4: Form the Top Rod Pocket or Hanging Mechanism
For a rod pocket: Fold down the top edge of your fabric panel by 1 inch and press. Then, fold it down again by approximately 2-3 inches (or enough to accommodate your curtain rod), creating a channel. Insert hem tape along the raw edge of this second fold, or along the inside of the channel, and press thoroughly with your iron. Ensure the channel is wide enough for your curtain rod to slide through easily. If you plan to use clip rings or grommets, simply create a 2-3 inch double-folded hem at the top as described for the sides, pressing the hem tape to secure it. You can then attach clip rings or install no-sew grommets.
Step 5: Finish the Bottom Hem
Decide on your desired curtain length and mark it. Fold up the bottom raw edge of your fabric panel by 1 inch and press. Then, fold it up again by 3-5 inches (or your desired bottom hem allowance) to create a substantial bottom hem, which often helps curtains hang nicely. Insert hem tape along the raw edge of this second fold and press firmly with your iron until the adhesive is activated and the hem is securely bonded. A wider bottom hem adds weight and a more luxurious finish to your curtains.
Step 6: Hang and Admire Your New Curtains!
Once all hems are securely bonded and the fabric has cooled, your no-sew curtains are ready to hang! Thread your curtain rod through the rod pocket, or attach clip rings to the top hem. Step back and admire your handiwork. You’ve just created beautiful, custom window treatments without a single stitch, enhancing your home with a personal touch!
Visual Learning: Watch the No-Sew Curtain Tutorial
Sometimes, seeing is believing! To complement these step-by-step instructions and provide an even clearer understanding, we’ve prepared a detailed video tutorial. Watch as we demonstrate each stage of the no-sew curtain creation process, offering tips and tricks to ensure your project is a resounding success. Hit play and follow along – it’s that simple to kickstart your home makeover!
Beyond the Basics: Customizing Your No-Sew Curtains
The beauty of DIY lies in personalization. While this tutorial focuses on the fundamental no-sew curtain technique, the possibilities for customization are endless. Experiment with different fabric patterns and textures – from bold geometrics to delicate florals, or even textured burlap for a farmhouse feel. Consider adding decorative elements like ribbon trim, pom-pom fringes, or even iron-on appliques for extra flair. These can be secured with fabric glue or additional hem tape. You can also explore various hanging methods beyond a simple rod pocket, such as using clip rings for a more formal look or tie-backs to gather your curtains and let in more light. Let your creativity guide you in making your no-sew curtains truly unique to your home.
Transforming Your Home with DIY Decor
Creating your own no-sew curtains is just the beginning of what you can achieve with DIY home decor. There’s immense satisfaction in looking around your living space and knowing that you’ve personally crafted elements that make it special. DIY projects empower you to create a home that truly reflects your personality and style, something store-bought items often fail to do. Beyond the aesthetic appeal, embracing DIY can be incredibly rewarding for your wallet. Custom decor can be pricey, but by taking on projects like these, you save money while gaining valuable skills. This sense of accomplishment and the ability to design your dream home, piece by piece, is a powerful motivator to continue exploring the world of handmade crafts.
Embark on Your Comprehensive Home Makeover Journey
This no-sew curtain tutorial is just a glimpse into the vast world of home transformation we offer. We believe everyone deserves to live in a space they love, filled with items that bring joy and comfort. Our full online course guides you through every aspect of home decor, from understanding your personal interior style to mastering various sewing and no-sew techniques for curtains, pillows, and more. Imagine creating a cohesive, stylish environment that looks professionally designed but is, in fact, 100% handmade by you! The feeling of pride you’ll experience is truly invaluable.
CLICK HERE to Discover Our Next Exciting Lesson >>
<< CLICK HERE to Return to the HOW TO MAKE CURTAINS COURSE Home Page
The DIY Projects Community: Connect and Create
This lesson is a bonus addition to our extensive “How to Make Curtains Online Course,” part of our free Home Makeover Tutorials package. Our mission is to inspire and equip you with the skills to fill your home with incredible handmade crafts. We hope these ideas ignite your passion for redecorating and encourage you to manifest your dream living space. Picture a home beautifully personalized, decorated exactly to your preferences, where every corner tells a story of your creativity. Here at DIY Projects, we’re dedicated to fostering dreams and nurturing craftiness in every aspect of life. Join our vibrant community to stay connected and inspired! Follow us on our social media channels for daily doses of inspiration, new tutorials, and the chance to share your own amazing creations. You can find us on Facebook, Pinterest, Instagram, and Twitter. Let’s create something beautiful together!
Continue Your Learning: More Tutorials Await!
The journey to a beautifully decorated home is ongoing, and we’re here to support you every step of the way. There are many more fantastic tutorials waiting for you in our “How to Make Curtains Series” and beyond. Don’t miss out on unlocking more secrets to stunning home decor. Simply click the “Next” link above to advance to the next lesson or navigate back to the Table of Contents to explore all the exciting projects we have in store. Happy crafting!