
At a Glance: Make a Classic Spiral Tie Dye Shirt (Non-Toxic Paint)
- Skill Level: Super Easy (Perfect for kids and beginners!)
- About 30 minutes of active crafting (plus overnight waiting time)
- Recreate a bright, retro rainbow spiral using safe, non-toxic materials.
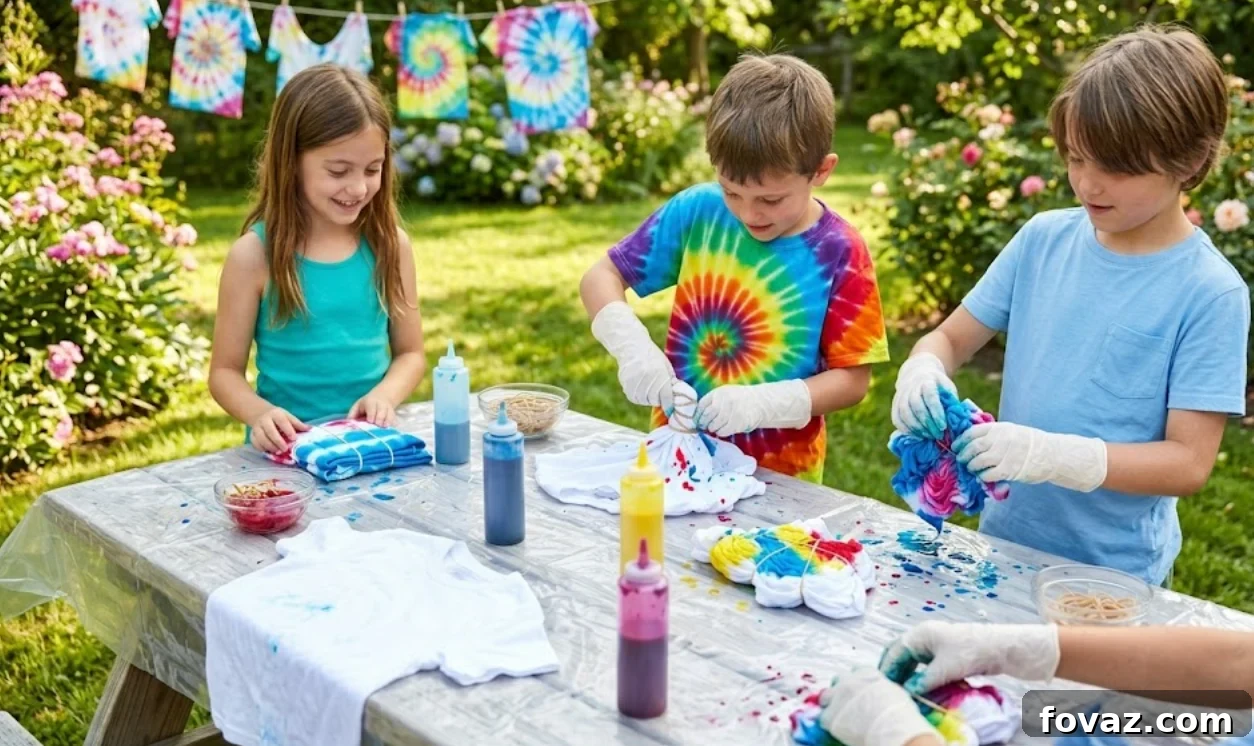
Summer is here—time to get outside, enjoy the sun, and try a fun backyard craft. A classic spiral tie-dye shirt is colorful, loud, and a great project to do with kids or friends. This easy tie dye shirt kids tutorial will walk you through creating that mesmerizing rainbow spiral using non-toxic fabric dye. Gather your supplies, head outdoors, and let’s start twisting!
The Supply List
Collect everything before you begin to keep the project safe and tidy. Preparing ahead makes the process smoother and clean-up faster.
- White T-shirts: 100% cotton works best because it absorbs dye more evenly.
- Tie-Dye Kit: Choose kits with water-based, non-toxic fabric dyes suitable for children.
- Rubber Bands: Create the spiral sections and hold the pattern in place.
- Plastic Squeeze Bottles: Provide control for applying colors precisely.
- Protective Gear: Rubber gloves to protect hands and a plastic tablecloth to keep your surface clean.
- Ziploc Bags: One per shirt to let the dye set while it bonds to the fabric.
How to Mix the Dye (Kid-Approved Method)
Many kid-friendly kits come with dry dye already in the squeeze bottles. Prepare them with these simple steps so the colors are ready to use.
- Fill: Remove the cap and add warm water up to the fill line.
- Cap: Screw the nozzle cap on tightly—double-check this to avoid spills.
- Shake: Have the kids shake the bottles like maracas for about 60 seconds until the powder is fully dissolved.
How to Make Tie Dye Shirt Kids Tutorial
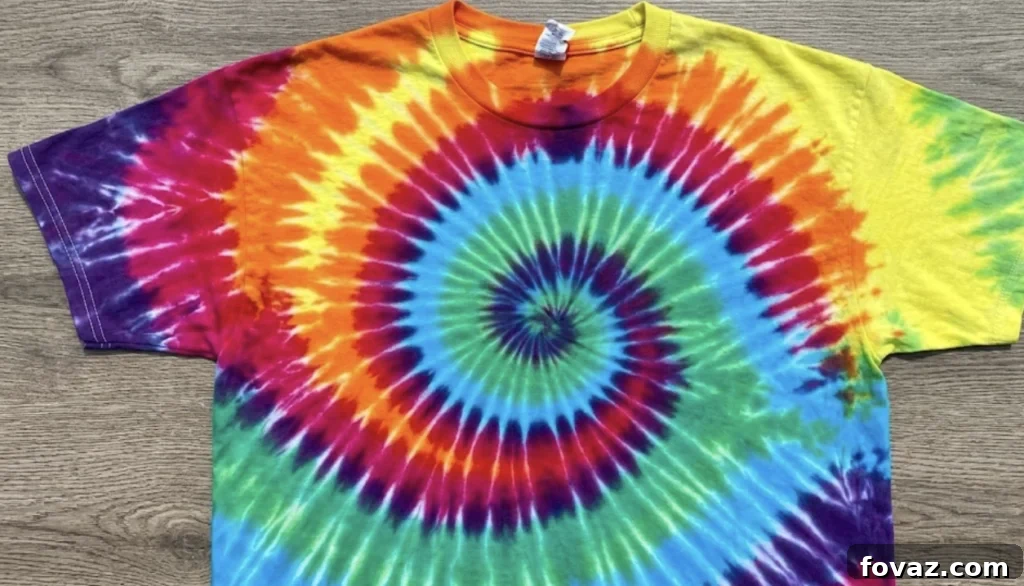
Follow these clear steps to twist, band, and color your shirt into a spiral masterpiece.
Step 1: Prep and Dampen
Start with a clean, damp t-shirt. Wetting the fabric helps the dye penetrate evenly. Lay the shirt flat on your covered work surface.
Step 2: The Big Pinch and Twist
Find the center point of the shirt—usually the middle of the chest. Pinch that spot with your thumb and finger and twist the fabric clockwise until it forms a tight, round disk resembling a cinnamon roll.
Step 3: Band It Together
Place rubber bands across the fabric disk to create wedge-shaped sections, like pizza slices. Use three or four bands to form six to eight wedges. The bands keep the spiral tight and separate the color areas.
Step 4: Squeeze Your Rainbow!
Set an old wire baking rack over the plastic-covered surface and place the bundled shirt on top. This prevents the shirt from sitting in pooled dye and keeps colors from muddying.
- Match Colors to Slices: Each wedge formed by the rubber bands gets its own color.
- Aim, Squeeze, and Soak: Put on gloves, hold a squeeze bottle over a wedge, and apply dye so it penetrates the folds. Saturate each section to avoid large white areas.
- Follow the Rainbow Order: For a classic spiral, work around the circle in rainbow sequence:
- Slice 1: Red
- Slice 2: Orange
- Slice 3: Yellow
- Slice 4: Green
- Slice 5: Blue
- Slice 6: Purple
- Flip and Repeat: After saturating the top, carefully flip the disk and apply the same colors to the corresponding wedges on the back so the pattern matches both sides.
Step 5: Let It Rest and Rinse
Place the dyed shirt in a sealed Ziploc bag and let it sit at least 6–8 hours, or overnight for best results. This resting time helps the dye bond with the cotton. Afterward, an adult should rinse the shirt in cold water until it runs clear, then wash it by itself for its first cycle.
Wrapping Up the Fun
Once washed and dried, your shirt becomes a wearable piece of art perfect for warm weather. Tie-dye embraces individuality—no two shirts are identical—so enjoy the unique result and wear it with pride.
FAQs Classic Spiral Tie Dye Shirt
What kind of paint or dye is safest for kids?
Choose water-based, non-toxic fabric dyes labeled safe for children. Avoid acrylic paints, which are not suitable for dyeing fabric and won’t produce the desired results.
Why did my tie-dye colors fade so fast?
Colors may fade if the shirt isn’t 100% cotton or if the dye wasn’t left to set long enough. Always let the dyed shirt rest for at least 6–8 hours before rinsing, and follow the kit’s care instructions.
Can I do this project indoors?
You can, but outdoor work is recommended. If you must work indoors, cover the area thoroughly with heavy plastic or disposable coverings to protect surfaces from stains.