
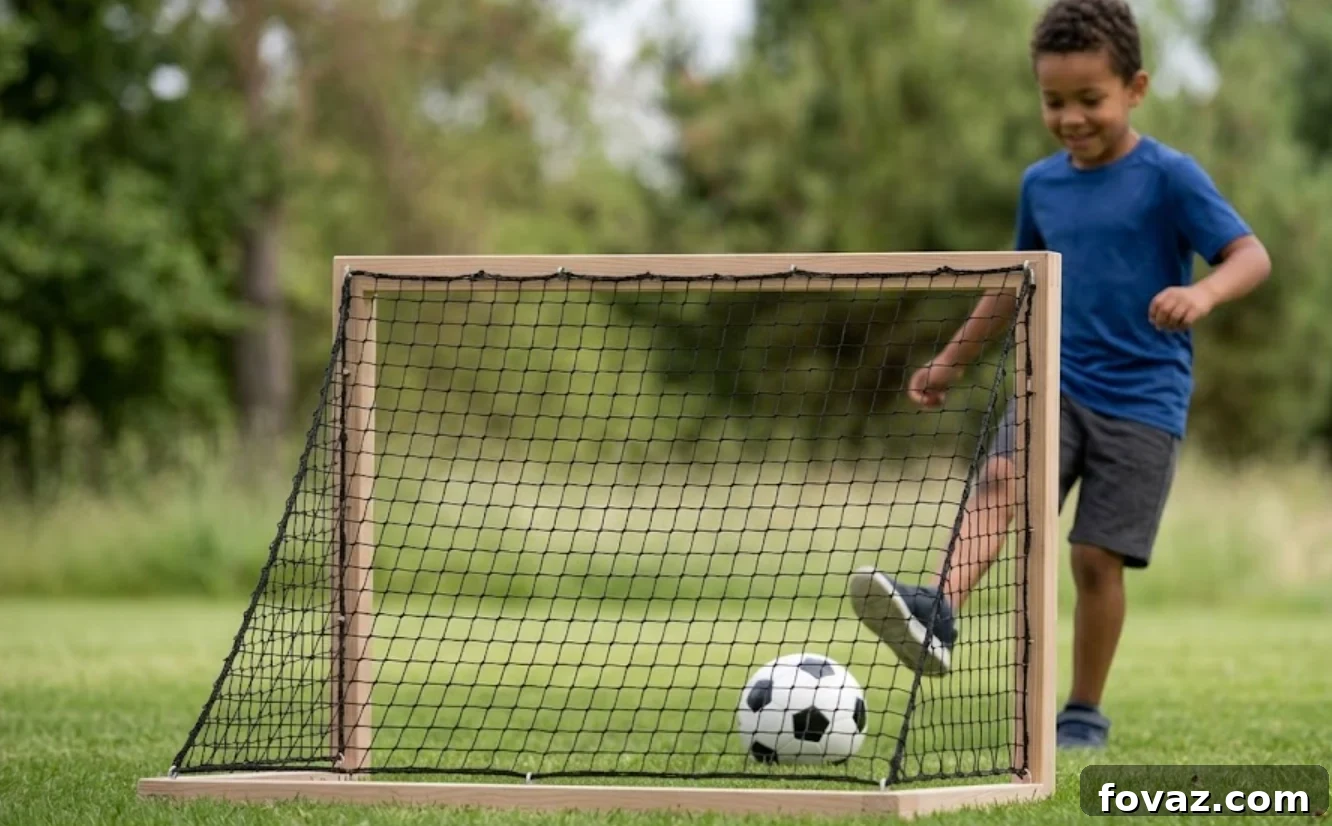
At a Glance: DIY Sports Goal for Kids
- Skill Level: Beginner to Intermediate — an ideal first carpentry project for families.
- Time Required: 3 to 4 hours — a simple weekend build.
- What This Guide Includes: Precise, waste-minimizing cut lists, clear step-by-step assembly phases, and family-friendly tasks so kids can help safely.
Cheap plastic goals often break after just a few uses. A strong kick, a stray puck, or a gust of wind can leave you sweeping up shards and tossing another toy into the trash. This guide shows you how to build a durable wooden sports goal that lasts, looks good in the yard, and can be assembled with basic tools and affordable lumber.
Constructed from exterior-grade 2x4s and 1x4s, this backyard goal is robust enough for soccer, lacrosse, and casual hockey, yet light enough to move when you need to mow. The design emphasizes straightforward cuts, straightforward fastenings, and a netting method that keeps the ball contained. Best of all, it’s a family project that kids can join safely for tasks like measuring, holding pieces, stapling netting, and sanding.
🪵 Materials & Tools List
Materials
- Frame Lumber (2×4 studs): 3 pieces of 2×4 x 8′ exterior-grade lumber (pressure-treated or cedar recommended for weather resistance).
- Base Rails (1×4 boards): 1 piece of 1×4 x 8′ exterior-grade board for bottom rails.
- Netting: 1 roll of 4′ x 10′ heavy-duty nylon sports netting or wire poultry netting (chicken wire) depending on desired durability.
- Fasteners:
- 2-1/2″ exterior screws (for 2×4 connections)
- 1-1/4″ exterior screws (for 1×4 attachments)
- Heavy-duty staples or U-shaped poultry staples to secure the netting
- Finishing: Low-VOC exterior clear sealer or outdoor paint for weatherproofing and a safe finish.
Tools Needed
- Miter saw or circular saw for accurate cuts
- Power drill and driver bits
- Pocket-hole jig (optional for hidden joints)
- Staple gun for net attachment
- Tape measure, pencil, and speed square for layout
📐 The Complete Cut List
Cutting with precision reduces waste and keeps costs down. Follow this list to get all the pieces from three 8′ 2x4s and one 8′ 1×4:
| Board Type | Target Part | Qty | Length | Cut Notes |
| 2×4 x 8′ Stud #1 | Front Vertical Posts (A) | 2 | 36″ | Clean, square cuts |
| 2×4 x 8′ Stud #2 | Top Crossbar (B) | 1 | 51″ | Clean, square cut |
| 2×4 x 8′ Stud #3 | Diagonal Braces (C) | 2 | 39-1/8″ | Parallel 23° miter cuts on both ends |
| 1×4 x 8′ Board | Side Bottom Rails (D) | 2 | 18-3/4″ | Square cuts |
| 1×4 x 8′ Board | Back Bottom Rail (E) | 1 | 51″ | Square cuts |
🔨 Step-by-Step Family Build Guide
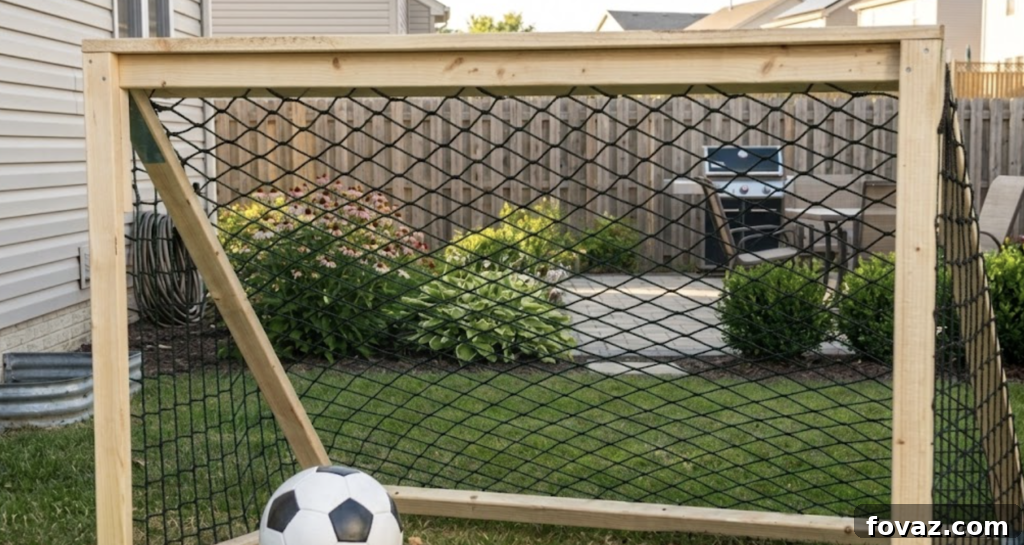
Phase 1: Cutting and Angling
Step 1.1: Cutting the Straight Pieces
- Kids/Collab Task: Measure and mark the two 36″ front posts, the 51″ top crossbar, and the bottom rails (18-3/4″ and 51″) with a pencil and tape measure. Double-check measurements together to teach accuracy.
- Adult Task: Use a miter saw or circular saw to make clean, square cuts on those marked pieces. Keep cuts square for proper fit and stability.
Step 1.2: The Diagonal Miter Cuts
- Adult Task: Set the saw to 23°. Make a miter cut on one end of the third 2×4, measure 39-1/8″ from the long point of that cut, and make a matching 23° cut on the other end. Repeat for the second brace. These diagonals provide rear support and help the goal stand up to impact.
- Fit Check: Lay each diagonal flat to confirm the ends sit flush against the vertical post and the ground line before fastening.
Phase 2: Assembling the Frame
Step 2.1: Building the Front Face
- Kids/Collab Task: Lay the two 36″ front posts on the ground and place the 51″ crossbar across the top, aligning outer corners flush.
- Adult Task: Drill pilot holes through the crossbar into each vertical post and fasten with two 2-1/2″ screws per side for a solid front face.
Step 2.2: Attaching Bottom Side Rails
- Kids/Collab Task: Hold the 18-3/4″ side rails in place along the bottom outer edges of the vertical posts.
- Adult Task: Fasten the side rails with 1-1/4″ screws, ensuring the rails sit flush with the bottom of the posts so the goal rests evenly on the ground.
Step 2.3: Adding the Back Rail & Diagonals
- Kids/Collab Task: Position the 51″ back rail between the side rails at the rear of the frame.
- Adult Task: Screw the side rails into the back rail with 1-1/4″ screws. Slide the diagonal braces inside the side rails, then secure their top ends to the front posts and bottom ends to the back rail and corners using 2-1/2″ screws.
Phase 3: Netting & Finishing
Step 3.1: Stretching the Net
- Kids/Collab Task: Unroll the netting and work together to stretch it across the back triangle and sides. Having multiple hands helps keep the net tight and even.
- Adult Task: Use a staple gun to attach the net to the wood every 4 to 6 inches. Trim excess netting neatly with wire cutters or heavy-duty scissors for a tidy, safe finish.
Step 3.2: Sanding & Weatherproofing
- Kids/Collab Task: Let kids sand rough edges with sanding blocks under supervision, then help wipe dust away.
- Adult Task: Apply a low-VOC exterior clear sealer or outdoor paint to protect the wood from moisture and UV. Allow adequate drying time before play.
FAQs — DIY Sports Goal Woodworking Project
1. Can I use PVC instead of wood?
PVC is lightweight and inexpensive, but it becomes brittle under prolonged sun exposure and can break under strong impact. Wood offers greater durability, easier repairs, and better resistance to high-velocity shots.
2. What netting works best?
UV-resistant nylon sports netting combines durability with a forgiving surface for balls. For heavier-duty use, poultry wire is long-lasting but less forgiving to touch. Choose based on the sport and how much contact the net will get.
3. How do I prevent tipping on hard shots?
This portable goal can be anchored with metal U-shaped garden staples over the back rail or stabilized by placing a sandbag across the rear rail to keep it from tipping forward during play.
4. Can I scale this up to a full-size goal?
Yes. If you increase the width significantly, upgrade the bottom rails from 1×4 to 2×4 and consider adding a center support on the back rail to prevent sagging and maintain structural integrity.
5. How can I protect the wood from ground moisture?
Use pressure-treated lumber or rot-resistant cedar. Adding small plastic glides or outdoor rubber strips to the bottom rails lifts the wood off wet grass slightly and improves airflow, extending the life of the goal.