
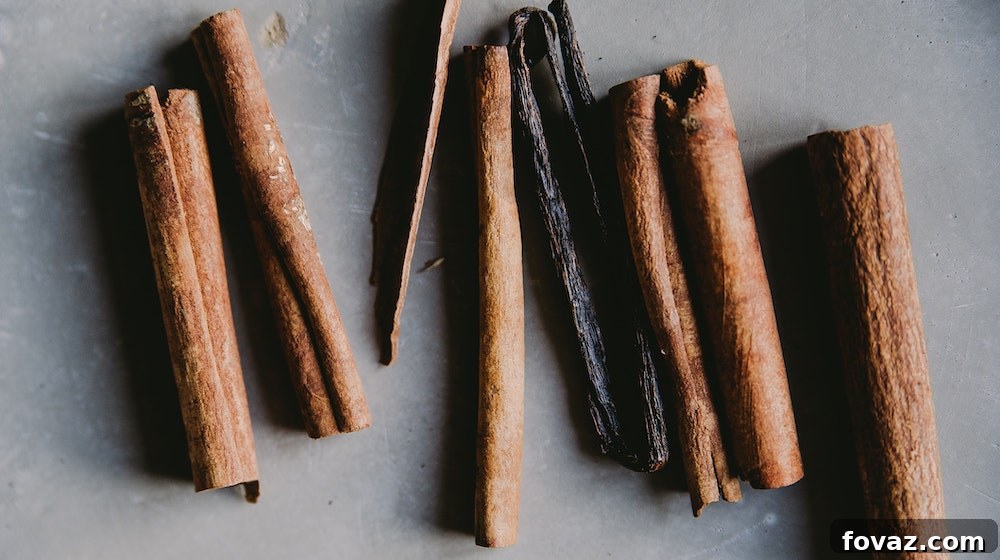
Unlock the secret to creating your own exquisite vanilla extract right in your kitchen! While premium vanilla extract can often come with a hefty price tag at the grocery store, crafting it yourself from scratch is an incredibly rewarding and surprisingly simple endeavor. Not only is it a cost-effective alternative, but it also offers unparalleled flavor depth and quality that store-bought versions often lack. If you’re ready to elevate your baking and cooking with a truly artisanal ingredient, then continue reading. We’ll guide you through a straightforward, easy-to-follow homemade vanilla extract recipe that promises a rich, aromatic, and deeply satisfying result. Prepare to transform simple vanilla beans and alcohol into a culinary essential that will impress both your palate and your wallet.
How To Make Vanilla Extract: Your Ultimate Guide
Homemade vanilla extract is more than just an ingredient; it’s a labor of love that brings a profound depth of flavor to countless dishes and beverages. Its versatility extends far beyond the kitchen, making it a valuable addition to your pantry for various other uses. Primarily, vanilla extract serves as a cornerstone for flavoring food, from delectable baked goods and creamy desserts to savory sauces and marinades. Beyond culinary applications, some traditions hail vanilla extract for its potential as a home remedy, believed by some to aid in alleviating minor ailments such as fever and intestinal gas. Furthermore, the soothing properties of vanilla have found a place in homemade skincare recipes, contributing its delightful aroma and gentle touch. This guide will not only show you how to create this essential ingredient but also inspire you with its myriad possibilities. Imagine little bottles of your very own artisanal vanilla extract, perfect for thoughtful and impressive gifts during the holiday season or any special occasion!
We have a treat for you homesteaders today: a compilation of natural remedies straight from your ‘stead! These alternatives are safe for you, your kids, and your pets. Head on over to our site (link in bio) to see how they can benefit you 🍋
A post shared by Homesteading (@homesteadingusa) on
Essential Ingredients & Tools for Homemade Vanilla Extract
Before you embark on this delightful journey of crafting your own vanilla extract, gathering the right components is key. The beauty of this DIY project lies in its simplicity, requiring just a few quality ingredients and basic kitchen tools. Here’s a comprehensive list of what you’ll need to get started:
What You’ll Need:
- Vanilla Beans: Approximately 1 oz or 30 grams. The quality of your vanilla beans directly impacts the final flavor of your extract, so choose them wisely. Madagascar Bourbon vanilla beans are a popular choice for their rich, creamy, and sweet notes, while Tahitian beans offer a more floral and fruity aroma, and Mexican beans provide a smoky, spicy undertone. Consider Grade B “extract grade” beans, as they are often drier, more affordable, and perfect for long-term infusion due to their lower moisture content but higher concentration of flavor compounds.
- Alcohol: About 260 ml of vodka. The alcohol acts as a solvent, extracting the complex flavors from the vanilla beans. Vodka is often recommended due to its neutral flavor profile, which allows the vanilla to shine. However, you can experiment with other spirits like rum (for a richer, sweeter extract) or bourbon (for a smoky, caramel-like note) to customize your vanilla. Ensure the alcohol is at least 80 proof (40% ABV) for optimal extraction and preservation.
- Medium-Sized Glass Jar with a Tight-Fitting Lid: A mason jar or similar airtight container is perfect. This will be where your vanilla beans and alcohol will mingle and infuse over time. The tight lid is crucial to prevent evaporation and maintain the integrity of your extract.
- Funnel: Essential for cleanly pouring the alcohol into the jar with the vanilla beans, and later, for transferring the finished extract into smaller bottles.
- Measuring Cup: To accurately measure your alcohol, ensuring the correct bean-to-alcohol ratio for a balanced and potent extract.
- Cheesecloth or Coffee Filter/Portafilter: Used for straining the vanilla beans from the finished extract, ensuring a clear and smooth liquid. A fine-mesh sieve lined with cheesecloth works wonderfully, or for coffee enthusiasts, a portafilter can double as an effective filter.
- Small Bottles for Storage/Gifting (Optional): If you plan to store your vanilla extract in smaller batches or give it as gifts, having attractive, airtight bottles on hand will be beneficial. Dark glass bottles are ideal as they protect the extract from light, which can degrade its quality over time.
Step-by-Step Guide to Crafting Your Own Vanilla Extract
Creating your own vanilla extract is a process that truly rewards patience. Follow these five simple steps, and you’ll be on your way to a gourmet ingredient that will elevate all your culinary creations.
Step 1: Prepare Your Vanilla Beans
Raw vanilla beans typically come in a long, pliable form. For optimal flavor extraction, it’s essential to increase their surface area. Begin by carefully slicing each vanilla bean lengthwise down the middle, from end to end. You can either completely split them open or just make a deep incision without separating the two halves. This exposes the tiny, flavorful seeds (often referred to as “vanilla caviar”) and allows the alcohol to penetrate the bean more effectively. Alternatively, you can chop the beans into smaller pieces, roughly half an inch or slightly larger. Place all the prepared vanilla beans into your clean, medium-sized glass jar.
Some recipes suggest scraping out the seeds, but this is entirely up to your preference. Leaving the seeds inside will result in a “speckled” extract, which many connoisseurs appreciate as a sign of high quality and homemade goodness. If you prefer a clear extract, you can scrape the seeds out and use them immediately in another recipe (like ice cream or custard) before adding the bean pods to the alcohol. However, even without scraping, the rich flavor will still infuse beautifully, and it often makes for a cleaner process with less mess.
- Fresh Gourmet Madagascar Bourbon Vanilla Beans from Late 2024 – 2025 Crop Suistainably Sourced From Malagasy Farmers at Fair Market Prices
- Length is ~ 5 – 6 Inches (Approximately 13-15 cm) with an average moisture content of 33% meaning these beans are soft, pliable, and filled with millions of tiny vanilla seeds.
- Uses: Vanilla beans can be used in a variety of recipes as flavoring or ingredients and other uses such as homemade vanilla extract, baking, cooking, and brewing
- Madagascar boubon beans have a rich and creamy flavor along with an intense heavenly aroma.
- Our triple inspection process ensures only the highest quality beans are sent out by checking the size, smell, aroma, and appearance before packaging in our commercial vacuum sealers.
Buy on Amazon
Step 2: Pour In Your Chosen Alcohol
Once your vanilla beans are comfortably settled in the jar, it’s time for the alcohol. Using a funnel to prevent spills, carefully pour approximately 260 ml (or about one standard cup) of your chosen vodka (or other spirit) into the jar. Ensure that the vanilla beans are completely submerged in the liquid. This is crucial for proper extraction, as any part of the bean exposed to air risks spoilage and hinders the infusion process. The alcohol will begin its work immediately, slowly drawing out the hundreds of aromatic compounds that give vanilla its distinctive and complex flavor.
Step 3: Begin the Infusion Process – Shake and Store
With the vanilla beans submerged in alcohol, securely place the lid on the jar and seal it tightly. Give the jar a good, vigorous shake. This initial shake helps to evenly distribute the alcohol around the beans and kick-starts the extraction process. The magic now begins with patience. Store the sealed jar in a cool, dark place, away from direct sunlight and heat. A pantry, cupboard, or even a dark corner of your kitchen counter will work perfectly. The ideal temperature range is consistent room temperature, typically between 60-70°F (15-21°C).
To ensure optimal infusion and accelerate the flavor development, make it a habit to shake the jar gently but thoroughly once a day, every day, for at least the first month. After that, shaking once or twice a week is sufficient. While you might notice the liquid beginning to darken after just a few weeks, true vanilla extract requires time to develop its full, rich flavor profile. For a good, usable extract, allow it to infuse for at least one to three months. However, for a truly exceptional, deep, and robust flavor, aim for a minimum of six months, or even up to a year. The longer it infuses, the more potent and complex your vanilla extract will become. Don’t be afraid to taste-test after three months; if it’s not quite strong enough for your liking, simply let it continue to steep.
- Our 16 oz Ball Mason Jars are ideal as a candy jar, cookie jar, decorative centerpiece or any other creative ideas you may have
- Use with candy, ice cream, savory snacks and other desserts at your candy station
- 12 Jars and 12 Lids
- By Dress My Cupcake, the world’s largest dessert table supplies company
- Pair this with other best-selling Dress My Cupcake products, such as cupcake wrappers and liners, stands, tissue pom poms and vintage paper straws
Buy on Amazon
Step 4: Filter Your Homemade Vanilla Extract
Once your vanilla extract has reached its desired potency and flavor, it’s time to separate the liquid from the spent vanilla beans. This filtering step ensures a clear, smooth extract, free from any sediment. You have several effective options for filtering:
If you own a coffee machine, especially one with a reusable filter or a portafilter/group handle, these can be excellent tools. Simply place the coffee filter or a paper filter within the portafilter and position it over a clean measuring cup or bowl. Slowly pour the contents of your vanilla jar through the filter. Alternatively, if you don’t have a coffee machine, a simple and highly effective method is to use cheesecloth. Drape several layers of cheesecloth over a fine-mesh sieve, then place the sieve over your measuring cup. Slowly pour the vanilla-infused alcohol through the cheesecloth, allowing it to strain. The cheesecloth will catch all the vanilla bean particles, leaving you with a beautifully clear extract.
Repeat this process until all the liquid has passed through the filter. Be patient, as it may take a few minutes for all the extract to strain, especially if you have a lot of vanilla bean particles. Once filtered, your pure homemade vanilla extract is ready for the next step.
- Pure & Sugar-Free: Experience rich, authentic vanilla flavor without any sweetness or artificial notes in our 16.9 fl oz extract.
- Cold Extraction Mastery: Our exclusive three-month cold extraction process captures over 200 complex flavor compounds, delivering unparalleled depth and richness.
- Artisan Small-Batch Quality: Crafted in small batches for artisanal excellence, this extract guarantees premium quality for all your baking needs.
- Elevate Your Creations: Enhance your home baking, ice creams, frostings, and desserts with this extract, adding a gourmet touch to every dish.
- Gourmet Baker’s Choice: Designed with the gourmet baker in mind, our vanilla extract ensures exceptional flavor for bakers of all skill levels.
Buy on Amazon
Step 5: Transfer to Its Final Container
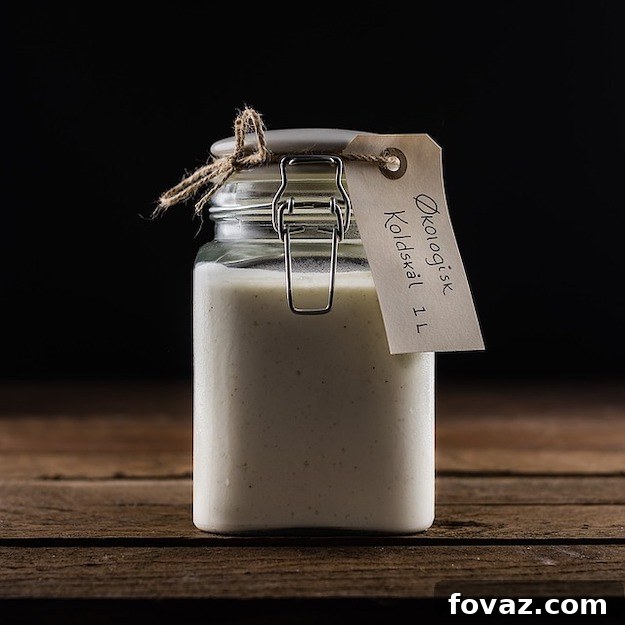
Once your vanilla extract has been thoroughly filtered, it’s time to transfer it to its permanent storage container. Choose a new, clean, and airtight bottle – dark amber or cobalt blue glass bottles are ideal as they help protect the extract from light degradation, preserving its flavor and potency over time. Place a clean funnel into the opening of your chosen container, and carefully pour the filtered vanilla extract into it. Seal the bottle tightly. Your homemade vanilla extract is now ready to be used or gifted! Store it in a cool, dark place, just like you would store commercial extracts. Properly stored, homemade vanilla extract can last for many years, with its flavor often improving over time.
Want to see how it’s done visually? Watch this comprehensive video from The Simple Cooking Channel and learn how to make vanilla extract from start to finish:
Tips for the Best Homemade Vanilla Extract
- Quality Beans Matter: Invest in high-quality vanilla beans. While Grade B beans are often recommended for extract due to their lower moisture and concentrated flavor, even within grades, quality varies. Seek out plump, pliable beans, not brittle ones.
- Patience is Key: Vanilla extract takes time. While some flavor develops in weeks, the best extracts are aged for 6-12 months. Don’t rush the process!
- The “Everlasting” Extract: You can keep your vanilla beans in the bottle after filtration. As you use the extract, simply top off the bottle with fresh alcohol. The beans will continue to infuse, making an “everlasting” supply. You may need to replace the beans every few years or add a fresh bean occasionally to maintain potency.
- Experiment with Alcohol: While vodka is neutral, try rum, bourbon, or brandy for different flavor profiles. White rum can give a sweeter, Caribbean note, while bourbon adds a rich, smoky depth perfect for certain baked goods.
- Consider “Double-Fold” or “Triple-Fold” Extract: For a more intense flavor, increase the bean-to-alcohol ratio. “Single-fold” typically uses 13.35 oz of vanilla beans per gallon of alcohol (about 0.8 oz per cup). For “double-fold,” double the amount of beans.
- Label Your Bottles: Once bottled, label your homemade extract with the date it was started, the type of vanilla beans used (e.g., “Madagascar Vanilla Extract”), and the type of alcohol. This helps you track its age and potency.
Why Choose Homemade Vanilla Extract?
The reasons to make your own vanilla extract extend beyond just cost savings. It’s about control, quality, and an unmatched sensory experience:
- Superior Flavor: Commercial extracts often contain artificial flavors, corn syrup, or other additives. Homemade vanilla extract is pure, offering a complex, nuanced flavor profile that store-bought versions simply cannot replicate.
- Cost-Effective in the Long Run: While the initial investment in vanilla beans might seem steep, a single batch of homemade extract yields a significant quantity that lasts for years, making it far more economical than continually purchasing small bottles of gourmet extract.
- Customization: You choose the beans, you choose the alcohol. This allows you to tailor your extract to your personal taste preferences and specific culinary needs.
- Thoughtful Gifts: Beautifully bottled and labeled, homemade vanilla extract makes a heartfelt and cherished gift for fellow foodies, bakers, and hosts.
- A Rewarding DIY Project: There’s a profound satisfaction in crafting your own ingredients, knowing exactly what goes into them, and witnessing the transformation of simple components into something truly special.
With the widespread use and importance of vanilla extract in both sweet and savory dishes, it is undeniably more practical and rewarding to embark on the journey of making your own at home. Learning how to make vanilla extract is a surprisingly simple and straightforward process, broken down into these five easy steps, plus the added insights for perfection. Once you experience the superior flavor and quality of your homemade extract, you’ll likely find yourself forever skipping the store-bought aisle!
Do you have other valuable tips or unique variations for crafting the perfect homemade vanilla extract? We’d love to hear them! Share your wisdom and experiences with us in the comments section below!
Up Next: How to Make Vanilla Frosting