
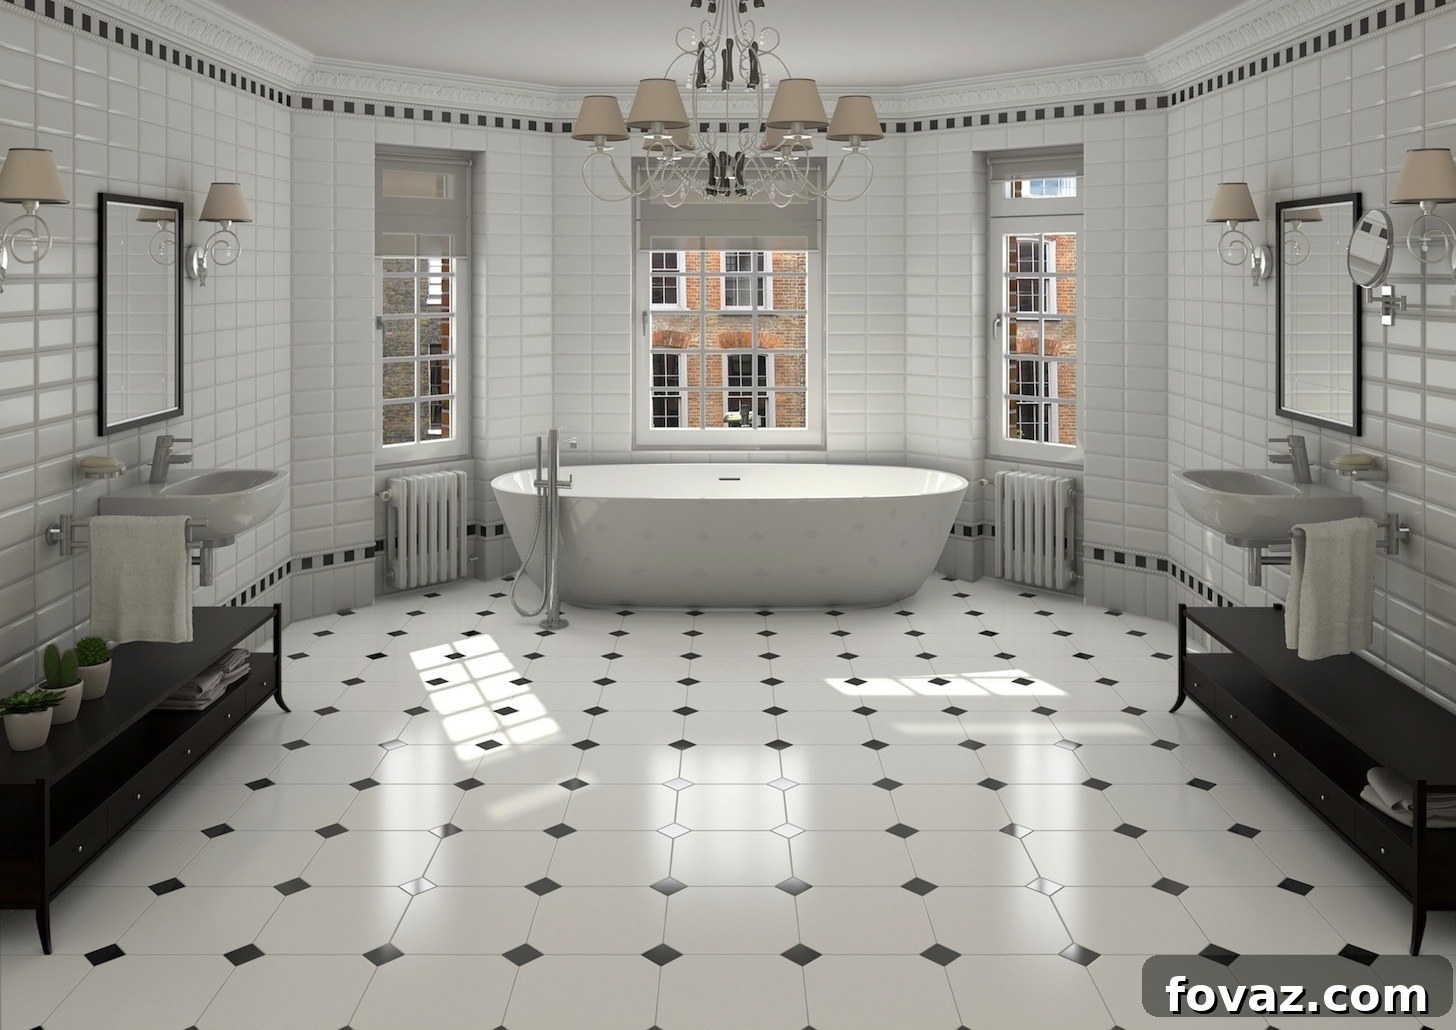
Dreaming of a bathroom makeover that combines durability with dazzling aesthetics? Learning how to lay tile in your bathroom is a rewarding DIY project that can dramatically transform your space!
How to Lay Tile in Bathroom: Your Ultimate DIY Guide for a Flawless Finish
Embarking on a bathroom tiling project might seem daunting at first glance, but with the right guidance and a step-by-step approach, it’s one of the most satisfying DIY home improvement projects you can tackle. A beautifully tiled bathroom floor not only elevates the visual appeal of your home but also offers unmatched durability and ease of maintenance, making it a smart investment for any homeowner.
This comprehensive guide is designed to walk you through every critical stage of the tiling process, ensuring you achieve a professional, long-lasting finish. From meticulous preparation and precise measurements to expertly blending adhesive and mastering the art of grouting, we’ll cover all the essentials. Remember, the secret to a perfect tile installation lies in attention to detail and patience. Don’t rush, and always prioritize accuracy over speed.
Choosing the right tiles for your bathroom is also paramount. Consider factors like water resistance, slip ratings, and overall durability, especially for high-traffic areas. And always, always pick up a few extra pieces – ideally 10-15% more than your estimated need – to account for cuts, potential damages, or future repairs. This small foresight can save you significant hassle down the line.
Want to perfect your tile projects? Discover more essential DIY skills: How to Grout Tile | DIY Home Improvement
Why DIY Bathroom Tiling is a Smart Choice
Taking on your bathroom tiling yourself offers numerous benefits beyond just a new look. Firstly, it provides significant cost savings compared to hiring professionals, allowing you to allocate your budget to higher-quality materials or other renovation aspects. Secondly, there’s immense personal satisfaction in stepping back and admiring a space you’ve transformed with your own hands. Finally, a DIY project gives you complete control over the design, allowing you to customize every detail to perfectly match your vision and create a truly unique bathroom.
Planning Your Bathroom Tile Project: Foundation for Success
Before you even think about laying a single tile, thorough planning is essential. This stage sets the groundwork for a smooth and successful installation.
Choosing the Right Tiles for Your Bathroom
The market offers a vast array of tile options, each with unique characteristics. For bathrooms, prioritize tiles that are:
- Water-Resistant: Porcelain and ceramic tiles are excellent choices due to their low porosity.
- Durable: Able to withstand daily foot traffic and moisture.
- Slip-Resistant: Look for tiles with a higher coefficient of friction to prevent accidents in a wet environment.
- Aesthetically Pleasing: Select a style, color, and size that complements your bathroom’s overall design.
Remember to calculate the square footage of your bathroom floor and add that crucial 10-15% extra for waste and future needs.
Selecting the Right Adhesive and Grout
The performance of your tile installation hinges on the quality and type of adhesive (thin-set mortar) and grout you use. For bathrooms, choose products specifically designed for wet environments, offering strong adhesion and resistance to mold and mildew. Consult the tile manufacturer’s recommendations for the best adhesive type (e.g., modified vs. unmodified thin-set) and ensure your chosen grout is appropriate for the tile material and joint width.
Essential Tools and Safety Gear
Having the right tools is half the battle. Gather everything you need before you start to avoid interruptions.
Materials and Tools Checklist
To successfully lay your bathroom tiles, you’ll need a comprehensive kit of tools and materials:
- Wall/Floor Measuring Tape: For accurate dimensions.
- Hammer & Chisel: For demolition or minor adjustments.
- Tile Cutter (Manual or Wet Saw): Essential for precise cuts. A wet saw is highly recommended for porcelain and larger tiles.
- Notched Trowel: To spread mortar evenly. The notch size depends on your tile size.
- Rubber Float: For pressing grout into the joints.
- Grout Float: Specifically designed for grout application and removal.
- Large Sponges & Buckets: For cleaning tiles and mixing materials.
- Tile Spacers: To ensure consistent grout lines.
- Level (Torpedo & 4-foot): Crucial for checking tile flatness.
- Mixing Paddle & Drill: For thoroughly blending adhesive and grout.
- Chalk Line: For snapping layout lines.
- Utility Knife: For various cutting tasks.
- Safety Glasses/Goggles: To protect your eyes from debris.
- Gloves: To protect your hands from chemicals and sharp edges.
- Face Mask/Veil: To prevent inhaling dust from cutting tiles or mixing powdered materials.
The Tiling Process: A Step-by-Step DIY Guide
With your planning complete and tools ready, let’s dive into the practical steps of laying your bathroom tile.
1. Prepare Your Subfloor: Clean and Level
The quality of your subfloor directly impacts the longevity and appearance of your tiled surface. Begin by thoroughly cleaning the floor, removing all dust, dirt, grease, and any loose debris. Use a degreaser if necessary. The surface must be perfectly smooth and level. If there are any uneven spots, cracks, or holes, address them. For significant irregularities, you might need to apply a self-leveling compound. Ensure there are no gaps between concrete boards if you’re using backer board. Once repaired, sweep up, wash, and allow the floor to dry completely before proceeding. A dry, stable, and flat subfloor is non-negotiable for a professional tile installation.
2. Measure and Plan Your Tile Layout
Accurate measurement and layout planning are crucial for a symmetrical and visually appealing finish. Measure the length and breadth of your bathroom. The professional approach is to start laying tiles from the center of the room, working outwards. To find the true center, draw a chalk line from the midpoint of each wall, intersecting in the middle of the room. This intersection becomes your starting point.
Next, perform a “dry lay” or “racking” – arrange your tiles without adhesive along your chalk lines. This allows you to plan cuts, determine the size of perimeter tiles, and adjust your starting point slightly if it means avoiding very thin cuts at the edges. Aim for larger, more uniform cuts at visible edges. Mark your primary datum line (your main layout line) based on this dry lay, ensuring it provides the best aesthetic outcome for your space. This careful planning minimizes waste and ensures a balanced look.
3. Mix the Tile Adhesive (Thin-Set Mortar)
Take an empty bucket and add the specified amount of clean water as per the adhesive manufacturer’s instructions. Gradually add the powdered thin-set mixture to the water, stirring continuously with a drill-mounted mixing paddle. Blend thoroughly until the mixture reaches a smooth, consistent, toothpaste-like texture, free of lumps. Avoid adding too much water, as this can weaken the adhesive. Allow the mixture to “slake” for 5-10 minutes (rest time for chemicals to activate), then give it a final stir. Only mix small batches at a time, as thin-set has a working time of typically 30-60 minutes before it starts to harden.
4. Spread the Mortar Evenly
Returning to your marked center point, begin spreading the mixed mortar. Use the flat side of your notched trowel to apply a thin layer to the subfloor, pressing firmly to ensure good adhesion. Then, use the notched side of the trowel to comb the mortar, creating uniform ridges in one direction. This creates a bed for the tile and allows air to escape. Work in small sections (roughly 2×2 or 3×3 feet) that you can tile within 10-15 minutes, preventing the mortar from drying out before you set the tiles. For larger tiles, it’s also advisable to “back butter” the back of each tile with a thin layer of mortar before setting it, ensuring maximum coverage and bond strength. Always wear gloves, as mortar can be abrasive to skin.
5. Set the Tiles with Precision
With the mortar spread, it’s time to lay your tiles. Starting from your datum line, gently press each tile into the wet mortar bed. Apply a slight twisting or wiggling motion as you set it. This helps to collapse the mortar ridges, ensures full contact between the tile and the adhesive, and prevents air pockets from getting trapped underneath, which can lead to hollow sounds and potential cracking. Never lean on the tiles or press them with your knees, as this can shift them out of alignment or damage the bond. Use tile spacers between each tile to maintain consistent grout line width. Regularly check the levelness of your tiles with a spirit level to ensure a perfectly flat surface, making minor adjustments as needed. Wipe away any excess mortar that squeezes up through the grout lines immediately with a damp sponge.
6. Allow for Proper Curing Time
Once all tiles are laid, resist the urge to walk on them or grout immediately. The thin-set mortar needs adequate time to cure and achieve its full strength. Typically, you should wait a minimum of 24 to 48 hours, depending on the adhesive type, humidity, and temperature. Refer to the manufacturer’s instructions for precise curing times. Prematurely disturbing the tiles can compromise the bond and lead to loose tiles or an uneven surface.
The Art of Grouting for a Perfect Finish
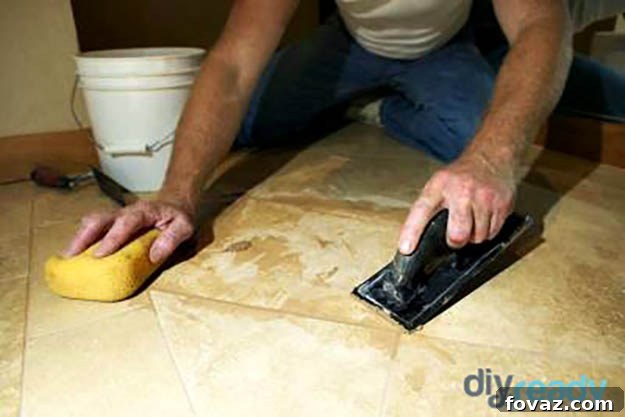
Grouting is the final step that brings your tiled floor together, protecting the edges of your tiles and creating a unified, water-resistant surface. It’s as important as the tile placement itself for both aesthetics and functionality.
Preparing for Grouting
Before mixing your grout, ensure all tile spacers have been removed and the grout lines are clean and free of any dried mortar. Use a utility knife or a grout saw to carefully scrape out any debris if necessary.
Mixing and Applying the Grout
Mix your chosen grout according to the manufacturer’s instructions, aiming for a consistency similar to peanut butter. Again, use a mixing paddle and drill, and only mix small batches. Using a rubber float, scoop a generous amount of grout and spread it diagonally across the tile surface, pressing firmly to force the grout deep into the joints. Work in small sections, typically 5×5 feet, to avoid the grout drying on the tile surface. Ensure every joint is completely filled.
Cleaning Excess Grout
After applying grout to a section, wait about 10-20 minutes for it to set slightly (it shouldn’t be sticky but still workable). Then, using a damp (not soaking wet) large sponge, wipe the tiles in a circular motion to remove excess grout. Rinse your sponge frequently in clean water. Be careful not to pull grout out of the joints. After the initial clean, let the grout cure for a few hours, and then address any remaining “haze” on the tiles with a clean, dry cloth or a specialized grout haze remover.
Sealing the Grout (Optional but Recommended)
For most cement-based grouts, sealing is highly recommended to protect against stains and moisture. Apply a penetrating grout sealer after the grout has fully cured (usually 48-72 hours, check product instructions). This creates an invisible barrier that prolongs the life and appearance of your grout.
Finishing Touches and Long-Term Maintenance
The job isn’t quite done until you’ve added the final touches and considered long-term care.
Caulking
Apply a bead of silicone caulk wherever the tiled surface meets another material or changes plane – for example, where the floor meets the wall, around the base of the toilet, or along the tub. This provides a flexible, waterproof seal, preventing water intrusion and movement cracks.
Final Clean-Up
Remove any lingering debris, dust, or tools from your newly tiled bathroom. Give the entire area a thorough clean to reveal your stunning new floor.
Maintaining Your Tiled Floor
Regular cleaning with a pH-neutral cleaner is typically all that’s needed to maintain your tiled floor. Avoid harsh abrasive cleaners or chemicals that can damage grout or tile surfaces. Promptly clean up spills, and reapply grout sealer as recommended by the manufacturer, usually every 1-2 years.
In sum, successfully laying tile in your bathroom is a rewarding DIY endeavor that requires careful planning, meticulous execution, and a commitment to following each step. The end result is a beautiful, durable, and functional space that you can proudly say you created yourself!
If you have questions, tips, or comments about your own tiling experiences, feel free to share them below!
Love transforming your home? Explore more exciting DIY home improvement projects on our site:
Easy DIY Home Improvement Projects: Maximize Impact with Minimal Budget
How to Install Recessed Lighting: A Step-by-Step Guide
House Restoration Projects: A Handy Guide [INFOGRAPHIC] for Historic Homes
Dan Kogan is owner of NY Handyman NYC in New York City. He has more than 20 years of experience and is passionate about all things related to home improvement.