
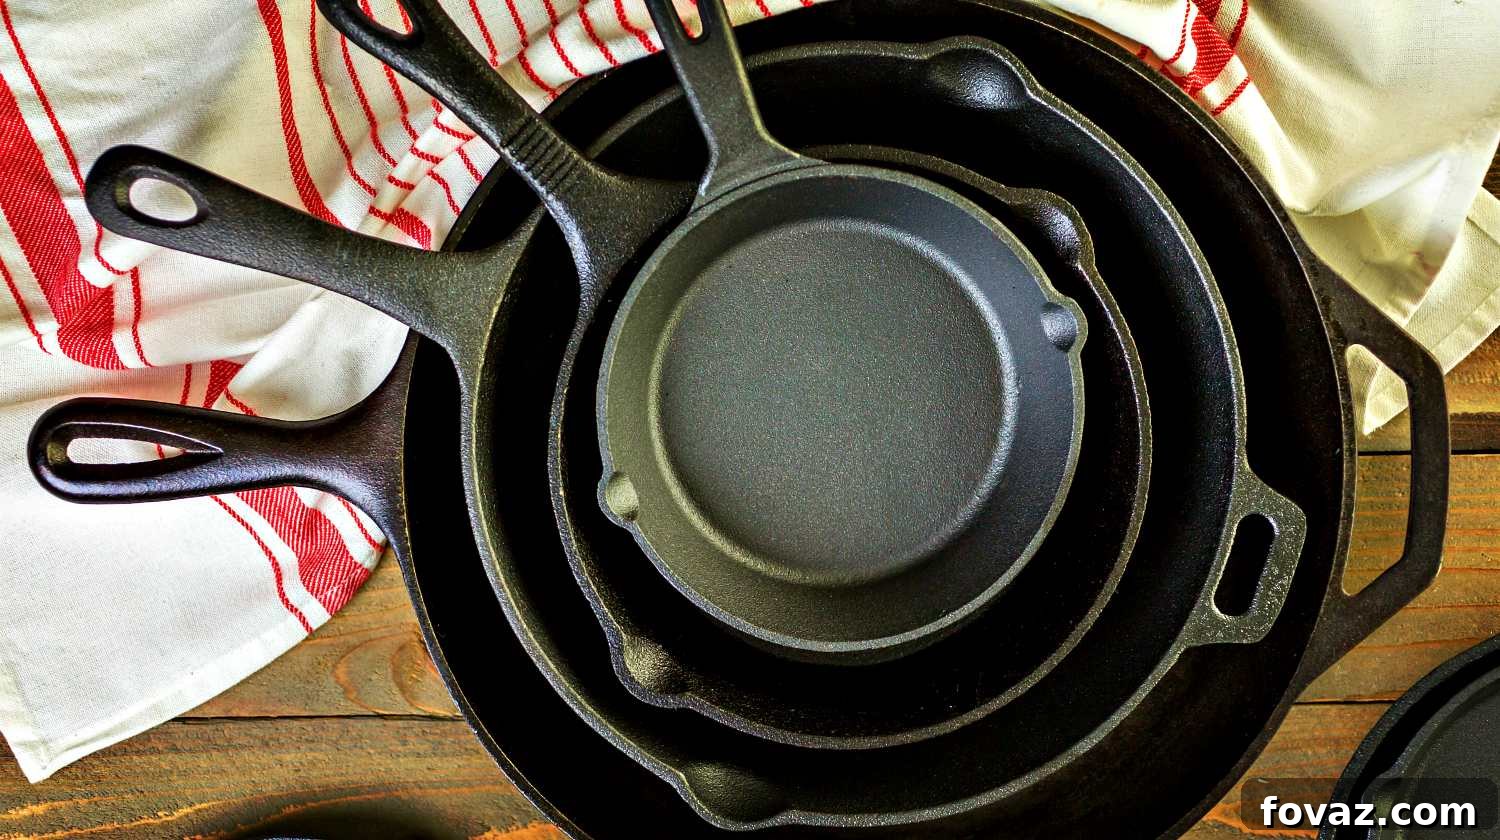
Welcome to the definitive guide for maintaining your beloved cast iron skillet. Whether you’re a seasoned chef or just starting your culinary journey, mastering the art of cast iron care is essential for unlocking its full potential. A properly cared-for cast iron pan isn’t just a cooking vessel; it’s a legacy that can be passed down through generations, offering unparalleled heat retention, a naturally non-stick surface, and a unique flavor profile to your dishes. This comprehensive article will equip you with all the knowledge and techniques needed to clean, perfectly season, and even restore a rusty cast iron skillet, ensuring it performs flawlessly for years to come.
Say goodbye to food sticking and hello to perfectly seared steaks, crispy fried chicken, and beautifully baked cornbread. We’ll delve into the secrets of keeping your cast iron looking and performing like new, even after daily use. You’ll learn the simple, yet crucial, steps that transform a raw iron pan into a cherished piece of kitchen equipment.
RELATED: Add a Splash of Personality to Your Kitchen with These DIY Painted Utensils
In this article, you will learn:
- Understanding Cast Iron Care and Cleaning
- The Essential Guide to Seasoning a Cast Iron Skillet
- How to Restore a Rusty Cast Iron Skillet to Its Former Glory
- Troubleshooting Common Cast Iron Issues and Pro Tips
The Ultimate Guide to Cast Iron Skillet Care: Seasoning, Cleaning, and Restoration
Understanding Cast Iron Care and Cleaning
Cast iron skillets are celebrated for their incredible durability and cooking performance, but they require a unique approach to cleaning compared to other cookware. The key to preserving your cast iron is understanding its “seasoning” – a protective layer of polymerized oil baked onto the surface. This seasoning is what gives the pan its non-stick properties and prevents rust.
For everyday cleaning, the process is straightforward. Immediately after cooking, while the pan is still warm (but not scorching hot), scrape out any food residue with a spatula or pan scraper. Then, rinse the pan with hot water. For stuck-on bits, a stiff-bristled brush or a chainmail scrubber works wonders. Avoid using harsh dish soaps with strong degreasers for routine cleaning, as they can strip away the seasoning. However, if your pan is heavily soiled or you’re preparing to re-season it, a mild dish soap can be used sparingly without significant harm, as long as you follow up with immediate re-oiling.
The most critical step in cast iron cleaning is thorough drying. Moisture is the enemy of cast iron and the primary cause of rust. After rinsing, dry your skillet immediately and completely with a towel. For extra assurance, place the pan over low heat on the stovetop for a minute or two until all residual moisture has evaporated. Once dry, apply a very thin layer of cooking oil (like vegetable oil or flaxseed oil) to all surfaces of the pan, inside and out. Buff it with a paper towel until the pan looks almost dry, just a slight sheen should remain. This final oiling step protects the seasoning and prevents rust, preparing your skillet for its next use.
The Essential Guide to Seasoning a Cast Iron Skillet
Seasoning is the foundation of a great cast iron skillet. It’s the process of baking thin layers of oil onto the pan’s surface, creating a smooth, non-stick, and rust-resistant finish. Over time, with proper use and care, this layer builds up, enhancing your pan’s performance and making it a true workhorse in your kitchen.
What is Seasoning and Why is it Important?
At a chemical level, seasoning involves heating oil to its smoke point, causing it to break down and polymerize into a hard, plastic-like coating that bonds to the iron. This layer fills in the microscopic pores of the cast iron, creating a smoother cooking surface. A well-seasoned pan offers several benefits:
- Natural Non-Stick Surface: Foods release easily, making cooking and cleanup a breeze.
- Rust Prevention: The oil barrier protects the iron from moisture, preventing oxidation and rust.
- Enhanced Flavor: Over time, the seasoning contributes to the unique taste of foods cooked in cast iron.
- Durability and Longevity: A properly seasoned pan is incredibly durable and can last for decades, even centuries.
Materials You’ll Need:
- Cast iron skillet (new, old, or freshly cleaned)
- Dish soap (optional, only for initial cleaning or stripping old seasoning)
- Stiff brush or sponge
- Dry cloth or paper towels
- High smoke point cooking oil (e.g., vegetable oil, canola oil, grapeseed oil, flaxseed oil, or melted shortening). Flaxseed oil is highly recommended for its strong polymerization, but any of these will work effectively.
- Oven
- Aluminum foil (to catch drips)
Directions for Seasoning Your Cast Iron Skillet:
Step 1: Preheat Oven and Thoroughly Wash the Skillet
Begin by preheating your oven to 325-350°F (160-175°C). If your skillet is new, old, or has existing rust you’ve just removed, it’s crucial to give it a good wash. Use warm water, a stiff brush, and a small amount of dish soap to scrub all surfaces of the pan. While soap is generally avoided for daily cast iron cleaning, it’s perfectly fine, even necessary, here to remove any factory coatings, old residue, or loose rust particles. Rinse the skillet thoroughly with hot water, ensuring no soap residue remains. This initial wash provides a clean slate for the new seasoning to adhere to.
Step 2: Dry Completely with Heat
Immediately after washing and rinsing, thoroughly dry the skillet with a clean cloth or paper towels. To ensure absolutely no moisture remains – which is critical for preventing rust and allowing the seasoning to bond properly – place the skillet in your preheated oven for 5-10 minutes. The heat will quickly evaporate any lingering water, leaving the pan bone-dry and slightly warm, which helps the oil adhere.
Step 3: Apply a Super Thin Coat of Oil
Once the skillet is warm and dry, remove it from the oven (using oven mitts!). Apply a very thin, even layer of your chosen cooking oil to every surface of the skillet – inside, outside, handle, and even the bottom. The key here is “thin.” Use a cloth or paper towel to rub the oil in, then use a fresh, dry paper towel to wipe off as much excess oil as possible. You want to wipe it down until it looks like there’s almost no oil left, just a slight sheen. Too much oil will result in a sticky, gummy seasoning layer rather than a hard, smooth one.
Step 4: Bake to Polymerize the Oil
Place the oiled skillet upside down on the oven’s center rack. Placing it upside down prevents oil from pooling and creating an uneven, sticky surface. To catch any potential oil drips, place a sheet of aluminum foil on the rack below the skillet. Bake for one to two hours at your preheated temperature (325-350°F / 160-175°C).
After the baking time, turn off the oven but leave the skillet inside to cool completely. This slow cooling process helps the seasoning bond and harden effectively. Do not remove it until it’s cool enough to handle.
Additional Notes on Seasoning:
- Multiple Layers are Best: For optimal results, especially with a new or restored pan, repeat the oiling and baking process (Steps 3 and 4) 3-4 times. Each thin layer builds upon the last, creating a more robust and durable seasoning.
- What a Seasoned Skillet Looks Like: A well-seasoned skillet will have a smooth, dark, and slightly glossy finish. It should feel dry to the touch, not sticky or greasy.
- When to Re-Season: You’ll know it’s time to re-season if food begins to stick consistently, if the skillet appears dull or patchy, or if you notice any signs of rust. Regular light oiling after each wash also helps maintain the seasoning.
RELATED: Kitchen Faucet Repair 101: How to Replace a Leaky Cartridge
How to Restore a Rusty Cast Iron Skillet to Its Former Glory
Finding rust on your cast iron skillet can be disheartening, but don’t despair! Rust is not a death sentence for cast iron; it’s merely a sign that the seasoning has been compromised and the bare iron has been exposed to moisture. Restoring a rusty skillet is a rewarding process that can bring an old, neglected pan back to life.
Why Does Cast Iron Rust?
Rust, or iron oxide, forms when iron comes into contact with oxygen and moisture. Common causes of rust on cast iron include:
- Improper or incomplete drying after washing.
- Storing the pan in a humid environment.
- Leaving acidic foods in the pan for extended periods.
- A thin, damaged, or completely stripped seasoning layer.
Effective Rust Removal Methods
For light to moderate rust, a simple abrasive scrub can work wonders. For heavier rust, more aggressive methods may be needed, but always remember that after any rust removal, the pan *must* be thoroughly re-seasoned.
Materials for the Potato and Salt Method (for Light to Moderate Rust):
- Cast iron skillet (with rust)
- Raw potato, cut in half
- 4 tbsp. coarse salt (kosher salt or sea salt works well)
- Hot water
- Dish soap (optional, for final cleaning)
- Stiff brush or scrub pad
- Dry cloth or paper towels
Directions for the Potato and Salt Rust Removal Method:
Step 1: Cover Your Rusty Pan in Coarse Salt
Sprinkle a generous amount of coarse salt – about 2-4 tablespoons, depending on the pan size and rust severity – over the rusty areas of your skillet. Coarse salt acts as an excellent natural abrasive that will help gently scrub away rust and surface stains without scratching the iron.
Step 2: Prepare Your Potato Scrubber
Cut a raw potato in half. The potato will serve as a natural scrubbing tool, and its moisture content, combined with the salt, creates a mild acid that aids in rust removal. Ensure you have a piece large enough to comfortably hold and scrub with.
Step 3: Scrub the Skillet Vigorously with the Potato
Using the flat side of the cut potato, scrub the surface of the pan in circular motions. The rough texture of the salt, combined with the slight acidity and moisture released by the potato, will work together to break down and lift the rust more efficiently than a brush or sponge alone. You’ll notice the potato picking up rust stains as you scrub. Continue scrubbing until most of the visible rust has been removed, reapplying salt as needed.
Step 4: Rinse, Scrub Again, and Dry Immediately
Once you’ve scrubbed away the rust, rinse the pan thoroughly with hot water. You can use a stiff brush or a scrub pad with a tiny bit of dish soap (if desired) to remove any remaining rust particles or salt residue. Rinse again until the water runs clear. Immediately after rinsing, dry the skillet completely with a clean towel. For good measure, place the pan on the stovetop over low heat for a few minutes to ensure every last drop of moisture has evaporated.
What to Do After Rust Removal:
After successfully removing the rust, your skillet will likely appear dull and unseasoned. This is completely normal and expected. The most crucial final step is to immediately and thoroughly re-season your skillet following the instructions in the “How to Season a Cast Iron Skillet” section above. This will create a fresh protective layer, preventing new rust from forming and bringing your pan back to a non-stick, usable state.
For Heavier Rust:
If the potato and salt method isn’t sufficient for very heavy or deeply pitted rust, consider these options:
- Steel Wool or Sandpaper: For stubborn spots, fine-grade steel wool (0000) or even fine-grit sandpaper can be used to manually abrade the rust away. Be gentle to avoid damaging the iron surface.
- Vinegar Bath: For extensive rust, a 1:1 mixture of white vinegar and water can be used. Soak the skillet in the solution for no more than 1-3 hours, checking frequently. Vinegar is acidic and can eat away at the iron if left too long. After soaking, scrub with a stiff brush, rinse thoroughly, and immediately neutralize any remaining acid by washing with baking soda and water, then re-season.
- Electrolysis: For severely rusted pans, electrolysis is a highly effective method but requires specialized equipment and safety precautions. This is typically reserved for extreme cases or antique restoration enthusiasts.
Troubleshooting Common Cast Iron Issues and Pro Tips
Sticky or Gummy Seasoning
If your seasoning feels sticky, it’s usually a sign that too much oil was applied during the seasoning process, or the temperature wasn’t high enough to fully polymerize the oil. To fix it, you can try to bake the pan again at a higher temperature (400-450°F / 200-230°C) for an hour to see if the excess oil polymerizes. If not, you may need to scrub off the sticky layer with hot water and a stiff brush, then re-season with a much thinner coat of oil.
Food Sticking to the Pan
If food starts sticking, it generally means your seasoning layer needs attention. First, ensure you’re preheating your pan properly before adding food and fat. If sticking persists, give your pan a thorough cleaning, dry it well, and apply a fresh, thin layer of oil. A quick stovetop re-season (heating the oiled pan on the stove until it smokes lightly) can often refresh the surface.
Odor or Flavor Transfer
Cast iron can sometimes absorb strong flavors, especially from highly aromatic foods like garlic or fish. To remedy this, give your pan a good scrub with hot water and coarse salt (acting as an abrasive and odor absorber). Then, dry and lightly re-oil. For persistent odors, you can bake the clean, dry pan in the oven at 200°F (90°C) for an hour.
Proper Storage for Cast Iron
Always store your cast iron skillet in a dry place. Avoid stacking other pans directly on top, as this can scratch the seasoning. If you must stack, place a paper towel or cloth between the pans to protect the surface. Storing in an area with good air circulation is ideal.
The Benefits of Cooking with Cast Iron
Beyond its low maintenance once properly seasoned, cast iron offers numerous cooking advantages:
- Superior Heat Retention: Cast iron holds heat exceptionally well, ensuring even cooking and searing.
- Natural Fortification: Cooking in cast iron can actually leach small amounts of dietary iron into your food, which can be beneficial for those with iron deficiencies.
- Versatility: From stovetop to oven, grill to campfire, cast iron is incredibly versatile.
- Durability: With proper care, a cast iron skillet is virtually indestructible and can last a lifetime.
Check out these helpful video tutorials for visual guidance!
Bon Appétit’s Brad Leone shows you his method for cleaning a cast iron skillet in this video:
You no longer have to dread staring at a dirty or rusty cast iron skillet. With these straightforward steps and a little consistent care, you’re about to give that cast iron pan the brand new look and exceptional performance it once had, or perhaps, never even had before! Embrace the journey of maintaining your cast iron and enjoy years of delicious, perfectly cooked meals.
Do you have any personal cast iron cleaning, seasoning, or restoration tips? Share your valuable insights with us in the comments section below!
For more fantastic DIY and craft news, be sure to follow us on Facebook, Twitter, Pinterest, and Instagram!
UP NEXT:
- Practical DIY: How to Build a Pantry Shelf in Your Small Kitchen
- Smart & Simple: Space-Saving Kitchen Organization Ideas For The Tidy Chef
- Baking Basics: A Delicious Pie Crust Recipe Even Beginner DIY Chefs Can Make
Editor’s Note: This post was originally published on November 1, 2016, and has been updated for quality, relevancy, and to provide the most comprehensive information on cast iron care.