
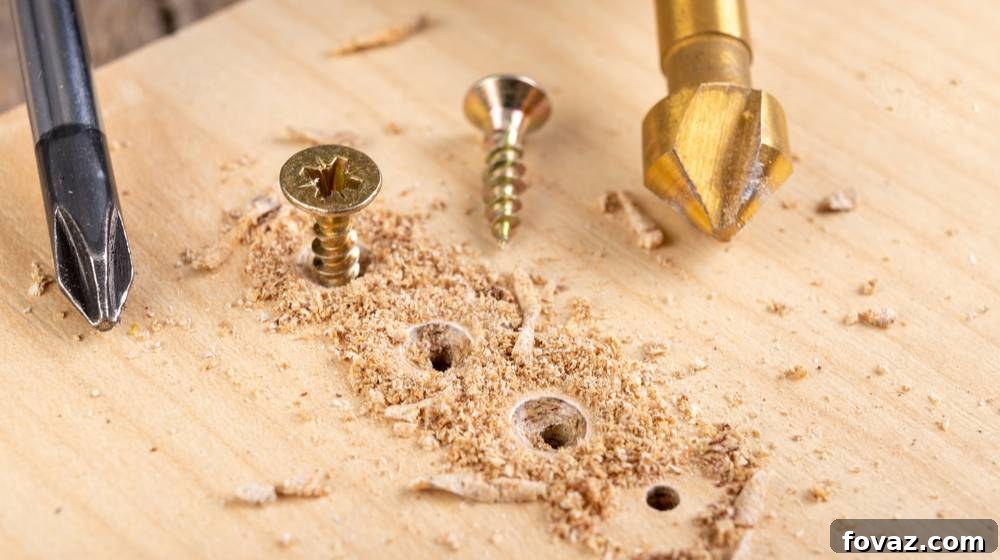
How to Fix a Stripped Screw Hole: 5 Easy DIY Methods for Permanent Repair
A stripped screw hole is a common, yet frustrating, problem many DIY enthusiasts encounter. Whether it’s a wobbly door hinge, a loose cabinet pull, or a piece of furniture that just won’t stay put, a screw that no longer bites into its material can render an item unstable and unusable. Many people think the only solution is to replace the entire piece, but that’s rarely the case! Learning how to fix a stripped screw hole is a valuable life hack that can save you time, money, and a lot of headaches. It’s a simple skill that empowers you to extend the life of your belongings and tackle home repairs with confidence.
In this comprehensive guide, we’ll walk you through five quick, easy, and incredibly effective methods to repair stripped screw holes, ensuring your screws get a firm grip every time. No matter the material – be it wood, particle board, or even a wall anchor – there’s a solution here for you. You’ll be surprised at how accessible and straightforward these fixes are, requiring only a few common household items or inexpensive materials.
RELATED: DIY Leather Couch Repair | 6 Super Easy Steps in Fixing Cuts and Scratches
Understanding Stripped Screw Holes and Why They Happen
Before diving into the fixes, it’s helpful to understand why screw holes strip in the first place. Over time, constant use, vibration, or repeated removal and insertion of a screw can wear down the material surrounding the threads. This often happens in softer materials like wood or particle board, where the fibers get enlarged and can no longer grip the screw threads tightly. Applying too much torque when driving a screw can also strip a hole, especially with power drills. Environmental factors like humidity changes causing wood to expand and contract can also contribute to the problem. Recognizing the cause can help you choose the best repair method and prevent future occurrences.
Essential Tools and Materials for Stripped Screw Hole Repair
While each method has its specific requirements, having a few basic tools on hand will make any repair job smoother:
- Screwdriver or Drill: To remove and re-insert screws.
- Safety Glasses: Always protect your eyes.
- Pencil: For marking.
- Utility Knife or Snips: For trimming excess material.
- Wood Glue: A versatile adhesive for many wood-based repairs.
- Measuring Tape or Ruler: For accuracy, especially when drilling.
Now, let’s explore the practical methods you can follow to restore integrity to those stubborn stripped screw holes!
5 Quick and Easy Methods to Fix a Stripped Screw Hole
1. Using a Larger Screw for a Stronger Grip
This is often the quickest and most intuitive fix, especially for wood or soft plastics. If the original screw is simply too small for the enlarged hole, a slightly larger screw can sometimes bite into fresh material, providing a secure hold. It’s a simple swap that can yield immediate results, but requires careful selection to avoid further damage.
How to Do It Yourself:
- Assess and Select a New Screw: Carefully remove the old, stripped screw. Examine the stripped hole. You’ll need a new screw that is slightly wider in diameter and/or longer than the original. The goal is for the new screw’s threads to engage with undisturbed material.
- Check Screw Threads: Opt for a screw with coarse threads (fewer threads per inch, or TPI). Coarser threads are designed to grip softer materials like wood more aggressively and are less likely to strip new material as easily. They offer a stronger bite than fine-threaded screws in this application.
- Carefully Drive the New Screw: Position the new, larger screw into the stripped hole. Apply gentle, consistent pressure as you slowly drive it in. Avoid using excessive force or speed, especially with a power drill, as this can easily split the wood or create a new stripped hole. The screw should feel snug as it tightens. If it feels loose or continues to spin, this method might not be sufficient, and you should consider one of the other options below.
Important Note: While effective, this method requires good judgment. If the hole is significantly damaged, a much larger screw might split the surrounding material. Always start with a slightly larger size and test the fit. This method is best for minor stripping where the integrity of the material around the hole is largely intact.
2. Filling the Hole with Matchsticks or Toothpicks and Wood Glue
This classic DIY trick is surprisingly effective for smaller stripped screw holes in wood. Matchsticks or toothpicks act as a filler, providing new material for the screw threads to grip onto, especially when combined with wood glue for added strength. It’s an inexpensive and widely accessible solution.
How to Do It Yourself:
- Prepare the Hole and Fillers: Take several wooden matchsticks (without the sulfur heads) or standard toothpicks. If you have wood glue, apply a few drops into the stripped screw hole. This will help bind the matchsticks/toothpicks together and create a stronger, more stable foundation.
- Insert Matchsticks or Toothpicks: Begin inserting the matchsticks or toothpicks into the glue-filled hole. Pack them in tightly, breaking off any excess length flush with the surface. The goal is to completely fill the hole with wood, recreating a solid base. If using glue, allow it sufficient time to dry (usually 30 minutes to a few hours, depending on the glue type and humidity) before proceeding.
- Re-insert the Original Screw: Once the glue has dried and the filler material is firm, gently drive your original screw back into the newly filled hole. The matchsticks or toothpicks, now solidified by the glue, will compress and provide a new, firm grip for the screw threads. You should feel the screw bite securely into the material as you tighten it.
Important Note: This method works best for stripped holes in wood or wood-like materials. For very large or heavily damaged holes, you might need a more substantial solution like wood strips or dowels. Ensure the glue is fully cured for maximum strength before applying any significant load to the screw.
3. Securing Screws with Plastic Anchors
Plastic anchors are typically used for hanging items on drywall, but they can also be an excellent solution for stripped screw holes in wood, particle board, or even slightly softer masonry materials where other methods might fail. They provide a robust threaded sleeve for your screw, offering a very reliable fix, though it often requires a small amount of drilling.
How to Do It Yourself:
- Drill to Fit the Anchor: If the stripped screw hole isn’t large enough to comfortably fit your chosen plastic anchor, you’ll need to enlarge it. Select a drill bit that matches the outer diameter of your plastic anchor. Drill slowly and steadily to create a clean, appropriately sized hole. Ensure you don’t drill too deep, only enough for the anchor’s length.
- Set the Plastic Anchor: Insert the plastic anchor into the newly drilled hole. Depending on the type of anchor, you might simply push it in by hand until it’s flush with the surface. For a tighter fit, you may need to gently tap it with a hammer, ensuring it seats snugly without deforming. Some anchors are designed to be glued in for extra security, though often just a tight fit is enough.
- Insert the Screw and Secure: With the plastic anchor firmly in place, align the item you are attaching (e.g., a hinge, bracket) and drive the original screw into the anchor. The anchor’s design will expand slightly as the screw enters, creating a very strong and secure grip. Tighten until the screw feels firm, but avoid over-tightening, which can still strip the anchor itself.
Important Note: Plastic anchors are excellent for providing a strong, durable fix. However, they are generally more visible than other methods and may require a slightly larger hole, making them less ideal for delicate or highly visible applications. Always match the anchor size to the screw you intend to use.
RELATED: How To Repair Leaky Single And Double Handle Faucet Cartridges
4. Repairing with Wood Strips for a Seamless Fix
For larger stripped holes in wood, or when you want a repair that blends seamlessly with the original material, using wood strips (or even a dowel) is an excellent choice. This method effectively reconstructs the screw hole with new, solid wood, allowing the original screw to be used with a fresh, strong bite.
How to Do It Yourself:
- Prepare Wood Strips and Glue: Carefully cut small strips of wood from a scrap piece of lumber that is similar in type and density to the material you are repairing. For the best consistency and strength, using the same type of wood is highly recommended. Dip these strips generously into wood glue.
- Fill the Stripped Hole: Begin inserting the glue-coated wood strips into the stripped screw hole, packing them in tightly until the hole is completely filled. You can use a small screwdriver or a nail set to help tamp them down. Ensure there are no gaps. If you’ve applied ample wood glue, allow it to dry completely. This usually takes several hours, or even overnight, to achieve maximum bonding strength.
- Trim and Re-drill a Pilot Hole: Once the glue is fully cured and the wood strips are firmly bonded, use a utility knife, chisel, or sandpaper to trim off any excess wood that protrudes from the surface, making it flush and smooth. Next, use a drill with a small bit (the same size you would use for a pilot hole for your original screw) to drill a new pilot hole directly through the center of your repaired area. This pilot hole will guide your screw and prevent the new wood from splitting. Finally, drive the original screw back into the newly prepared hole.
Important Note: This method creates a very strong and durable repair that can often be stronger than the original material. The key is to use enough glue and allow sufficient drying time. Matching the wood type ensures consistent expansion/contraction properties and a more aesthetic fix.
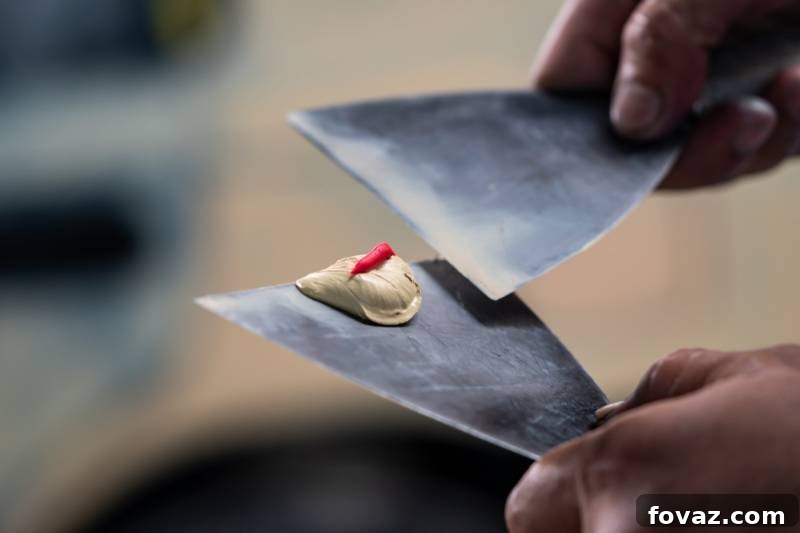
5. The Heavy-Duty Solution: Auto Body Filler
When all other methods seem insufficient, or you’re dealing with severely damaged holes in materials like particle board, MDF, or even metal, auto body filler can be a surprisingly effective and incredibly robust solution. Products like Bondo are designed to harden into a strong, drillable material, making them ideal for creating a completely new and durable screw base.
How to Do It Yourself:
- Enlarge the Hole for Filler: To ensure sufficient material for the filler to bind, you’ll need to enlarge the stripped hole. Using a drill bit (e.g., a 1/2-inch bit, depending on the hole size), drill out the damaged area, creating a clean, slightly larger cavity. This provides ample surface area for the filler to adhere to.
- Prepare the Auto Body Filler: Purchase a tub or package of Bondo body filler (or a similar product) from an auto supply store or home improvement center. These products typically come as a two-part mixture: the filler and a hardener. Mix the required amount of filler with the hardener according to the manufacturer’s instructions. Work quickly, as the mixture begins to cure rapidly.
- Fill the Enlarged Hole: Once the filler and hardener are thoroughly mixed, use a putty knife or similar tool to press the mixture firmly into the enlarged stripped screw hole. Ensure the hole is completely packed, and the filler is slightly mounded above the surface.
- Apply Lubricant to the Screw: Before inserting the screw, spray a light coat of lubricant (like WD-40 or silicone spray) onto the threads of the screw you intend to use. This acts as a release agent, preventing the filler from bonding permanently to the screw and allowing you to remove it later if needed.
- Insert the Screw and Allow to Harden: Immediately insert the lubricated screw into the wet filler. Drive it in until it’s at the desired depth. You can then add a bit more filler around the head of the screw if you want to completely encapsulate it (though this might make future removal harder). Allow the filler to set and harden for about three to four minutes, or as per the product instructions.
- Clean and Cure: Once the filler has partially hardened, carefully clean off any excess filler around the top of the screw head or on the surface with a utility knife or damp cloth. Then, gently remove the screw by unscrewing it. Allow the filler to fully cure (this can take 30 minutes to an hour, or longer for full strength) before driving the screw back into the newly formed, perfectly threaded hole.
Important Note: Auto body filler creates a very strong, permanent repair. It can be sanded, drilled, and painted once cured. Always work in a well-ventilated area and wear appropriate personal protective equipment, including gloves and a mask, as these products can have strong fumes.
Preventing Stripped Screw Holes: Best Practices for DIYers
While fixing stripped screw holes is a valuable skill, preventing them in the first place is even better. Here are some tips to keep your screws secure:
- Use Pilot Holes: Always drill a pilot hole that is slightly smaller than the screw’s diameter. This guides the screw and reduces the stress on the material.
- Match Screw to Material: Use appropriate screws for the material (e.g., wood screws for wood, machine screws for metal).
- Avoid Over-tightening: Stop tightening a screw as soon as it feels snug. Over-tightening, especially with power drills, is a primary cause of stripped holes.
- Use the Right Tools: Ensure your screwdriver bit or drill bit matches the screw head perfectly to prevent cam-out (slipping), which can damage both the screw head and the surrounding material.
- Consider Thread Lockers: For items subject to vibration, a removable thread locker (like Loctite Blue) can help keep screws in place without over-tightening.
Video Tutorial: Exploring Alternative Drilling Techniques
Sometimes, the best approach for a stripped screw hole might be to simply drill a new one nearby. This can be especially true if the original hole is in a structurally compromised area. Check out this helpful tutorial on drilling into concrete by GardenFork, which can offer insights into preparing new, solid anchor points:
Conclusion: Empowering Your DIY Repairs
It’s incredibly common for screws to lose their grip over time, particularly in high-traffic areas or softer materials. But as you’ve seen, fixing a stripped screw hole doesn’t have to be a daunting task. With these five straightforward methods – from the simple swap of a larger screw to the robust solution of auto body filler – you now possess a valuable arsenal of DIY skills. Each technique offers a unique advantage, allowing you to choose the perfect fix for any situation, restoring stability and functionality to your household items.
Don’t let a loose screw compromise your projects or possessions. Embrace these practical solutions, take them out of your “to-do” list, and make those holes usable, strong, and reliable again. You’ll not only save money but also gain immense satisfaction from tackling these repairs yourself.
Do you have other clever ideas or go-to methods for how to fix a stripped screw hole? Share them with us in the comments section below! Your insights could help fellow DIYers!
Up Next:
- 10 Home Appliance Maintenance Tips And Tricks You Must Know (INFOGRAPHIC)
- How To Remove Rust From Tools
- Volts, Amps, and Watts Oh My! Explaining The Basics of Electricity
Calling all crafting DIYhards, DIY Projects needs YOU! Click here if you want to write for us.
Don’t forget to stay connected with us on Facebook, Twitter, Pinterest, and Instagram!