
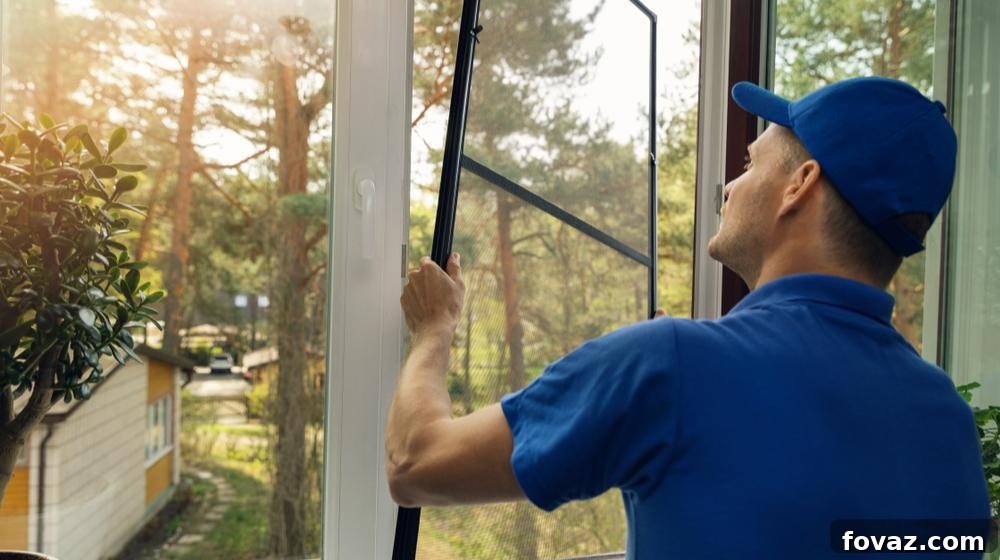
Summertime brings warmth, sunshine, and a desire to open windows and let fresh air circulate through your home. However, it also ushers in an unwelcome guest: mosquitoes and other bothersome insects. A torn, damaged, or completely broken window screen can quickly turn your pleasant summer breeze into an irritating invasion. Instead of enduring bites or keeping your windows shut, learning how to repair a window screen is a valuable DIY skill that can save you money and keep your living space comfortable and pest-free. Good news – repairing a window screen is a surprisingly straightforward task that most homeowners can accomplish in less than an hour with just a few basic tools.
RELATED: 200 Home Maintenance Tips and Repair Ideas You Can DIY
DIY Window Screen Repair: Step-by-Step Guide to Fixing Broken Screens
Don’t let a damaged screen spoil your indoor comfort. This detailed guide will walk you through the entire process of how to repair a window screen, from removing the old mesh to installing a brand new, taut screen that will protect your home for years to come. By tackling this common home maintenance task yourself, you’ll not only save on professional repair costs but also gain a satisfying sense of accomplishment. Let’s get started on restoring your windows to their full protective potential.
Why Repair Your Window Screens? More Than Just Bug Protection
While keeping insects out is undoubtedly the primary function of window screens, their importance extends far beyond simple pest control. A properly maintained window screen contributes to your home’s overall health and efficiency in several ways:
- Pest Prevention: This is the most obvious benefit. Intact screens form an essential barrier against mosquitoes, flies, spiders, and other crawling or flying critters, allowing you to enjoy fresh air without unwanted intruders.
- Enhanced Airflow and Ventilation: By allowing you to keep windows open, screens facilitate natural ventilation, reducing the need for air conditioning and improving indoor air quality. This can lead to significant energy savings during warmer months.
- Improved Aesthetics: Sagging, torn, or discolored screens detract from your home’s curb appeal. A freshly repaired screen instantly makes your windows look cleaner and more inviting, boosting the overall appearance of your property.
- Dust and Debris Filtration: Screens can help filter out larger particles of dust, leaves, and other outdoor debris, preventing them from blowing directly into your home.
- Safety for Pets and Children: While not a primary safety device, a secure screen can offer a minor deterrent against pets or small children accidentally falling out of open windows, especially on lower floors.
- Cost-Effective Home Maintenance: Repairing a screen yourself is far more economical than replacing an entire window or hiring a professional. It’s a small investment that yields significant returns in comfort and protection.
Materials You’ll Need for Your Window Screen Repair Project
Before you begin, gather all the necessary tools and materials. Having everything on hand will make the repair process smoother and more efficient. Most of these items are readily available at hardware stores or online, and many can be reused for future screen repairs.
- Window Screen Mesh: Choose the right material for your needs (fiberglass, aluminum, pet-resistant, solar screening, etc.). Fiberglass is common, flexible, and easy to work with. Make sure you get enough to cover your frame with extra for trimming.
- Spline Roller: This specialized tool has two different sized wheels designed to push the screen mesh into the frame’s channel and then firmly seat the spline. It’s indispensable for a tight, professional finish.
- Utility Knife or Scissors: A sharp utility knife (with a fresh blade) or heavy-duty scissors will be needed to trim the excess screen material neatly after installation.
- Flathead Screwdriver: Useful for prying out old splines and assisting with frame removal or reinstallation.
- Pliers: Can be helpful for gripping and pulling stubborn splines, especially if they are brittle or stuck.
- Spline (if needed): This is the rubber or vinyl cording that holds the screen mesh in place within the frame’s channel. If your old spline is brittle, cracked, or shrunken, you’ll need new spline. Ensure you purchase the correct diameter to fit your frame’s groove.
Preparation and Safety Considerations
Before diving into the repair, take a moment for preparation and safety. Clear a flat, clean workspace, preferably outdoors or in a garage, to prevent spreading dirt from the old screen indoors. Wear gloves to protect your hands from potential sharp edges of the screen frame or old mesh. If working with a utility knife, always cut away from your body and keep your fingers clear of the blade. Ensure good lighting for precise work.
The Comprehensive Step-by-Step Guide to Repair Your Window Screen
Step 1: Carefully Remove the Window Screen from Its Frame
The first crucial step is to safely remove the damaged screen frame from your window. Window screen frames are typically held in place by a combination of tension, small latches, or rollers. Most modern window screens have spring-loaded rollers at the top and sometimes friction pads or wheels at the bottom.
To remove the screen, usually, you’ll need to push the entire frame upwards within the window’s track. This compresses the top springs, allowing the bottom of the frame to clear the lower track. Once the bottom is free, angle the frame outward and then pull it down to release the top from the channel. If your screen frame uses small retaining clips or latches, you might need to disengage these first. Handle the frame carefully to avoid bending or further damaging it.
Once removed, transport the screen frame to your prepared flat working surface. Lay it down securely so it doesn’t shift during the repair process.
Step 2: Extract the Old Rubber Spline
With the screen frame lying flat, your next task is to remove the spline – the flexible rubber or vinyl cord that secures the screen mesh in the frame’s perimeter channel. This spline is what holds everything in place.
Locate one end of the spline, usually at a corner. Using the tip of your flathead screwdriver, carefully pry up a small section of the spline until you can get a grip on it. Once a small portion is exposed, you can typically pull the rest out by hand, working your way around the frame’s perimeter. If the spline is particularly old and brittle, it might break into pieces, requiring the use of pliers to grip and pull out smaller sections. As you remove it, inspect the spline’s condition. If it’s still pliable, unbroken, and hasn’t significantly shrunk or hardened, you may be able to reuse it. However, if it’s brittle, cracked, or shrunken, it’s highly recommended to replace it with new spline to ensure a secure and lasting repair. Proper spline diameter is critical for a tight fit; measure your old spline or the channel width if you need to purchase new.
Step 3: Remove the Damaged Screen Mesh
Once the spline has been completely removed from all sides of the frame, the old screen mesh will be loose. Slowly and carefully remove the damaged screen from the frame. It’s often best to roll it up as you remove it, rather than just pulling it off in one go. This helps to contain any dirt, dust, or debris that might be clinging to the old mesh, preventing it from spreading across your workspace or into your home.
Dispose of the old screen responsibly. Many old screen materials are not easily recyclable, so check with your local waste management guidelines. Take a moment to clean the screen frame’s channels thoroughly with a brush or damp cloth, removing any accumulated dirt, dust, or fragments of the old spline or screen. A clean channel is essential for proper adhesion of the new screen and spline.
Step 4: Position the New Window Screen Mesh on the Frame
Now it’s time to prepare your frame for the new mesh. Unroll your new window screen material and carefully lay it out over the screen frame. Ensure that the mesh completely covers the frame, extending several inches beyond each edge. This overhang is crucial as it provides enough material to work with when pushing the screen into the channel and allows for proper tensioning without running short. Make sure there are no wrinkles or creases in the screen material as you lay it down. For larger screens, it might be helpful to have a second person help hold the mesh taut and aligned while you begin the next step. Consider the orientation of the mesh if it has a specific pattern or weave, though for most standard screens, it’s symmetrical.
RELATED: DIY Maintenance | Roofing Tips And Tricks For Flat Roofs
Step 5: Secure the Screen with the Spline Roller and Spline
This is arguably the most critical step for achieving a professional-looking and durable repair. Begin by using the convex (rounded) wheel of your spline roller to gently press the screen mesh into the frame’s channel along one of the longer sides. This initial pass creates a shallow groove, holding the screen temporarily. Do not install the spline yet. Once you’ve established this initial groove along one side, you’ll start installing the spline.
Place one end of the spline into the channel at a corner. Using the concave (grooved) wheel of your spline roller, press the spline firmly into the channel, trapping the screen mesh underneath. Work your way around the perimeter of the frame, pressing the spline deeply into the groove. As you proceed, apply gentle tension to the screen mesh to ensure it remains taut and free of wrinkles. When you reach a corner, cut the spline at an angle or carefully bend it to continue into the next side. The key is to apply consistent pressure with the spline roller, ensuring the spline is fully seated and the screen is uniformly taut across the entire frame. Avoid pulling the screen too tightly, as this can cause it to warp the frame or tear; conversely, not enough tension will result in a saggy screen.
Step 6: Trim the Excess Screen Mesh for a Clean Finish
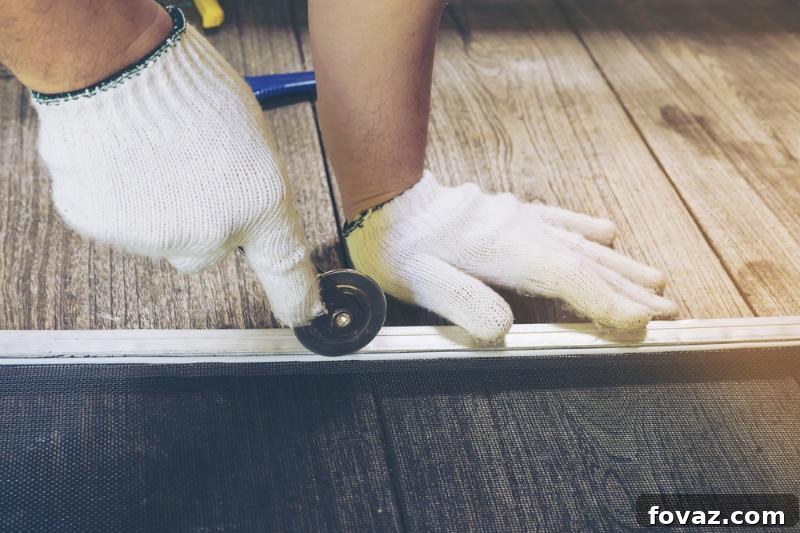
Once the spline is completely installed around the entire perimeter and the screen is securely in place, you’ll have excess screen material hanging over the edges. Now, it’s time to trim this excess for a clean, professional look. Using a sharp utility knife (with a fresh blade) or heavy-duty scissors, carefully trim the screen material flush with the outer edge of the spline or the frame. Many find it easiest to run the utility knife along the outer edge of the spline, using the frame or spline itself as a guide. This technique ensures a precise and seamless cut. Work slowly and carefully to avoid cutting the newly installed spline or nicking the frame. Some prefer to cut each side as they go, immediately after seating the spline for that section, while others wait until all spline is installed. Choose the method that feels most comfortable and gives you the best results.
Step 7: Reinstall the Repaired Screen Frame
With your new screen firmly in place and neatly trimmed, the final step is to reinstall the repaired frame back into your window. This process is essentially the reverse of removal. If your window uses spring-loaded rollers, push the entire frame upward into the top channel first, compressing the springs. Then, align the bottom wheels or pads with the bottom track and carefully lower the frame until it clicks or seats securely into place. Ensure that the screen frame is sitting snugly within its tracks and operates smoothly. Give the screen a gentle push in various spots to check its tension and confirm there are no loose areas or sags. Test the window’s operation, ensuring it opens and closes without obstruction from the screen frame. Your newly repaired window screen is now ready to protect your home from pests while letting in refreshing air!
Troubleshooting Common Window Screen Repair Issues
Even with careful execution, you might encounter a few hiccups during your window screen repair. Here are some common issues and how to address them:
- Sagging Screen: If your screen isn’t taut and sags in the middle, it means you didn’t apply enough tension when installing the spline. You’ll need to remove the spline from the affected section, pull the screen tighter, and then re-seat the spline.
- Spline Popping Out: This usually indicates that the spline is either the wrong diameter (too large), or it wasn’t pushed deep enough into the channel. Alternatively, if the screen was pulled too tight, it could exert enough pressure to pop the spline. Ensure you have the correct spline size and use firm, consistent pressure with the spline roller.
- Wrinkles or Creases: These occur if the screen mesh wasn’t laid flat initially or if uneven tension was applied during spline installation. Remove the spline, reposition the screen, and try again, focusing on even tension.
- Corners Not Sealing: If the spline isn’t sitting well in the corners, trim the spline ends at a 45-degree angle to create a neat join, or use a small amount of clear silicone caulk if it’s a persistent issue (though this is rarely needed with correct spline installation).
- Frame Bending: Applying excessive tension to the screen, especially with lightweight aluminum frames, can cause the frame to bow. If this happens, you might need to loosen the screen tension slightly or, in severe cases, replace the frame itself.
Maintaining Your Newly Repaired Window Screens
Now that you’ve put in the effort to repair your window screens, a little ongoing maintenance will ensure they last for many years. Regular cleaning can prevent dirt and debris buildup that can stain or weaken the mesh. Once or twice a year, gently brush off loose dirt with a soft brush, then wash the screens with a mild soap and water solution using a soft cloth or sponge. Rinse thoroughly with a hose and allow them to air dry completely before reinstalling them. Avoid harsh chemicals or high-pressure washers, which can damage the mesh or spline. Periodically check the spline for any signs of cracking or shrinking, and the mesh for small tears. Addressing minor issues quickly can prevent them from becoming larger, more costly repairs.
Check this video from The Craftsman Blog for DIY Window Screen:
Congratulations! You’ve successfully learned how to repair your window screen and completed a satisfying home improvement project. This new skill not only saves you money but also empowers you to protect your home and family from unwanted bugs and critters, allowing you to enjoy fresh air and open windows without a second thought. Embrace the comfort and peace of mind that comes with a perfectly screened home.
Do you need to repair your window screen? Did this guide help you achieve a perfectly screened home? We’d love to hear how it went for you or if you have any additional tips to share by commenting below!
Up Next:
- 13 Common Home Repairs: Tips & Tricks | DIY Projects
- 19 DIY Projects For Home Improvement On A Budget
- Mold In Basement: How Do You Remove Them?
Calling all crafting DIYhards, DIY Projects needs YOU! Click here if you want to write for us.
Don’t forget to stay connected with us on Facebook, Twitter, Pinterest and Instagram!