
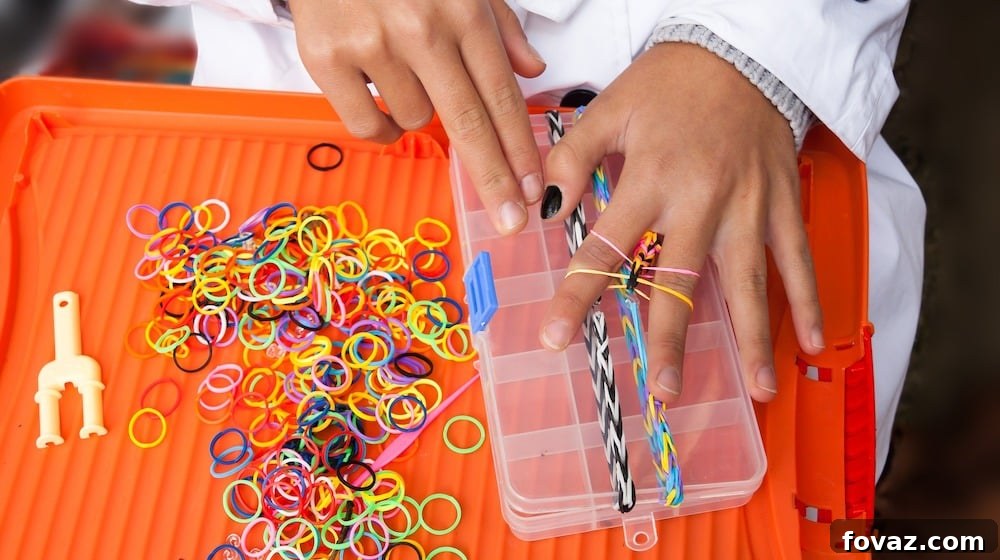
Unlock your creativity and dive into the vibrant world of DIY jewelry with this comprehensive guide! Loom bracelets have taken the crafting world by storm, offering an exciting, hands-on activity for all ages. If you’ve ever admired those intricate, colorful bands and wondered how they’re made, you’re in the right place. We’re about to walk you through the process of creating your very own stunning triple multicolor rubber band bracelet.
Making loom bracelets is more than just a craft; it’s a fantastic way to develop fine motor skills, focus, and a sense of accomplishment. While the initial setup might seem a little tricky, with our clear, step-by-step instructions, you’ll master the technique in no time. Get ready to transform a handful of rubber bands into a beautiful, wearable piece of art that reflects your personal style. Whether you’re looking for a fun project to do with kids, a relaxing hobby for yourself, or unique handmade gifts, this tutorial is designed for beginners to achieve impressive results with ease. Let’s gather our supplies and begin this colorful adventure!
How to Craft a Captivating Multicolor Loom Bracelet
Embarking on the journey of creating your own loom bracelet is a truly rewarding experience. This guide focuses on a popular and visually appealing design: the triple multicolor rubber band bracelet. Perfect for beginners, this project lays the groundwork for more advanced patterns and encourages personalized color schemes. By following these detailed instructions, you’ll gain the confidence and skills to craft an array of vibrant accessories. Prepare your workspace, select your favorite hues, and let’s bring a burst of color to your wrist!
Crafting Your Triple Multicolor Rubber Band Bracelet
To construct your spectacular triple multicolor rubber band bracelet, you will need a few essential tools and a selection of colorful bands. Quality materials make a difference in the finished product, ensuring your bracelet is durable and comfortable to wear. Gather everything before you begin to ensure a smooth and enjoyable crafting process.
Essential Materials:
- 2 Looms: These are the foundational tools that hold your rubber bands in place as you weave. Using two looms side-by-side allows for longer, more complex patterns like our triple bracelet.
- Hook / Crochet Hook: This tool is crucial for manipulating the rubber bands, looping them over pegs, and intricate weaving. A good quality hook will have a comfortable grip and a sturdy tip.
- Loom / Rubber Bands: The stars of the show! Choose high-quality rubber bands that are stretchy and vibrant. For this specific project, we’ll be using a diverse palette to create a striking multicolor effect.
- C-Clip: This small, clear plastic clip is vital for securely joining the two ends of your finished bracelet, transforming it into a wearable circle.
Detailed Rubber Band List:
The following list outlines the specific quantity and color of rubber bands required for one triple multicolor bracelet. Feel free to substitute colors based on your preference, but maintain the quantities for the best results. The black bands serve as a structural base, creating a subtle contrast that makes the colorful top layer pop.
- 11 Neon Green
- 6 Yellow
- 6 Neon Orange
- 6 Orange
- 6 Red
- 6 Pink
- 6 Fuchsia
- 6 Purple
- 6 Dark Blue
- 6 Ocean Blue
- 6 Turquoise
- 6 Dark Green
- 25 Black (for the base/connecting layers)
Step 1: Setting Up the First Layer of Colors
Begin by carefully arranging your loom(s). For this triple bracelet, you’ll need to align two looms in an offset position, with the open part of the pegs facing away from you. This creates a continuous row of pegs. Starting from the peg closest to you on the left side of your combined loom setup, gently place the neon green rubber bands in the specified color order. The idea is to create a long, colorful chain. Each rubber band should stretch from one peg to the next, forming a V-shape or a single line, depending on your loom’s orientation. Maintain the sequence of colors precisely as listed (Yellow, Neon Orange, Orange, Red, Pink, Fuchsia, Purple, Dark Blue, Ocean Blue, Turquoise, Dark Green). Once you reach the dark green, cycle back to neon green and repeat the entire color sequence. You will complete two full rounds of this color pattern, ensuring the vibrant hues flow smoothly around the entire length of your bracelet. When you finish the second round, end again with neon green. You should have exactly two neon green rubber bands remaining from your initial count; set these aside for a later step.
Step 2: Constructing the Second Layer with Black Bands
With the first colorful layer meticulously laid out, it’s time to add the foundational structure using your black rubber bands. This second layer will create the “triangles” that hold the colorful bands in place and give the bracelet its intricate texture. Carefully stretch one black rubber band across three pegs, forming a small triangle. For example, if you have three pegs in a row, the black band would connect the center peg to its left and right neighbors. Continue this pattern all the way down the loom, creating a series of inverted triangles. Each black band should sit just above the colorful bands you placed in Step 1. This step is crucial for the bracelet’s stability and intricate appearance, so take your time to ensure each triangle is neatly formed and correctly positioned.
Step 3: Initiating the Hooking Process with Black Rubber Bands
Once both layers of rubber bands are set on the loom, it’s time to begin the hooking process. This is where your bracelet starts to take shape! First, turn your loom around so that the open end of the pegs now faces towards you. This orientation makes the hooking process more intuitive. Using your hook, reach into the center of the first triangle formed by the black rubber band. Carefully grab the bottommost black rubber band (the one connecting the two side pegs to the middle) and loop it over the center peg, pulling it through the other black band. This action effectively “locks” the black bands together. Continue this hooking motion down the entire length of the loom, working one triangle at a time. The key is to always grab the lowest band within each peg’s structure and loop it over, ensuring a secure and consistent weave.
Step 4: Artfully Closing the Bracelet
As you near the end of the loom, the closing sequence is vital for a neat and secure finish. At the very last few pegs where you’ve been hooking, you’ll have several bands looped over them. Identify the central rubber band on the furthest peg. Using your hook, carefully pick up this middle rubber band and gently transfer it onto the peg immediately to its left. Then, take both rubber bands that are now on that central peg and bring them back to the middle peg. Finally, identify the rightmost rubber band on the end and move it onto the middle peg as well. The goal here is to consolidate all the active loops onto a single, central peg, making it easier to secure the bracelet in the next steps. This might require a delicate touch to avoid accidentally dislodging other bands.
Step 5: Securing the Bracelet’s End
Now that all active loops are consolidated onto a single peg, it’s time to secure this end of the bracelet. Take one of the remaining neon green rubber bands you set aside earlier. Loop this new rubber band onto the left peg. Next, carefully insert your hook through all the rubber bands currently on the central peg where you consolidated the loops in Step 4. Hook the new neon green rubber band, and gently pull it through all the existing bands on that central peg. This creates a loop. Then, take the other end of this new neon green rubber band and place it onto your hook, forming a slipknot-like connection. This loop will be where you attach your C-clip to secure this end of the bracelet.
Step 6: Carefully Removing Your Bracelet from the Loom
With the securing loop in place, it’s time for the exciting moment of liberation! Start by gently wiggling the bands off the pegs, beginning from the end where you just secured the bracelet. Work your way down the loom, carefully lifting each section off the pegs. It’s important to do this slowly and methodically to prevent any bands from snapping or unraveling. As you remove it, the bracelet will naturally contract and reveal its full, beautiful pattern. Admire the intricate design you’ve created!
Step 7: Joining Both Ends for a Complete Bracelet
Once your bracelet is fully removed from the loom, you’ll have two open ends. One end will have the secured neon green loop you created in Step 5. The other end will still have the three original loops from the beginning of your loom work. To complete your bracelet, take your hook and carefully insert it through these three initial loops on the unsecured end. Now, take the final remaining neon green rubber band (the second one you set aside) and pull it through these three loops with your hook, creating another loop. This step ensures both ends of your bracelet have a secure, manageable loop for attachment. Finally, take your C-clip and attach one end to the neon green loop from Step 5 and the other end to the new neon green loop you just created in this step. This effectively joins the two ends, transforming your creation into a wearable, continuous bracelet.
Step 8: Final Touches and Customization
Your beautiful triple multicolor rubber band bracelet is almost complete! You might find a small, extra loop of the neon green securing band extending from one end after attaching the C-clip. If so, you can carefully trim this excess with a pair of small scissors for a cleaner finish. Be sure not to cut any structural bands. And just like that, you are ready to wear your stunning, handmade creation!
Pro Tip: Want to add an extra special touch? Consider using glow-in-the-dark rubber bands for your base layer or even for some of the colorful bands. This adds a fun and unique element, making your bracelet truly stand out, especially in dimly lit environments!
Making loom bracelets opens up a world of creative possibilities. Don’t be afraid to experiment with different color combinations, try out various types of rubber bands (scented, glitter, metallic), or even adapt this technique to create wider bracelets or other loom band accessories. The more you practice, the more confident and creative you’ll become!
Making your own jewelry is fun! Check out these awesome #DIY bracelet ideas: http://t.co/8xUXd4Gx0r pic.twitter.com/NRhImvHbAD
— DIY Projects (@DIYProjectsCom) April 10, 2015
For a comprehensive visual demonstration, we highly recommend watching the full tutorial video provided by Arty Crafty. Sometimes seeing the steps in action can clarify any uncertainties and boost your confidence as you follow along with your own loom. This video is an invaluable resource for visual learners!
We hope you enjoyed this detailed guide on creating your very own triple multicolor rubber band bracelet! It’s an incredibly satisfying craft that yields beautiful, personalized results. What do you think of this vibrant loom bracelet project? Are you excited to give it a try or perhaps experiment with different color palettes? We’d love to hear about your crafting journey and see your finished creations! Share your thoughts and experiences in the comments section below.
Stay connected with our crafting community and never miss out on new DIY ideas! Find us on Facebook, Twitter, Pinterest and Instagram!
Explore More Exciting DIY Bracelet Projects:
If you loved creating this loom bracelet, you’re sure to enjoy these other fantastic DIY jewelry ideas:
- VIDEO: How to Make a Paracord Bracelet – Discover how to weave durable and stylish paracord bracelets, perfect for survival enthusiasts or anyone looking for a rugged, fashionable accessory.
- 25 Paracord Projects | Paracord Knots & Ideas – Expand your paracord crafting skills with a collection of diverse projects, from bracelets to keychains and more.
- DIY Beaded Bracelets You Bead Crafts Lovers Should Be Making – Delve into the elegant world of beaded jewelry with inspiring designs that are perfect for adding a touch of sophistication to your handmade collection.