
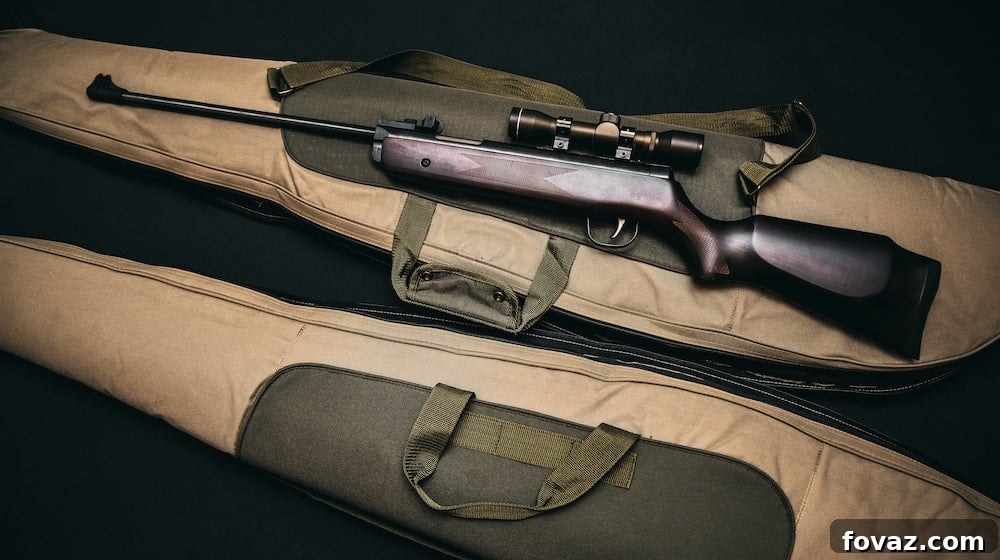
In a world where home security and personal safety are paramount, the concept of a hidden gun storage solution has evolved beyond mere novelty. It’s about responsible firearm ownership, ensuring your weapons are securely stored away from unauthorized access, particularly children, while remaining quickly accessible to you in critical moments. This comprehensive DIY guide will walk you through creating an ingenious, picture frame-based hidden gun storage that is not only functional but also seamlessly blends into your home decor, offering both peace of mind and a tactical advantage.
Gone are the days when secure firearm storage meant bulky, unsightly safes. This project from DIY Projects transforms an everyday object into a discreet and effective concealment solution, allowing you to protect your loved ones and your property with confidence and style. Whether you’re a seasoned prepper or a homeowner looking to enhance your security measures, this project offers a practical and rewarding way to safeguard your firearms responsibly.
Hidden Gun Storage: Master the Art of Concealed Firearm Placement with a Picture Frame
Why Concealed Firearm Storage is Essential for Every Responsible Owner
For firearm owners, the decision to possess a weapon comes with a significant responsibility: ensuring its safe and secure storage. While traditional gun safes offer robust protection, they can sometimes be conspicuous or slow to access. Hidden gun storage solutions, like the picture frame method, provide an alternative that prioritishes both security and discreet, rapid deployment when needed. Let’s delve into the critical reasons why concealed firearm storage is a vital component of responsible gun ownership and effective home defense.
Child Safety: Protecting the Innocent
Perhaps the most compelling reason for secure firearm storage is the absolute necessity of preventing accidental access by children. Just as you wouldn’t leave dangerous chemicals or sharp objects within reach of curious toddlers, firearms demand an even higher level of caution. A hidden storage solution ensures that firearms are out of sight and out of mind for young ones, drastically reducing the risk of tragic accidents. This critical step safeguards lives and reinforces your commitment to responsible gun ownership.
Deterring Theft: Out of Sight, Out of Mind
Burglars often target homes they perceive as easy marks, and visible valuables can act as an invitation. Firearms, unfortunately, are high-value targets for thieves, not only for their resale value but also for the potential danger they pose if they fall into criminal hands. By implementing a hidden gun storage system, you make your firearms virtually undetectable to intruders, significantly reducing the likelihood of them being stolen during a break-in. This proactive measure not only protects your property but also prevents your weapon from being used in future crimes.
Tactical Preparedness: Maintaining a Strategic Advantage
In a home invasion scenario, every second counts. While a traditional safe offers excellent security, accessing it under duress can be challenging and time-consuming. A well-designed hidden storage unit allows for quick, discreet access to your firearm, providing you with a crucial tactical advantage in a self-defense situation. The element of surprise, coupled with rapid accessibility, can be the difference between protection and vulnerability.
Responsible Ownership: Fulfilling Your Duty
Owning a firearm is a right and a privilege that comes with inherent duties. Responsible ownership extends beyond proper training and usage; it encompasses secure storage to prevent misuse or unauthorized access. Concealed storage methods demonstrate a proactive approach to gun safety, showing a commitment to the well-being of your household and community. It’s about upholding the highest standards of firearm stewardship.
Privacy and Discretion: Blending Seamlessly
Not everyone wishes to display their firearm ownership. Hidden storage solutions offer the ultimate discretion, allowing you to keep your personal security measures private. A picture frame, a common household item, is the perfect camouflage, ensuring your firearm remains a secret to all but yourself. This approach maintains the aesthetic integrity of your living space while providing robust, covert security.
The Ingenious Picture Frame Method: James Bond Style Concealment
Imagine a system so covert, so integrated into your home’s decor, that even a seasoned intruder would overlook it. The picture frame hidden gun storage embodies this ideal, offering a “James Bond-style” solution for firearm concealment. The beauty of this method lies in its simplicity and effectiveness. By cleverly modifying a common picture frame, you can create a flush-mounted compartment that opens to reveal your firearm, appearing as nothing more than an ordinary piece of art on your wall. This design ensures that your AR15, or another similarly sized rifle, can be stored discreetly, often protruding only 2.5 inches from the wall when closed, making it virtually undetectable to the untrained eye.
Gathering Your Materials: The Foundation of Your Covert Storage
Before embarking on this rewarding DIY project, gathering the right materials is crucial for both functionality and safety. Opting for quality components will ensure your hidden gun storage is secure, durable, and operates smoothly for years to come. Here’s what you’ll need, along with some considerations for selection:
- A Decent-Sized Picture Frame: Choose a sturdy frame with a solid wood or composite material that can support the weight of your firearm. The size should be ample enough to fully conceal your rifle or larger gun. Consider the aesthetic – it should blend naturally with your room’s decor.
- 2 Heavy-Duty Wall Mounts: These will bear the primary weight of the entire frame and its contents. Select mounts designed for considerable load-bearing capacity, especially if you’re storing a rifle. Ensure they come with appropriate anchors for your wall type (drywall, plaster, etc.).
- 2 Cabinet-Style Brackets (Hinges): These are critical for the smooth, flush operation of your hidden compartment. Look for heavy-duty, full-overlay, or inset cabinet hinges that allow the frame to open outward or upward cleanly without hitting the wall. The “cabinet-style” aspect ensures a professional, concealed look.
- Screwdriver: A multi-bit screwdriver or a power drill with appropriate bits will be essential for attaching hinges and mounts.
- Hammer: Needed for tapping in wall anchors or L-hooks, if not using a drill.
- Drill and Drill Bits: You’ll need a 1-3/8” wide drill bit (typically a Forstner bit or paddle bit) for recessing the hinges, and smaller bits for pilot holes.
- Measuring Tape and Pencil: For precise marking and placement.
- Level: To ensure your frame is perfectly straight on the wall.
- Stud Finder: Highly recommended for locating wall studs for maximum stability and weight support.
- L-Hooks or Specialized Firearm Mounts: For securing the firearm inside the compartment.
Step-by-Step Guide to Crafting Your Hidden Gun Storage
With your materials ready, let’s dive into the construction of your discreet firearm concealment system. Precision and attention to detail at each step will ensure a secure, functional, and aesthetically pleasing result.
Step 1: Preparing Your Picture Frame and Hinges
The key to a seamlessly hidden compartment lies in the flush mounting of the hinges. This step requires careful measurement and drilling to ensure the picture frame opens smoothly and closes perfectly flush against the wall.
Begin by removing the existing backing, glass, and picture from your chosen frame. You’ll be working directly with the frame structure. Take your two cabinet-style brackets (hinges) and position them on the back edge of the frame, typically on one of the longer sides if you want the frame to open upwards or sideways. The goal is to inlay the hinges so they sit perfectly flush with the frame’s surface.
Using a 1-3/8” wide drill bit (a Forstner bit is ideal for clean, flat-bottomed holes), carefully drill out a recess for each hinge. The depth of this recess only needs to be about 3/4” deep – just enough for the hinge mechanism to sit flush. It’s crucial not to drill all the way through the frame. Practice on a scrap piece of wood first if you’re not confident with this type of drilling. This precise recessing is what allows the picture frame to open outward without catching on the wall and ensures it lies perfectly flat when closed.
Expert Tip: We recommend drilling the hinge recesses approximately 1/4” or slightly more from the outer edge of the frame. This isn’t just for structural integrity; it’s also to allow for the future backing board (often a 1/4” thick piece of plywood or similar material you’ll add later to create the compartment) to fit perfectly within the frame when closed, contributing to that desired flush-against-the-wall appearance.
Once the recesses are drilled, firmly mount the hinges into place using the appropriate screws. Ensure they are aligned perfectly and operate smoothly before proceeding.
Step 2: Securing the Frame to Your Wall
Choosing the right location for your hidden storage is paramount. Consider factors such as quick accessibility, discreetness, and the structural integrity of your wall. Use a stud finder to locate two wall studs, as mounting into studs provides the strongest and most secure foundation for your frame and its contents. If studs aren’t available where you want the frame, use heavy-duty drywall anchors specifically rated for the combined weight of your frame, firearm, and any additional security features.
With your desired location identified, mount the two heavy-duty wall mounts to the wall. Use a level to ensure they are perfectly horizontal, allowing your picture frame to hang straight. Once the wall mounts are securely in place, carefully attach the picture frame (with the hinges already installed) to these mounts. Test the opening mechanism several times to ensure it swings freely and silently. The goal is a smooth, unencumbered motion that doesn’t draw attention.
Step 3: Installing Your Firearm’s Retention System
Inside your newly created compartment, you need a reliable system to hold your firearm securely in place. The original guide suggests using two L-hooks. While L-hooks can work, consider padding them with rubber or felt to prevent scratches on your firearm. Space them appropriately to support the length and weight of your specific rifle or gun. Use your judgment to determine the optimal distance and height for your weapon, ensuring it is held firmly and does not shift when the frame is opened or closed.
For enhanced security and stability, you might consider alternatives to simple L-hooks. Padded rifle mounts, magnetic gun mounts, or custom-cut foam inserts within the compartment can provide a more secure fit, prevent movement, and offer better protection for your firearm’s finish. Whichever method you choose, ensure it is robust enough to bear the weapon’s weight over time without compromising the wall or the frame.
Step 4: Enhancing Security with Motion Detection
Adding a layer of electronic security can provide an invaluable early warning system. Integrating motion detectors or contact sensors into your hidden storage adds a significant level of protection, alerting you if your concealed spot is ever disturbed or opened by unauthorized individuals.
You can find small, battery-operated motion detectors or magnetic contact sensors at most electronics stores, hardware stores, or even general merchandise stores like Walmart. For a motion detector, mount it discreetly inside the compartment so that it has a clear line of sight. For magnetic contact sensors, place one part on the frame’s edge and the other on the wall or inner compartment frame, ensuring they separate when the frame opens.
These devices can be configured to emit a chime, trigger a silent alarm to your phone, or integrate with a larger home security system. This extra security measure provides peace of mind, knowing that you’ll be alerted immediately if anyone attempts to access your hidden firearm without your knowledge. Explore easy DIY home automation ideas for beginners to integrate smart security features seamlessly.
Step 5: Safely Placing Your Firearm
Once your retention system is installed, it’s time to carefully place your firearm into the compartment. Ensure the rifle or gun sits securely on its mounts or hooks. It should not wobble or feel loose. If you’ve used L-hooks, double-check that the firearm’s weight is evenly distributed and that it won’t slide off. For optimal safety and quick deployment, consider having a quick-release strap or bungee cord that keeps the firearm snug against the wall until you need it, but can be easily disengaged.
Before closing the frame, visually inspect that no part of the firearm is protruding or visible around the edges. This step is crucial for maintaining the illusion of a simple picture frame. Ensure adequate clearance for the frame to close without snagging on the weapon.
Step 6: The Final Concealment Check
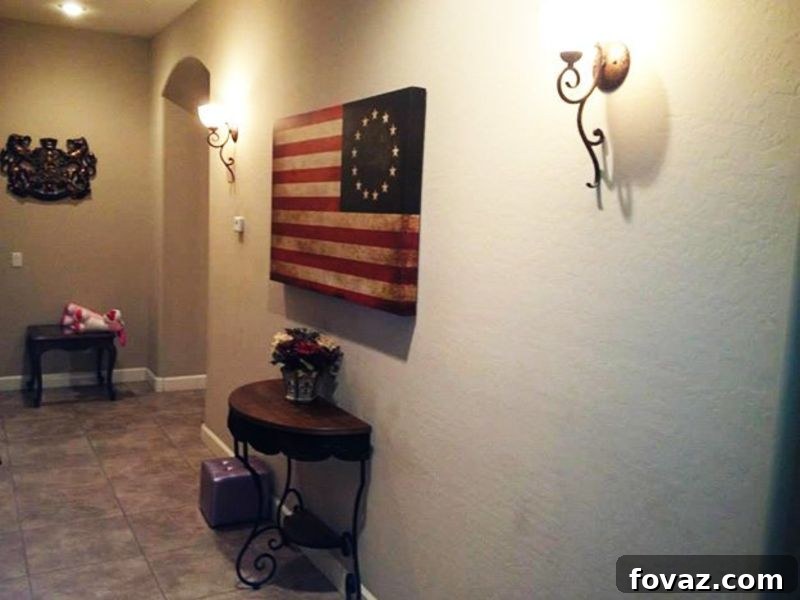
The final step is to gently close the picture frame and perform a thorough inspection. Does it close completely flush against the wall? Are there any visible gaps or tell-tale signs that betray its true purpose? Wiggle the frame slightly – does it feel secure, or does it creak or move suspiciously? The goal is for the frame to look and feel exactly like any other piece of wall art.
Take a step back and view it from different angles in the room. Does it blend seamlessly with its surroundings? Adjust the picture inside the frame if needed to match the decor of the room. A perfectly concealed hidden compartment is one that goes completely unnoticed, even by those who are actively looking for something out of the ordinary.
Important Considerations for Your DIY Project
While the picture frame method is an excellent DIY solution for hidden gun storage, responsible firearm ownership entails a broader scope of considerations. Addressing these aspects will enhance safety, ensure legal compliance, and maximize the effectiveness of your home defense strategy.
Legal and Safety Disclaimers: Know Your Local Laws
Before creating any firearm storage solution, it is absolutely critical to research and understand your local, state, and federal laws regarding firearm storage, especially concerning accessibility to minors and individuals prohibited from possessing firearms. Some jurisdictions have specific requirements for how firearms must be stored. This guide is for informational purposes only and does not constitute legal advice. Always prioritize safety and legal compliance.
Ammunition Storage: Separate but Accessible
For enhanced safety, especially in homes with children, it’s generally recommended to store ammunition separately from the firearm. While the hidden picture frame provides discreet access to your weapon, consider a smaller, equally discreet hidden compartment nearby for a ready magazine or ammunition. Ensure this separate storage is also inaccessible to unauthorized individuals but quickly retrievable by the owner during an emergency.
Regular Maintenance and Functionality Checks
Like any home security system, your hidden gun storage requires periodic checks. Regularly inspect the hinges, wall mounts, and firearm retention system for any signs of wear, loosening, or damage. Open and close the frame to ensure smooth operation and that the firearm remains securely in place. Check the batteries in any motion detectors or sensors to ensure they are always functional. Proactive maintenance guarantees that your system will work as intended when it’s needed most.
Customization and Personalization: Make It Yours
The beauty of a DIY project is the ability to customize. Consider adding features like a small LED light strip inside the compartment for better visibility in low light, or a small digital keypad lock on the side of the frame for an added layer of security. You could also line the compartment with felt or velvet to protect your firearm’s finish. Personalize the picture inside the frame with a meaningful photo or artwork that truly fits your home’s aesthetic, further cementing its inconspicuous nature.
Watch this video from Last Line Of Defense for other ways to store a gun:
Mastering the art of hidden gun storage is a crucial aspect of modern home defense and responsible firearm ownership. By implementing clever, concealed solutions like this picture frame method, you not only keep your firearms out of the wrong hands but also maintain a tactical advantage should you ever face a break-in. This project empowers you to take control of your home’s security with a discreet, functional, and aesthetically pleasing solution.
Remember, the ultimate goal is not just to hide a gun, but to create a secure, accessible system that supports your preparedness strategy while ensuring the utmost safety for everyone in your home. By taking these steps, you reinforce your commitment to responsible gun ownership and create a safer environment for your loved ones.
Do you know another clever way of hiding your guns? Let us know in the comments section below!
Up Next: Further Enhance Your Home Security and DIY Skills
- 121 Homesteading Skills You Should Know
- 7 DIY Alarm Systems to Protect Your Stuff
- Closet Organizer Ideas | Chic Ideas In Organizing Bedroom Closets, Clothing, and Accessories
Calling all crafting DIYhards, DIY Projects needs YOU! Click here if you want to write for us.
Don’t forget to stay connected with us on Facebook, Twitter, Pinterest, and Instagram!Editor’s Note – This post was originally published in April 2014 and has been updated for quality and relevancy.