
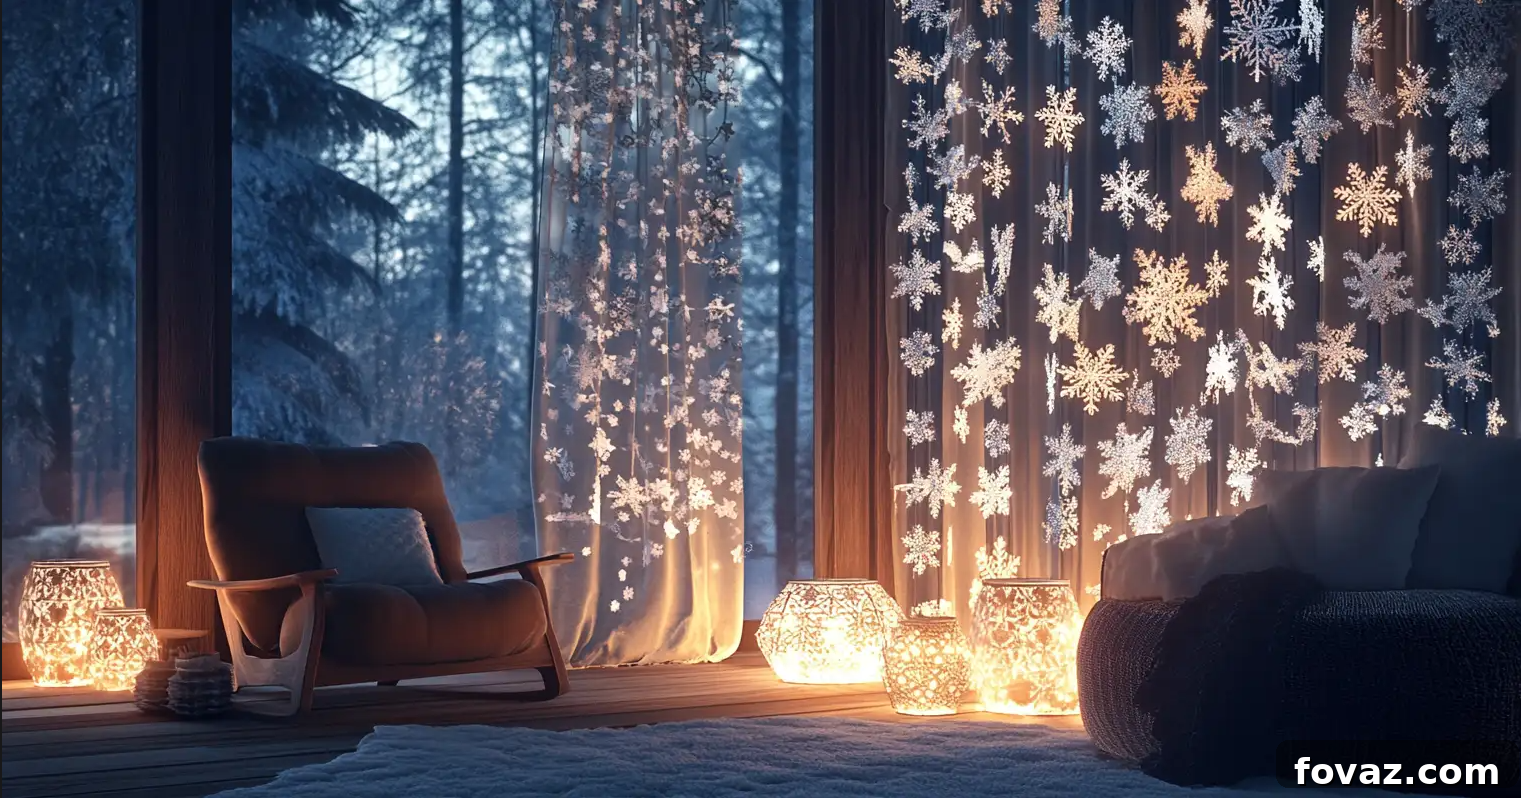
As winter gracefully descends, blanketing the world in a serene hush, it brings with it the perfect opportunity to transform your home into a sanctuary of warmth and wonder. There’s an undeniable magic in the crisp air and the quiet beauty of a snowy landscape, and what better way to capture this ethereal charm than by adorning your living space with exquisite, handmade snowflake decor? These delicate wonders of nature, with their unique and intricate patterns, perfectly embody the spirit of the cold season, infusing every corner of your home with additional charm, elegance, and a touch of seasonal enchantment.
This comprehensive guide is your passport to crafting a breathtaking winter wonderland within your own four walls. We’ve curated a collection of detailed, easy-to-follow DIY projects that are not only simple to create but also incredibly versatile, ensuring they can beautifully complement any room or existing aesthetic. Forget the store-bought generic decorations; embrace the joy of crafting personalized pieces that tell your home’s unique winter story. So, gather your chosen materials, ignite your creative spark, and let’s embark on a delightful crafting journey to bring the frosty magic of snowflakes indoors!
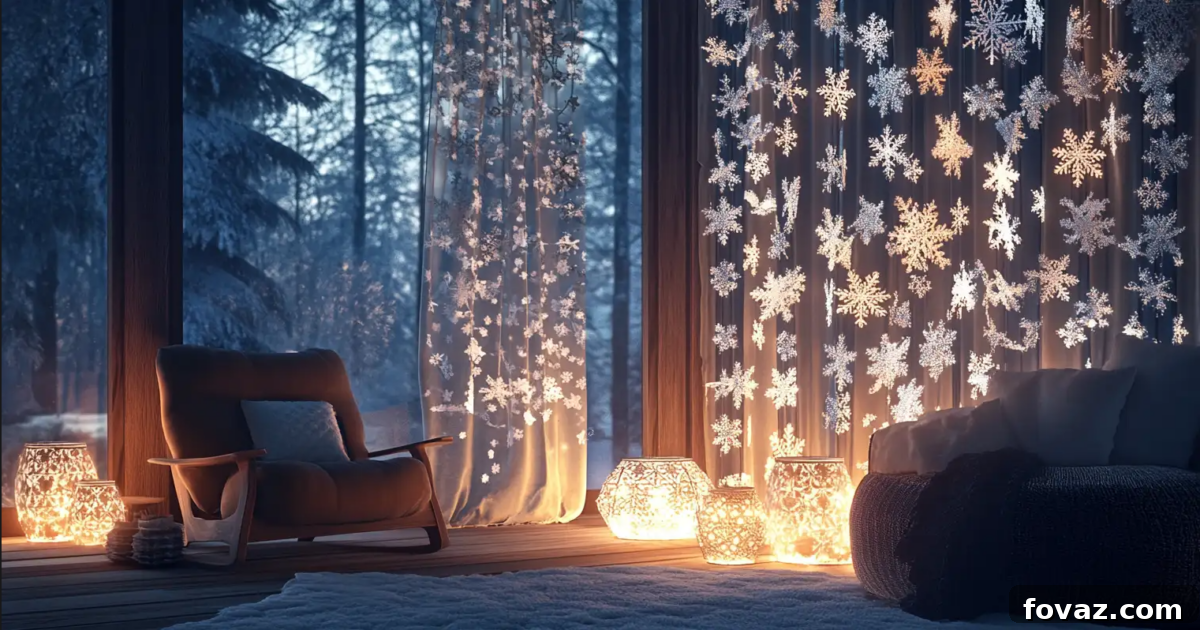
Enchant Your Home with Captivating DIY Snowflake Decor
Unleash your inner artist and transform your home into a glistening, frosty wonderland with just a few simple materials and a dash of imagination. DIY snowflake decor offers a budget-friendly and deeply satisfying way to infuse your living spaces with the serene beauty of winter. From dazzling window displays that catch the morning light to soft, glowing accents that create a cozy evening ambiance, these thoughtfully curated snowflake-themed projects provide unique decorative solutions for every room in your house. Whether you’re a seasoned crafter looking for new inspiration or a curious beginner eager to try your hand at seasonal decorations, these ideas will inspire a profound winter decor refresh that feels as magical and unique as the season itself. Get ready to create lasting memories and stunning aesthetics.
Craft a Mesmerizing Snowflake Curtain for Your Windows
Windows often serve as the natural focal points of any room, inviting the outside world in while offering an opportunity for creative expression. A cascading snowflake curtain not only enhances your windows but also instantly transforms your entire space into a frosty, magical haven, creating an immersive winter experience. This project is surprisingly easy to execute yet delivers an undeniably stunning visual impact, making it a favorite among DIY enthusiasts. It’s perfect for adding privacy with a delicate touch, or simply framing a beautiful winter view.
Materials Needed:
- White, silver, iridescent, or metallic paper for cutting snowflakes
- Sharp scissors (precision craft scissors are recommended for intricate details) or pre-made snowflake templates/punches
- Fine fishing line or clear nylon thread for a near-invisible suspension
- Transparent adhesive tape or a lightweight tension rod for hanging
- Optional: Glitter, glue, or clear spray sealant for added sparkle and durability
Instructions:
- Cut Your Snowflakes with Precision: Begin by folding your chosen paper into triangles, following traditional paper snowflake methods. Carefully cut intricate patterns from the folded edges. If freehand cutting feels daunting or you desire perfect symmetry, readily available templates or specialized snowflake punches can guide you or simplify the process significantly. Aim for a variety of sizes and designs to add visual interest.
- String Them Together Artfully: Once your snowflakes are cut, use a small hole punch or a needle to create a tiny hole near the top of each snowflake. Thread them onto individual strands of fishing line or clear thread, spacing them evenly to create a flowing, airy effect. You might want to tie a small knot above and below each snowflake to keep it securely in place, preventing them from sliding down the line.
- Hang Your Enchanting Curtain: There are a few ways to display your creation. You can secure the fishing lines directly to the top of your window frame using transparent tape, creating a seamless look. For a more robust and adjustable display, tie the strung snowflakes onto a lightweight tension rod, which can then be easily installed inside the window frame. Experiment with varying lengths of string to create a dynamic, multi-layered effect.
💡 Pro Tip:
To maximize the shimmering effect, especially when sunlight hits, consider using iridescent paper or applying a light dusting of fine glitter to your finished snowflakes while the paper is still slightly damp from a clear adhesive. Combining various snowflake sizes—from delicate miniatures to bolder statement pieces—adds incredible depth and dynamic dimension to your entire window display, making it truly captivating. This simple yet elegant craft transforms your windows into a whimsical centerpiece, blending simplicity with an undeniable elegance that celebrates the heart of winter.
Transform Bare Walls with Elegant Snowflake Wall Art
During the winter months, bare walls can often feel cold and uninspired, lacking the warmth and cheerfulness typically associated with the season. Snowflake wall art offers an instant, visually striking solution, immediately changing the ambiance of any room. This versatile project adds not only texture and seasonal charm but also allows for immense customization, perfectly complementing your existing decor and personal style. It’s a wonderful way to fill large empty spaces or add a subtle touch to smaller nooks.
Supplies Needed:
- Wooden, foam, or thick cardstock snowflake cutouts in assorted sizes
- Craft paints in a cohesive winter palette (white, silver, gold, icy blue, champagne)
- Fine-grain glitter or iridescent powder for an authentic frosty sparkle
- Strong double-sided tape, removable Command strips, or small picture hanging strips for damage-free mounting
- Optional: Clear sealant spray for glitter adhesion and durability
Instructions:
- Paint and Embellish Your Snowflakes: Select a cohesive color palette that resonates with your home’s decor, such as a classic silver and white, a luxurious gold, or a modern icy blue. Paint each snowflake cutout, ensuring even coverage. While the paint is still wet (this is crucial for adhesion), liberally sprinkle glitter or iridescent powder over the surfaces. Gently tap off any excess and allow them to dry completely before applying an optional clear sealant to prevent glitter shedding.
- Plan Your Artistic Layout: Before attaching anything to your walls, arrange the finished snowflakes on a flat surface, such as the floor or a large table. Experiment with different arrangements: try a perfectly symmetrical pattern for a formal look, a cascading design that mimics falling snow, or random clusters for a more organic, playful feel. Consider creating a focal point with larger snowflakes surrounded by smaller ones.
- Attach Your Artwork to Walls: Once you’re satisfied with your layout, carefully transfer your design to the wall. Use Command strips or strong double-sided tape to mount the snowflakes securely. These adhesive options are ideal for temporary seasonal decor as they typically allow for damage-free removal, preserving your wall’s finish.
🌟 Styling Tip:
For enhanced visual interest and a more dynamic display, mix snowflake sizes, shapes, and textures. Incorporate elements like metallic finishes alongside matte ones, or even add a few strategically placed fairy lights behind the snowflakes for a subtle glow. For even more creative wall art ideas and inspiration, explore reputable home decor resources like Martha Stewart, which often features innovative seasonal decorating techniques. This craft effortlessly transforms blank walls into captivating, eye-catching displays, making your home feel truly festive, inviting, and wonderfully cozy throughout the winter season.
Create a Soft Glow with Enchanting Snowflake Lanterns
As the days grow shorter and the evenings longer, winter naturally calls for soft, warm, and inviting lighting to chase away the chill. Glowing snowflake lanterns are an exquisite solution, creating a soothing ambiance while adding a beautiful decorative touch to any space. These versatile lanterns work wonderfully as focal points on mantels, nestled among books on shelves, gracing a console table, or even serving as elegant centerpieces for your dining table. Their gentle light evokes a sense of peace and warmth.
Materials:
- Clean, empty Mason jars, glass vases, or even recycled glass food jars of various sizes
- Snowflake stickers, vinyl decals, or stencils for creating snowflake designs
- Frosted glass spray paint (available at most craft or hardware stores)
- Battery-operated tea lights, small LED string lights, or flameless pillar candles
- Optional: Ribbon, twine, or natural elements like pinecones for embellishment
Instructions:
- Apply Your Snowflake Designs: Ensure your jars or vases are impeccably clean and dry. Carefully place snowflake stickers or vinyl decals onto the outside surface of the glass, arranging them to your liking. If using stencils, temporarily secure them with painter’s tape to prevent movement during spraying. These stickers will act as a resist, preserving clear snowflake shapes.
- Frost the Glass to Perfection: In a well-ventilated area, lightly and evenly spray the jars or vases with frosted glass paint. Ensure you cover all exposed glass surfaces, leaving the areas beneath the stickers clear. Apply several thin coats for the best results, allowing each coat to dry according to product instructions. Once the final coat is dry to the touch, carefully peel off the snowflake stickers or remove the stencils, revealing beautifully transparent snowflake patterns against a frosted background.
- Illuminate with Gentle Lights: Once the jars are completely dry and cured, insert your chosen battery-operated tea lights, small LED string lights, or flameless pillar candles. Arrange them so the light source is centered within the jar. The soft glow will beautifully highlight the frosted glass and the clear snowflake cutouts, creating a magical play of light and shadow.
🔥 Safety Reminder:
Always prioritize safety when decorating with lighting. Stick exclusively with flameless, battery-operated candles or LED lights for these lanterns. This completely eliminates any fire risks, allowing you to enjoy the cozy glow without worry, especially in homes with children or pets. These glowing snowflake lanterns do more than just illuminate your home; they create a relaxing, serene, and irresistibly cozy winter atmosphere that encourages quiet reflection and warm gatherings.
Add Coziness with Plush Snowflake Pillows
Throw pillows are an often-underestimated yet incredibly effective way to refresh and update any space, especially during the holidays and winter season. Snowflake-themed pillows bring an immediate seasonal touch and a delightful sense of coziness to your sofa, bed, favorite armchair, or even a window seat. They are a simple and impactful way to introduce texture, color, and thematic elements into your decor without a major overhaul.
Materials Needed:
- Solid-colored pillow covers in winter-appropriate hues (white, ivory, light gray, deep navy, forest green, or cranberry work exceptionally well)
- Iron-on snowflake decals (for a quick and clean application) or high-quality fabric paint designed for textiles
- Snowflake stencils (essential for achieving crisp, professional-looking designs with fabric paint)
- A small paintbrush or sponge for paint application
- An iron and ironing board (if using iron-on decals)
Instructions:
- Create Your Snowflake Design: If opting for fabric paint, place a piece of cardboard inside the pillow cover to prevent the paint from bleeding through. Position your snowflake stencils on the pillow cover and use a small paintbrush or sponge to carefully apply fabric paint within the stencil cutouts. For a clean and polished look, apply iron-on snowflake decals by following the manufacturer’s instructions, using an iron to adhere them securely to the fabric. Experiment with different snowflake patterns and sizes across your pillow collection.
- Dry and Finish with Care: Allow painted pillow covers to dry completely, following the fabric paint’s recommended curing time. This often involves waiting 24-72 hours before handling or washing. If using iron-on decals, ensure they are fully adhered and cool before use.
- Arrange for Ultimate Style and Comfort: Once your snowflake pillow covers are ready, place them onto your existing pillow inserts. Arrange them strategically on couches, beds, accent chairs, or a cozy reading nook. Mix and match with plain pillows or other textured throws to create a layered, inviting look.
🛠️ Craft Hack:
For an extra touch of glamour and festive sparkle, incorporate glittery fabric paint into your designs, or use metallic iron-on decals. This adds a sophisticated shimmer that catches the light beautifully. To explore various stencil techniques and gain more inspiration for fabric crafts, consider visiting resources like HGTV, known for its creative home decor ideas. These plush snowflake pillows will instantly elevate the comfort and style of your home, making it feel more festive and wonderfully inviting for the winter season.
Elevate Your Dining Experience with Snowflake Table Decor
The dining table often serves as the heart of winter celebrations and family gatherings, setting the tone for cherished meals and joyful conversations. Snowflake-themed table settings effortlessly combine elegance, festive charm, and a touch of playful whimsy, making them absolutely perfect for holiday meals, festive brunches, or even just a cozy family dinner during the chilly season. Crafting your own table decor allows for a unique, personalized touch that store-bought items simply can’t match.
Materials Needed:
- Snowflake-patterned placemats, doilies, or a winter-themed table runner
- Silver, gold, or frosted glass chargers for layering under plates
- Materials for DIY snowflake napkin rings (pipe cleaners, felt, or small wooden snowflake cutouts are excellent choices)
- Sparkling snowflake confetti or small decorative crystals for scattering
- Optional: Frosted glassware, winter floral arrangements, or pinecone accents
Instructions:
- Layer Your Table Thoughtfully: Begin by laying down your chosen placemats or table runner, establishing the foundation for your table setting. Next, layer silver, gold, or frosted chargers on top of the placemats. These not only add a touch of sophistication but also protect your table. Finally, place your dinner plates, ensuring a cohesive and elegant visual base for each place setting.
- Craft Unique Snowflake Napkin Rings: Unleash your creativity by making DIY napkin rings. For a simple yet charming option, twist white or metallic pipe cleaners into delicate snowflake shapes. You can also cut small snowflake shapes from felt or cardstock and attach them to plain napkin rings, or even thread them onto ribbon to tie around napkins. These handmade touches add a unique and personalized element.
- Add a Whimsical Confetti Finish: For a delightful and magical touch, gently sprinkle snowflake confetti or tiny decorative crystals across the table surface. Concentrate some around the centerpiece and sparingly near each place setting. This whimsical detail catches the light beautifully and completes the festive look, making the table sparkle.
🎄 Entertaining Tip:
To tie the entire look together and create a truly immersive winter experience, pair frosted glassware with snowy centerpieces. Consider a vase filled with white branches, artificial snow-dusted pinecones, or even a cluster of your glowing snowflake lanterns. This cohesive approach elevates the entire dining experience. Discover more inspiring ideas for holiday entertaining and table decor on expert platforms like Better Homes & Gardens, which offers a wealth of creative solutions. Your snowflake-adorned table will surely be a cherished focal point for all your winter gatherings, creating unforgettable moments around a beautifully set table.
Transform Every Room into a Winter Dream with DIY Snowflake Décor
Winter, with its serene beauty and crisp enchantment, provides the perfect backdrop for unleashing your creativity and transforming your home into a haven of warmth and wonder. DIY snowflake decor beautifully captures the ephemeral magic of this season, allowing you to infuse your living spaces with personalized charm and elegance. From the cascading grace of snowflake curtains adorning your windows to the soft, inviting glow of frosted lanterns, the artistic flair of wall art, the cozy comfort of plush pillows, and the festive elegance of a thoughtfully set dining table, these handmade crafts bring both sophistication and warmth to every corner of your home.
The true beauty of these projects lies not only in their aesthetic appeal but also in their accessibility. They are incredibly easy to personalize, allowing you to choose colors, materials, and designs that perfectly reflect your unique style and existing decor. Moreover, they offer a remarkably budget-friendly way to achieve a high-impact seasonal transformation, proving that stunning decor doesn’t have to come with a hefty price tag. Embrace the joy of crafting, gather your loved ones for a creative session, and watch as your home becomes a truly magical winter retreat. Each handmade snowflake tells a story, adding a unique, heartwarming touch that ready-made decorations simply can’t replicate.
Have you tried any of these delightful DIY snowflake projects to adorn your home for the winter season? Or perhaps you have a truly unique and inspiring idea for snowflake decor that you’re eager to share with fellow crafting enthusiasts? We’d love to hear from you! Leave a comment below, share your experiences, tips, and creative sparks, and let’s inspire each other to make this winter the coziest and most beautifully decorated one yet.
Frequently Asked Questions About DIY Snowflake Decor
To help you on your crafting journey, here are some common questions about making and displaying DIY snowflake decorations:
Q1: What materials are truly best for crafting durable and visually stunning snowflakes?
A: For truly stunning effects, consider using metallic cardstock, iridescent paper, or even vellum, which allows light to pass through beautifully. These materials add a professional finish and a captivating shimmer. For snowflakes intended for long-term use or outdoor display, foam sheets or laminated paper provide excellent durability and resistance to wear and tear. You can also experiment with craft felt for a softer, textured look perfect for pillows or banners.
Q2: How can I ensure my handmade snowflake designs are perfectly symmetrical and intricate?
A: Achieving perfect symmetry is made easier by meticulously folding your paper into multiple triangles before cutting. The more folds you make, the more intricate and symmetrical the pattern will appear when unfolded. Utilizing pre-made templates or specialized craft punches specifically designed for snowflakes can also significantly help in achieving flawless and complex symmetrical designs, even for beginners. Practice makes perfect, so don’t be afraid to experiment with different folding and cutting techniques.
Q3: Can I reuse my DIY snowflake decorations for subsequent winter seasons?
A: Absolutely! Many DIY snowflake decorations are designed for reusability. To ensure paper snowflakes last, consider laminating them or coating them with a clear sealant spray, which adds durability and protects against moisture and tearing. If using foam or sturdy materials, they will naturally be more resilient. When storing, always keep your snowflake decorations flat and in a dry, protected container to maintain their original shape and prevent creasing or damage, ensuring they are ready to enchant your home again next winter.
Q4: Are these DIY snowflake crafts suitable and safe for children to participate in?
A: Yes, many of these projects, particularly simple paper snowflakes, jar lanterns (with adult supervision for painting), and even some wall art concepts, are wonderfully kid-friendly! Crafting together is a fantastic way to bond and foster creativity. However, adult supervision is always recommended, especially when involving sharp scissors, spray paint, or any small components that could be a choking hazard for very young children. Choose projects appropriate for their age and skill level, and focus on the joy of creating together.
Q5: What are some less common but impactful places to display snowflake decor?
A: Think beyond windows and walls! Consider hanging smaller, delicate snowflakes from light fixtures or ceiling fans to create a “falling snow” effect. Adorn indoor plants or a small tabletop tree with miniature snowflakes. Create a charming garland for your mantelpiece or staircase railing. You can also incorporate them into gift wrapping, use them as unique place cards for a dinner party, or even attach them to cabinet knobs and drawer pulls for a subtle, festive touch throughout your home.