
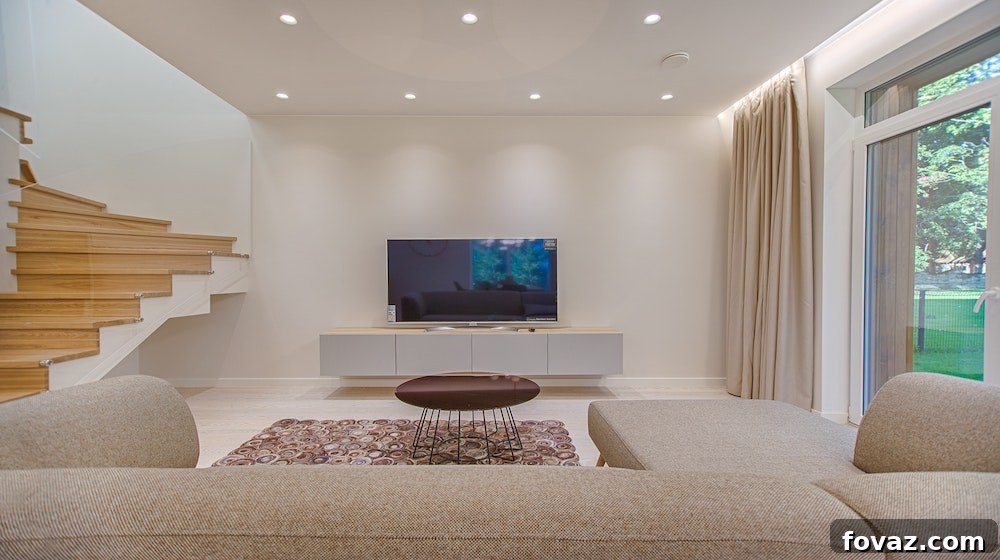
Transforming a room’s ambiance and functionality often starts with its lighting. Recessed lighting, also known as pot lights or downlights, offers a clean, modern aesthetic that can dramatically enhance any space. Far from being a daunting task, installing a roomful of these sleek fixtures is a rewarding home improvement project that you can tackle with minimal drywall tear-out and patching. This comprehensive guide will walk you through the entire process, step-by-step, empowering you to install beautiful recessed lighting yourself. The techniques you’ll master here are not only applicable to recessed lights but also provide a strong foundation for installing various other types of ceiling lighting fixtures.
How to Install Recessed Lighting: A Comprehensive DIY Guide
See also: 10 DIY Pendant Lighting Projects
Understanding Recessed Lighting: Why & What Types?
Before diving into the installation, it’s beneficial to understand why recessed lighting is such a popular choice and the different types available. Recessed lights are integrated directly into the ceiling, offering a sleek, unobtrusive look that can make rooms feel larger and more open. They’re incredibly versatile, perfect for general illumination, task lighting over kitchen counters or desks, and even accent lighting to highlight artwork or architectural features. By understanding the types, you can choose the best fit for your project.
- New Construction vs. Remodel Housings: New construction cans are designed to be installed during the framing stage, before drywall. Remodel cans, which this guide focuses on, are specifically designed for existing ceilings where drywall is already in place. They feature clips that secure them directly to the drywall.
- IC-Rated vs. Non-IC Rated: “IC” stands for “insulation contact.” IC-rated fixtures are safe to be in direct contact with insulation. Non-IC rated fixtures require a minimum clearance (usually 3 inches) from insulation to prevent overheating and potential fire hazards. Always opt for IC-rated fixtures if there’s insulation above your ceiling.
- LED, Halogen, & Incandescent: While older fixtures used halogen or incandescent bulbs, modern recessed lighting overwhelmingly features LED technology. LEDs are energy-efficient, long-lasting, and produce less heat, making them a superior choice for recessed applications. Many fixtures now come with integrated LEDs, eliminating the need for separate bulbs.
Essential Tools and Materials Checklist
Having the right tools on hand will make your installation process smoother and safer. Here’s a list of what you’ll likely need:
- Safety Gear: Safety glasses, work gloves.
- Marking & Measuring: Pencil, tape measure, string, chalk line or laser level (optional), stud finder.
- Cutting Tools: Utility knife, drywall saw, hole saw kit (specifically designed for recessed lights, matched to fixture size), drill.
- Electrical Tools: Wire strippers, needle-nose pliers, screwdriver set (Phillips and flathead), non-contact voltage tester, fish tape (for existing ceilings without attic access), long flexible drill bit (for drilling through joists/studs).
- Wiring & Connectors: Electrical wire (Romex, appropriate gauge for your circuit, usually 14/2 or 12/2 with ground), twist-on wire connectors (wire nuts).
- Fixture Components: Recessed light housings (remodel type, IC-rated if applicable), trim kits, LED modules or light bulbs.
Safety First: Prioritize Electrical Safety
Working with electricity requires utmost caution. Always prioritize safety to prevent accidents:
- Turn Off Power: Locate your home’s main electrical panel and turn off the circuit breaker that controls the lighting circuit you’ll be working on. If unsure, turn off the main breaker to the entire house.
- Verify with a Voltage Tester: After turning off the breaker, use a non-contact voltage tester to confirm that the power is indeed off at the light switch and at any existing electrical box you’re tapping into.
- Wear Personal Protective Equipment (PPE): Always wear safety glasses to protect your eyes from falling debris. Gloves can protect your hands.
1. Plan Your Layout and Precisely Cut Holes in the Ceiling
Careful planning of your lighting layout is crucial for achieving the desired effect and avoiding costly mistakes. This step sets the stage for the entire installation.
Developing Your Recessed Lighting Layout
Before making any cuts, visualize your lighting. Consider the room’s purpose, furniture arrangement, and desired light levels. A general rule of thumb for ambient lighting is to space lights 4 to 6 feet apart, or half the ceiling height. For instance, in an 8-foot ceiling, lights might be 4 feet apart. For task lighting, place them closer together over specific areas.
- Measure & Mark: Use a tape measure to mark the general locations.
- String/Chalk Line Method: For a professional-looking grid, stretch strings or snap chalk lines to create a grid pattern on your ceiling. This helps ensure uniform spacing and straight lines. A laser level can also be invaluable for this.
- Avoid Joists: This is critical. Use a reliable stud finder to locate ceiling joists and mark them. You must plan your light fixture locations to be *between* joists. Recessed light cans are typically 6-8 inches in diameter, so ensure enough clearance. If your stud finder isn’t precise enough, you can drill a small pilot hole (smaller than a pencil) where you intend to place a light. Then, bend a coat hanger into an ‘L’ shape and insert it into the pilot hole, rotating it to feel for joists. Once confirmed clear, proceed.
Cutting the Holes
Once your layout is finalized and joist locations are confirmed, it’s time to cut the openings for your fixtures.
Technique A: Manual Cutting with a Drywall Saw
Many recessed light kits come with a template.
- Carefully trace the provided template onto the ceiling at each marked location. Ensure the circle is perfectly centered over your pilot hole (if you used one).
- While wearing safety glasses, use a utility knife to score along the circular layout. This helps create a clean edge and prevents the drywall paper from tearing unevenly.
- Follow the scored line with a drywall saw. Insert the tip of the saw into the scored line and cut along the inside edge of the circle. Take your time, applying steady pressure. Be extremely cautious not to cut any existing wires or pipes already embedded within the ceiling cavity.
- Once cut, gently remove the drywall circle.
Technique B: Efficient Cutting with a Hole Saw
For speed and precision, a hole-cutting saw attachment for your drill is highly recommended, especially if you have multiple lights to install.
- Select a hole saw bit that matches the exact diameter specified by your recessed light manufacturer (e.g., 6-inch or 4-inch).
- Mark only the precise center point for each light fixture on the ceiling.
- Attach the hole saw to your drill. Position the pilot bit of the hole saw directly on your center mark.
- With firm pressure and wearing safety glasses, slowly begin drilling. Allow the saw to do the work, guiding it steadily. The hole saw will cut a perfect circle quickly and cleanly.
- After cutting, remove the drywall slug.
Regardless of the technique, perform a test fit with one of your recessed light housings. It should slide into the hole without needing to be forced, but also shouldn’t be excessively loose. A snug fit is ideal.
2. Rough-In the Wiring: Connecting the Circuit
This step involves running the electrical cables from your power source to each light fixture and to the switch location. Understanding your electrical circuit is important; ensure you don’t overload an existing circuit. If unsure, consult an electrician.
- Locate Power Source: Identify an existing power source in your ceiling (e.g., an existing light fixture, junction box) or run a new cable from a nearby wall outlet or dedicated circuit.
- Route to Switch Box: Run a new electrical cable (e.g., 14/2 Romex for a 15-amp circuit, 12/2 for a 20-amp circuit, always with a ground wire) from your chosen power source to the desired location of your light switch box. Leave sufficient slack, about 8-10 inches, at the switch box end for future connections.
- Route to First Light Fixture: From the switch box, run another cable to the hole for your first recessed light fixture.
- Daisy Chain to Remaining Fixtures: Continue running cable from the first light fixture to the second, then the second to the third, and so on, creating a “daisy chain” until all fixtures are connected.
- Leave Sufficient Slack: At each recessed light fixture hole, ensure you leave approximately 16-18 inches of cable hanging down. This generous amount of slack is critical; it provides enough wire to comfortably make connections to the fixture’s junction box outside the ceiling, simplifying the wiring process and allowing for future maintenance.
- Navigating the Ceiling Cavity:
- With Attic Access: If you have an accessible attic above, this is the easiest route. Run the wires across the tops of the ceiling joists, stapling them securely every few feet (within 12 inches of boxes and every 4.5 feet along the run) to the joists to prevent sagging or damage. Drill holes through joists if necessary, ensuring they are at least 2 inches from the top or bottom edge of the joist.
- Without Attic Access (From Below): This method requires more finesse. You’ll need to “fish” the wires through the ceiling cavity.
- Use a long, flexible drill bit (often called an auger bit or fish bit) to drill through ceiling joists or blocking within the ceiling cavity from one hole to the next. Angle the drill carefully to ensure you’re drilling horizontally and not into the attic floor above.
- Once you’ve drilled the necessary pathways, use fish tape. Feed the fish tape from one hole through the drilled path to the next.
- Attach the electrical cable to the end of the fish tape, secure it with electrical tape, and carefully pull the cable back through the ceiling cavity to the next opening. Repeat this process for all connections.
- Safety Check: As you route wires, always be mindful of existing pipes, HVAC ducts, or other electrical lines. Avoid drilling into these.
3. Insert Cable into Fixture’s Junction Box and Make Connections
Now that the wiring is routed, it’s time to connect the recessed light fixtures to the electrical circuit. Each recessed light housing typically comes with its own junction box.
- Access the Junction Box: Open the cover of the recessed light fixture’s junction box. You’ll find a set of pre-stripped wires inside: usually black (hot), white (neutral), and a bare copper or green wire (ground).
- Prepare House Wires: Guide the incoming electrical cable (the 16-18 inches of slack you left) into the junction box through one of the knockouts. Most junction boxes have cable clamps; ensure the cable sheath is securely clamped, with about 6-8 inches of insulated wires extending into the box. Carefully strip about 3/4 inch of insulation from the black, white, and ground wires of your house cable.
- Make Wire Connections: Using twist-on wire connectors (wire nuts), match the colors:
- Connect the black (hot) wire from the house cable to the black wire of the fixture.
- Connect the white (neutral) wire from the house cable to the white wire of the fixture.
- Connect the bare copper or green (ground) wire from the house cable to the ground wire of the fixture.
Twist the wire nuts clockwise until connections are secure and tight. Gently tug on each wire to ensure it won’t pull out. No bare copper should be visible outside the wire nut.
- For Daisy-Chained Fixtures: If you are daisy-chaining multiple lights, you will have two incoming house cables (one “in” and one “out” to the next fixture). In this case, you will connect *two* black house wires to the fixture’s black wire, *two* white house wires to the fixture’s white wire, and *two* ground house wires to the fixture’s ground wire (a total of three wires under each wire nut).
- Stuff Wires & Fasten Cover: Neatly fold the connected wires into the junction box, ensuring they are not pinched. Close and securely fasten the junction box cover.
- Consult Manufacturer Instructions: Always double-check the specific wiring instructions provided by the manufacturer of your recessed light fixtures, as there can be slight variations.
4. Mount the Recessed Light Housings
With the electrical connections made, it’s time to secure the recessed light housings into the ceiling openings.
- Position the Housing: Carefully push the recessed light housing up into the cutout hole in the ceiling.
- Engage Remodel Clips: Most remodel-type recessed cans come equipped with four spring clips, often referred to as “dog-ear clips” or “goof clips.” These clips are designed to clamp onto the drywall.
- Once the housing is partially in the opening, push it further until the rim is flush with the ceiling surface.
- Use a screwdriver or your fingers to push each clip upwards and outwards. You’ll feel and hear a “click” as the clip rotates and clamps down firmly onto the back of the drywall or plaster.
- Ensure all four clips are fully engaged and securely hold the fixture in place. The housing should feel stable and not wobble.
- Check for Flush Mount: Confirm that the bottom edge of the recessed light housing is perfectly flush with the ceiling surface. This ensures a clean look once the trim is installed.
5. Finally, Add the Trim and Light Bulbs
The final touches bring your recessed lighting installation to life, adding both functionality and aesthetic appeal.
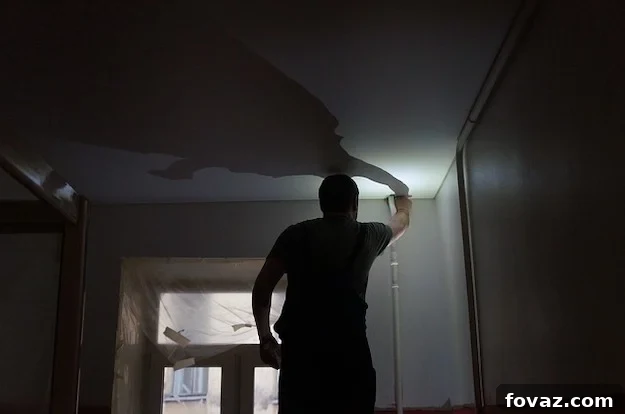
- Install the Trim: Recessed light trims are decorative rings or inserts that cover the edges of the housing and integrate seamlessly with your ceiling. They typically attach using one of two methods:
- Coil Springs (Torsion Springs): These are V-shaped springs that hook into small tabs inside the recessed housing. Gently pull each spring outward, hook it into the designated slots inside the housing, and then carefully push the trim up into the housing until it sits flush against the ceiling.
- Squeezable Springs (Friction Clips): These clips compress as you push the trim into the housing, and then expand to hold the trim securely by friction. Simply align the trim and push it firmly but gently into the housing until it snaps into place.
Ensure the trim is evenly seated and flush with the ceiling for a polished look.
- Install the Light Bulbs or LED Module: If your fixture uses traditional bulbs, screw in the appropriate type and wattage of light bulb (e.g., LED PAR or BR bulbs) into the socket. If you have an integrated LED module, it often simply twists or plugs into place within the housing.
- Restore Power & Test: Go back to your main electrical panel and turn the circuit breaker back on. Flip the light switch, and marvel at your newly installed recessed lighting!
Troubleshooting Common Issues
While DIY installation is rewarding, sometimes issues arise. Here are quick tips for common problems:
- Light Not Working: Double-check the circuit breaker. Ensure all wire connections are secure (especially inside the junction box) and that no wires are loose or incorrectly matched. Test the bulb in another fixture if possible.
- Flickering Light: This can often be an issue with incompatible dimmers if you’re using LED bulbs. Ensure your dimmer switch is rated for LED lights. Loose connections can also cause flickering.
- Buzzing Noise: Again, an incompatible dimmer or a loose connection can be the culprit. Ensure all connections are tight.
Conclusion: Enjoy Your Enhanced Space
Congratulations! You’ve successfully installed recessed lighting, transforming your room with modern, sophisticated illumination. This project not only enhances the aesthetics and functionality of your home but also equips you with valuable DIY skills for future electrical and lighting upgrades. By following these steps carefully and prioritizing safety, you’ve created a beautifully lit space that you can enjoy for years to come. Step back, admire your handiwork, and bask in the glow of your achievement!
Dan Kogan is owner of NY handyman NYC in New York City. He has more than 20 years of experience and is passionate about all things related to home improvement.