
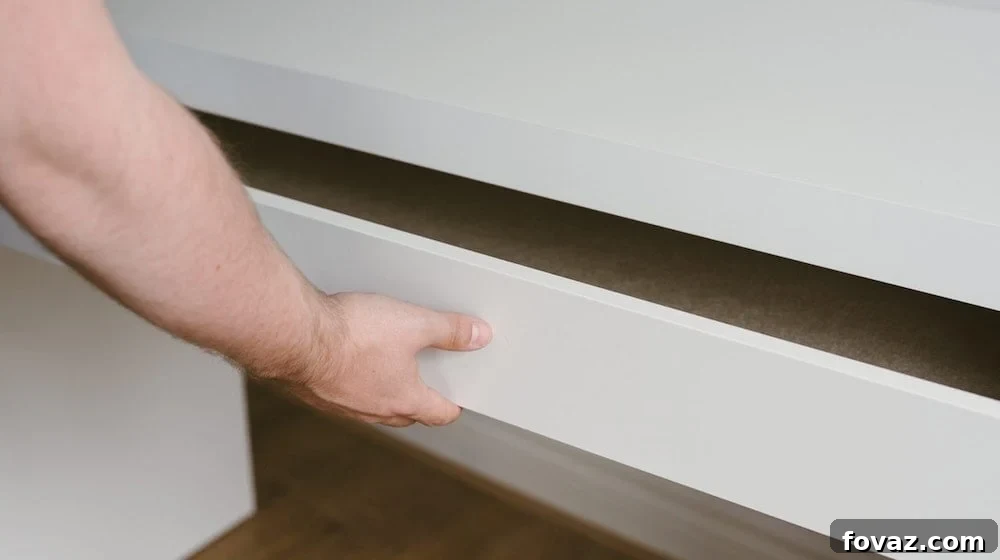
The memory of crafting my very first secret drawer remains vivid. I was a high schooler then, constantly fending off my brother’s prying hands from my prized baseball card collection. Necessity, as they say, is the mother of invention. Our shared dresser had a flimsy bottom, so I ingeniously cut a hidden opening into the wall behind it, creating a clandestine compartment for my cherished cards. To this day, he remains blissfully unaware of my youthful ingenuity. Fast forward to the present, and I’ve not only perfected the art of creating concealed storage, but I’ve also mastered the subtle nuances that make these hidden spaces truly undetectable.
This particular project offers remarkable versatility, functioning as a mere template that can be adapted to almost any furniture piece. Whether you envision it seamlessly integrated into the underside of a tabletop, nestled discreetly between existing drawers, or even as a clever addition to your garage shelving system, the design principles remain consistent. The intentional symmetry incorporated into this design ensures it blends effortlessly with its surroundings, appearing inconspicuous enough to completely escape notice. It’s important to remember, however, that this ingenious compartment is designed to secure light items or important documents. Avoid placing heavy objects inside to ensure the integrity of its mechanism and its long-term functionality. This project empowers you to create custom, hidden storage solutions throughout your home, providing peace of mind and discreet security for your valuables.
Embarking on this rewarding DIY journey requires a thoughtful selection of materials and tools. While the design is adaptable, the core components ensure structural integrity and stealth functionality. Here’s a comprehensive list of what you will need for your DIY secret drawer project:
- 1/2″ Plywood: This thickness provides a good balance of strength and a slim profile, crucial for a discreet drawer. You might consider using a wood species that matches your existing furniture for the most seamless integration.
- Piano Hinge: A piano hinge, also known as a continuous hinge, is ideal for secret drawers due to its long, slender design, which allows for smooth, consistent movement across the entire length of the drawer. It’s less conspicuous than standard butt hinges.
- Wood Glue: A high-quality wood glue is essential for creating strong, lasting bonds between the plywood pieces. Ensure it’s suitable for the type of wood you’re using.
- Drawer Magnet: This small but mighty component is key to keeping your secret drawer securely closed yet easily accessible when needed. It provides a firm hold without requiring a visible latch or handle.
- Screws: Select screws that are appropriate in length for your chosen plywood thickness, ensuring they provide a secure hold without protruding through the wood.
- String: A simple piece of string can serve as your discreet pull mechanism, allowing you to open the drawer without any external handles. Choose a sturdy yet thin string.
- Saw: A circular saw, table saw, or even a good hand saw will be necessary for accurately cutting your plywood pieces to size.
- Screwdriver: Essential for attaching the hinge and securing the drawer in place. An electric drill/driver can speed up this process considerably.
- Tape Measure: Precision is paramount in woodworking, especially for a secret drawer. A reliable tape measure is critical for accurate measurements.
- Pencil and Ruler/Straightedge: For marking your cuts and ensuring straight lines.
- Clamps: Wood clamps are invaluable for holding pieces together while the glue dries, ensuring tight, square joints.
- Safety Glasses and Gloves: Always prioritize safety when working with tools and wood.
DIY Personal Projects: How To Build A Secret Drawer For Your Desk – Enhancing Home Security with Concealed Storage
Creating a hidden compartment is more than just a woodworking project; it’s an investment in discreet security and clutter-free living. Follow these detailed steps to construct your own custom secret drawer.
Steps:
1. Precision is Paramount: Cutting Your Plywood for the Secret Drawer
The success of a secret drawer hinges on its ability to blend seamlessly with its surroundings. Therefore, meticulous measurement and precise cutting of your plywood are non-negotiable. Since this will be a small and inherently sneaky drawer, its dimensions and potential color should perfectly complement your existing desk or furniture. Remember, this project is designed for customization; everyone has unique needs, varying table designs, and distinct aesthetic preferences. Before making any cuts, double-check all your measurements. As the old adage, often attributed to seasoned craftsmen, goes: “Measure twice, cut once.” This isn’t just a saying; it’s a golden rule that prevents costly errors and ensures a perfect fit. When cutting, ensure clean, straight lines. If using a power saw, always observe safety precautions, including wearing safety glasses and securing your workpiece. Consider the grain direction if you plan to stain or finish the wood, as this can affect the final appearance.
2. Crafting the Drawer Box: Assembling with Secure Butt Joints
Once your plywood pieces are precisely cut, the next step is to assemble them into the basic drawer box. For this project, we’ll utilize butt joints. Butt joints are straightforward to create and, when reinforced with strong wood glue and screws (if desired), provide ample strength for a light-duty secret drawer. Apply a generous, even layer of wood glue to the edges that will meet. Carefully align the pieces to form the rectangular or square shape of your drawer. Use clamps to hold the pieces firmly together, ensuring they are perfectly square at each corner. This is crucial for smooth operation later. Allow the glue to dry completely according to the manufacturer’s instructions. A square and sturdy box is the foundation of a well-functioning secret drawer, ensuring that everything fits snugly and operates without a hitch.
3. Integrating the Base: The Dado Cut Advantage for the Drawer Bottom
For a robust and neatly integrated drawer bottom, we recommend cutting a dado groove into the drawer sides. A dado is a slot or trench cut across the grain of a board, designed to receive another piece of wood. This technique creates a strong, clean joint that fully supports the drawer bottom and prevents it from bowing or separating over time. If you have access to a table saw with a dado blade set, this process is quick and precise. Alternatively, a router with a straight bit or even multiple passes with a circular saw can achieve a similar result. Once your dado is cut, slide the appropriately sized drawer bottom into the groove. Apply wood glue along the dado and to the edges of the bottom piece for added security. Then, gently tack the sides together with small brad nails or screws, ensuring the bottom is firmly seated and flush. This method creates a highly durable and aesthetically pleasing drawer base, essential for your hidden compartment.
4. Achieving Seamless Disguise: Attaching the Face Plate
The secret to an undetectable secret drawer lies in its camouflage. The face plate is perhaps the most critical component in achieving this illusion. This piece should be meticulously crafted to mimic the appearance of your desk or existing furniture, ensuring it doesn’t stand out in any way. Carefully cut the face plate to the exact dimensions required, paying close attention to any existing lines, angles, or decorative elements on your furniture. Use wood glue to securely attach the face plate to the front of your newly constructed drawer box. Apply firm, even pressure and use clamps while the glue dries to ensure a strong bond and a flush, seamless finish. Sanding the edges and applying a matching stain or paint will further enhance its ability to disappear into its surroundings. This step is where your attention to detail truly pays off, transforming a simple box into a masterful piece of concealed storage.
5. The Mechanics of Secrecy: Installing the Piano Hinge and Drawer Magnet
With the main drawer box complete, it’s time to integrate the hardware that brings its secretive nature to life. The piano hinge is chosen for its continuous support and slim profile, making it ideal for discreet installation at the back portion of your secret drawer. Position the hinge carefully, ensuring it allows the drawer to pivot smoothly and fully open without obstruction. Mark and pre-drill pilot holes to prevent wood splitting, then screw the piano hinge securely into place. Next, install the drawer magnet. One part of the magnet should be attached to the underside of the table or furniture piece where the drawer will reside, and the corresponding plate should be affixed to the top, inside edge of the secret drawer. It’s crucial that the magnet and its plate align perfectly and sit flush with their respective surfaces when the drawer is closed. This precise alignment ensures a secure hold, keeping your drawer firmly shut until intentionally opened. If necessary, install small stoppers or bumpers at strategic points to prevent the drawer from swinging too far inward or outward, maintaining a perfect closed alignment.
6. Final Integration: Mounting Your Hidden Compartment and Fine-Tuning
The final step involves carefully installing your completed secret drawer into its intended location. Begin by aligning the piano hinge at the back of the drawer with the corresponding surface on your desk or furniture. Mark the screw holes, pre-drill them, and then secure the hinge firmly with screws. As you install, continuously check the flushness and alignment of the drawer magnet. When the drawer is closed, the magnet should engage smoothly, holding the drawer securely without any visible gaps or misalignments. Open and close the drawer several times to ensure smooth operation. Test the strength of the magnet and make any minor adjustments to its position if needed. The goal is for the drawer to appear as an integral part of the furniture, revealing its secret only to those who know its subtle activation. A perfectly installed secret drawer will blend seamlessly, providing discreet access to your hidden treasures.
For those who prefer visual guidance or need further clarification on any of the steps, here is the full video tutorial of this clever DIY secret drawer project, brought to you by the experts at Craftsman:
From safeguarding important documents like passports and birth certificates to securing small valuables such as jewelry, cash, or even sensitive personal items, this DIY secret drawer offers an unparalleled level of discretion and security. For me, these expertly crafted hidden compartments provide a reliable and cost-effective alternative to investing in a bulky safe or vault, allowing me to keep important belongings concealed and out of plain sight without compromising on accessibility. The satisfaction of knowing your valuables are protected in a space only you can access is truly invaluable. How do you currently manage to keep your cherished items and confidential documents safe and secure in your home? We’d love to hear your creative solutions and security tips in the comment section below. Share your insights and inspire others!
To discover even more innovative DIY projects that focus on creating clever concealment strategies for valuable items throughout your home, simply click here. Explore a world of hidden potential and enhance your home’s security with smart, do-it-yourself solutions.
Featured Image for this article is graciously provided by Piet Houtenbos, showcasing exquisite craftsmanship and inspiring design.