
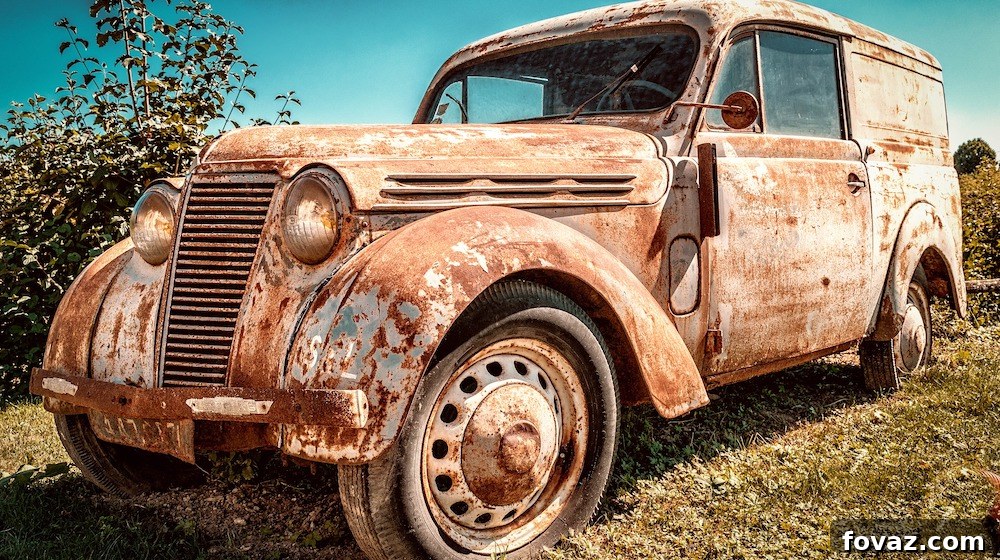
DIY Car Rust Repair: Restore Your Vehicle’s Beauty on a Budget
Rust is an inevitable adversary for any metal, and our beloved vehicles are no exception. Exposed to the elements – especially moisture, road salt, and water – metal surfaces on cars become prime targets for corrosion. While the sight of rust can be disheartening, hinting at deeper problems, the good news is that many forms of auto rust are repairable right in your garage. You don’t always need to spend a fortune at a body shop to make your car look brand new again. This comprehensive guide will walk you through an easy, budget-friendly DIY auto rust repair process, empowering you to tackle this common automotive issue with confidence.
Understanding Car Rust: The Metallic Cancer
Rust, scientifically known as iron oxide, forms when iron or its alloys (like steel in your car) are exposed to oxygen and moisture over time. This chemical reaction weakens the metal, compromises structural integrity, and severely detracts from your car’s aesthetic appeal and resale value. What often starts as a small bubble in the paint can quickly spread, eating its way through the car’s body panels like a spreading disease.
Cars are particularly susceptible due to constant exposure to harsh weather conditions, road debris, and corrosive agents like road salt used in winter. Common areas for rust include wheel wells, rocker panels, door bottoms, around windows, and under the chassis. Addressing rust early is critical; prevention is the most effective defense, but knowing how to treat existing rust promptly can save your car from extensive and costly damage.
Essential Tools and Materials for Your DIY Rust Repair
Before you begin your rust removal journey, gathering the right tools and materials is crucial for a smooth and effective repair. Having everything on hand will ensure you can complete each step without interruption. Here’s what you’ll likely need:
- Safety Gear: Eye protection (safety goggles), gloves, dust mask or respirator (especially when sanding and painting).
- Grinding and Sanding Tools: Angle grinder with a wire wheel or grinding disc, orbital sander, various grits of sandpaper (80-grit, 120-grit, 220-grit, 320-grit, 400-grit, 600-grit wet/dry).
- Cleaning Supplies: Degreaser, car soap, clean rags, lint-free cloths, wax and grease remover, clean water.
- Masking Supplies: Painter’s tape (automotive grade), masking paper or plastic sheeting.
- Rust Treatment: Rust converter (optional, for minor surface rust).
- Primers: Automotive primer (etching primer for bare metal, or a high-build filler primer).
- Paint: Color-matched automotive paint (base coat). Consult your car’s VIN plate or local automotive paint suppliers for an exact match.
- Clear Coat: Automotive clear coat for protection and gloss.
- Applicators: Spray cans or a paint gun (if you have one).
- Optional (for advanced finish): Rubbing compound, polishing compound, microfiber towels.
Step-by-Step Guide to DIY Auto Rust Repair
Now that you have your tools ready, let’s dive into the practical steps for repairing car rust. Remember to always work in a well-ventilated area and follow all safety precautions.
1. Grind and Sand the Rusted Area Thoroughly
This is arguably the most critical step in rust repair: removing all traces of rust. Begin by using an angle grinder fitted with a wire wheel or a grinding disc to aggressively remove the rust. Work carefully, ensuring you only target the rusted metal and avoid damaging surrounding healthy areas. For lighter surface rust, a coarser grit sandpaper (80-grit) on an orbital sander or even by hand can be sufficient. Your goal is to expose clean, bare metal – a shiny, unblemished surface that shows no signs of reddish-brown discoloration. If the rust has perforated the metal, creating a hole, or has severely weakened a large section, patching with a new metal sheet or using body filler might be necessary before proceeding. This is where you might decide if the repair is still within your DIY capabilities or if professional help is needed.
Once the initial grinding is complete, switch to finer grit sandpaper (120-grit, then 220-grit) to smooth out the edges of the repaired area and feather it into the surrounding paint. This creates a gradual transition, preventing a noticeable ridge once new paint is applied. After sanding, thoroughly wash and clean the entire spot with soap and water to remove all metal dust, debris, and contaminants. Follow up with a wax and grease remover for an impeccably clean surface. Allow the area to dry completely before moving on.
2. Mask the Affected Area with Precision
With the surface perfectly clean and dry, it’s time to mask off the spot that needs painting. Use high-quality painter’s tape to create a clean, crisp line around the repair area. Extend the masking with masking paper or plastic sheeting to cover surrounding body panels, windows, and trim that you do not want to get paint on. This meticulous masking prevents overspray and ensures a professional-looking finish. Take your time during this step, as poorly masked edges will be visible in the final result.
3. Apply the Appropriate Primer
Primer serves several vital functions: it promotes adhesion for subsequent paint layers, provides an additional layer of corrosion protection, and helps to create a smooth, even surface. Choose an appropriate automotive primer – an etching primer is recommended for bare metal as it bites into the surface for superior adhesion. If there are minor imperfections or scratches, a high-build filler primer can help fill them in.
Spray the primer in thin, even layers, holding the can approximately 8-12 inches from the surface. Apply 2-3 coats, allowing each coat to flash off (dry to the touch) according to the product’s instructions, typically 5-10 minutes. If necessary, lightly sand between primer coats with fine-grit sandpaper (e.g., 320-grit or 400-grit wet/dry) to achieve a perfectly smooth surface. Always clean off any dust with a tack cloth or lint-free rag before applying the next layer.
4. Paint the Repaired Section
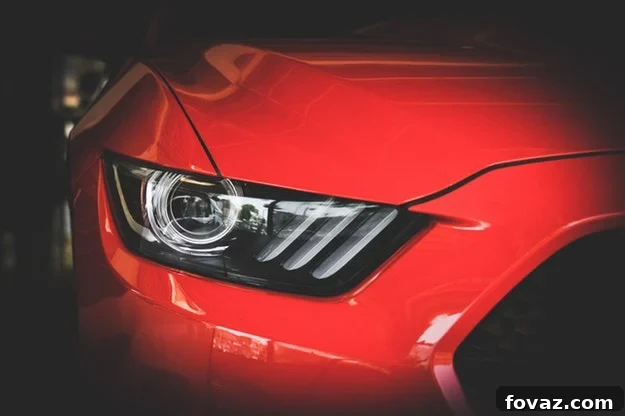
Now comes the exciting part: applying the color. Achieving a seamless repair depends heavily on matching your car’s exact paint color. You can find your vehicle’s paint code on a sticker inside the driver’s side door jamb, under the hood, or in the glove compartment. Take this code to an automotive paint supplier, and they can mix or provide a spray can with the precise match. Some suppliers can even custom-fill aerosol cans for convenience.
Just like with the primer, apply the color-matched paint in thin, even coats. Multiple thin coats are always better than one thick coat, which can lead to drips, runs, and an uneven finish. Allow adequate flash time between coats as per the paint manufacturer’s recommendations. Build up the color gradually until it matches the surrounding paint. Always use a face mask or respirator when painting, as paint chemicals emit hazardous fumes that can be dangerous to your health. Ensure proper ventilation in your work area.
5. Apply Clear Coat for Protection and Shine
Once the base coat paint has dried sufficiently (usually an hour or two, but check product instructions), it’s time to apply clear coat. The clear coat provides a protective layer against UV rays, scratches, and environmental damage, while also giving your paint that glossy, factory-fresh shine. Apply 2-3 thin, even coats of clear coat, allowing proper flash time between applications. This step is crucial for both durability and aesthetics.
After the final clear coat has fully cured (this can take 24-48 hours or even longer depending on temperature and humidity), you can wet-sand the repaired area with ultra-fine sandpaper (e.g., 2000-grit) and then polish it with rubbing compound and polishing compound. This optional step will help blend the repaired area seamlessly with the original paint, removing any slight texture differences and achieving a mirror-like finish.
Watch this video for more DIY tips on rust repair:
This video from Soaked In Oil offers excellent visual guidance to supplement these steps. Remember, your knowledge in DIY repair is a huge advantage when dealing with this common problem.
Beyond Repair: Proactive Rust Prevention Strategies
While fixing existing rust is rewarding, preventing it from forming in the first place is always the best approach. Rust prevention products are readily available in the market and applying them to your car will not only protect it from rust but will also save you significant time and money in the long run. Here are some key prevention tips:
- Regular Washing and Waxing: Frequently wash your car, especially in winter months when road salt is prevalent. Pay extra attention to the undercarriage, wheel wells, and door jambs. After washing, apply a good quality wax or paint sealant to create a protective barrier against moisture and contaminants.
- Address Paint Chips Promptly: Even the smallest chip or scratch can expose bare metal to the elements, initiating the rust process. Use a touch-up paint pen to quickly cover any imperfections as soon as they appear.
- Consider Undercoating and Rustproofing: For enhanced protection, especially if you live in a rust-prone climate, consider having your vehicle professionally undercoated or rustproofed. These treatments provide a durable barrier against moisture and salt on the vulnerable underside of your car.
- Park Smart: If possible, park your car in a garage or under a carport to protect it from harsh weather conditions. Avoid parking on wet grass or dirt for extended periods, as moisture can accumulate underneath the vehicle.
- Maintain Drain Plugs: Ensure that the drain plugs in your doors, rocker panels, and trunk are clear of debris. Clogged drains can trap water, leading to internal rust.
So, once you see those tell-tale paint bubbles or notice any discoloration, you already know that underneath this bump is a problem that needs to be taken care of. Taking proactive steps and addressing minor rust quickly will keep your car looking great and extend its lifespan.
When to Seek Professional Help
While many rust repairs are well within the capabilities of a DIY enthusiast, it’s important to recognize when a job is too big or complex. If the rust has compromised structural components of your vehicle (like the frame or suspension mounts), if there are large holes, or if you’re dealing with extensive rust spread across multiple panels, it’s usually best to consult a professional body shop. They have the specialized tools, expertise, and facilities to safely and effectively handle major rust remediation and ensure your car remains structurally sound and safe to drive.
Click Here For More DIY Automotive Tips!
Like This? You’ll Also Like…
How To Fix Your Own Car Part 1 – Remove Dents With A Suction Cup
DIY Mechanics School | DIY Projects For Automotive
5 Tips For A Seamless And Long Lasting Car Air Conditioning System
Featured Image Via curious-creature