

Build Your Own DIY Rolling Cooler Cart: The Ultimate Outdoor Entertainment Solution
Picture this: guests have arrived, the sun is shining, and your favorite game is about to start. But instead of relaxing and enjoying the company, you find yourself constantly trekking back and forth to the kitchen for cold drinks. Your heavy cooler is a pain to move, and finding space on a crowded patio table is a perpetual struggle. Nobody wants to miss a crucial moment just to grab another soda or a fresh beverage.
This common dilemma is precisely what a custom-built DIY rolling cooler cart is designed to solve. Imagine a portable, sturdy station that you can effortlessly wheel out once, park strategically next to the action, and then forget about. No more back-breaking trips hauling a bulky, 50-pound cooler across the yard or patio. No more precariously stacking drinks on every available flat surface. Your homemade cooler cart becomes the central hub for refreshments, keeping everything chilled, accessible, and organized, ensuring you and your guests stay in the heart of the celebration.
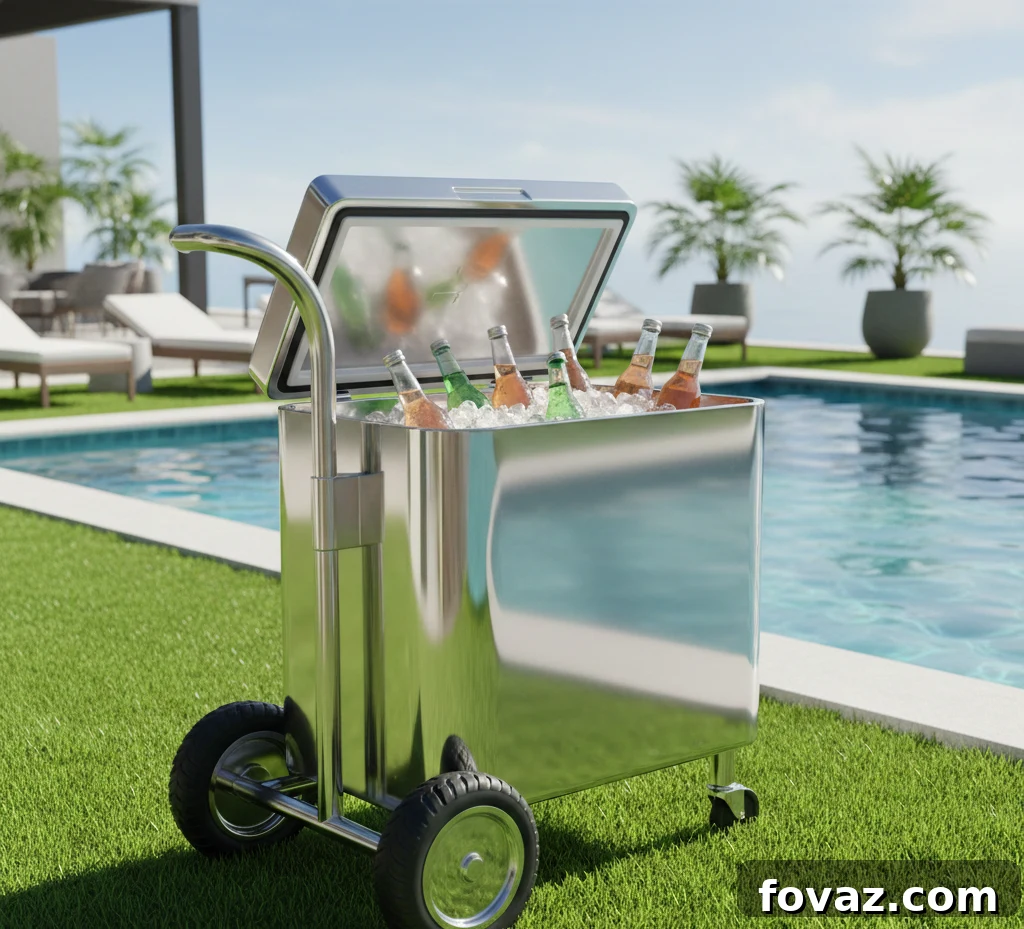
Why Choose a DIY Rolling Cooler Cart Over a Store-Bought Version?
While various cooler carts are available on the market, building your own offers distinct advantages that cater to your specific needs and budget. It’s a rewarding project that combines practicality with personal touches.
- Significant Cost Savings: Retail cooler carts can be surprisingly expensive, often ranging from $80 to over $200 for models with basic features. By taking the DIY route, you can construct a robust and highly functional cart for as little as $25–$40 using new materials. If you’re resourceful and utilize existing scrap wood, that cost can drop to under $15, making it an incredibly budget-friendly solution for entertaining.
- Perfect Custom Fit: One of the biggest frustrations with store-bought options is finding a cart that perfectly accommodates your cooler. With a DIY approach, you are in complete control of the dimensions. Simply measure your cooler, add a couple of inches for comfortable clearance, and build a cart that fits like a glove. This eliminates the guesswork, frustration of returns, and the inevitable compromise of an ill-fitting product.
- Maximize Resourcefulness: This project is ideal for repurposing materials you might already have lying around. Leftover 2x4s from a previous project, scrap deck boards, or even sturdy pallet wood can be transformed into the core components of your cart. This not only significantly reduces your expenses but also aligns with sustainable practices by minimizing waste. If you’re a keen DIYer, you likely have many of the necessary materials on hand.
- Superior Mobility and Stability: Most commercial carts offer limited mobility. Your DIY design can incorporate four high-quality swivel casters, allowing for effortless movement in any direction, even when fully loaded. Crucially, by including two locking casters, you ensure the cart remains securely stationary once positioned, offering a level of flexibility and stability that many mass-produced carts simply cannot match. This dual functionality ensures both easy transport and reliable parking.
Ultimately, constructing your own DIY rolling cooler cart provides a highly customized, exceptionally functional, and incredibly budget-friendly solution that far surpasses the limitations of standard off-the-shelf alternatives.
(As an Amazon Associate, we earn from qualifying purchases.)
Essential Materials and Tools for Your DIY Rolling Cooler Cart Project
Gathering your materials and tools before you begin is key to a smooth and efficient build. This list provides everything you’ll need, along with suggestions for using scrap materials to keep costs down.
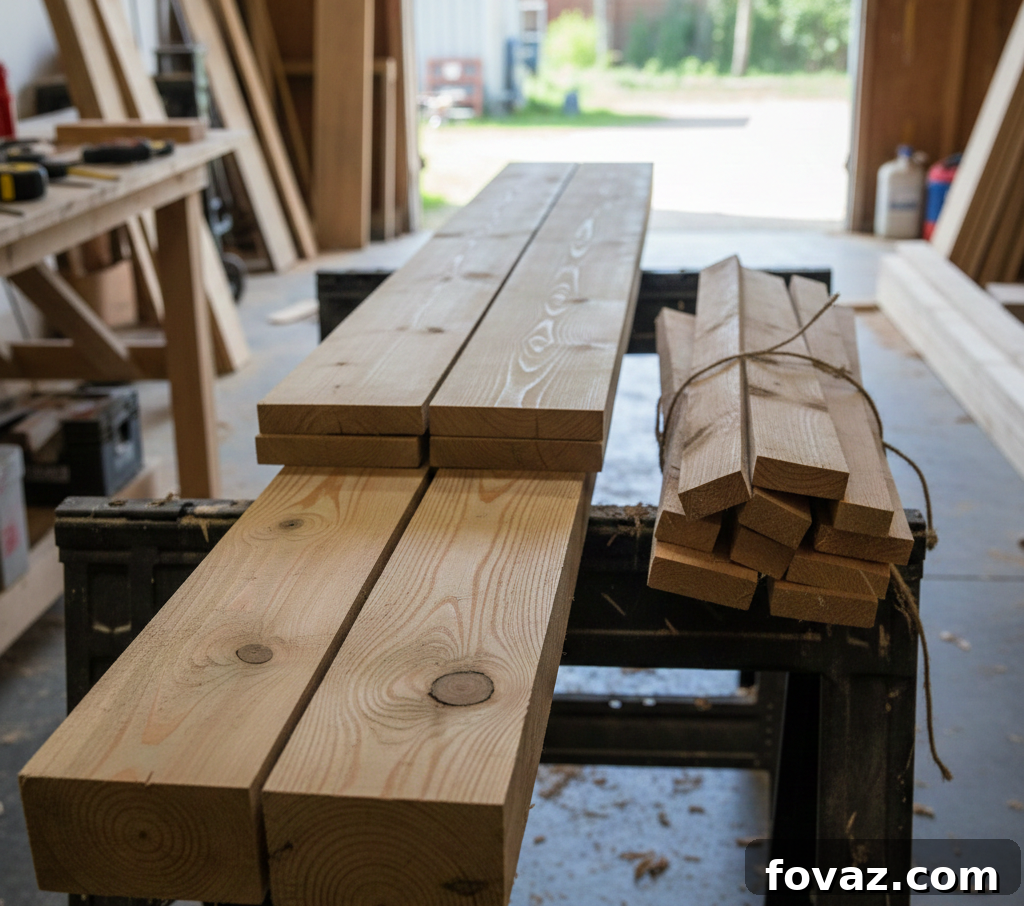
Lumber Requirements
- Two 8-foot 2x4s: These will form the sturdy frame of your cooler cart. If you have leftover pieces, ensure you have equivalent scrap lengths totaling approximately 12 linear feet. Common pine or treated lumber works well for outdoor use.
- Three to Four 1×4 boards: These will create the platform surface where your cooler rests. Deck boards or fence pickets can also be used as alternatives. Six-foot lengths are typically sufficient for most cooler sizes.
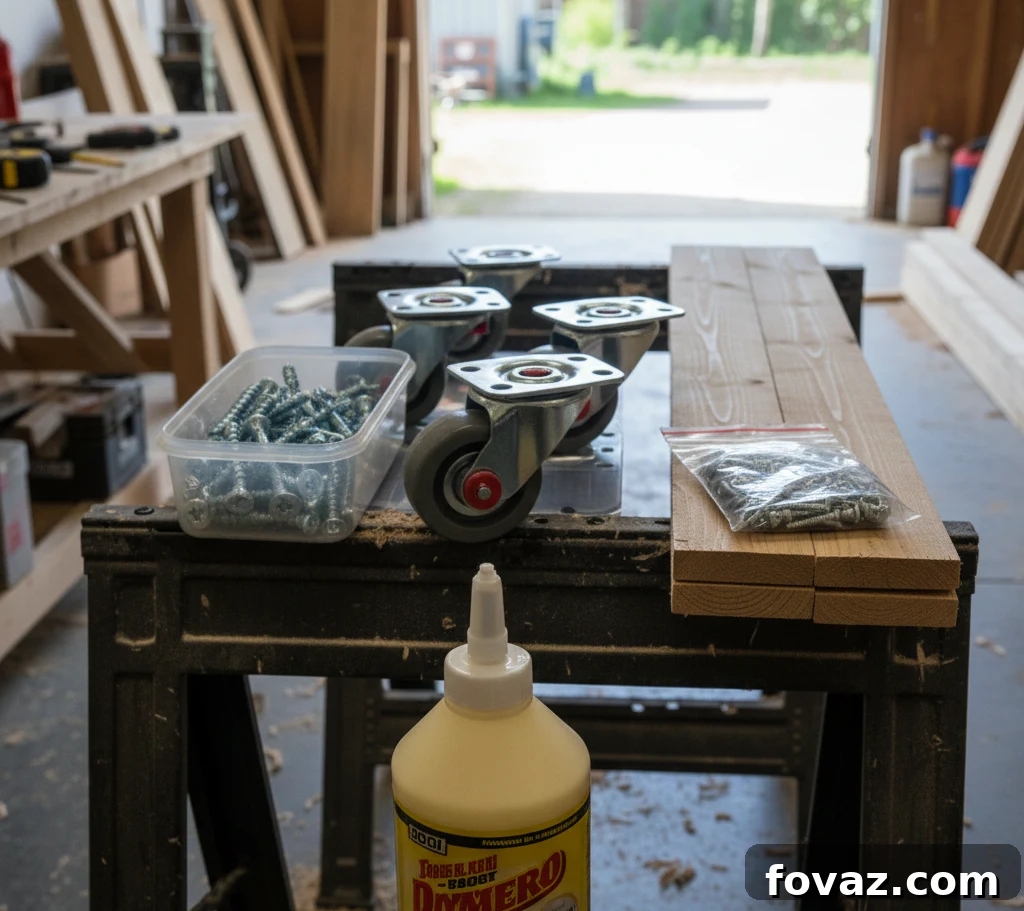
Hardware Essentials
- 3-inch exterior wood screws: Approximately 24 screws are needed for assembling the main frame. Using exterior-grade screws will prevent rust and ensure durability, especially if the cart will be stored outdoors.
- Four 3-inch swivel casters: These provide the mobility for your cart. Ideally, two of these should be locking casters to secure the cart in place when needed. Choose casters with a good weight capacity (at least 50 lbs per caster) to support a full cooler.
- 1.5-inch screws: You’ll need about 16 of these to securely attach the casters to the frame.
- Wood glue (optional): While not strictly necessary, applying wood glue to the joints during frame assembly significantly enhances the cart’s overall strength and longevity.
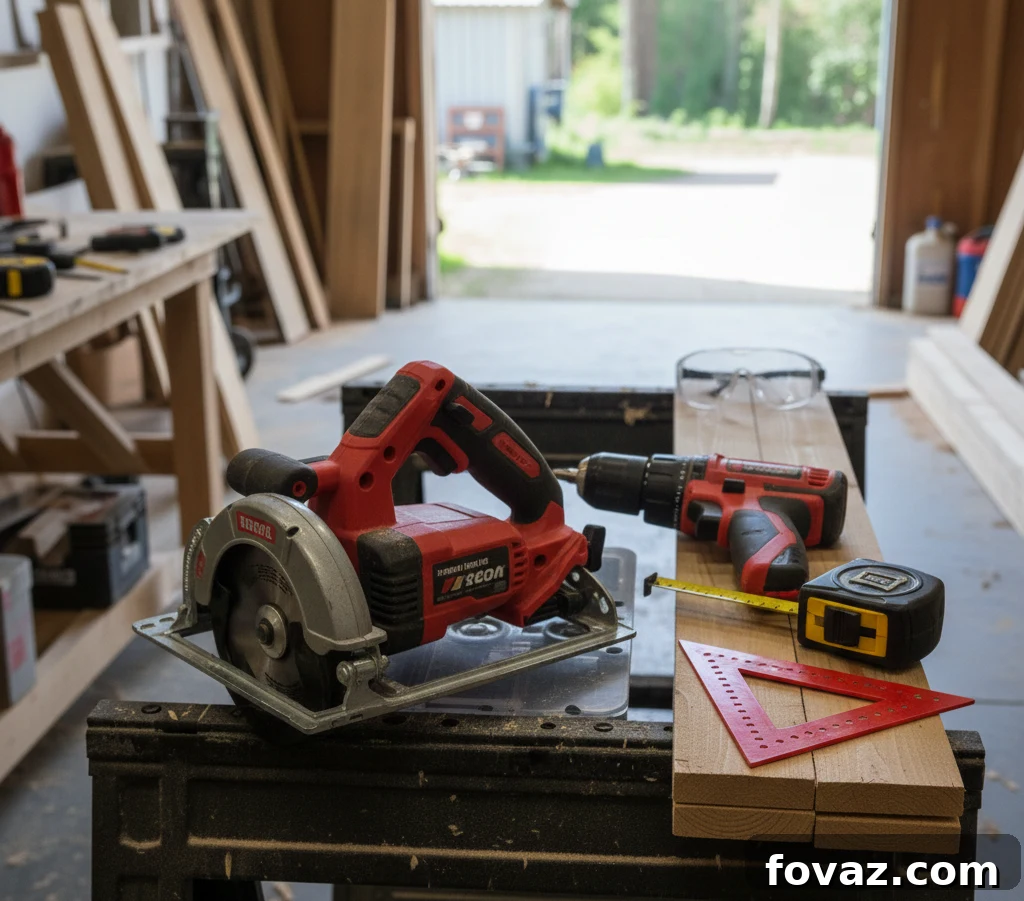
Tools You’ll Need
- Circular saw or miter saw: Essential for making accurate and clean cuts in your lumber. A miter saw offers more precision for angle cuts, but a circular saw with a speed square works perfectly well.
- Drill/driver: For pre-drilling holes to prevent wood splitting and for driving screws efficiently. A cordless drill offers maximum convenience.
- Measuring tape: Crucial for ensuring all your cuts and placements are precise. “Measure twice, cut once” is a golden rule here.
- Speed square: Helps you mark perfectly square lines for cutting and verify 90-degree angles during assembly.
- Pencil: For marking your cuts and screw locations.
- Safety glasses: Absolutely essential for protecting your eyes from wood splinters and debris during cutting and drilling. Never skip this safety step.
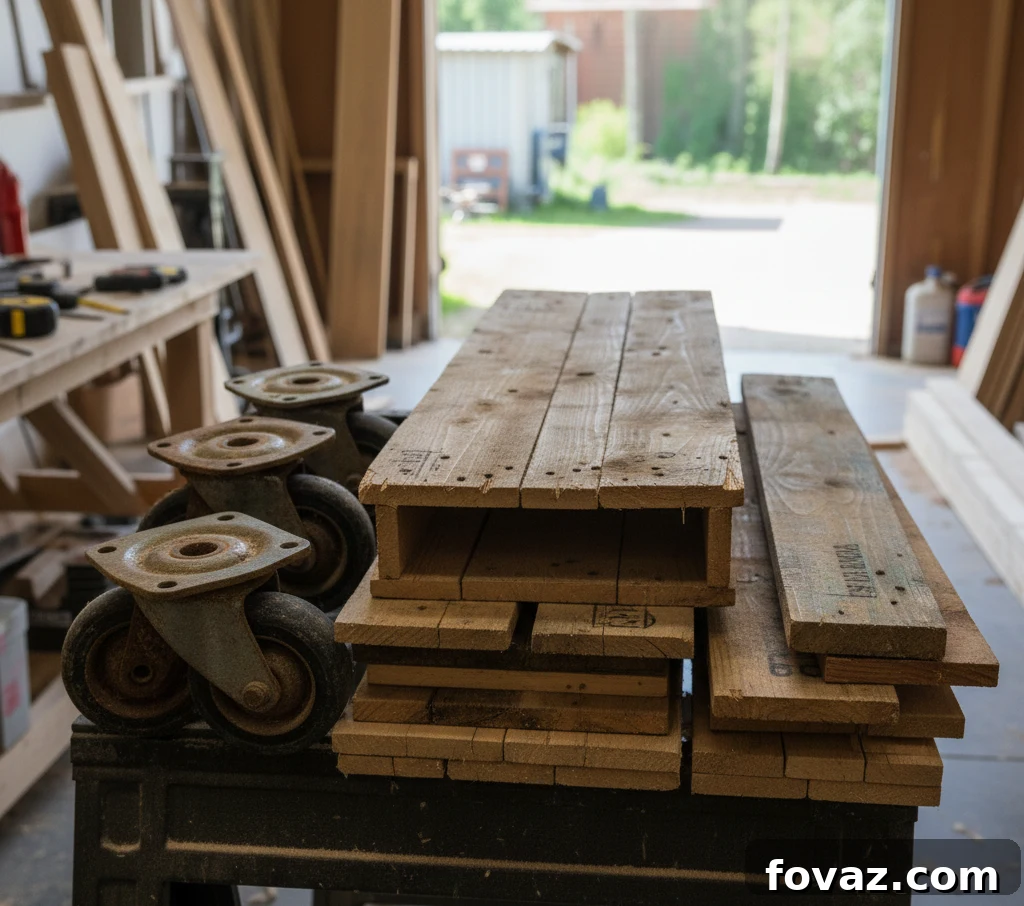
Scrap Material Alternatives
- Pallet wood: If you have access to pallets, their boards can be carefully deconstructed and used to replace the 1×4 deck boards for the platform. Ensure the wood is clean and free of splinters.
- Old furniture casters: Repurpose casters from old office chairs, rolling storage units, or even discarded furniture. Just ensure they have a weight capacity of at least 50 pounds each to handle the cooler’s weight.
- Reclaimed lumber: Any sturdy wood pieces from previous DIY projects can be integrated into your cooler cart. This is an excellent way to save money and reduce waste, giving new life to forgotten wood.
Pro Tip: Before you even pick up a saw, create a detailed cut list based on your cooler’s dimensions. Having all your measurements and cuts planned out on paper will streamline the process and help you avoid costly mistakes or wasted material.
Step-by-Step Assembly Instructions for Your Custom Rolling Cooler Cart
Follow these clear, concise steps to construct your durable and functional rolling cooler cart in just a couple of hours. Safety first – always wear your safety glasses when cutting or drilling.
Step 1: Precisely Measure Your Cooler
The foundation of a perfect custom cart is accurate measurement. Before making any cuts, place your cooler on a flat surface and carefully measure its length and width at the base. Record these dimensions. To ensure adequate clearance and ease of placing/removing the cooler, add 1.5 to 2 inches to both the length and width measurements. This small buffer will prevent the cooler from fitting too snugly.
For context, a common 48-quart cooler typically measures around 24 inches long by 14 inches wide. A larger 70-quart cooler might be closer to 28 inches long by 16 inches wide. Adjust your additions accordingly to create your desired overall cart dimensions.
Time: 5 minutes
Step 2: Cut the Frame Pieces for the Base
Using the adjusted measurements from Step 1, begin cutting your 2x4s to form the rectangular base frame. You will need four pieces in total: two longer pieces for the length of your cart and two shorter pieces for the width. Remember, the short pieces will fit *inside* the long pieces at the corners.
Using our earlier example for a 48-quart cooler (24×14 inches), with a 2-inch clearance, your cuts would be:
- Two pieces at 26 inches (these will be the long sides of your frame).
- Two pieces at 16 inches (these will be the short ends, fitting between the long sides).
As you cut each piece, use your pencil to clearly label it. This simple organizational step will prevent confusion and keep your assembly flowing smoothly, especially as you move on to larger projects.
Time: 10 to 15 minutes
Step 3: Assemble the Sturdy Base Frame
Lay out your four cut 2×4 frame pieces on a flat, level surface, arranging them into the desired rectangular shape. Position the two shorter pieces between the two longer pieces at each corner, creating a flush joint. Ensure the edges are aligned.
Before driving screws, it’s crucial to pre-drill pilot holes at each joint to prevent the wood from splitting, especially when working with 2×4 ends. Drill two pilot holes through the end of each long piece into the end grain of the short pieces. Then, securely drive 3-inch exterior wood screws through these pre-drilled holes. Use two screws per corner, totaling eight screws, to create a strong, rigid connection.
Once assembled, use your measuring tape to check for squareness. Measure diagonally from one corner to its opposite. Then, measure the other diagonal. Both measurements should be identical. If they differ, gently nudge the frame until it’s square before tightening any final screws or adding wood glue for maximum strength.
Time: 15 to 20 minutes
Step 4: Attach the Platform Boards
Now, prepare the surface where your cooler will sit. Cut your 1x4s or deck boards to match the width of your frame (the short dimension – approximately 16 inches in our running example). Depending on your cooler size, you’ll typically need three to four boards.
Lay these platform boards across the top of your assembled 2×4 frame. It’s important to leave a small gap between each board—about half an inch is ideal. This spacing isn’t just aesthetic; it allows water, spilled drinks, or condensation to drain through, preventing pooling and keeping your cooler dry and clean.
Secure each platform board by driving two 3-inch screws through each end, into the 2×4 frame underneath. Again, if you’re using hardwood or if your boards seem prone to splitting, always pre-drill pilot holes to ensure a clean, strong attachment.
Time: 15 to 20 minutes
Step 5: Securely Mount the Casters
Flip your assembled frame upside down to access the underside of the 2×4 frame. Position one caster at each of the four corners. Place them approximately 1 inch in from both edges of the frame to provide maximum support and prevent the caster plate from extending beyond the wood.
Using a pencil, mark the exact locations for the screw holes on each caster plate. Thoroughly pre-drill each marked hole – this is vital for preventing the 2x4s from splitting when you drive the screws. Then, attach the casters firmly using 1.5-inch screws. If you find your 2×4 frame material is thinner than ideal, or you want extra reinforcement, consider adding a small piece of plywood (a “backer board”) underneath the 2×4 at each corner to give the caster screws more material to grip.
Crucially, position your two locking casters on the *same end* of the cart. This strategic placement means that when these two wheels are locked, that end of your cooler cart is firmly anchored, providing excellent stability and preventing unwanted movement when parked.
Time: 10 to 15 minutes
Step 6: Integrate a Convenient Handle (Optional but Highly Recommended)
Adding a handle vastly improves the functionality and ease of use of your cooler cart, especially when it’s fully loaded with a heavy cooler and drinks. It provides a comfortable grip for steering and maneuvering.
You have a couple of options for the handle design: a vertical handle or a horizontal push bar. For a vertical handle, cut a 2×4 to about 32 inches. For a horizontal push bar, an 18-inch piece works well. Attach your chosen handle to one end of the frame, positioning it on the opposite side of your locking casters. You can secure it using 3-inch screws driven at an angle (a technique known as toe-screwing) for a strong, hidden connection, or use small L-brackets for added visible support and stability.
The ideal handle height is typically between 30 and 36 inches from the ground. This range puts it at a comfortable pushing height for most adults, minimizing strain when moving your loaded cart.
Time: 10 minutes
Step 7: Conduct a Thorough Test and Make Any Necessary Adjustments
With all components assembled, flip your cooler cart right-side up. This is the moment to test its functionality. Load your cooler onto the platform and, if possible, fill it with some weight (like a few bottles of water) to simulate real-world use. Roll the cart around your garage, driveway, or patio.
Observe its movement: Does it roll smoothly? Is there any noticeable wobble or instability? Engage the locking casters to confirm they hold the cart firmly in place. If you notice any tilting or instability, the most common culprit is uneven caster mounting. Carefully inspect each caster to ensure it’s securely and levelly attached to the frame. Adjust any loose or misaligned casters as needed to achieve perfect balance and smooth operation.
Time: 5 minutes
Budget and Build Time for Your DIY Rolling Cooler Cart Project
One of the most appealing aspects of this DIY project is its affordability and quick turnaround time. Here’s a realistic breakdown of what you can expect in terms of resources and effort:
Estimated Build Time
- Total Project Time: You can expect to complete your DIY rolling cooler cart in a remarkably short timeframe, typically between 90 to 120 minutes. This estimate factors in time for measuring, cutting, assembly, and minor adjustments.
- Note: Actual build time can vary based on your experience level with woodworking tools and how efficiently your workspace is set up. Beginners might take a little longer, while seasoned DIYers could finish even faster.
Estimated Cost
- Using New Materials: If you purchase all new lumber, hardware, and casters, the total cost for your cart will generally fall in the range of $25 to $40. This is a fraction of the price of comparable store-bought carts.
- Utilizing Scrap Wood and Salvaged Materials: For those with a collection of leftover wood from previous projects or who can salvage components, the cost can be dramatically reduced to under $15. This is where the true budget-friendliness of DIY shines.
Detailed Cost Breakdown
Pro Tip: To save even more on costs, make it a habit to check the clearance bins at your local hardware store. You can often find discounted fasteners, small lumber pieces, or even quality casters at a fraction of their original price. Additionally, repurposing casters from old office chairs or abandoned rolling carts is a great way to save money and reduce waste.
Casters: This component often represents the largest cost factor. A decent pack of four swivel casters, especially if two are locking, typically costs between $12 to $20. Investing in good quality casters is worthwhile as they are crucial for the cart’s mobility and durability.
By carefully planning your material sourcing and embracing the use of scrap wood and salvaged parts, you can keep the overall costs of this project exceptionally low, all while still building a highly functional, sturdy, and long-lasting cooler cart tailored to your needs.
Optional Tweaks and Customization Ideas for Your DIY Rolling Cooler Cart
Once you’ve built the basic frame of your cooler cart, the real fun begins with personalization. These optional additions can elevate your cart from a simple moving platform to an indispensable outdoor entertainment station.
Add a Handy Bottle Opener
Upgrade your cart: For ultimate convenience, consider mounting a wall-mount bottle opener directly onto the side of your cart’s frame. Position it strategically near the handle or in a corner for quick and easy access. This small, inexpensive addition transforms your DIY rolling cooler cart into a self-contained beverage station, perfect for tailgates, backyard BBQs, or any outdoor party where cold drinks are flowing.
Install Side Hooks or a Towel Bar
Extra storage and organization: Enhance the functionality of your cart by adding a short towel bar or a few sturdy utility hooks to the frame. These are incredibly useful for hanging items such as hand towels, garbage bags, bag clips for snacks, or even grilling utensils. This is particularly beneficial during tailgates or events where surface space is at a premium, helping you keep essential items organized, within reach, and off your crowded table.
Personalize with Paint or a Custom Design
Personalize your cart: Make your rolling cooler cart truly your own by adding a coat of exterior-grade paint or spray paint. This not only adds a splash of personality but also provides an extra layer of weather protection, increasing its lifespan. You can get creative by taping off sections for stripes, using stencils to add your favorite team’s logo, or painting it to match your patio decor. Most exterior paints dry quickly, allowing you to complete this customization in a single afternoon.
Adjust Caster Placement for Uneven Ground
Upgrade for rugged outdoor use: If your primary use for the cooler cart will be on challenging surfaces like grass, gravel, dirt paths, or uneven patio stones, consider upgrading to larger 4-inch casters. Larger diameter wheels navigate rough terrain much more easily than smaller ones, preventing snagging and tilting. For enhanced stability on uneven ground, you can also mount the casters slightly inward (e.g., an extra inch or two) from the absolute corners of the frame. This slightly wider footprint reduces the chance of tipping, making it more robust for outdoor adventures.
Build a Practical Lower Shelf for Additional Storage
Maximize storage capacity: Transform your cart into a multi-level storage solution by adding a second tier. To do this, attach short 2×4 legs (approximately 6 to 8 inches tall, depending on your desired shelf height) to the inside of your main frame. Ensure these legs are securely fastened and level. Then, lay additional 1×4 boards across these legs to create a sturdy lower shelf. This extra storage space is perfect for stowing extra bags of ice, stacks of cups, non-perishable snacks, or even supplies like sunscreen and bug spray, keeping everything conveniently in one spot.
Final Takeaway: Your Perfect Portable Refreshment Station Awaits
You now possess a comprehensive, easy-to-follow plan for constructing a highly functional and durable DIY rolling cooler cart in under two hours. The material costs are minimal, the required tools are basic, and the finished product will be perfectly tailored to the dimensions of your cooler.
Don’t let another outdoor gathering or tailgate party be hampered by inconvenient trips to the kitchen or a lack of accessible cold drinks. Build this project before your next watch party, picnic, or backyard BBQ. With your new rolling cooler cart, you can effortlessly wheel out your refreshments, lock the casters into place, and remain where the action is. Say goodbye to repeated kitchen runs and juggling drinks on crowded tables. Enjoy seamless entertaining and be the hero of your next event with this practical, custom-built solution!
How much does it cost to build a DIY rolling cooler cart?
Building your own DIY rolling cooler cart is remarkably cost-effective. Typically, it costs between $25 and $40 if you purchase all new lumber and hardware. However, if you’re able to utilize existing scrap wood from other projects, such as pallet wood or reclaimed lumber, and perhaps repurpose old casters, the total cost can be significantly reduced to under $15. This makes it an incredibly budget-friendly solution compared to purchasing a pre-made cart.
How long does it take to build a DIY rolling cooler cart?
This is a quick and satisfying DIY project! You can expect to complete your rolling cooler cart in just 90 to 120 minutes. This timeframe includes measuring, cutting, assembling the frame, attaching the platform boards, and mounting the casters. Experienced builders might even finish faster, while beginners will find the steps straightforward and manageable within this estimated time.
What materials are needed for a DIY rolling cooler cart?
To construct your sturdy and portable cooler cart, you’ll primarily need lumber and hardware. Essential materials include two 8-foot 2x4s for the main frame, three to four 1×4 boards or deck boards for the cooler platform, four 3-inch swivel casters (with two locking for stability), 3-inch exterior wood screws for the frame, and 1.5-inch screws for the casters. Wood glue is optional but recommended for added strength. Remember, using scrap wood can significantly reduce your material expenses.
Can I use different types of wood for the DIY rolling cooler cart?
Absolutely! The flexibility of DIY means you can use a variety of wood types. Common pine or treated lumber works well for the frame, especially if the cart will be used outdoors. If you have leftover wood from other home improvement projects, sturdy pallet wood, or reclaimed lumber, these can all be excellent and cost-effective options. Just ensure the wood is sound, free of major defects, and strong enough to support the weight of your cooler, ice, and beverages to ensure durability and safety.
Do I need special tools to build a DIY rolling cooler cart?
No, you don’t need any specialized or expensive tools for this project, making it perfect for beginners and those with basic workshop setups. The essential tools you’ll need are a circular saw or miter saw for cutting wood, a drill/driver with appropriate bits for screwing and pre-drilling, a reliable measuring tape for accurate dimensions, a speed square to ensure precise angles, and a pencil for marking. Don’t forget safety glasses to protect your eyes during cutting and drilling!
How can I make my rolling cooler cart more stable?
Ensuring the stability of your rolling cooler cart is crucial for safety and functionality. To achieve this, always mount your casters properly and levelly at each corner of the frame; uneven casters are a primary cause of wobbling. Use thick, strong wood for the frame (like 2x4s) and ensure all joints are securely fastened with multiple screws. If you anticipate carrying an exceptionally heavy cooler, consider adding extra cross supports or a central brace under the platform boards to prevent any sagging or structural weakness over time.
How do I maintain my rolling cooler cart?
Maintaining your DIY rolling cooler cart will extend its lifespan and keep it looking great for years of outdoor enjoyment. Regularly inspect the casters for any signs of wear, rust, or debris accumulation, and clean or lubricate them as needed to ensure smooth rolling. If your cart is frequently exposed to the elements, apply a fresh coat of exterior paint or wood finish annually to protect the wood from moisture and UV damage. Keeping the cart clean after each use will also help preserve its functionality and appearance.