
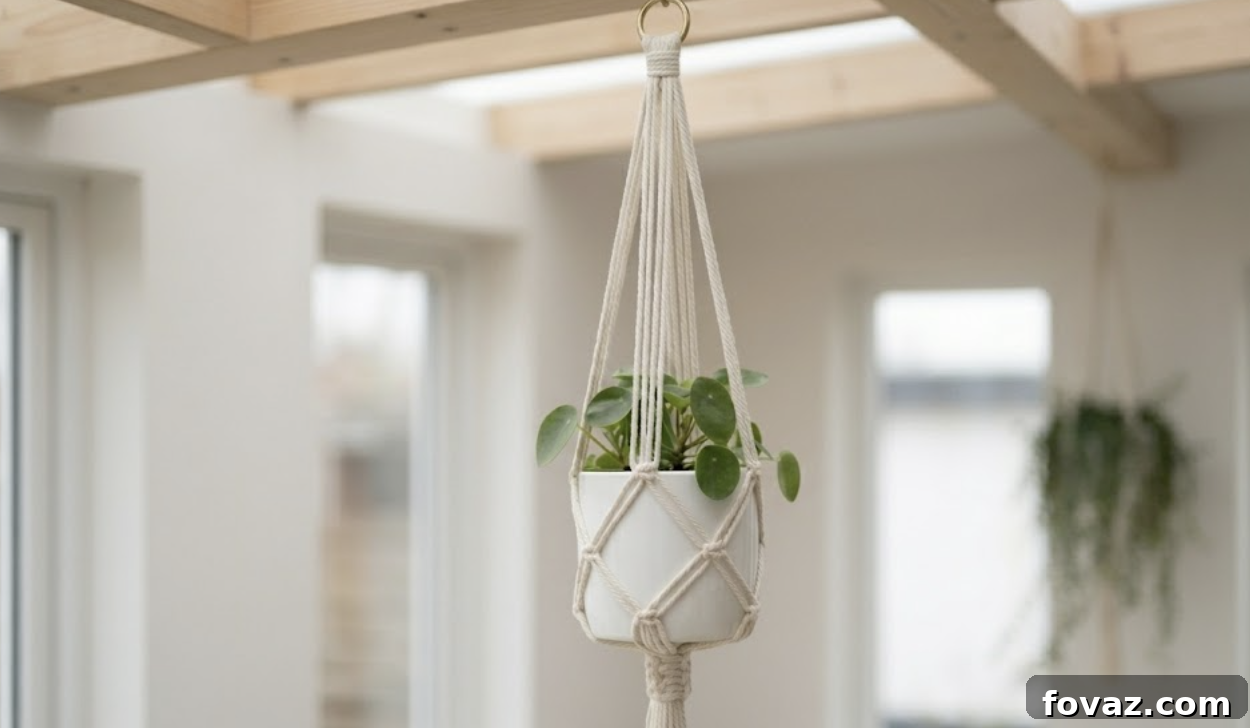
At a Glance: Easy Macrame Plant Hanger
- Only two knots are needed: the square knot and the gathering knot
- The whole hanger takes under 2 hours and about $10–$15 in supplies
- This tutorial includes a step-by-step video so you can watch each move before trying
Easy Macrame Plant Hanger for Beginners (Step-by-Step Tutorial)
Macrame can seem intimidating at first, especially when tutorials jump straight into knot names without clearly explaining what to cut, how long to cut it, or the order of steps. This guide removes that guesswork. With just two knots, eight cords, and under two hours, you’ll have a finished plant hanger ready to hang by the end of the day.
What You’ll Need
- 8 cords of cotton macrame rope (exact lengths in Step 1)
- 1 additional cord, approximately 80 cm / 32″, for the gathering knot
- 1 metal or wooden ring, about 2″ diameter
- Scissors
- Measuring tape
- Optional: wooden beads with large holes
How to Make an Easy Macrame Plant Hanger: Step-by-Step
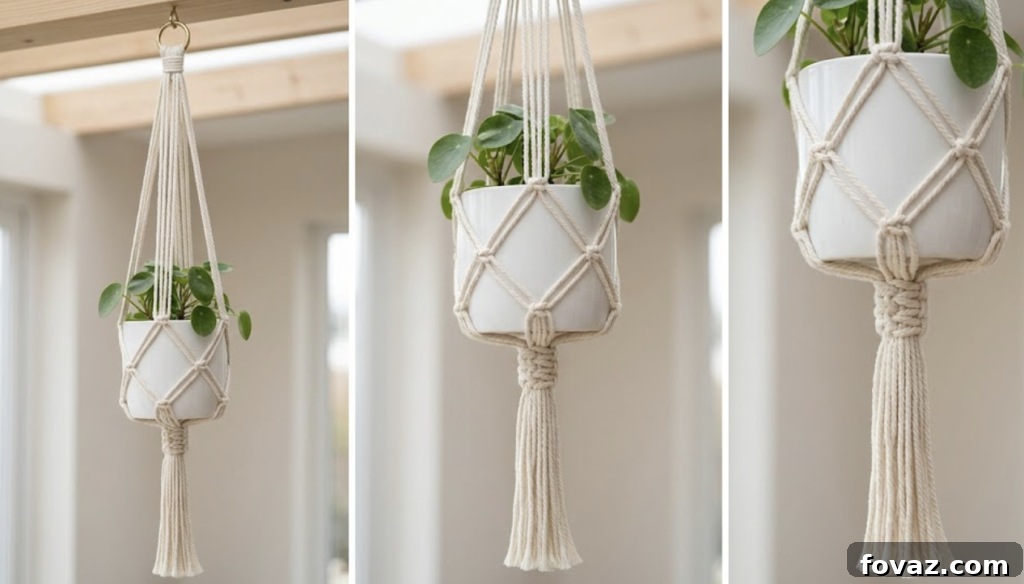
Step 1: Cut and Stage Your Cords
Cut 8 cords to a length based on your desired finished hanger. A helpful rule is to cut each cord to roughly four times the finished length. For a standard hanger around 3 feet long, cut each cord to about 12 feet. Also cut one separate cord about 80 cm / 32″ for the final gathering knot and set it aside. Line all 8 cords up evenly and smooth them out before starting.
Step 2: Attach Your Cords to the Ring
Find the middle of one cord and wrap it behind the ring so a loop sits at the front. Pull both ends down through that loop and snug it up against the ring. Repeat this for all 8 cords. When finished you should have 16 strands hanging down from the ring, arranged neatly and evenly.
Step 3: Tie the First Row of Square Knots
Measure down about 40 cm / 16″ from the ring to mark the start of the first row. Divide the 16 strands into three groups of four: left, middle, and right. For each group, the two center strands act as the anchor while the two outer strands form the knot.
To tie a square knot: take the left outer strand and cross it over the two center strands, then take the right outer strand and cross it underneath the center strands and up through the loop the left strand made. Pull both working ends to tighten the first half. Now reverse: right outer strand crosses over the center strands, left outer strand crosses underneath and up through the loop. Tighten to complete the square knot.
Tie one square knot in each of the three groups. Adjust so all three knots sit at the same height before moving on.
Step 4: Tie the Alternating Second Row
This row creates the basket shape that will hold the pot. Measure down about 15 cm / 6″ from the first row. Instead of using strands from the same group, take two strands from one group and two strands from the adjacent group (four strands total) and tie a square knot. Repeat this at each junction around the hanger so the knots alternate, forming a ring that cradles the pot.
Step 5: Tie the Closing Gathering Knot
Gather all 16 strands together below the basket. Fold the pre-cut 80 cm cord in half to create a small loop, place the loop at the bottom of the gathered strands, then wrap the long ends tightly around the bundle about 9–10 times. Thread the loose end of the wrapping cord down through the loop and pull the top tail of the loop upward to tuck and lock the wraps in place. Trim the remaining ends close and neaten the wrap.
Step 6: Trim and Hang
Even up the fringe at the bottom—either straight across or at an angle depending on your preference. Test the fit by placing your pot in the basket; it should sit snugly with the hanger supporting the rim. Hang the finished piece from a ceiling hook, beam, or plant stand.
Watch the step-by-step video by RikkiRikki DIY Channel:
Tips for Getting It Right the First Time
- Keep your tension consistent. Loose knots look uneven and can slip over time—pull each knot firm as you tie it.
- If knots look uneven, gently tug the working strands before tightening all the way to correct alignment.
- If cord ends fray, apply a small dab of fabric glue to the tip and let it dry before continuing.
- Work with the hanger hanging from a hook or doorknob. Viewing it vertically makes spacing and symmetry easier to check.
If macrame tutorials have felt confusing, this one focuses on clear measurements and a simple order of steps. Cut your cords first, follow the steps in order, and take a photo when it’s done to track your progress.
FAQs
What cord is best for an easy macrame plant hanger? Use 4 mm single-strand or 3-ply twisted cotton cord. It’s soft, easy to work with, and holds knots cleanly. Avoid jute for your first project because it’s rougher and harder to untie.
How long does an easy macrame plant hanger take to make? Expect about 2 hours total: roughly 20 minutes for measuring and cutting, about 90 minutes for knotting, and 10 minutes for trimming and hanging. You’ll be faster on subsequent hangers.
Can you make a macrame plant hanger without a ring? Yes. Fold the cords in half and create a loop at the top using a wrapped square knot instead of a ring. A ring, however, gives a cleaner finish and is easier for beginners.
Why do my macrame knots keep coming out uneven? Uneven knots are usually a spacing or tension issue. Measure down from the ring before tying the first knots and keep tension consistent across all strands.
What size pot fits a beginner macrame plant hanger? A medium pot about 5–7 inches wide and 5–6 inches tall works well. If your pot is larger, add a few extra inches to your cord lengths when cutting. Hold the pot up to the basket section while building to check the fit before tying the gathering knot.