
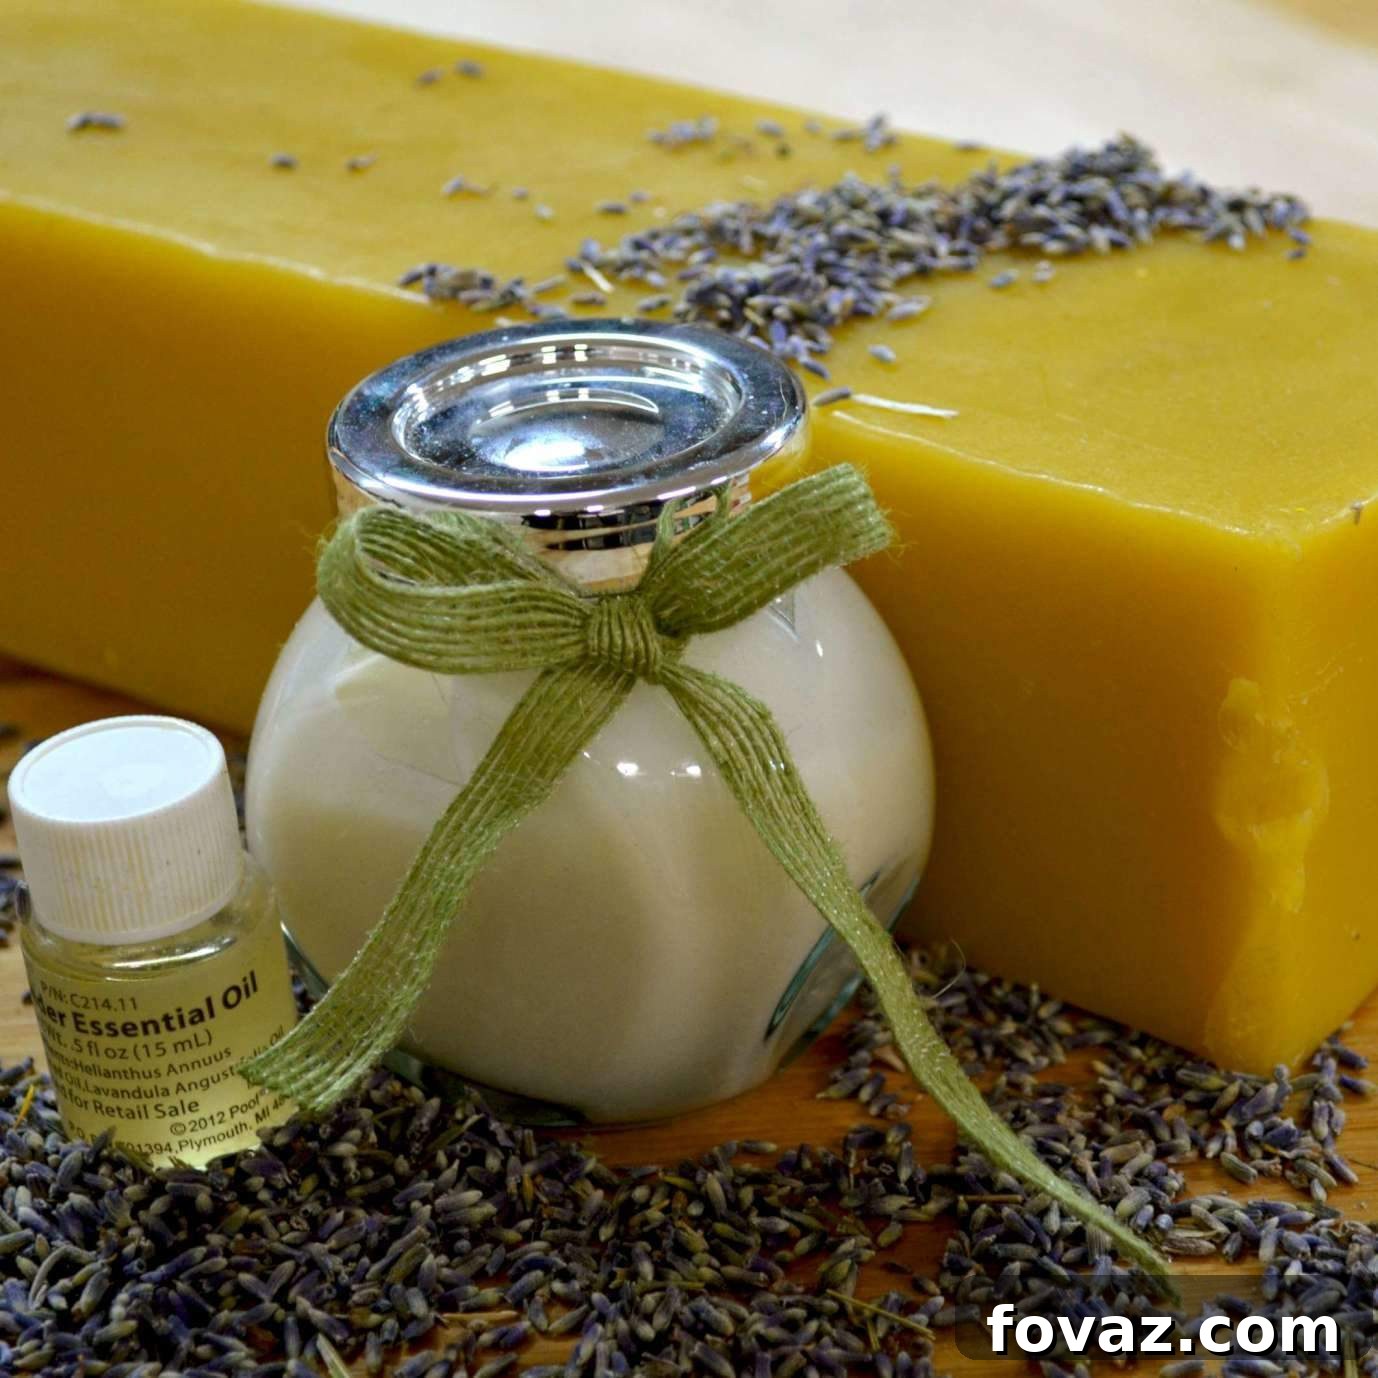
Craft Your Own Calming Lavender Lotion: A Simple DIY Guide for Natural Skincare
Have you ever considered taking control of what you put on your skin? Delving into the world of DIY skincare can be incredibly rewarding, offering a simple yet powerful way to nourish your body with pure, natural ingredients. This comprehensive guide will walk you through the surprisingly easy process of making your own homemade lavender lotion. Not only is this recipe incredibly straightforward, requiring just three core ingredients, but it also harnesses the universally acclaimed calming properties of lavender, transforming your daily routine into a tranquil ritual. Forget complicated concoctions; get ready to create a luxurious, soothing lotion that’s perfect for unwinding after a long day or simply pampering yourself with nature’s best.
When I first stumbled upon the idea of making my own lotion, I admit, I was a bit skeptical. The internet is flooded with DIY tutorials, and many suggested potential complexities or issues with consistency, making me question if the effort would truly be worth it. Why bother with homemade lotions when store shelves are brimming with options? However, the growing awareness around synthetic chemicals in everyday products, coupled with rave reviews about the purity and efficacy of handmade alternatives, eventually piqued my curiosity. I embarked on a journey of research, sifting through countless recipes and testimonials, determined to find a method that was not only effective but also genuinely easy for a beginner.
One of the most compelling revelations during my research was the alarming truth about commercial lotions. Many popular brands contain a cocktail of preservatives, artificial fragrances, parabens, phthalates, and other synthetic compounds that can be absorbed directly into our bloodstream. Taking the time to scrutinize the ingredient labels of my favorite lotions was an eye-opening experience. It quickly became clear that creating my own lotion was not just a fun project but a conscious decision to eliminate unknown and potentially harmful chemicals from my daily skincare regimen. I urge you to take a moment and examine the labels of your own products; you might be surprised by what you discover and inspired to explore safer, natural alternatives for yourself and your family.
The Unparalleled Benefits of Homemade Lotion
Choosing to make your own lotion offers a multitude of advantages that extend beyond mere cost savings. It empowers you with complete control over the ingredients, ensuring that only the purest, most beneficial elements touch your skin.
Purity and Transparency: No More Hidden Chemicals
Perhaps the most significant benefit is the elimination of undisclosed or questionable ingredients. Commercial lotions often contain synthetic fragrances, dyes, preservatives, and petroleum-derived compounds that can irritate sensitive skin, disrupt hormones, or contribute to other health concerns over time. By crafting your own, you’re guaranteed a product free from parabens, phthalates, sulfates, and other common irritants, making it an ideal choice for those with allergies, sensitivities, or simply a desire for a cleaner beauty routine.
Customization to Your Skin’s Needs
Homemade lotion allows for unparalleled personalization. You can adjust the ratios of oils and waxes to achieve your desired consistency – a lighter lotion for warmer months or a richer cream for dry, winter skin. Furthermore, you can select essential oils based on their therapeutic properties, tailoring the scent and benefits specifically to your preferences and needs. Want something uplifting? Try citrus oils. Need muscle relief? Peppermint is your friend. The possibilities are endless, making your skincare truly unique.
Cost-Effectiveness and Sustainability
While the initial investment in high-quality ingredients might seem daunting, homemade lotions often prove to be more economical in the long run. A small amount of raw materials can yield several batches of lotion, significantly reducing your overall skincare expenditure. Moreover, making your own products can contribute to a more sustainable lifestyle by reducing plastic waste from endless store-bought containers. You can reuse your own jars, minimizing your environmental footprint.
The Therapeutic Power of Lavender
This particular recipe highlights lavender, an essential oil renowned for its exceptional calming and soothing properties. Lavender is celebrated in aromatherapy for its ability to reduce anxiety, alleviate stress, and promote relaxation, making it an ideal ingredient for a pre-sleep routine. Its natural anti-inflammatory and antiseptic qualities also benefit the skin, helping to soothe irritations and promote a healthy glow. Adding extra lavender oil to your homemade concoction amplifies these effects, creating a truly luxurious and therapeutic experience that’s hard to replicate with mass-produced options.
Ingredients You’ll Need to Make Calming Lavender Lotion:
This recipe is a testament to simplicity, relying on three powerful, natural ingredients that work synergistically to create a deeply moisturizing and soothing lotion.
- 1/3 Cup Coconut Oil
- 2 Tbsp Beeswax (approximately one 2oz bar or 2 tablespoons of pastilles/grated wax)
- 5-10 Drops Lavender Essential Oil (or more, to your preference)
Diving Deeper into Each Ingredient:
Coconut Oil: The Moisturizing Marvel
Coconut oil is a superstar in natural skincare, prized for its excellent moisturizing capabilities and skin-loving fatty acids. It’s rich in lauric acid, which has antimicrobial properties, making it beneficial for various skin types. When choosing coconut oil, you can opt for virgin (unrefined) coconut oil for its natural coconut scent and higher nutrient content, or refined coconut oil if you prefer a more neutral aroma. Both are effective, but virgin coconut oil often retains more of its beneficial compounds. In this recipe, coconut oil forms the emollient base, providing deep hydration and a smooth texture.
Beeswax: Nature’s Protective Barrier
Beeswax plays a crucial role in giving your lotion its structure and stability. It acts as a natural emulsifier, helping to bind the oil and water components (though this particular recipe is anhydrous, meaning water-free, it still provides body and a protective barrier). Beeswax also forms a thin, protective layer on the skin, sealing in moisture without clogging pores. You’ll find beeswax available in various forms: solid blocks, grated, or in convenient pastilles (small pellets). Pastilles are generally the easiest to measure and melt evenly. Its natural hardness is what prevents the lotion from separating and helps it maintain its whipped consistency at room temperature.
Lavender Essential Oil: The Essence of Calm
Beyond its delightful aroma, lavender essential oil is a powerhouse of therapeutic benefits. As mentioned, it’s widely used for relaxation, stress reduction, and promoting restful sleep. On the skin, it can help soothe minor irritations, reduce redness, and impart a healthy glow. The quantity of lavender essential oil is entirely adjustable to your personal preference. I often add more than the suggested 5 drops for an extra potent calming effect – a luxury you won’t find in most commercial lotions. When purchasing essential oils, always prioritize high-quality, pure therapeutic-grade oils to ensure you’re getting the full benefits without synthetic additives.
Supplies You’ll Need to Make Your Lotion:
Gathering your tools beforehand ensures a smooth and enjoyable lotion-making process.
- 1 Double Boiler: Essential for safely melting ingredients without scorching them. If you don’t have a dedicated double boiler, a heatproof bowl set over a pot of simmering water works perfectly.
- 1 Electric Beater or a Whisk: An electric beater (handheld or stand mixer) is highly recommended for achieving a light, fluffy consistency. A sturdy whisk and plenty of patience can also work.
- A Clean Jar or Container: To store your finished lotion. Glass jars with airtight lids are ideal.
Let’s Get Started! Here’s How To Make Lotion:
Be sure to also check out our post on How to Make Lotion : Basic Lotion for more foundational knowledge.
Step 1: Precise Measurement of Ingredients
Accuracy in measuring is key to achieving the right consistency.
- Measure out 1/3 cup of coconut oil. Depending on your climate, it might be solid or liquid.
- Measure 2 tablespoons of beeswax. If using a block, grate or shave it for easier melting. Pastilles are typically already in measurable form.
- Have your lavender essential oil ready to add in the next step.
Step 2: Gentle Melting & Infusion
This step involves carefully combining and melting your base ingredients, then infusing them with the aromatic essence of lavender.
Set up your double boiler. Place the beeswax and coconut oil into the top part of the double boiler (or your heatproof bowl). Fill the bottom pot with a few inches of water, ensuring it doesn’t touch the bottom of the top bowl. Bring the water to a gentle simmer over medium-low heat. As the water heats, the beeswax and coconut oil will slowly melt. Stir occasionally to encourage even melting. Once both ingredients are completely liquefied and thoroughly combined into a clear, golden liquid, carefully remove the bowl from the heat. Now is the perfect time to add your lavender essential oil. Drop in 5 to 10 drops, or more if you desire a stronger scent and enhanced calming effect. Stir gently to ensure the essential oil is well-distributed throughout the mixture.
Once infused, carefully pour the liquid mixture into a clean, heatproof bowl. This bowl should be suitable for whipping later. It’s crucial to allow this mixture to cool completely before moving to the next step. Depending on your room temperature, this could take anywhere from 1 to 2 hours. You’ll know it’s ready when the mixture has solidified and turned opaque, resembling a soft, waxy balm. Patience here is key for a perfectly whipped lotion!
Step 3: Achieving the Perfect Whipped Consistency
This step is where the magic happens, transforming your solid balm into a luxurious, fluffy lotion.
Once your cooled mixture has fully solidified, grab your electric beater (or a robust whisk if you’re prepared for an arm workout!). Begin whipping the mixture on medium speed. At first, it might appear crumbly or slightly stiff, but as you continue to beat it, air will be incorporated, and it will gradually transform into a soft, creamy, and wonderfully light consistency. Continue whipping for at least 5-10 minutes, or until it resembles a thick, airy frosting. This whipping process is vital; it emulsifies the ingredients, prevents separation, and ensures that your coconut oil remains beautifully whipped and spreadable even at room temperature. If you’re using a whisk, aim for continuous, vigorous beating until you achieve that desired fluffy texture.
Step 4: Storage & Enjoyment
Your homemade lavender lotion is now complete and ready to be enjoyed!
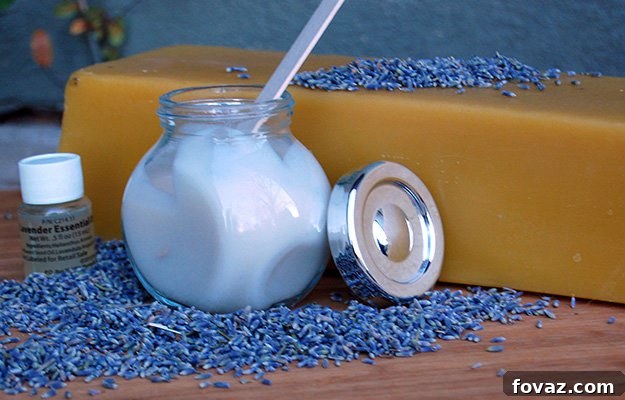
Carefully spoon your freshly whipped lotion into your clean, airtight jar or container. Ensure the container is dry to prevent any moisture introduction, which could shorten its shelf life. Your beautifully crafted homemade lotion, free from synthetic preservatives, will generally last for a couple of months when stored in a cool, dry place away from direct sunlight. With its delicate lavender scent and deeply moisturizing properties, this lotion is perfect for daily use, especially before bed to help promote a sense of calm and relaxation.
Tips for Success & Customization:
Making lotion is a rewarding endeavor, and a few tips can ensure consistent success and open doors to endless variations.
Troubleshooting Common Issues:
- Lotion too soft/runny: This usually means you need more beeswax. For your next batch, try adding an extra half-tablespoon of beeswax.
- Lotion too hard/stiff: If your lotion is too firm, reduce the beeswax slightly in your next attempt. You can also re-melt the current batch in a double boiler, add a bit more coconut oil, stir well, re-cool, and re-whip.
- Gritty texture: This can happen if the beeswax didn’t fully melt or cooled too quickly. Ensure complete melting and consistent, slow cooling before whipping.
- Separation: While this anhydrous recipe is less prone to separation than water-based lotions, ensuring thorough melting and vigorous whipping helps prevent any ingredient stratification.
Endless Customization:
Once you’ve mastered this lavender recipe, the world of essential oils and carrier oils is your oyster!
- Other Essential Oils: Experiment with different scents and therapeutic benefits. Try calming chamomile or frankincense, uplifting lemon or sweet orange, invigorating peppermint for tired muscles, or romantic ylang-ylang. Always research essential oil safety guidelines before use, especially for children or pregnant individuals.
- Carrier Oil Variations: While coconut oil is fantastic, you can explore other nourishing carrier oils. Sweet almond oil, jojoba oil, shea butter, or cocoa butter can all be incorporated or substituted (adjusting quantities slightly to maintain consistency, as some are softer than coconut oil).
- Adding Vitamin E: A few drops of Vitamin E oil can act as an antioxidant, helping to prolong the shelf life of your oils and provide extra skin nourishment.
Optimal Storage for Longevity:
To ensure your homemade lotion stays fresh and potent for as long as possible, store it in an airtight glass jar in a cool, dark place. Avoid introducing water into the jar, as this can encourage bacterial growth and significantly reduce shelf life. If you notice any changes in scent, color, or texture, it’s best to discard the batch.
Embrace a Chemical-Free Skincare Routine
Making your own lotion is more than just a craft; it’s an investment in your well-being. By choosing natural, wholesome ingredients, you’re not only creating a product that deeply nourishes your skin but also making a conscious decision to protect yourself and your loved ones from potentially harmful chemicals. This calming lavender lotion is a testament to how simple and effective natural skincare can be. The satisfaction of knowing exactly what goes into your body, coupled with the joy of creating something beautiful with your own hands, is truly unparalleled.
We hope this detailed guide has demystified the process of making homemade lotion and inspired you to embark on your own DIY skincare journey. The tranquility and skin-loving benefits of this calming lavender lotion are waiting for you!
How did your homemade lavender lotion turn out? We would absolutely love to hear about your experience, tips, and any creative variations you tried! Please share your thoughts and feedback in the comments section below. Your insights help our community grow and inspire others.
I’ll be adding more of my favorite lotion recipes soon, so please check back regularly for new ideas and inspiration. Happy lotion making!
Be sure to also check out our post on How to Make Lotion : Basic Lotion for more foundational knowledge.
Like this post?
We encourage you to share this guide with friends and family who might be interested in natural skincare. Connect with us on social media to stay updated on our latest projects and articles. Your engagement helps us create more content you’ll love!
Pin It so you can easily come back to this recipe whenever you need a moment of calm, and follow us on Pinterest to get the latest project pins.
Let us know in the comments below! Your feedback matters immensely. The more interest and engagement we receive on posts, the more likely we are to create similar valuable content for our readers.
Good luck with your lotion-making endeavors! We are confident that with this guide, you’ll master the art of crafting your own beautiful, calming lavender lotion.
Looking for more natural remedies? You might find our article on 6 Home Remedies for Sunburn helpful.