
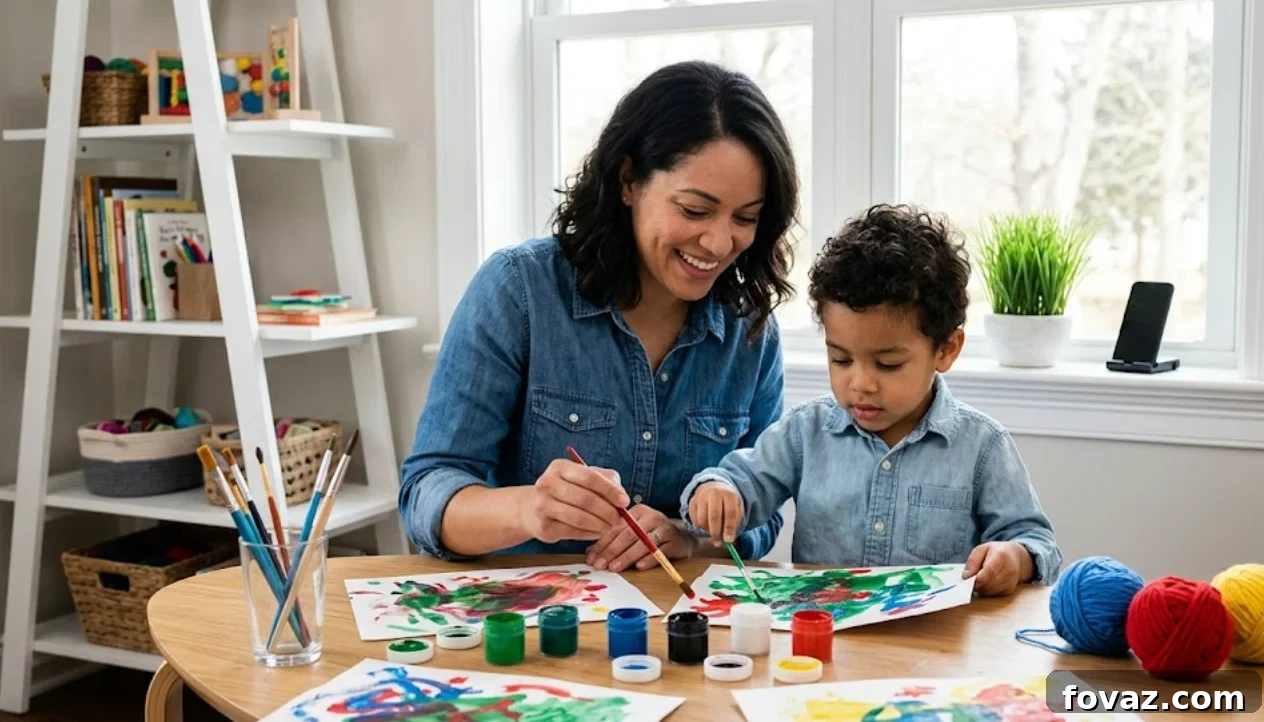
That Saturday morning when the kids are bouncing off the walls and you need an activity that actually holds their attention? These five kids painting ideas for 2026 are built for days like that. They work whether you’ve got a toddler who wants to smash paint around or a six-year-old ready to follow simple steps.
All projects use inexpensive materials you probably already have or can pick up at the dollar store: toilet paper rolls, kitchen forks, plastic bottles, straws, and basic paints. Set out a newspaper, pour a coffee, and get ready to make art your kids will be proud to hang on the fridge.
5 Kids Painting Ideas for 2026: Easy Step-by-Step Tutorials
Project 1: The Squeegee Paint Pull Canvas
This project uses a simple pull motion with a rubber squeegee to create smooth, colorful streaks. It’s dramatic, fast, and perfect for kids who love seeing immediate results.
Materials List
- Blank stretched canvas (11×14 or 16×20 inches)
- Heavy-body acrylic paints in a few colors you like
Tools Needed
- Rubber window squeegee (10–12 inches wide works well)
Step-by-Step Instructions
- Prep the Surface: Lay the canvas flat on protected surface.
- Foundation Layout: Squeeze quarter-sized drops of paint in a horizontal row about three-quarters up the canvas. Alternate colors.
- Field Layout: Scatter smaller pea-sized drops across the lower section.
- The Pull: Place the squeegee edge flat against the canvas just above the top row of drops.
- Execution: Press down evenly and pull in one smooth motion straight down the canvas to drag and blend the colors into long streaks.
- Finishing: Lift the squeegee and let the canvas dry fully (about 24 hours).
Eco Tip: Scrape leftover paint from the squeegee onto a palette to reuse instead of rinsing it away immediately.
Project 2: Upcycled Sunflower Stamping
Turn cardboard tubes and bubble wrap into stamps for bright, cheerful sunflowers. This upcycling project uses materials you’d normally throw away and gives them new life.
Materials List
- Heavyweight craft paper or cardstock
- Yellow and brown washable paint
- A small piece of bubble wrap
Tools Needed
- 2 empty toilet paper rolls
- Rubber band, scissors, and two paper plates (palettes)
Tool Fabrication
- Petal Stamp: Cut 1.5-inch slits around the rim of one tube, fold the flaps outward to form a sunburst.
- Center Stamp: Wrap bubble wrap over the end of the second tube and secure with a rubber band.
Step-by-Step Instructions
- Palette Prep: Pour yellow on one plate and brown on the other.
- Stamping Petals: Dip the fanned flaps in yellow and press onto paper to form petal rings.
- Stamping Centers: Dip the bubble wrap end into brown and press into the center of each flower for textured seeds.
Eco Tip: Cardboard stamps can be composted or recycled after use.
Project 3: The Upcycled Blossom Branch
Build a branch framework with paint, then stamp blossoms using the five-lobed bottoms of plastic bottles. It’s satisfying and produces a lovely layered effect.
Materials List
- Heavyweight craft paper or poster board
- Brown paint for branches; light and dark pink for blossoms
Tools Needed
- Large and small plastic bottles with five-lobed bottoms, a medium brush, and shallow lids for palettes
Step-by-Step Instructions
- Draw Branches: Paint thick brown sweeping lines for branches and smaller offshoots; let dry.
- Load Stamp: Dip the large bottle bottom into light pink and stamp across branches for primary blooms.
- Add Depth: Use the smaller bottle dipped in dark pink to stamp secondary blossoms in gaps.
Eco Tip: Rinse and recycle the bottles when done.
Project 4: The Tine-Stamped Tulip Garden
Use the back of a kitchen fork as a stamp to create layered tulip heads, then paint stems and leaves for a simple, repeatable garden scene.
Materials List
- Heavyweight craft paper
- Green paint for stems and leaves, red and yellow for flower heads
Tools Needed
- Metal 4-tine fork, fine-tip brush, flat plate for paint
Step-by-Step Instructions
- Load the Fork: Press the rounded back of the tines into red or yellow paint.
- Stamp Heads: Hold the fork horizontally, press and slightly rock to transfer the shape, then lift straight up.
- Alternate Colors: Wipe and repeat to create rows of tulips.
- Stems and Leaves: Use the fine brush and green paint to draw stems and two leaves per stem.
Eco Tip: Wash the fork and return it to the kitchen—no waste.
Project 5: Splatter Monsters
Blow thinned paint with a straw to push watery color across the page, then add paper eyes and marker legs to turn splatters into silly monsters.
Materials List
- Watercolor or thick cardstock, liquid watercolors or thinned washable paint, white scrap paper for eyes, black marker, glue stick
Tools Needed
- Cut drinking straws, eye dropper or small spoon, scissors
Step-by-Step Instructions
- Drop Paint: Lay paper flat and put a nickel-sized puddle of thinned paint near the top.
- Blow: Hold a half-straw 1–2 inches above at a 45° angle and blow a sharp burst to push paint outward.
- Chase and Extend: Follow wet edges with the straw and blow to create long splatters.
- Repeat: Add more colors, spacing puddles so they don’t all blend together. Let dry completely.
- Make Eyes: Cut white circles, draw pupils, glue onto each splatter, and add spindly legs with the black marker.
Eco Tip: Use reusable silicone or metal straws, or compostable paper straws instead of single-use plastic.
Often the messiest art afternoons make the best memories. Let your child see you celebrate the finished pieces—frame them, hang them on the fridge, or send a photo to family. That pride and attention is what they’ll remember.
Frequently Asked Questions
What projects work best for toddlers? The squeegee pull canvas and splatter monsters are ideal for toddlers because they rely on broad, satisfying motions and don’t require fine motor control.
Which paints are safe for kids? Washable acrylics or tempera paints are the best choice for these activities. For splatter techniques, liquid watercolors or thinned washable paint work better because they flow more easily.
Do I need special supplies? No. Most projects use household items like toilet paper rolls, forks, soda bottles, and straws. You may want to pick up canvas or heavyweight paper, but that’s optional.
How do I limit cleanup? Lay down newspaper or a disposable tablecloth, use plates as palettes, keep a damp rag nearby, and accept that a little paint will escape—part of the fun.
How long do these projects take? Hands-on time is usually 20–30 minutes. Drying time varies: the squeegee canvas can need 24 hours to fully cure, and splatter pieces must dry before you add eyes. Plan for an active session, then let the artwork dry overnight.
Quick Poll
What kind of kid projects should we make next?
Not in the choices? Tell us in the comments below!