
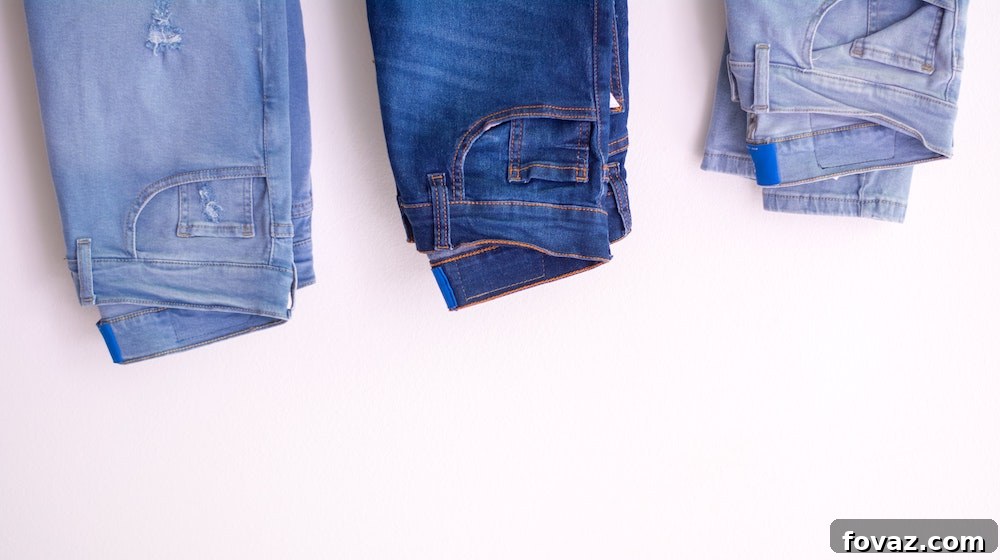
Transform Your Wardrobe: The Ultimate Guide to DIY Denim Upgrades
Are you ready to breathe new life into your existing closet without breaking the bank? Your denim collection, from those trusty jeans to the versatile jackets, offers an incredible canvas for personal expression and sustainable style. Instead of constantly buying new pieces, discover the joy and satisfaction of customizing your denim. With a few simple tools and a touch of creativity, you can transform dull or outdated items into unique, fashion-forward statements that truly reflect your personality.
This comprehensive guide will walk you through 11 ingenious DIY denim projects. From subtle enhancements to bold makeovers, you’ll learn how to create bespoke pieces that look designer, all for a fraction of the cost. Get ready to unleash your inner fashion designer and give your denim a fresh, personalized touch!
Why DIY Your Denim? The Benefits of Upcycling
Embracing DIY denim projects isn’t just a trend; it’s a smart, sustainable, and incredibly rewarding approach to fashion. Here’s why you should consider giving your old denim a second life:
- Budget-Friendly Style: High-quality, unique denim pieces can be expensive. DIY allows you to achieve a custom, designer look using items you already own, saving you significant money.
- Sustainable Fashion Choice: Fast fashion contributes heavily to waste. By upcycling your denim, you reduce textile waste and prolong the life cycle of your clothing, making a positive impact on the environment.
- Unleash Your Creativity: Each DIY project is an opportunity to express your unique style. No two customized denim pieces will ever be exactly alike, ensuring your wardrobe stands out.
- Perfect Fit and Comfort: You’re working with denim that already fits you well and feels comfortable. Customizing these pieces ensures your new style retains that familiar comfort.
- Conceal Imperfections: Got a small rip, stain, or faded spot? Many DIY techniques, like patching or embellishing, are perfect for cleverly concealing these minor flaws, extending the garment’s usability.
Essential Tips Before You Start Your Denim Makeover
Before diving into your DIY projects, here are a few general tips to ensure success and safety:
- Choose the Right Denim: While most denim can be customized, 100% cotton denim (like classic Levi’s 501s) often yields the best results for techniques like fraying, distressing, and bleaching, as it holds its shape and reacts predictably. Stretchier denim blends can be trickier.
- Gather Your Tools: Basic tools often include sharp fabric scissors, a ruler, chalk or fabric marker, a seam ripper, a needle and thread, and an iron. Specific projects might require additional items like fabric paint, bleach, patches, or embellishments.
- Work in a Well-Ventilated Area: Especially when working with bleach or fabric paints, ensure you have good airflow to avoid inhaling fumes.
- Protect Your Workspace: Lay down old newspapers, cardboard, or a plastic sheet to protect your surfaces from paint, bleach, or stray threads.
- Pre-Wash Your Denim: Always wash and dry your denim before starting any project. This helps pre-shrink the fabric and removes any sizing that might interfere with paint or dye adhesion.
- Practice on Scraps: If you’re trying a new technique (especially bleaching or painting), test it on an inconspicuous area or a scrap piece of similar fabric first.
11 Creative Ways to DIY Your Denim for a Fresh Look
1. The Effortless Raw Hem Jeans
The raw hem trend offers an instant update to any pair of jeans, creating a perfectly imperfect, casually chic vibe. This look is incredibly simple to achieve and adds an edgy, relaxed feel to your favorite denim. It’s particularly effective on straight-leg or bootcut jeans, giving them a modern, cropped silhouette.
How to Do It: Simply take a sharp pair of fabric scissors and cut off the existing hem. You can cut straight across for a clean, blunt edge, or make slight diagonal snips for a more organic look. For a truly frayed finish, toss them in the washing machine and dryer after cutting. The agitation will naturally create those coveted wisps of denim threads. This technique works wonders not only on jeans but also on denim skirts, shorts, and even the cuffs of denim jackets for a consistent, undone aesthetic.
2. Patch It Up: Personalized Denim with Patches
Patches are a fantastic way to inject personality and color into your denim, making each piece uniquely yours. This versatile DIY technique allows for endless creativity, whether you’re aiming for a vintage rock-and-roll look, a playful vibe, or a sophisticated embroidered design. Patches are also an ingenious solution for covering up small holes, rips, or stains, extending the life of your beloved denim.
How to Do It: Gather a collection of iron-on or sew-on patches. You can find vintage treasures at thrift stores, unique designs from independent artists online, or create custom ones. Lay out your patches on your jeans or jacket to visualize the arrangement before committing. For iron-on patches, follow the manufacturer’s instructions carefully, usually involving heat from an iron. For sew-on patches, a simple running stitch or whipstitch around the edges will secure them firmly. Mix and match different sizes, shapes, and themes for a truly customized result that tells your story.
3. Elegant Lace Accents on Old Jeans
Infuse a touch of romantic elegance or bohemian charm into your rugged denim by adding delicate lace. This unexpected combination creates a beautiful contrast, elevating your jeans from casual to chic. It’s a subtle yet impactful way to redesign old denim that might feel a bit too plain.
How to Do It: Consider where lace would have the most impact. Popular spots include along the outer seams, as a trim on pockets (front or back), peeking out from distressed rips, or even sewn onto the cuffs. You can also create larger lace panels to replace existing denim sections, for example, on the back yoke or as inserts on the thighs. Choose lace that complements your denim’s wash – ivory or white lace for darker washes, or a contrasting color for a bolder statement. You can either hand-stitch the lace for a refined finish or use fabric glue for a quicker application, ensuring it holds up through washes. For a detailed guide on integrating lace, explore tutorials like this one: DIY Old Jeans Redesign Projects.
4. Unleash Your Inner Artist with Bleach-Dipped Aztec Jeans
Bleach is a powerful tool for transforming denim, and when used strategically, it can create stunning, intricate patterns. The bleach-dipped Aztec design offers a bold, artistic statement, turning your jeans into a wearable piece of art. This technique allows for a high degree of personalization, from subtle ombre effects to sharp geometric motifs.
How to Do It: This project requires careful handling of bleach, so wear gloves and work in a well-ventilated area. Protect your workspace thoroughly. You can achieve Aztec-like patterns by folding, tying, or using stencils on your denim before dipping it into a diluted bleach solution. For a dipped effect, submerge portions of your jeans. For crisp geometric patterns, apply bleach using a brush or sponge through stencils. Experiment with different dilution ratios and contact times to achieve varying shades and intensities. Always rinse thoroughly with cold water to stop the bleaching process and neutralize the bleach if possible. Find a step-by-step tutorial here: DIY Bleach-Dipped Aztec Jeans Tutorial.
5. Playful Polka Dot Print Jeans
For a whimsical and fun update, consider adding polka dots to your denim. This classic pattern can be adapted to suit any style, from a subtle hint of color to an all-over playful design. A pop of color or print at the ankle, in particular, adds an unexpected and charming touch that’s both stylish and unique.
How to Do It: There are several ways to create polka dots. Fabric paint and stencils (or even household items like the eraser end of a pencil for small dots) are excellent for crisp, colorful dots. You can also use a bleach pen for a subtle, tone-on-tone effect on darker denim. Decide on the size and spacing of your dots, as well as their placement – whether you want them just on the cuffs, scattered across the entire leg, or concentrated in a specific area. Ensure your fabric paint is permanent and heat-set according to instructions to withstand washing. For detailed instructions on achieving printed cuffs, check out this guide: DIY Jeans with Printed Cuffs.
6. Chic Fringed and Distressed Jeans
Fringe is a dynamic trend that adds movement, texture, and a touch of bohemian flair to any garment. Incorporating fringe into your distressed denim can transform it into a sophisticated yet effortlessly cool statement piece. This look works wonderfully on hems, pockets, or even along the side seams of jeans.
How to Do It: To create fringe, start by cutting off the hem of your jeans. Then, make vertical cuts upwards from the new bottom edge, spaced evenly (e.g., 0.5 to 1 inch apart) and to your desired fringe length (e.g., 2-4 inches). Once cut, use tweezers or a seam ripper to gently pull away the horizontal threads, leaving the vertical threads to form the fringe. For distressed elements, use sandpaper, a razor, or a seam ripper to create worn areas, small holes, or laddering. Combine these techniques for a truly unique pair of fringed and distressed jeans. Learn how to create fabulous fringed jeans here: Fringed Jeans DIY Tutorial.
7. The Ever-Popular Ripped Knee Jeans
Ripped jeans have evolved into a timeless staple, offering an instant dose of cool and an edgy touch to any outfit. The strategically placed rips across the knees, especially on black or darker wash denim, exude a chic, understated rebellion. This style is perfect for those who love to blend high-low fashion, pairing rugged elements with more delicate pieces.
How to Do It: Achieving the perfect ripped knee look is simpler than you might think. Put on your jeans and mark exactly where you want the rips to be (usually just above or on the kneecap). Take off the jeans and place a piece of cardboard inside the leg to prevent cutting through the back. Use a sharp craft knife, a razor blade, or scissors to make horizontal cuts across the knee area. For a more natural, frayed look, use tweezers to pull out some of the vertical white threads, leaving the horizontal threads intact. You can also lightly sand the edges for a more worn-in feel. Style these with a delicate silk top and pumps for a sophisticated contrast, or with chunky boots and a graphic tee for an urban vibe. Get a comprehensive guide here: How to DIY Ripped Jeans.
8. Striking Geometric Print Denim
Geometric patterns are consistently on-trend, offering a modern and artistic way to customize your denim. From bold stripes and abstract shapes to intricate tessellations, adding geometric prints can completely transform the aesthetic of your jeans or jacket, making them a true focal point of your ensemble.
How to Do It: This project allows for significant creativity. Start by planning your design. You can use masking tape to create sharp lines for stripes or blocks of color. Stencils are excellent for repeating patterns like triangles, squares, or hexagons. Fabric paint is typically used for this, allowing you to choose any color palette. Alternatively, for a more subtle effect, a bleach pen can create geometric designs on dark denim. Ensure your denim is flat and smooth, and apply paint or bleach carefully to avoid bleeding under the tape or stencil. Allow it to dry completely and heat-set the fabric paint as instructed. For inspiration and a full tutorial, refer to resources like this: DIY Geometric Print Jeans Tutorial.
9. Personalized Monogram Denim Shirt
A monogram adds an instant touch of bespoke luxury and personalization to any item, and a denim shirt is no exception. Whether it’s your initial, a significant date, or a custom symbol, a monogram transforms a basic denim shirt into a unique, thoughtful piece, perfect for yourself or as a heartfelt gift.
How to Do It: There are several methods for adding a monogram. For a classic look, hand embroidery or machine embroidery is ideal. You can purchase iron-on embroidered letters for a quicker application, or even use fabric paint with stencils for a more graphic approach. Consider the placement carefully: on the collar, above the pocket, on the cuff, or even subtly on the back yoke. Choose thread colors or paint shades that complement or contrast with the denim. This simple addition can dress up an old shirt for a special occasion, make a gift truly memorable, or simply allow you to make a personal style statement. Get the how-to guide here: Easy Denim Monogram How-To.
10. Dazzling Embellished Denim Jacket
A denim jacket is a versatile wardrobe staple, but sometimes it needs a little extra sparkle or flair to stand out. Embellishing your denim jacket allows you to transform it into a show-stopping piece that reflects your unique style, perfect for adding a touch of glam to any outfit.
How to Do It: The possibilities for embellishment are truly endless. Think beyond just “sparkle.” Consider studs, pearls, beads, sequins, rhinestones, or even intricate embroidery. You can apply these to the collar, shoulders, cuffs, back panel, or all over for a maximalist look. Use strong fabric glue for beads, sequins, and rhinestones, or sew them on for extra durability. Studs can be applied with specific tools or simply by pushing them through the fabric and bending their prongs. Plan your design before you start, laying out your embellishments to visualize the final look. This DIY project is a fantastic way to elevate a plain denim jacket into a fashion masterpiece. Discover how to create an embellished denim shirt here: DIY Embellished Denim Shirt Tutorial.
11. Unique DIY Scarf Denim Shirt Integration
For a truly creative and distinctive denim makeover, consider integrating a beautiful scarf into your denim shirt. This brilliant idea merges two different fabric textures and patterns, resulting in a completely unique garment that exudes bohemian chic or elegant sophistication, depending on your scarf choice.
How to Do It: This project involves a bit more sewing but offers a dramatic transformation. You can use the scarf fabric to replace the collar, the cuffs, the front placket, or even create a striking back panel insert. Carefully unpick the existing denim elements (like the collar or cuffs) and use them as a pattern to cut out your scarf fabric. Then, sew the scarf fabric pieces into place. Alternatively, you could cut out a section of the denim (e.g., the back of the shirt) and sew a beautiful scarf panel into the opening. Choose a scarf with a pattern or color that you love, as it will become a prominent feature of your redesigned shirt. This technique is a fantastic way to upcycle an old scarf and give an aging denim shirt a completely fresh identity.
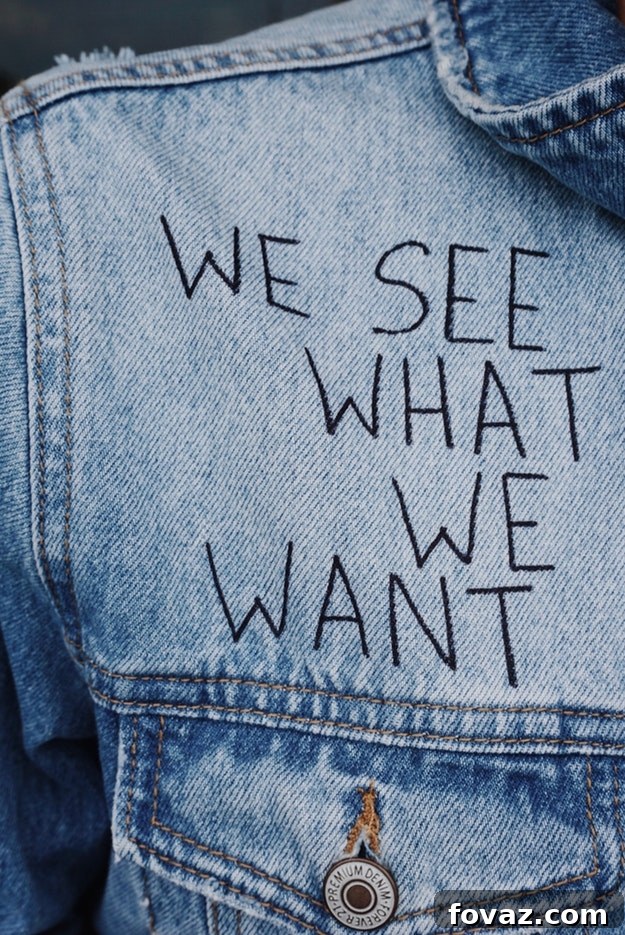
For detailed instructions on how to integrate a scarf into a denim shirt, follow this tutorial: DIY Scarf Denim Shirt Instructions.
Conclusion: Embrace Your Unique Denim Style
There you have it – eleven fantastic ways to revitalize your denim collection! From simple cuts and subtle embellishments to more intricate artistic transformations, these DIY denim projects offer endless opportunities to express your personal style. Not only will you save money and contribute to sustainable fashion, but you’ll also create truly one-of-a-kind pieces that reflect your creativity and individuality.
So, gather your old jeans, jackets, and shirts, grab your tools, and start creating! Which denim DIY project will you tackle first? We encourage you to experiment, have fun, and proudly wear your custom-made denim. It’s time to make your wardrobe work for you, one personalized stitch at a time!
Did you enjoy our post on Ways to DIY your Denim? We’d love to hear about your favorite projects or any tips you have in the comments section below!
Don’t forget to stay connected with us on Facebook, Twitter, Pinterest, and Instagram for more creative inspiration!
You Might Also Love These DIY Fashion Ideas…
Vogue: Best DIY Trends of 2015 for Fashionistas
Budget-Friendly Fall Fashion Trends You Can DIY
DIY Clothes: Pants & Skirts for Women’s Wardrobes