
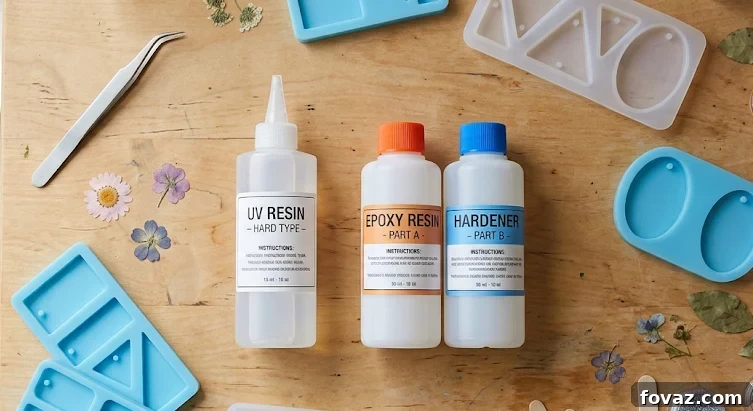
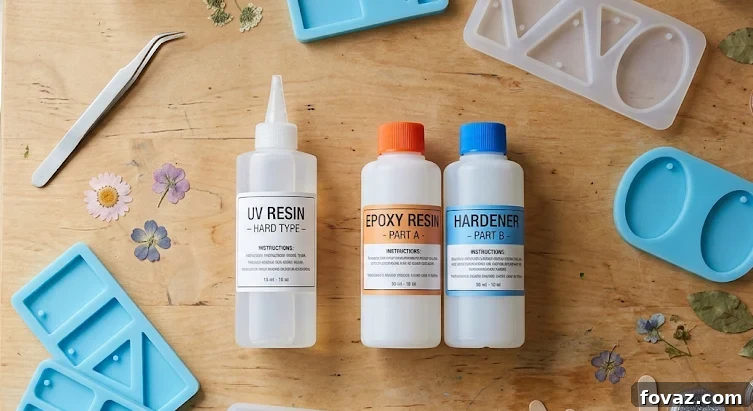
At A Glance: UV Resin Vs. Epoxy Resin
What’s the difference between UV resin and epoxy resin? UV resin comes as a single-part formula that cures quickly under a UV lamp, typically in 60 to 120 seconds for small jewelry pieces. Epoxy resin is a two-part system—resin plus hardener—mixed in a precise ratio and cured at room temperature over 12 to 72 hours. A UV lamp does not affect epoxy.
How do I know which one is in my starter kit? Check the bottle. A single bottle with no mixing ratio printed on the label indicates UV resin. Two bottles, or any mixing ratio printed on the packaging, indicate epoxy resin. Always inspect the bottle before your next pour.
Will my UV lamp work on epoxy? No. UV light will not speed up, partially cure, or otherwise change the curing of epoxy resin. If you place epoxy under a UV lamp, the surface will remain tacky regardless of lamp exposure.
What wattage does a UV lamp need for jewelry making? For pendant-scale work and bezel fills, a minimum of 36 watts is recommended. Many starter kit lamps are 6 to 9 watts, suitable for nail gel but not for resin jewelry. Upgrading your lamp is an affordable and effective fix.
Many starter kits sold as “UV resin kits” actually contain epoxy resin. This is often a labeling or marketing issue rather than a user mistake. If you consistently get sticky, uncured results after using a UV lamp, the most likely cause is the wrong resin type in the kit. Identifying the correct resin type will save resin and hours of frustration.
Getting the resin type wrong affects whether your UV lamp will help at all. It’s a common but important distinction—one that determines whether to diagnose technique or product.
How to Identify Your Resin Right Now
The simplest test is visual: a single bottle with no mixing instructions indicates UV resin. Two separate bottles or any printed mixing ratio indicates epoxy resin. This quick check tells you what you have before you read further or start another project.
The rest of this article explains why confusion happens, how each resin behaves, and which adjustments to make before your next pour.
What UV Resin Is
UV resin is sold as a single-part product that you pour directly into molds or bezels. Cure occurs under a UV lamp, and for small jewelry pieces the cure time is usually 60 to 120 seconds per thin layer. Because it cures so fast, mistakes are obvious within minutes and can be corrected quickly.
This immediate feedback makes UV resin especially beginner-friendly. Small pendants, thin dome layers, and bezel fills are ideal uses for UV resin when you match the resin to a suitably powerful lamp.
In practice, choose UV resin for small, shallow pours—generally under about 3 mm depth. For deeper pours or larger castings, epoxy is usually more appropriate.
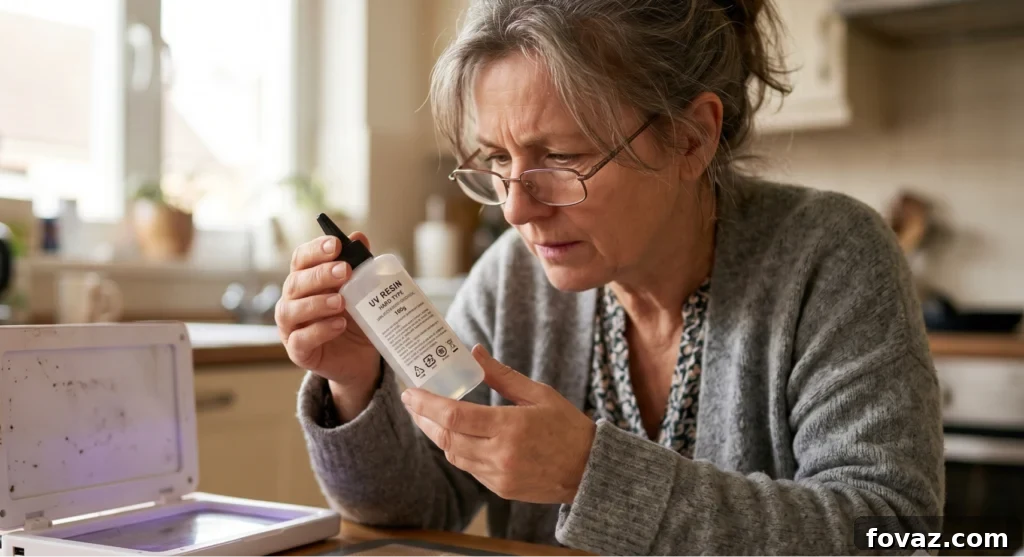
What Epoxy Resin Is and Why Beginners Get Misled
Epoxy resin requires two components: the resin and a hardener. These must be mixed in the exact ratio specified by the manufacturer, commonly 1:1 or 2:1 by volume. Mixing off-ratio prevents a full cure and results in a soft or sticky finish no matter how long you wait.
After correct mixing, epoxy cures at room temperature over many hours, typically 12 to 72 hours. UV light does not participate in this chemical process, so a UV lamp will not speed or alter curing.
Mislabeling and generic phrases like “craft resin” can create confusion: a kit might include a UV lamp and be marketed as a “UV craft resin starter kit” even if the resin itself is epoxy. Because of that, you must inspect the bottle and its labeling to be certain.
If you have experienced extended failures while using a UV lamp, it’s likely the product was epoxy, not UV resin. Replacing the product with true UV resin or switching to an appropriate curing method for epoxy resolves the issue.
UV Resin vs. Epoxy: Five Points of Difference
Cure time. UV resin cures in 60 to 120 seconds under a UV lamp; epoxy cures at room temperature over 12 to 72 hours.
Mixing required. UV resin requires no mixing. Epoxy must be mixed in precise ratios and blended thoroughly.
Beginner error tolerance. UV resin provides immediate feedback and rapid correction. Epoxy delays feedback for many hours, increasing the chance of repeated mistakes.
Product suitability. UV resin is ideal for small pendants, thin layers, and bezel work. Epoxy is better for deep pours, large molds, and castings.
Cost per pour. UV resin typically costs more per gram; epoxy is more economical for larger projects once you master mixing and curing.
For beginners making pendant jewelry, the fast curing and no-mix workflow of UV resin often justify the higher per-gram cost. As projects grow in size or depth, epoxy becomes a practical next step.
Ready to Choose What to Make?
After you confirm which resin you have and ensure your lamp is appropriate, choose projects that match those materials. Product selection, pricing, and marketplace strategy are separate concerns from setup; prioritize correct materials and tools first to avoid wasted time and materials.
The Lamp Wattage Problem
Once you know your resin type, check lamp power. Many starter kit lamps are 6 to 9 watts and designed for nail gel polish. They are not suitable for pendant or bezel resin work. For reliable curing of small jewelry pieces, a minimum of 36 watts is recommended. Lamps under 24 watts often leave a tacky surface even when using true UV resin.
The symptom of an uncured or tacky surface is identical whether the cause is the wrong resin or an underpowered lamp. Verify both independently: check the bottle configuration for resin type and check the lamp for wattage. Upgrading a lamp to 36 watts is an inexpensive, one-time solution for most pendant work.
What to Do Before Your Next Pour
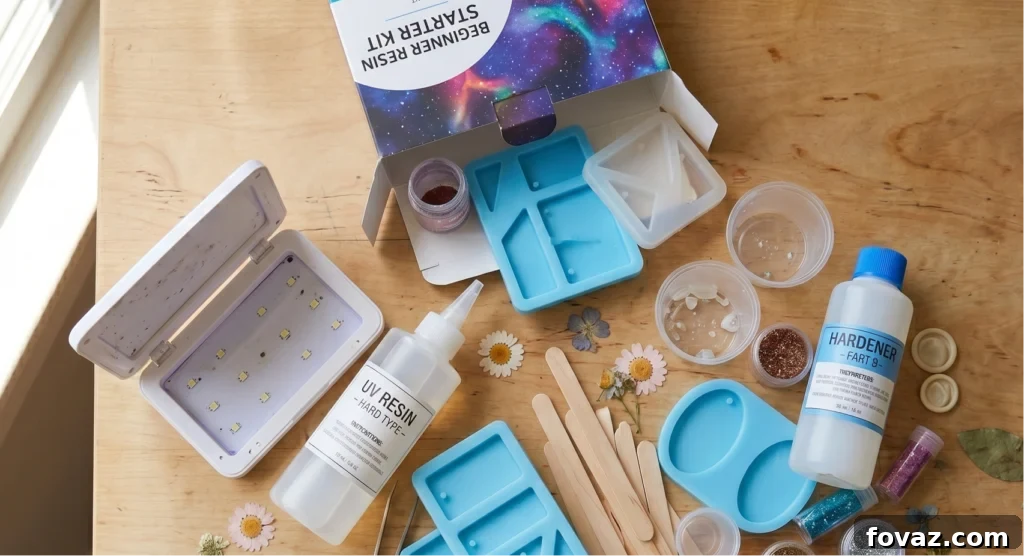
Open your kit and inspect the resin bottle. Single bottle with no mixing ratio means you have UV resin—confirm your lamp wattage next. If the lamp is under 24 watts, upgrade to a 36-watt lamp before pouring. If you find two bottles or a printed mixing ratio, you have epoxy—your UV lamp will not cure it. In that case, either use epoxy curing best practices or switch to true UV resin for pendant work.
Resin starter kit selection is about knowing what you bought. The label can be misleading; the bottle configuration tells the truth.
Conclusion
The confusion between UV resin and epoxy resin is a common reason beginners get stuck with failed pours. It’s usually not a skill gap but a product identification issue. The fix is straightforward: check the bottle to confirm resin type and verify your lamp wattage. With those two checks completed, you can proceed with confidence and avoid wasted time and materials.
After confirming your setup, choose the resin and lamp suited to the specific jewelry pieces you plan to make. Proper identification and the right lamp eliminate the most frequent causes of tacky, uncured results.
Done Troubleshooting? Here’s What Comes Next.
When your setup is confirmed and your lamp is adequate, focus on project selection and process consistency. Start with small pieces that match your materials, practice thin-layer cures, and expand into deeper pours or epoxy work as your skills improve.
Frequently Asked Questions
Can I use a UV lamp to speed up epoxy curing? No. UV light does not affect epoxy curing. Epoxy cures through a chemical reaction between resin and hardener that happens at room temperature over time.
Why does my resin stay tacky even after using a UV lamp? Two likely causes: your resin is epoxy rather than UV resin, or your lamp wattage is too low for the size of the pour. Verify resin type first, then lamp wattage.
What’s the best resin for pendants if I’m starting out? UV resin is the most beginner-friendly for pendants because of fast cure times and no mixing. It lets you learn quickly and correct errors immediately. Move to epoxy when you need deeper pours or larger castings.
Is “craft resin” the same as UV resin? Not always. “Craft resin” is a marketing category that can include UV resin, epoxy, or both. The only reliable identification is the bottle: single bottle, no ratio = UV resin; two bottles or a ratio printed = epoxy.
How do I know if my starter kit lamp is strong enough? Check the wattage printed on the lamp. For pendant-scale resin work, 36 watts is the minimum effective power. Most nail-style starter lamps run 6 to 9 watts and are insufficient for jewelry pours.
Does UV resin work in silicone molds? Yes, but depth matters. UV light must reach the entire layer to cure it. For pours deeper than about 3 mm, cure in thin layers and fully cure each layer before adding the next.
What happens if I mix epoxy at the wrong ratio? The epoxy will not cure properly and will remain soft, sticky, or flexible. Accurate measurement and thorough mixing are essential for a complete cure.