
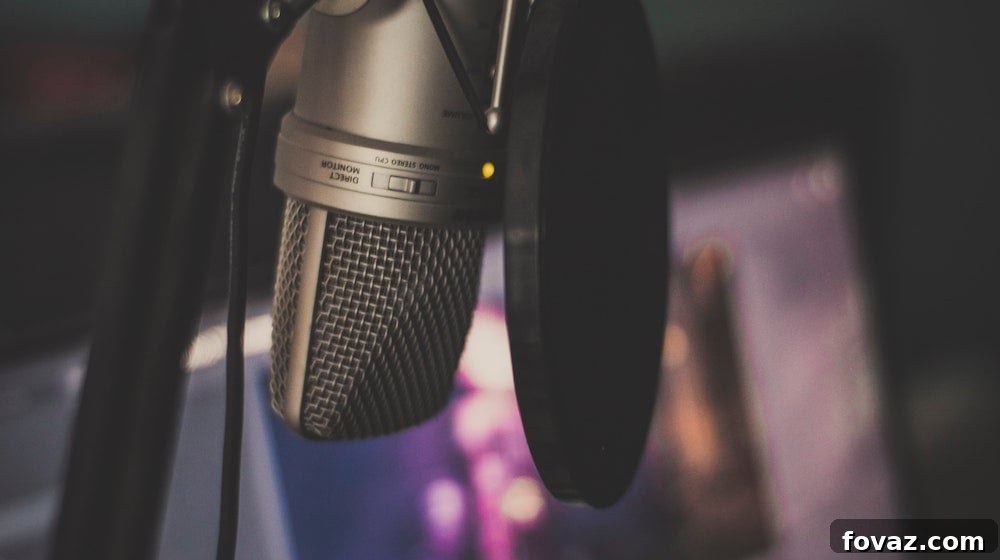
Do you have a powerful message, intriguing stories, or valuable insights bubbling in your mind, eager to be shared with the world? There’s never been a better time to launch your very own podcast. Podcasting offers a unique platform to connect with a global audience, build a community, and establish your voice in a crowded digital landscape. While compelling content is the heart of any successful podcast, pristine audio quality is its soul. Without clear, professional-sounding audio, even the most captivating narrative can fall flat.
Many aspiring podcasters are intimidated by the perceived complexity and cost of achieving studio-quality sound from home. The good news? You don’t need an expensive, dedicated recording studio to produce professional-grade audio. In fact, with a few affordable materials and a bit of DIY spirit, you can create an effective vocal booth right in your own home, transforming your bedroom or office into a personal recording sanctuary. This comprehensive guide will walk you through the entire process, from constructing a simple yet highly effective DIY vocal booth to setting up your recording equipment and publishing your first episode, all designed for an easy and budget-friendly approach.
Get ready to unleash your creativity and make your podcast dreams a reality. We’ll show you exactly how to record crystal-clear vocals and establish your podcast setup comfortably and confidently, ensuring your message is heard exactly as you intend.
RELATED: Recording Tips For Your Home Recording Studio
Unlock Professional Sound: How to Build Your DIY Vocal Booth and Launch Your Podcast
Understanding the Fundamentals of Home Audio Recording
Before diving into the construction of your vocal booth, it’s crucial to understand the basics of sound and how it behaves within an enclosed space. Every room in your house possesses unique acoustic properties that significantly impact sound waves. Factors such as the size of the room, the height of the ceiling, the materials of the flooring and walls, the type and amount of furniture, and even the presence of curtains or rugs all play a role in shaping your audio.
Sound waves interact differently with various materials. For instance, hard, reflective surfaces like bare walls, glass windows, or tile floors will cause sound waves to bounce excessively, leading to echoes and reverberation. These unwanted reflections can make your audio sound distant, hollow, or muddy, obscuring the clarity of your voice. Conversely, softer, porous materials like wood, fabric, carpets, or acoustic foams absorb sound waves, reducing reflections and creating a drier, more controlled sound environment. The goal for high-quality audio recording is to capture the full, rich tone of your voice while simultaneously minimizing these disruptive external noises and room acoustics.
A DIY vocal booth is essentially a mini, controlled acoustic environment designed to isolate your microphone and your voice from the unpredictable acoustics of your room. It works by absorbing sound waves close to the microphone, preventing them from bouncing off hard surfaces and returning to the microphone as unwanted reflections. This simple intervention dramatically improves clarity, reduces echo, and helps to achieve that polished, professional sound listeners expect from top-tier podcasts.
Essential Materials for Your DIY Vocal Booth
Creating your own vocal booth is surprisingly straightforward and requires only a few readily available and inexpensive items. Here’s what you’ll need:
- Acoustic Foams: These are specifically designed to absorb sound waves and are the core component of your booth’s sound-dampening capabilities. Look for wedge or pyramid patterns, as these are very effective.
- A Box: This will serve as the enclosure for your microphone and the frame for your acoustic foam.
- Bread Knife or Utility Knife: Essential for precisely cutting the acoustic foam to fit your box.
Pro Tip: For the box, consider using an IKEA Drona box. These fabric storage boxes are incredibly affordable, often costing around $4-$6, and their soft, fabric-lined interior already offers a degree of sound absorption. Alternatively, any sturdy cardboard box, a plastic storage bin, or even a small wooden crate can work as long as it’s large enough to comfortably house your microphone. Acoustic foams are widely available online through marketplaces like eBay or Amazon, and often come in packs, making them an economical choice.
Step 1: Selecting and Preparing Your Box
Your journey begins with the box. The ideal box should be open on at least one end, creating a natural opening for you to speak into with your microphone positioned inside. Crucially, it needs to be sufficiently large to accommodate your microphone comfortably, leaving some space between the microphone and the foam panels for optimal sound absorption. While the IKEA Drona box (often made of polyester fabric) is highly recommended for its built-in softness and affordability, other materials like a standard cardboard box (which can be lined with fabric if desired) or a soft-sided storage container can also be repurposed. The key is to choose a material that isn’t overly rigid or reflective. Ensure the box is clean and free of any debris that could create unwanted noise during recording.
Step 2: Customizing and Installing the Acoustic Foam
Once you have your box, it’s time to equip it with the sound-absorbing power of acoustic foam. The goal here is to line the interior walls of the box with the foam, effectively creating a dead space where sound reflections are minimized. Begin by measuring the dimensions of each interior side of your box. Carefully cut the acoustic foam panels to fit these dimensions using your bread knife or a sharp utility knife. A bread knife, with its serrated edge, often works remarkably well for cleanly slicing through foam. Take your time with this step, as precise cuts will ensure a snug fit and maximum sound dampening.
Insert one foam panel at a time, pressing it firmly against the interior surface of the box. If your foam panels come with adhesive backing, simply peel and stick. If not, you can use spray adhesive (suitable for foam) or even double-sided tape to secure them. Make sure the foam covers as much of the interior surface as possible, leaving no gaps. Repeat this process for all interior sides of the box, ensuring that the foam panels fit snugly together. The more fully you line the box, the better its acoustic performance will be. Some users even line the bottom and top interior surfaces for comprehensive coverage.
Step 3: Final Assembly and Your First Recording
Congratulations, your DIY vocal booth is now complete! The transformation from a simple box to an effective sound-dampening enclosure is remarkable. To use it, simply place your microphone inside the booth, positioning it centrally. Ensure that the microphone’s capsule (the part that picks up sound) is facing the open end of the box, towards where you will be speaking. The acoustic foam lining will now work its magic, absorbing direct sound waves from your voice and preventing them from bouncing off the box’s inner surfaces. This creates a much more controlled and “dry” vocal recording, making your voice sound fuller, clearer, and truly professional, free from unwanted room reverberation.
With your DIY vocal booth ready, you’re now equipped to capture audio that stands out. This small but mighty setup will significantly elevate the quality of your podcast, giving it the polished edge it deserves and ensuring your audience enjoys a superior listening experience.
RELATED: Must-Have Home Recording Studio Equipment | DIY Music Room
Launching Your Podcast: A Step-by-Step Guide
Building your vocal booth is an excellent start, but a successful podcast requires more than just great audio capture. You’ll also need the right equipment to process, record, and produce your content. Here’s a detailed look at what you need and how to set up your entire home podcasting studio.
Essential Equipment for Starting Your Podcast
To bring your podcast from concept to reality, you’ll need a few key pieces of hardware and software:
- Microphone with Your New Sound Booth: As discussed, your DIY vocal booth paired with a good microphone is the foundation of excellent audio. While many budget-friendly USB microphones (like the Blue Yeti or Rode NT-USB Mini) offer great quality, an XLR microphone (e.g., Shure SM58, Rode Procaster) connected to an audio interface often provides more flexibility and professional-grade sound.
- DAW (Digital Audio Workstation) Software: This is the application on your computer where you’ll record, edit, mix, and master your audio tracks. It’s the central hub for your audio production.
- Audio Interface (Optional, but Recommended for XLR Mics): If you opt for an XLR microphone, an audio interface acts as the bridge between your microphone and your computer. It converts the analog signal from your mic into a digital signal your computer can understand.
- Headphones: Essential for monitoring your audio as you record and edit, ensuring you catch any imperfections. Over-ear, closed-back headphones are ideal for preventing sound leakage into your microphone.
- Computer: A reliable desktop or laptop with enough processing power and storage to handle audio recording and editing software.
About DAWs: A Digital Audio Workstation is powerful software that allows you to capture, manipulate, and arrange audio. Beyond just recording, DAWs offer a suite of tools for noise reduction, equalization (EQ), compression, reverb, and more, enabling you to fine-tune your sound. Popular examples include GarageBand (free for Mac users), Audacity (free, open-source for Windows and Mac), Logic Pro X (Mac only, paid, professional-grade), Adobe Audition (Windows/Mac, subscription-based), Ableton Live (Windows/Mac, professional-grade, known for music production), Cubase (Windows/Mac, professional-grade), and Reaper (Windows/Mac/Linux, very affordable, highly customizable). While professional DAWs offer extensive features, beginner-friendly options like Audacity or GarageBand are perfectly adequate for most podcasting needs.
Step 1: Setting Up Your Digital Audio Workstation (DAW)
The first step in your podcasting journey is to prepare your computer with your chosen DAW. If you’re a Mac user, you’re in luck: GarageBand often comes pre-installed on your system, offering a robust and intuitive platform for recording and basic editing. For those seeking more advanced features and professional control on a Mac, Logic Pro X is an excellent upgrade, providing studio-level capabilities. Windows users have fantastic free options like Audacity, a powerful open-source program that’s incredibly user-friendly and perfect for getting started. Cubase offers a range of versions, including entry-level options for Windows, and is known for its comprehensive feature set. No matter which DAW you choose, the core functionality for podcasting—recording, cutting, pasting, and adding effects—is largely consistent across platforms. Focus on learning the basics of your chosen software, as its ease of use will be key to your workflow.
Step 2: Connecting Your Microphone to Your Audio Interface (if using XLR)
With your DIY vocal booth ready and your microphone in place, it’s time to integrate your audio hardware. If you’re using an XLR microphone, an audio interface is your next crucial component. This hardware device serves as an external sound card, plugging into your computer via a USB or Thunderbolt cable. Its primary function is to convert the analog audio signal from your microphone into a digital signal that your computer and DAW can process. Beyond conversion, audio interfaces typically provide phantom power (necessary for condenser microphones), input gain control (to boost the microphone’s signal to an optimal level), and sometimes direct monitoring capabilities (allowing you to hear your voice through headphones with zero latency).
To connect, simply plug one end of an XLR cable into your microphone and the other end into an input jack on your audio interface. Then, connect your audio interface to your computer using a USB or Thunderbolt cable. Most audio interfaces are plug-and-play, but you might need to install specific drivers from the manufacturer’s website. Once connected, select your audio interface as the input device within your DAW’s preferences or settings. Examples of popular and reliable audio interfaces for home studios include the Behringer U-phoria UM2 (an excellent budget-friendly option), the Focusrite Scarlett 2i2 or 2i4 (highly regarded for quality and ease of use), and the PreSonus AudioBox series.
Step 3: Planning and Recording Your Podcast Episode
Before hitting the record button, effective planning is paramount. A well-structured episode keeps your content cohesive and engaging. Start by outlining your program: define your topic, key discussion points, and a general flow. Consider scripting intros and outros, as well as any specific segments or transitions. Even if you prefer a more conversational style, a solid outline acts as a roadmap, preventing you from straying off-topic. Once your plan is solid, sit down, put on your headphones, check your microphone levels within your DAW (aim for peaks around -6dB to -10dB to avoid clipping), and begin recording. Speak clearly and confidently, utilizing your DIY vocal booth to its fullest potential to capture that professional sound.
Step 4: The Art of Editing and Publishing Your Podcast
The recording phase is just the beginning; the magic often happens in post-production. This is where your DAW truly shines. Start by editing out any mistakes, prolonged pauses, “umms” and “ahhs,” or unwanted background noises. Aim for a tight, smooth listening experience. Next, enhance your episode with creative elements: add an engaging intro music track to set the tone, subtle background music during specific segments, or sound effects to punctuate points. Don’t forget an outro music segment to wrap up your show professionally. After editing, mix your tracks to ensure consistent volume levels between your voice, music, and sound effects. You might also apply some basic mastering techniques like compression and equalization to give your audio a final polish.
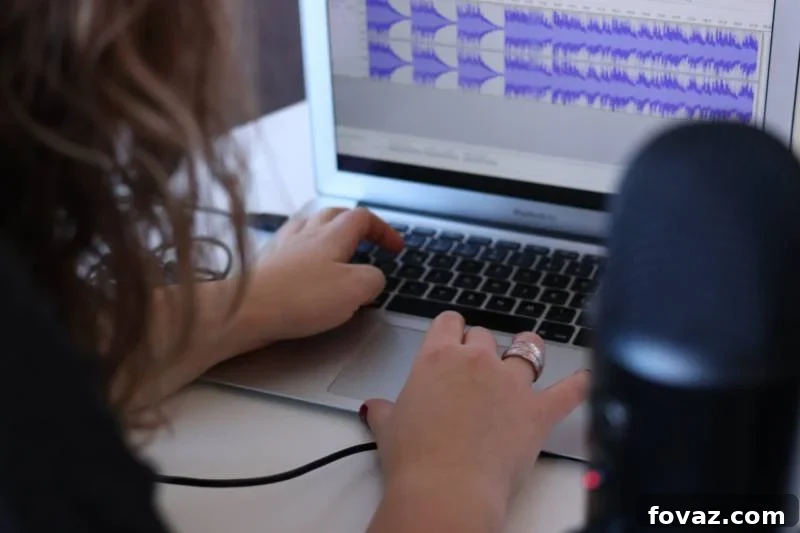
Once your episode is perfected, export it as an MP3 file, which is the standard format for podcasts. Now, it’s time to share it with the world! You’ll need a podcast hosting platform, which stores your audio files and generates an RSS feed—this feed is what directories like Apple Podcasts, Spotify, Google Podcasts, and Stitcher use to find and list your show. Popular and reliable hosting services include Buzzsprout, Blubrry, PodBean, Anchor.fm (free), Libsyn, and Transistor. These platforms offer easy step-by-step guides on how to upload your episodes, distribute your RSS feed to major directories, and track your listener statistics. Choose a platform that fits your budget and offers the features you need for analytics and distribution.
Learn More: Watch This Video for DIY Vocal Booth Construction
For a visual guide and additional tips on how to construct your DIY vocal booth, check out this informative video from Joe Lam. Seeing the process in action can provide extra clarity and confidence for your build:
Your Podcasting Journey Begins Now
You’ve successfully built your very own DIY vocal booth and gained the knowledge to navigate the exciting world of podcasting. With your new affordable home studio setup, you’re now fully equipped to produce high-quality audio, share your unique thoughts, stories, and expertise with a global audience, and launch your own captivating online show. This setup isn’t just for podcasts; if you’re a musician, this sound booth can also dramatically improve the quality of your vocal tracks for song recording. For recording instruments, simply scale up the size of your box to accommodate larger sound sources.
Embrace the power of your voice and the clarity of your new audio setup. The only limit is your imagination. Start recording, start sharing, and start building your community today!
Were you able to build a DIY vocal booth of your own? Share your experiences and tips with us in the comments section below!
UP NEXT:
- DIY Soundproofing | How To Soundproof Your Space
- How To Make A Photo Booth For Your New Year’s Eve Party
- Young House Love Must-Try DIY | Rustic Centerpiece Box
Calling all crafting DIYhards, DIY Projects needs YOU! Click here if you want to contribute for us.
Don’t forget to stay connected with us on Facebook, Twitter, and Instagram!