
How to Make Wire Jewelry | Comprehensive Wire Wrapping Tutorials
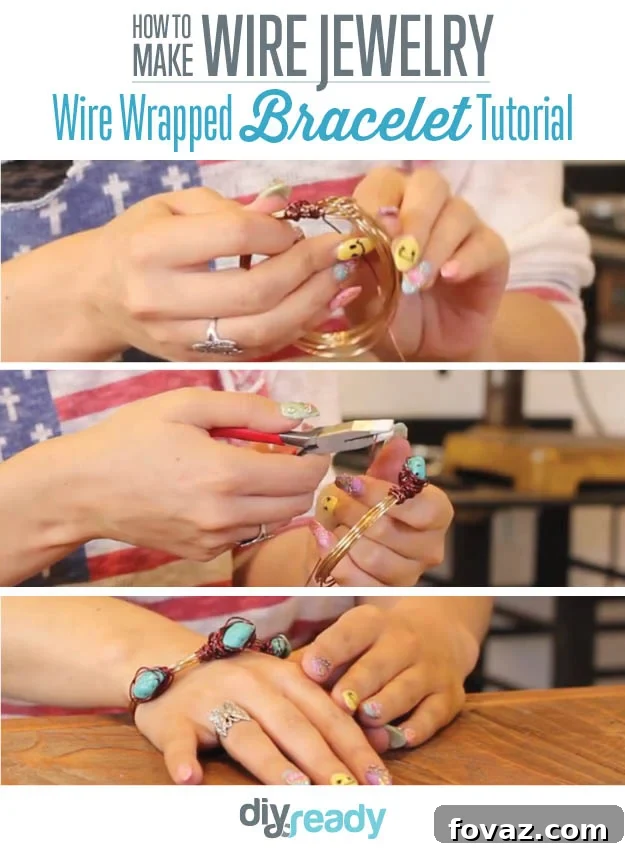
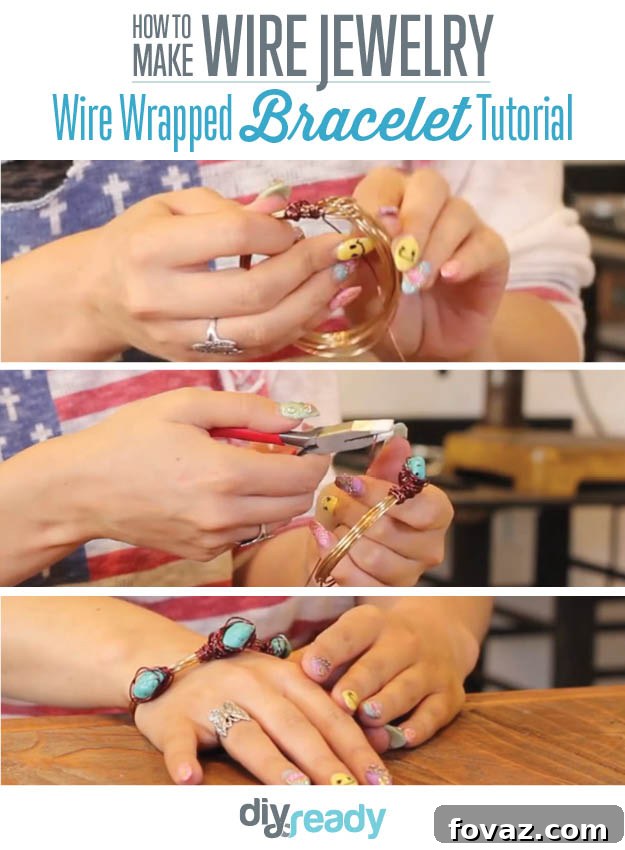
Project 1: Crafting Your First Wire Wrapped Bracelet
Welcome to an exciting journey into the world of wire jewelry making! If you’ve been eager to transform simple wire and beautiful stones into wearable art, you’ve come to the right place. This in-depth tutorial is designed to guide you through the creation of your very own wire wrapped bracelet, from the initial concept to the final, polished piece. This isn’t just another project; it’s a foundational experience that will equip you with essential skills in wire wrapping, paving the way for countless future creations.
Having already familiarized yourself with the necessary tools and materials in a previous lesson, now is the perfect time to apply that knowledge. Get ready to put theory into practice and experience the immense satisfaction of crafting something beautiful with your own hands. Wire wrapping is a meditative and rewarding craft that allows for incredible personal expression, and this bracelet serves as an ideal starting point for your creative adventure.
In this comprehensive lesson, you will master the following crucial wire wrapping techniques:
- The fundamental steps and advanced tips for wire wrapping a durable and elegant bracelet.
- Expert methods for securely and artistically wire wrapping a stone, integrating it seamlessly into your design.
- Professional techniques for securing your wire ends, ensuring a clean finish and lasting quality for your handmade jewelry.
Why Choose Wire Wrapping for Your Next DIY Project?
Wire wrapping offers a unique blend of artistry and practicality. Unlike soldering or casting, it doesn’t require heat, making it accessible for home crafters. It allows for incredible flexibility in design, from delicate, minimalist pieces to bold, sculptural statements. Creating your own wire jewelry means you can customize every aspect – the type of wire (copper, sterling silver, brass), the selection of stones (gemstones, beads, found objects), and the overall aesthetic. The joy of wearing or gifting a piece you’ve painstakingly crafted yourself is truly unparalleled.
Essential Materials and Tools for Your Bracelet
Before diving into the intricate steps, let’s briefly recap the key components you’ll need. While a detailed list would have been covered in an earlier lesson, having these essentials ready will ensure a smooth crafting experience. You’ll typically work with high-quality jewelry wire, often copper for its malleability and beautiful patina, in various gauges (e.g., 18-gauge for the main structure, 24-gauge for detailed wraps). A selection of basic jewelry pliers—round-nose, flat-nose, and flush cutters—are indispensable. Don’t forget your chosen focal stone; a cabochon or a drilled bead works wonderfully for beginners. Having a ruler, a permanent marker, and a polishing cloth will also be beneficial.
Step-by-Step Guide to Wire Wrapping Your Bracelet
The foundation of any great wire wrapped bracelet lies in its structure. We’ll begin by shaping the main frame of your bracelet, ensuring it comfortably fits your wrist while providing a sturdy base for your wire work. This involves careful measuring, bending, and forming the wire, often using a mandrel or a cylindrical object for consistent curvature. Precision at this stage is key to a professional-looking finished product. We will explore different methods for creating clasps or securing the bracelet ends, allowing for adjustability and ease of wear.
Once the basic frame is established, the real artistry begins with the decorative wire wrapping. This could involve creating intricate coils, spirals, or interwoven patterns along the length of the bracelet. We’ll discuss techniques for maintaining consistent tension, preventing gaps, and ensuring that your wraps are both aesthetically pleasing and structurally sound. This is where your creativity truly shines, as you decide on the complexity and style of your embellishments.
Mastering the Art of Wire Wrapping a Stone
Integrating a stone adds a focal point and a touch of elegance to your bracelet. Wire wrapping a stone is a skill that elevates your jewelry-making abilities significantly. This section will walk you through the process of creating a secure and beautiful bezel-like setting for your chosen stone without the need for solder. You’ll learn how to create a sturdy frame around the stone, gently wrapping and weaving finer gauge wire to hold it firmly in place while showcasing its natural beauty. We’ll cover how to choose the right wire gauge for your stone, how to form prongs or a cage, and how to tighten the wraps to prevent the stone from shifting.
Whether you’re working with a smooth cabochon, a faceted gemstone, or even a unique beach pebble, the principles remain the same. The goal is to highlight the stone’s best features, using the wire as both a functional holder and an artistic accent. Attention to detail here will result in a professional-grade finish that truly makes your bracelet stand out.
Ensuring Durability: How to Secure Your Wire
A beautiful piece of jewelry is only as good as its construction. Learning how to properly secure your wire is paramount to creating durable, long-lasting pieces. We’ll delve into various finishing techniques, from neatly tucking in wire ends to gently filing sharp edges. This prevents snagging on clothing, irritation to the skin, and ensures that your wire work remains intact over time. Proper securing also contributes significantly to the overall aesthetic, giving your handmade bracelet a polished and professional look.
The process often involves using your flat-nose pliers to press down wire ends, sometimes even gently tapping them with a nylon hammer to flatten them against the main structure. Understanding how tension and strategic wrapping play a role in security is also vital. A well-secured piece of wire jewelry can withstand daily wear and become a cherished item for years to come.
Watch the Full Tutorial Here:
For a visual and interactive learning experience, watch our detailed video tutorial. It demonstrates each step clearly, allowing you to follow along at your own pace and grasp the nuances of wire wrapping a bracelet and securing a stone. Pause, rewind, and practice until you’re confident in your technique!
Share Your Masterpiece & Connect with Our Community!
We absolutely love seeing your creations! Once you’ve completed your stunning wire wrapped bracelet, don’t hesitate to share your photos with us in the comments section below. Your unique designs inspire fellow crafters and showcase the incredible possibilities of wire jewelry. Did you use a different type of stone? Experiment with unique wire patterns? We want to see it!
Got a question as you work through the tutorial? Or perhaps you’re facing a tricky spot in your wire wrapping journey? Don’t keep it to yourself! Ask us below, and our community of enthusiastic crafters and experts will be happy to assist you. Learning is a collaborative process, and we’re here to support you every step of the way.