
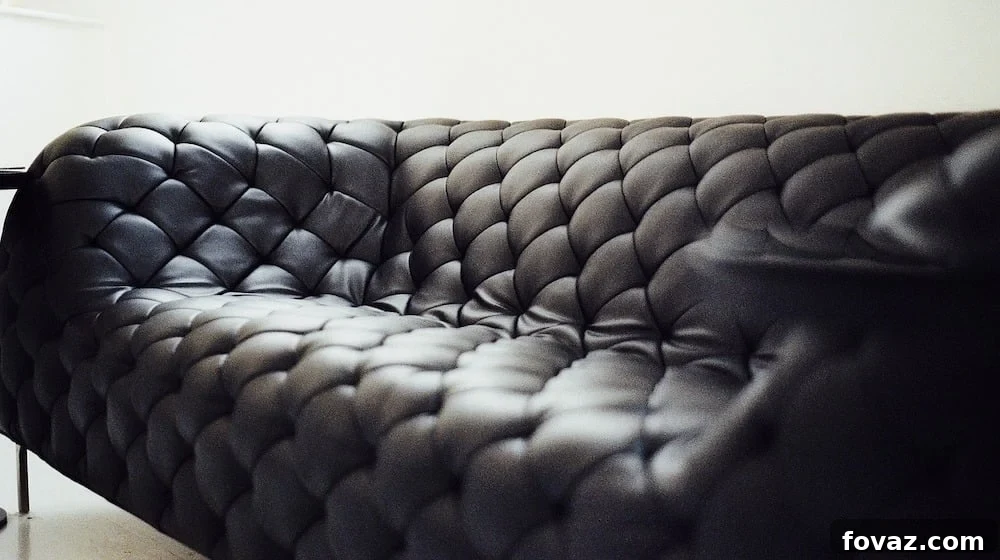
Is your favorite wing chair looking a little tired, worn, or simply out of style? Before you consider tossing it to the curb, imagine the satisfaction of transforming it into a stunning, like-new piece that perfectly complements your home’s aesthetic. Reupholstering a chair is not just an economical choice; it’s a creative journey that allows you to infuse personality and new life into beloved furniture. With a bit of patience, the right tools, and this detailed guide, you can give your old wing chair a complete professional-quality makeover.
Today, we’re diving deep into the art of DIY upholstery, specifically focusing on the classic wing chair. Drawing inspiration from talented crafters like Jaime Costiglio, we’ll walk you through every essential step. From preparing your chair to attaching the final decorative touches, prepare to learn how to reupholster a chair that will be the envy of your guests and a testament to your DIY prowess.
Why Reupholster Your Wing Chair? More Than Just a Facelift
Reupholstering offers a multitude of benefits that extend far beyond aesthetics:
- Sustainability: By renewing an existing piece, you’re preventing it from ending up in a landfill, contributing to a more sustainable lifestyle.
- Cost Savings: High-quality, new furniture can be expensive. Reupholstering often costs significantly less than buying a comparable new chair, especially if the frame is sturdy.
- Personalization: You get to choose the exact fabric, pattern, and color that perfectly matches your decor and personal taste, creating a truly unique item.
- Preserving Sentimental Value: Some chairs hold cherished memories. Reupholstering allows you to keep a family heirloom or a beloved piece of furniture relevant and functional for years to come.
- Quality Revival: Older furniture often boasts superior construction. Reupholstering allows you to maintain that quality while updating its appearance.
Essential Tools & Materials for Your Upholstery Project
Embarking on a reupholstery journey requires a specific set of tools and materials. Having everything ready before you start will ensure a smoother, more enjoyable process. Here’s a comprehensive list, with explanations for each item:
- Pliers: Indispensable for gripping and pulling out old staples, nails, and tacks. Look for a strong pair with a good grip.
- Pry Bar (or Flathead Screwdriver/Paint Scraper): Essential for prying up fabric edges, trim, and staples. A sturdy, flat-head screwdriver can work in a pinch, but a dedicated pry bar offers better leverage.
- Upholstery Fabric (5+ yards Belgian linen 11 oz. recommended): The heart of your project! The quantity will vary by chair size and fabric pattern repeat. Belgian linen, especially an 11 oz weight, is durable and classic. Consider factors like durability (double rubs), stain resistance, and how it drapes. Always purchase a little extra to account for mistakes or pattern matching.
- Sewing Machine & Thread: Crucial for constructing new cushion covers and some chair sections. A heavy-duty machine is ideal for thicker upholstery fabrics.
- Scissors: Sharp, fabric-specific scissors are a must for clean cuts. Do not use them for paper or other materials!
- Straight Pins: Used for holding fabric pieces together before sewing and for temporarily securing fabric to the chair frame.
- Carpet Thread & Curved Upholstery Needle: Extra-strong thread and a curved needle are vital for hand-sewing sections directly onto the chair frame, especially in tight spots where a machine can’t reach.
- Staple Gun & Staples: Your primary tool for attaching the new fabric. An electric or pneumatic staple gun is highly recommended for efficiency and to save your hands, using 1/2-inch or 3/8-inch staples suitable for upholstery.
- Exacto Knife or Straight Edge Blade: For precise trimming of excess fabric, especially in tight corners or along edges.
- Hot Glue Gun & Hot Glue Sticks: Used for attaching decorative elements like twill tape or cording and for securing fabric in certain areas.
- 1/4″ Wide Natural Twill Tape: A common decorative trim used to cover staple lines, giving a clean, finished edge.
- #6 Black Carpet Tacks: Small decorative tacks often used along exposed wood trim or as a decorative border. The #6 size is standard for upholstery.
- Hammer: For installing carpet tacks and for light tapping of fabric or staples.
- Flexible Tape Measure: Essential for accurate measurements of fabric pieces and chair sections.
- Pen or Fabric Marker: For marking fabric, indicating cut lines, or noting staple positions.
Step-by-Step Guide: Reupholstering Your Wing Chair
This tutorial, inspired by Jaime Costiglio’s insightful methods, breaks down the reupholstering process into manageable steps. Remember, patience and precision are your best allies.
Step 1: The Art of Disassembly and Pattern Preservation
This initial phase is critical. Carefully removing the old fabric serves a dual purpose: it exposes the chair’s structure and provides invaluable patterns for your new fabric. Begin by using your pliers and pry bar to meticulously remove all existing fabric, trim, and padding until you’re down to the chair’s bare frame and foam. Work slowly and methodically, taking photos or notes if necessary to remember the order of layers and attachment points. The old fabric pieces, even if worn, are your blueprints. Do not discard them! Lay them out flat, label them (e.g., “left arm interior,” “back panel”), and smooth them out. These will be your templates for cutting the new fabric, ensuring a perfect fit.
Step 2: Exposing the Inner Framework and Preparing for New Fabric
With the old fabric gone, your next task is to reveal the chair’s underlying framework, particularly near the bottom seat area. This often involves gently pulling back or removing some of the foam around the base. You’ll need to expose the channels or openings where new fabric pieces will be threaded through to the underside of the chair. The goal is to create clear access points, allowing you to pull fabric taut from the front of the chair to the back or sides, securing it to the internal frame. This strategic exposure is vital for achieving a professional, clean finish without visible staples on the show wood.
Step 3: Attaching the Seat Deck – The Foundation of Comfort
The seat deck is the foundation for your chair’s comfort and appearance. Begin by sewing the new deck pieces together as needed, typically where the arms meet the seat, creating a strong seam. Once machine-sewn, you’ll hand-sew through the seam allowance, securing it directly down into the chair frame using robust carpet thread and your curved upholstery needle. This hand-sewn connection is critical for durability and preventing fabric shifting. After the deck is securely anchored, gently push the forward portion of the deck fabric through the side openings beneath the arms, pulling it through to the underside. Then, pull the front edge of the seat deck fabric down over the front edge of the chair’s frame. Pull it snug, but not overly tight – you want to eliminate wrinkles without distorting the fabric or creating tension that could tear it. Using your staple gun, staple the fabric into place, positioning staples as close to the edge of the woodwork as possible for a neat finish. Finally, secure the deck sides and back, then attach the interior side pieces, mirroring the pulling and stapling technique to ensure an even, taut surface.
Step 4: Precision Cutting and Attaching the Interior Back and Sides
Now, it’s time to cut your new fabric for the interior back and side panels. Lay your old fabric pieces, carefully flattened, onto your new upholstery fabric. Use them as precise patterns, but here’s a crucial tip from Jaime: always add an extra 2 inches of fabric around all edges. This additional allowance provides ample fabric for pulling, stretching, and stapling, ensuring you have enough material to work with without running short. Once cut, position the new fabric piece onto the chair. Pull the back edge of the fabric through the opening in the side back of the chair frame, smoothing it out. Secure the fabric with staples, making sure it’s evenly tensioned across the entire panel. Once stapled, use an exacto knife or a straight-edge blade to carefully trim away any excess fabric close to the staple line, leaving a clean, crisp edge.
Step 5: Crafting the Exterior Back and Sides for a Seamless Look
The exterior back and sides are where your chair’s new personality truly shines. For these sections, Jaime often opted for sewn side seams to achieve a tailored, professional finish. Cut your fabric pieces to size, remembering the 2-inch extra allowance. Place the fabric pieces right side against the chair, temporarily pinning them in place. Run a line of pins precisely down the corner where the side seam will go, marking your intended stitch line. Carefully remove the fabric, keeping your pin line intact. Sew the two side seams on your sewing machine. To reduce bulk and ensure a smooth profile, trim the seam allowance down to approximately 1/2 inch. Once sewn, fit the exterior pieces back onto the chair. Start stapling these exterior pieces from the back top, working your way down the sides. Ensure the fabric is pulled evenly and smoothly, avoiding any puckering or wrinkles, and staple securely to the chair frame.
Step 6: The Finishing Touch – Covering Staple Lines with Twill Tape
To elevate your DIY upholstery to a professional standard, you need to conceal any exposed staple lines. This is where the twill tape and hot glue gun come into play. Apply a thin, even bead of hot glue along the stapled edges, then carefully press the 1/4-inch wide natural twill tape over the staples. Work in small sections, ensuring the tape is applied straight and smoothly, creating a clean, crisp border that neatly finishes the edges and hides any imperfections. This step significantly contributes to the polished appearance of your reupholstered chair.
Step 7: Decorative Tacking – Adding Character and Detail
The final step in this transformation involves adding decorative carpet tacks, which can greatly enhance the chair’s aesthetic appeal. Using a flexible measuring tape, carefully mark off every 1 inch along the desired edge (e.g., the arms or the bottom perimeter) with a pen dot. These marks will guide your tack placement. With your hammer, gently but firmly tap in one #6 black carpet tack at each marked spot. Ensure the tacks are evenly spaced and driven in straight and flush with the fabric for a consistent, professional-looking decorative trim. This detail can frame the fabric beautifully and add a touch of classic elegance.
With these steps, the base of your wing chair transformation is complete! For those interested in completing the full chair makeover, including crafting a perfectly fitted cushion cover, we highly recommend checking out the detailed tutorial on jaimecostiglio.com for comprehensive instructions.
Tips for Upholstery Success
- Work Slowly: Upholstery is not a race. Take your time with each step to ensure precision.
- Take Pictures: Document the disassembly process with photos from multiple angles. This will be an invaluable reference during reassembly.
- Invest in a Good Staple Gun: An electric or pneumatic staple gun will save your hands and make the process much easier.
- Practice Your Cuts: If you’re unsure, practice cutting on scrap fabric. Remember the “measure twice, cut once” rule.
- Don’t Be Afraid to Undo: If a section isn’t smooth or looks off, it’s better to remove staples and re-staple than to leave an imperfect finish.
- Safety First: Always wear safety glasses when operating a staple gun or prying staples. Keep a first-aid kit handy.
Maintaining Your Newly Upholstered Wing Chair
Once your masterpiece is complete, a little care will keep it looking fresh for years: Regular vacuuming with an upholstery attachment will remove dust and debris. Address spills immediately with a clean, damp cloth and appropriate fabric cleaner, testing in an inconspicuous area first. If your fabric is prone to fading, keep the chair out of direct, prolonged sunlight.
Embrace the DIY Spirit and Transform Your Home
Reupholstering a wing chair is a rewarding DIY project that combines practical skills with creative expression. It allows you to rescue a beloved piece of furniture, save money, and infuse your living space with a touch of personalized elegance. Following this detailed guide, you’re well-equipped to tackle this transformation with confidence. The sense of accomplishment you’ll feel sitting in your beautifully revitalized chair is truly unmatched.
Were you inspired to embark on your own upholstery journey? Did this tutorial help you transform an old chair into a stunning new centerpiece? We’d love to hear about your experiences, challenges, and successes in the comment section below! Share your tips and show off your revamped furniture!