
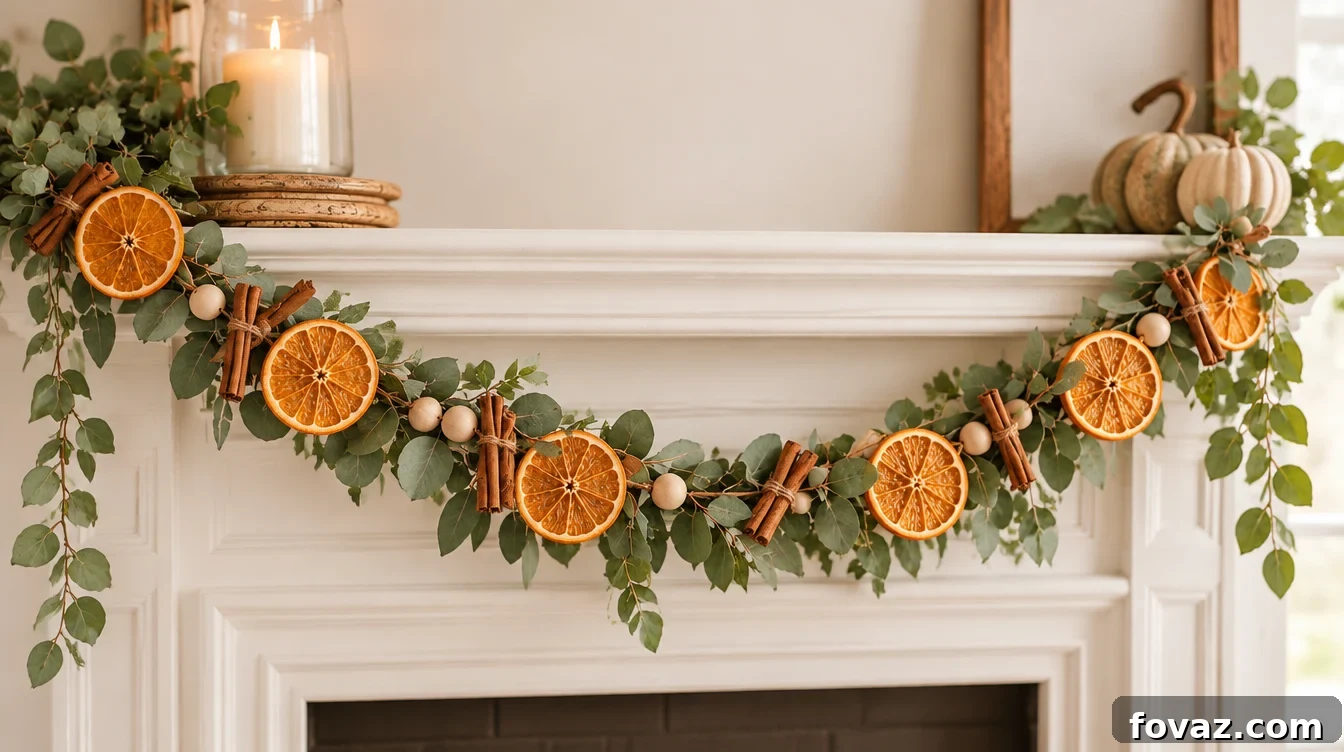
At a Glance: Dried Orange Garland
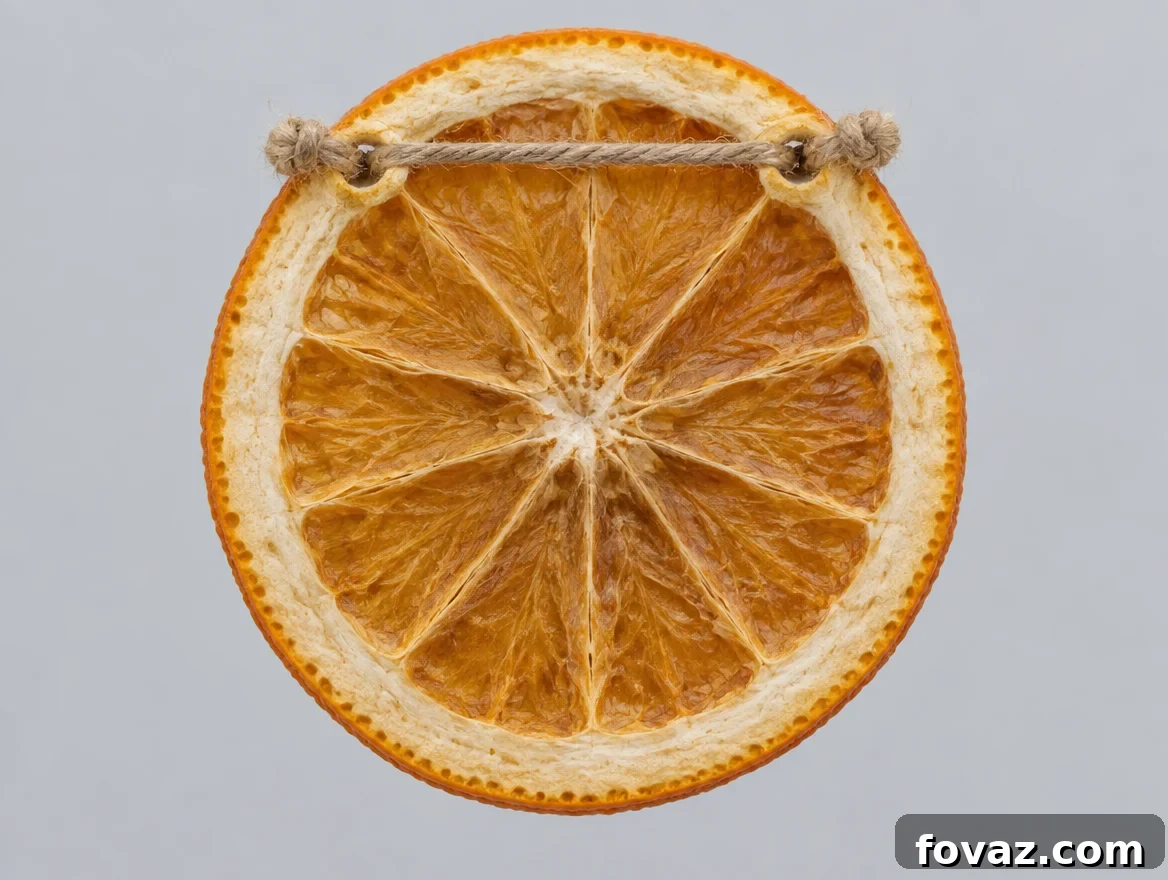
- Hidden twine on the back. Punch two small holes near the top rim of each slice and run the twine across the back so the front looks clean.
- Low and slow wins. Slice thin, dry at low heat, then condition the slices in a jar for a week before threading.
- Three build levels. A no-buy kitchen-drawer version, an improved kit with a few small purchases, and a long-lasting annual setup with a dehydrator and storage supplies.
To make a dried orange garland, cut oranges into thin rounds, dry them gently in a low oven or dehydrator, let them rest for a week to finish drying, then punch two holes near the top of each slice and thread twine down through one hole, across the back, and up through the other. Add cinnamon sticks, eucalyptus sprigs (faux if you prefer), and wooden beads to create a garland that glows in a window. Jump to the supplies or go straight to the steps below.
People often ask how the slices attach. There’s no hidden glue—just two holes in the right place so the slices sit flat and look like they’re floating.
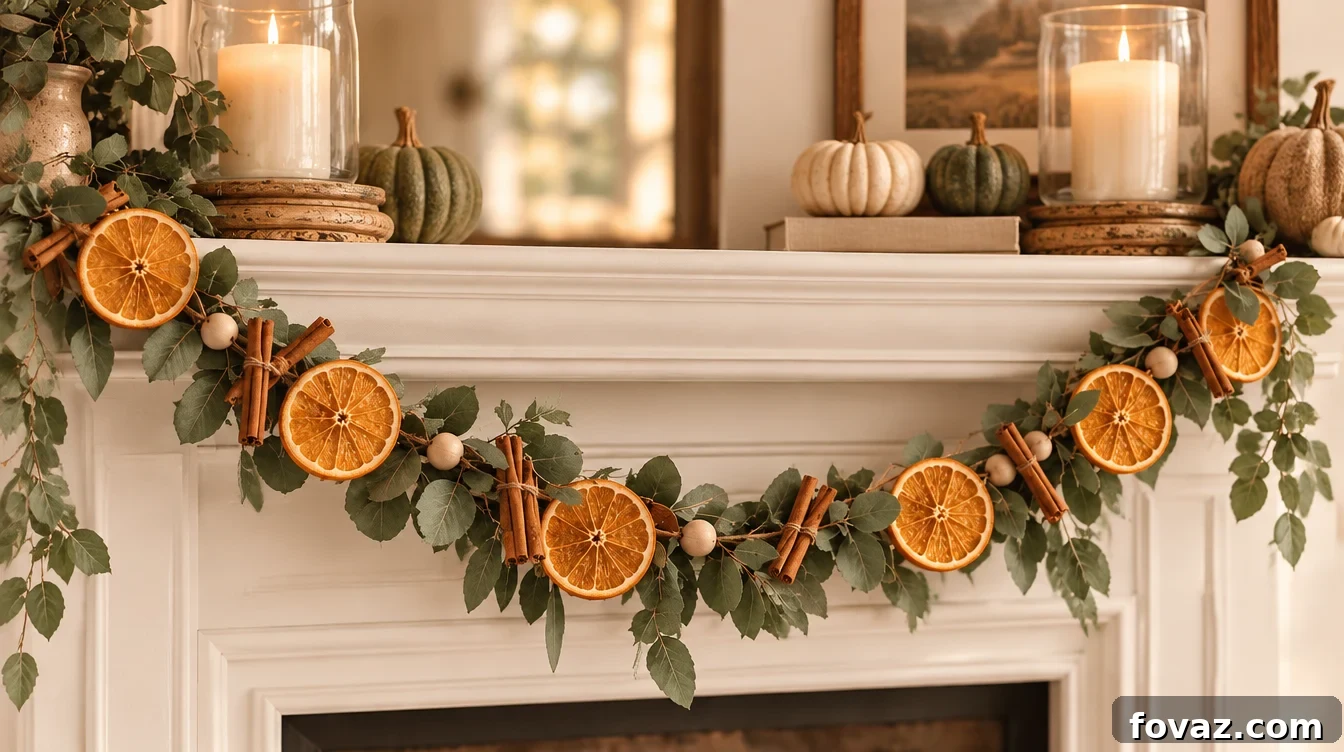
What Do You Need to Make a Dried Orange Garland?
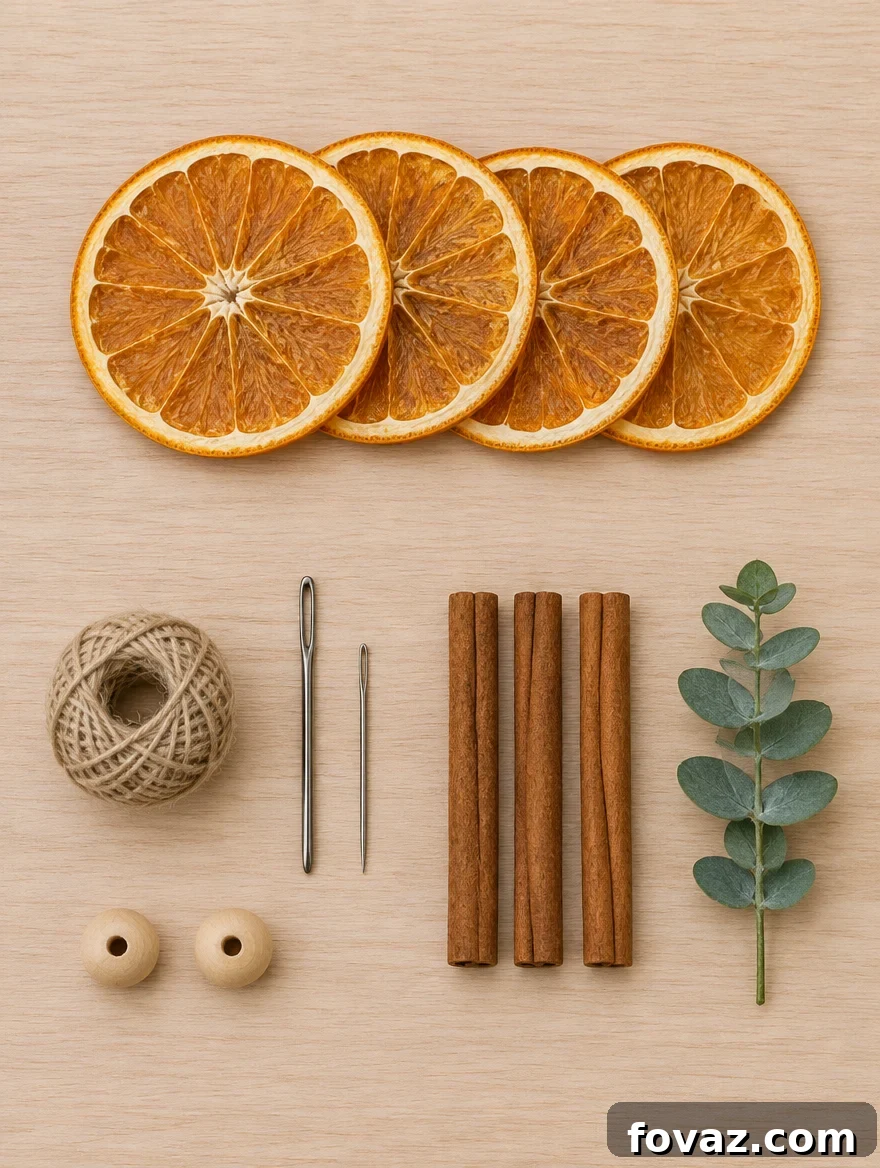
For a 3-foot garland
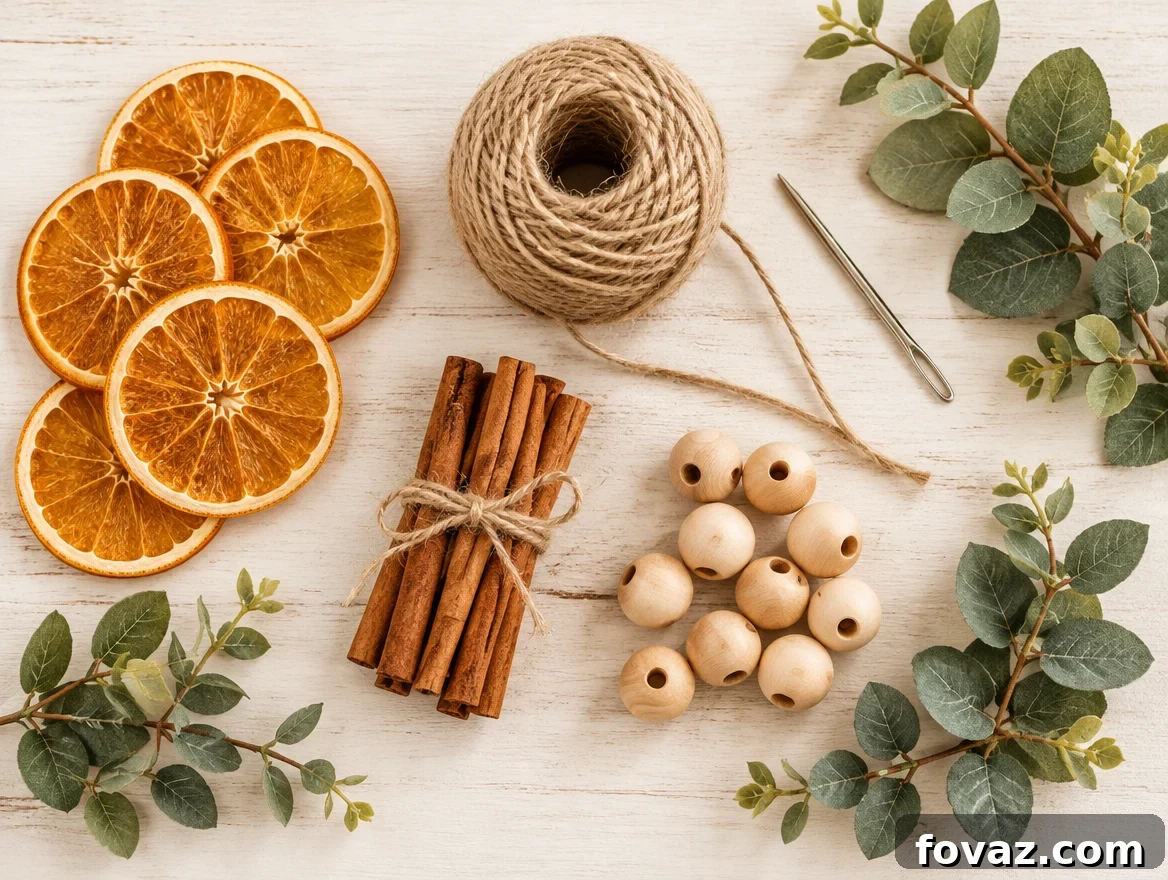
- 3 to 4 oranges. Choose firm fruit for cleaner slices.
- Twine or jute. Long enough for the entire garland plus a little extra for knots.
- A blunt needle or bodkin. Use a blunt tool to make round holes in the peel band instead of slits.
- Cinnamon sticks. Use them to space and scent the garland.
- Eucalyptus, fresh or faux. Faux holds color and form longer if you store the garland.
- Wooden beads (optional). For a little visual weight and rhythm if you choose the bead-drop method.
Tools: sharp serrated knife or mandoline, baking sheet, parchment paper, wire cooling rack, a glass jar with a loose lid. Optional: a food dehydrator.
Print supply list
Quick tip: Don’t skip the resting week. Slices can feel dry on the surface while still holding moisture inside; conditioning the slices in a loosely covered jar for 7–10 days prevents late mold.
What Can Go Wrong With a Dried Orange Garland?
The Hole Tears Out
If you pierce the thin papery center, the hole will tear when the slice hangs. Punch through the thicker peel band about a quarter inch from the edge and about an inch apart; that area holds the needle and the hanging weight.
Mold Appears Weeks Later
A dark ring or fuzzy spot weeks after hanging means moisture was trapped. The remedy is not more oven time but conditioning: rest the slices in a jar with a loose lid for a week and shake daily. If condensation forms on the glass, return the batch to the oven for a bit longer before threading.
How Do You Make a Dried Orange Garland?
There are four phases: prep, dry and rest, punch and thread, then assemble the repeat. Each step matters for a long-lasting, attractive garland.
Slice and Prep
Cut even, thin rounds and blot them dry.
Dry and Rest
Dry low and slow, then condition in a jar for a week.
Punch and Thread
Make two holes in the peel band and run a bridge of twine across the back.
Build the Repeat
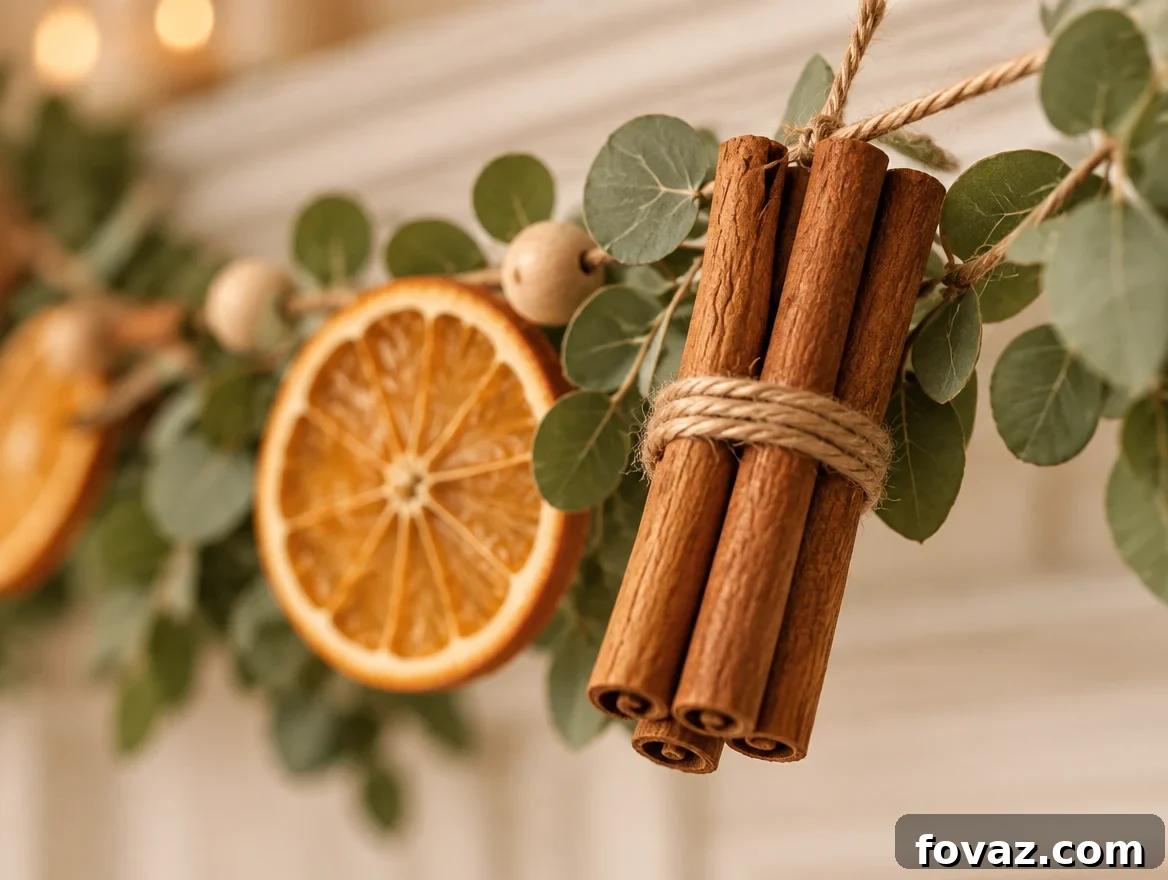
Alternate slices with cinnamon, eucalyptus, and beads to create a readable pattern.
Every Step, in Detail
- Slice the oranges 1/8 inch thick. Use a serrated knife with a gentle sawing motion or a mandoline set to the correct thickness. Consistent slices dry evenly.
- Blot both sides. Press each round between paper towels twice to remove surface juice—this reduces oven time and the risk of sticking.
- Lay them out with room to breathe. Place a single layer on a wire rack so air circulates; slices touching each other will steam instead of drying.
- Set the oven to about 200°F and prop the door open a couple of inches. This helps moisture escape and mimics dehydrator airflow. A convection setting speeds even drying.
- Flip every 30 minutes. Use a timer to keep color even and avoid scorching.
- Pull them after 3 to 5 hours. Test the thicker center; it should feel firm, not squishy.
- Cool them overnight on the counter. Slices continue to firm as they cool.
- Rest them in a jar for 7 to 10 days. Store with a loose lid and shake the jar daily. Any condensation on the glass means they need more drying before threading.
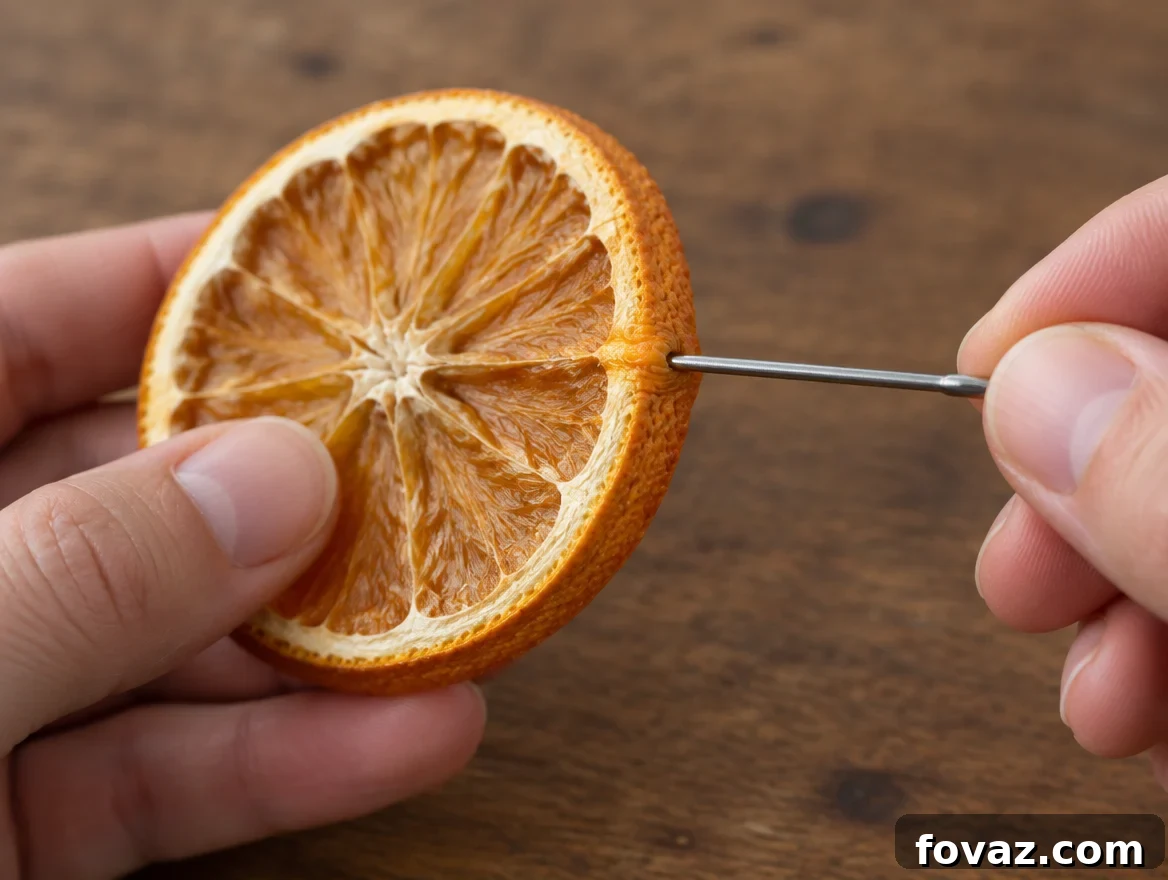
- Mark and punch two holes near the top rim. Space them about an inch apart and a quarter inch from the edge, both inside the thicker peel band. Push the blunt needle slowly so the peel opens a clean round hole.
- Thread the twine. Run the twine down through the first hole, across the back, and up through the second. Tie small knots snug against the outside of each hole so the slice won’t slide on the cord.
- Build the repeat. Thread in the order you like—slice, eucalyptus sprig, cinnamon stick, bead—then repeat. Aim for a full motif every 10–12 inches so the pattern reads from across the room.
- Hang it, then check at two weeks. Clean, pale holes with no fuzz mean your drying and piercing were successful.
Porch tip: Hang the garland somewhere dry and out of direct heat. Steam from a bathroom or constant hot airflow from a vent can undo the conditioning or crack the slices.
Why Won’t My Slices Stay Bright Orange?
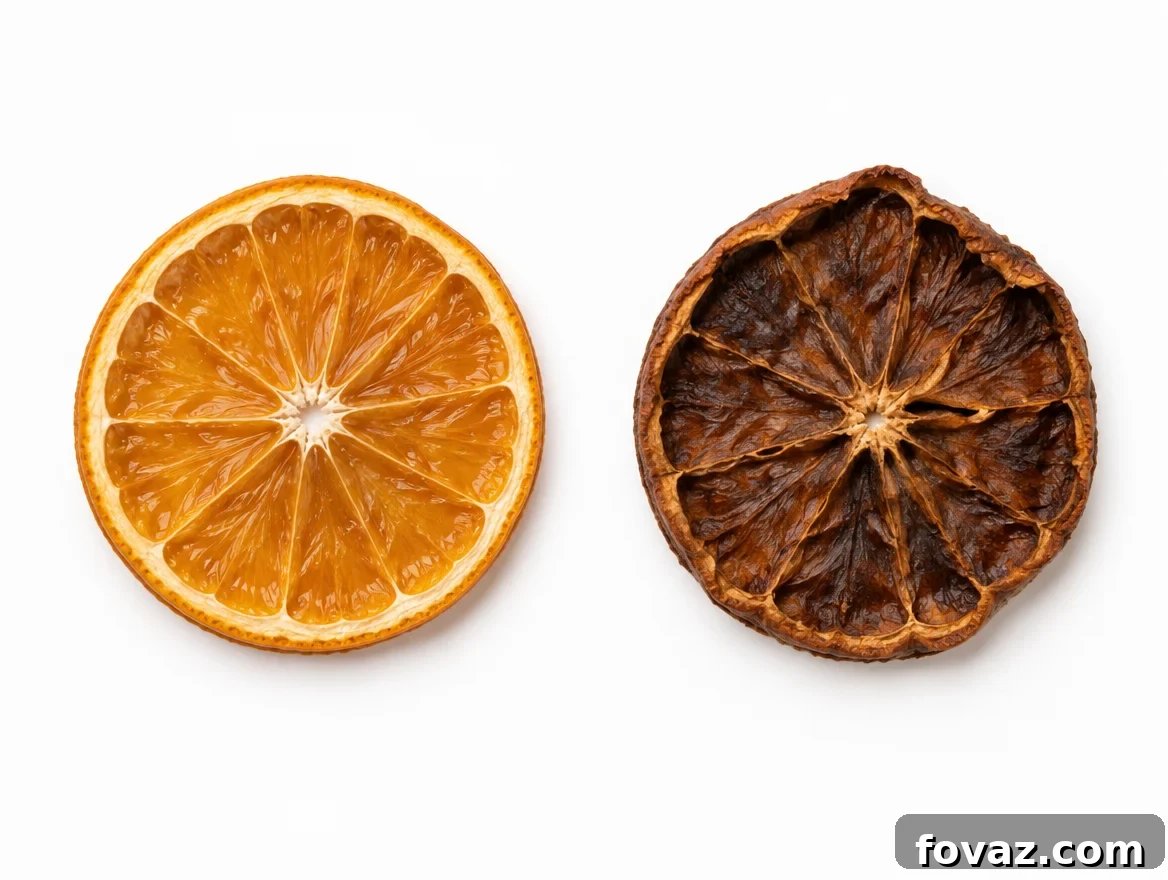
Problem: They Turned Brown
Browning usually means the slices were too thick or were left too long in the oven. Fix it by cutting to 1/8 inch, flipping every 30 minutes, and confirming oven temperature units are Fahrenheit, not Celsius.
Problem: They Look Dull
If slices dried and conditioned but look dull, dust both sides lightly with confectioner’s sugar before baking to add a soft shine. Still, the best approach is correct slicing, full drying, and proper conditioning.
Three Ways to Build a Dried Orange Garland
Kitchen Drawer
Oranges, a knife, a baking sheet, twine, and a sewing needle — a serviceable garland with no new purchases.
Better Results
Add a mandoline for uniform slices, a wire rack, a glass jar for conditioning, a bodkin or blunt needle, faux eucalyptus, and wooden beads for a polished outcome.
Do It Every Year
Add a food dehydrator so you can set and forget, plus silica packets and a flat storage bin so your garland stores well and returns season after season.
Where Should You Hang It?
Up high, out of pet reach. Oranges and eucalyptus can be toxic to pets; hang the garland where animals can’t reach it, or use faux greenery to remove one risk entirely.
Not above heat. Avoid placing the garland directly over a stove, wood stove, or cluster of lit candles. Fully dried fruit is combustible when exposed to open flame.
Not in steam. A bathroom or a location over a sink will reintroduce moisture and raise the risk of mold.
This project can run your oven for several hours. Treat it like any long cooking process: start in daylight, set a timer, and don’t leave the kitchen unattended for long stretches.
When Should You Skip the DIY?
- Need a lot quickly? A home oven handles only a tray or two at a time; for many feet of garland, consider buying pre-dried citrus from a wholesaler.
- Working with electrified lights? Consult a licensed electrician if you plan to lace dried fruit into a wired light strand—safety first.
- Using spices for simmer pots? Don’t use decorative spices from a garland in cooking; use fresh fruit and kitchen-grade herbs for food use.
You Nailed It If
- Hold a slice to a window and the segments glow through.
- The twine bridges on the back all run the same direction and hold snugly.
- From eight feet back you can read the repeating pattern, not just see a blur of orange.
- At two weeks the holes are clean and pale with no fuzz or tearing.
Conclusion
A good dried orange garland depends on four choices: slice thin, dry low and flip regularly, condition the slices in a jar for a week, and pierce through the peel band rather than the flesh. Follow these steps and you’ll get a glowing, fragrant garland that packs away well and comes back season after season.
Get the basics right and your garland will brighten a window, smell like fall, and store cleanly until next year.
Show Us the Back
Everyone posts the front. Flip yours over and share the back on social media so others can see exactly how it holds together, then save this guide to your fall inspiration board before the best oranges disappear from the store.
A few helpful answers
Dried Orange Garland FAQs
The questions we hear most about this project.
Punch two small holes near the rim and thread twine through them. Run the cord down through one hole, across the back, and up through the other, then knot snugly at each exit point. From the front you only see the tiny entry points, so the slices appear to float.
Several seasons if dried and stored properly. Keep it in a sealed bin with a silica packet in a cool, dark spot. Slices will darken a bit each year; moisture, not age, is usually what shortens a garland’s life.
Too much time at heat. Thicker slices need longer and are more likely to darken. Thin to 1/8 inch and flip every 30 minutes to prevent browning.
Yes. A food dehydrator is ideal. Run it at 130–135°F for around 8 hours for even results and minimal browning. Air drying works only in very dry climates and takes much longer with higher mold risk.
Hang it out of reach. Orange peel and some essential oils in eucalyptus can be harmful to pets. Use faux eucalyptus to lower risk and watch for any signs of illness if a pet accesses the garland.
Still have a question? Ask in the comments below.
Is Hot Glue on a Garland Fine, or Is It Heresy?
Crafters disagree. Some glue slices for speed, others knot every piece for longevity, and many thread everything and reserve glue for repairs. Share your approach in the comments—bonus points for a glued slice story.