
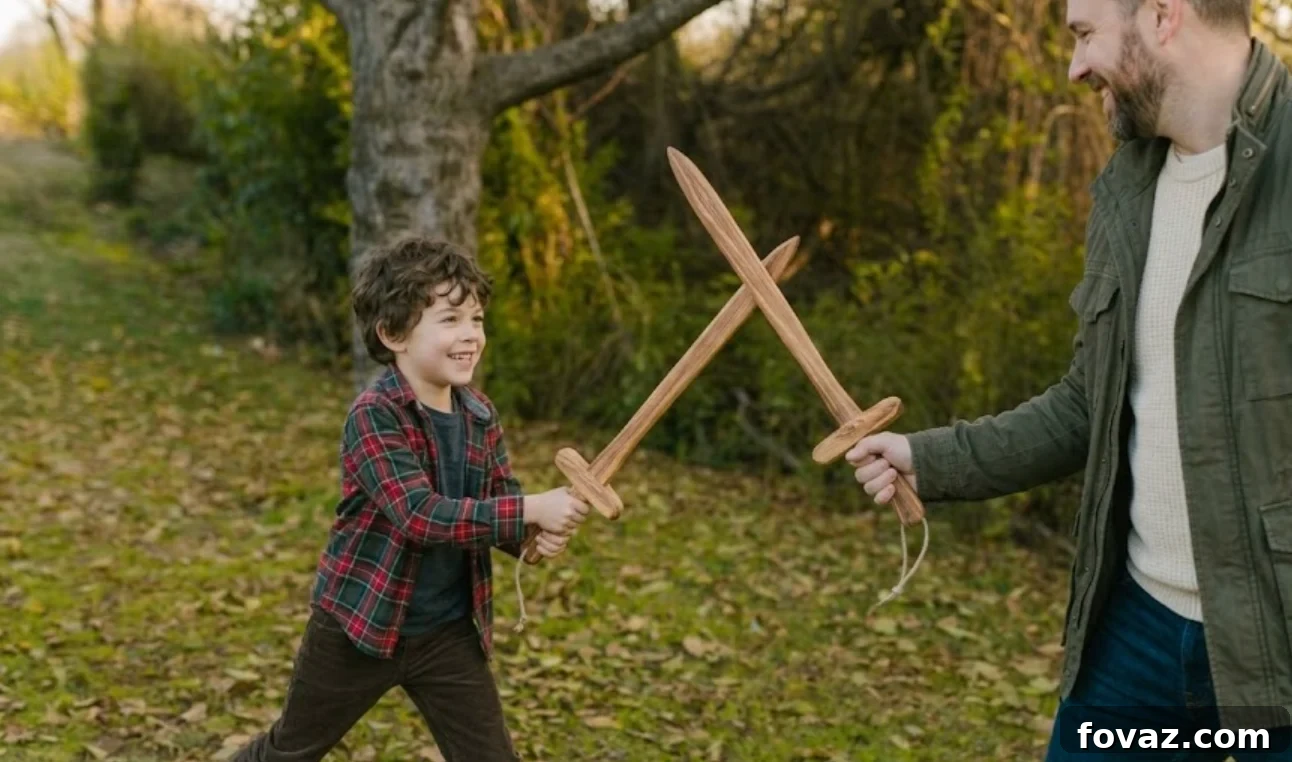
At a Glance: Wooden Sword Toy
- Skill Level: Beginner to Intermediate — ideal for a parent-child build
- Time Commitment: 3 to 4 hours active work (plus glue drying time)
- Guide Highlights: A durable three-piece sandwich design, clear kid-friendly steps, precise millimeter cut list, and finishing tips for a professional result
⚠️ Safety First!
Safety Reminder: Always wear PPE (gloves, eye protection, ear protection, and a dust mask). Keep blades sharp and use tools responsibly. Work in a well-ventilated area and minimize dust. For any load-bearing or structural projects consult local building codes and professionals — this project is for toys only.
Bringing Back the Magic of Pretend Play
Screens dominate a lot of childhood playtime today, but nothing beats the imagination sparked by a simple wooden toy. Building a classic wooden sword toy for kids is a rewarding summer project that creates lasting memories, teaches basic woodworking, and gives children pride in making something with their own hands.
This project is compact, forgiving, and perfect for involving a child in safe, supervised steps from layout through finishing. Let’s make a durable, beautiful toy sword together.
🪵 Materials
- Main wood: One piece of 12 mm (about 1/2″) Baltic Birch plywood or a dense hardwood board (Maple or Beech), approximately 20 cm x 80 cm.
- Pro tip: Baltic Birch is highly recommended for durability and resistance to splitting during play.
- Glue: High-strength, non-toxic PVA wood glue
- Fasteners (optional): Two 15 mm brass escutcheon pins or a 6 mm wooden dowel pin to secure the crossguards
- Finish: Food-safe mineral oil, beeswax, or non-toxic acrylic paints
🛠️ Tools Needed
- Jigsaw, scroll saw, or coping saw
- Drill with a 15 mm (5/8″) spade or Forstner bit (optional for decorative notches)
- Clamps (2 or 3)
- Sanding block and sandpapers: 80, 120, 220 grit
- Pencil, ruler, and compass
The Complete Cut List
| Component | Qty | Dimensions (L x W x T) | Description |
| Main Blade & Hilt (A) | 1 | 740 mm x 35 mm x 12 mm | Includes a 620 mm blade and 120 mm hilt |
| Crossguard Plates (B) | 2 | 150 mm x 30 mm x 12 mm | Sandwich the blade at the hilt joint for strength |
Step-by-Step Wooden Sword Toy Woodworking Project
Phase 1: Layout & Tracing
Step 1.1: Trace the Main Blade & Hilt
- Kid task (with guidance): Measure and draw a rectangle 740 mm long by 35 mm wide on your board.
- Tip: At the blade tip, draw a smooth rounded semi-circle. At the hilt end, mark a line 120 mm from the base to define the handle. Taper the handle from 35 mm down to about 25 mm at the base for a comfortable grip.
- Decorative notches: Use a small coin to mark two matching semi-circle notches on the sides of the handle for visual interest.
Step 1.2: Trace the Crossguards
- Draw two identical rectangles 150 mm x 30 mm on a separate piece of wood.
- Round the outer ends and mark small decorative notches centered near the tips.
Phase 2: Cutting & Shaping
Step 2.1: Pre-drill Decorative Notches
Pro tip: Rather than attempt tiny jigsaw curves, clamp the wood and drill the semi-circles with a Forstner or spade bit centered on the line. This yields clean, consistent notches.
Step 2.2: Cut the Profiles
- Use a jigsaw or scroll saw to cut out the sword profile and the two crossguard plates along your pencil lines. Take your time for smooth, safe cuts.
Phase 3: Assembly & Customizing
Step 3.1: Align and Glue
- Spread a thin, even layer of wood glue on the hilt area (120 mm from the base).
- Place one crossguard plate on top and the other underneath, sandwiching the blade at the hilt.
- Clamp the assembly squarely, ensure the crossguards are perpendicular to the blade, wipe away any squeeze-out, and let dry at least two hours.
Phase 4: Edging, Sanding & Finishing
Step 4.1: Shape and Sand
- Have your helper use 80-grit sandpaper wrapped around a block to soften the blade edges and create a chamfered appearance.
- An adult should ensure the tip is fully rounded and blunt for safety.
- Progress to 120-grit then 220-grit to achieve a silky smooth finish.
Step 4.2: Apply a Protective Finish
- Wipe all dust off the sword. Rub in a natural, kid-safe finish such as beeswax or mineral oil to highlight the wood’s figure.
- Or let kids paint the blade silver and crossguard gold with water-based, non-toxic acrylics, then seal with a kid-safe clear coat.
This build is a great way to use leftover off-cuts. Pairing different wood species—light maple blade with darker crossguards, for example—creates a striking contrast without extra expense.
FAQs Wooden Sword Toy
1. What is the best wood to use for a toy sword?
Baltic Birch plywood is ideal because its cross-laminated layers resist splitting. Dense hardwoods like Maple, Beech, or Oak also work well. Avoid soft, splinter-prone woods like construction pine.
2. How do I ensure the sword is safe for children?
Safety depends on sanding and rounding. Deeply round the tip and chamfer the edges so the sword appears defined but feels soft and blunt.
3. Can we paint the sword, and what paint is safe?
Yes—use water-based, non-toxic acrylic or milk paints. After painting, seal with a kid-safe, water-based clear coat or beeswax paste.
4. Why use a three-piece sandwich construction?
A three-piece sandwich avoids a weak grain cross-section at the crossguard, making the joint much stronger and less likely to snap during play.
5. Don’t have a Forstner or spade bit?
No problem—skip the drilled notches and use a jigsaw or file to round corners and shape the crossguard and pommel for a sleek look.