
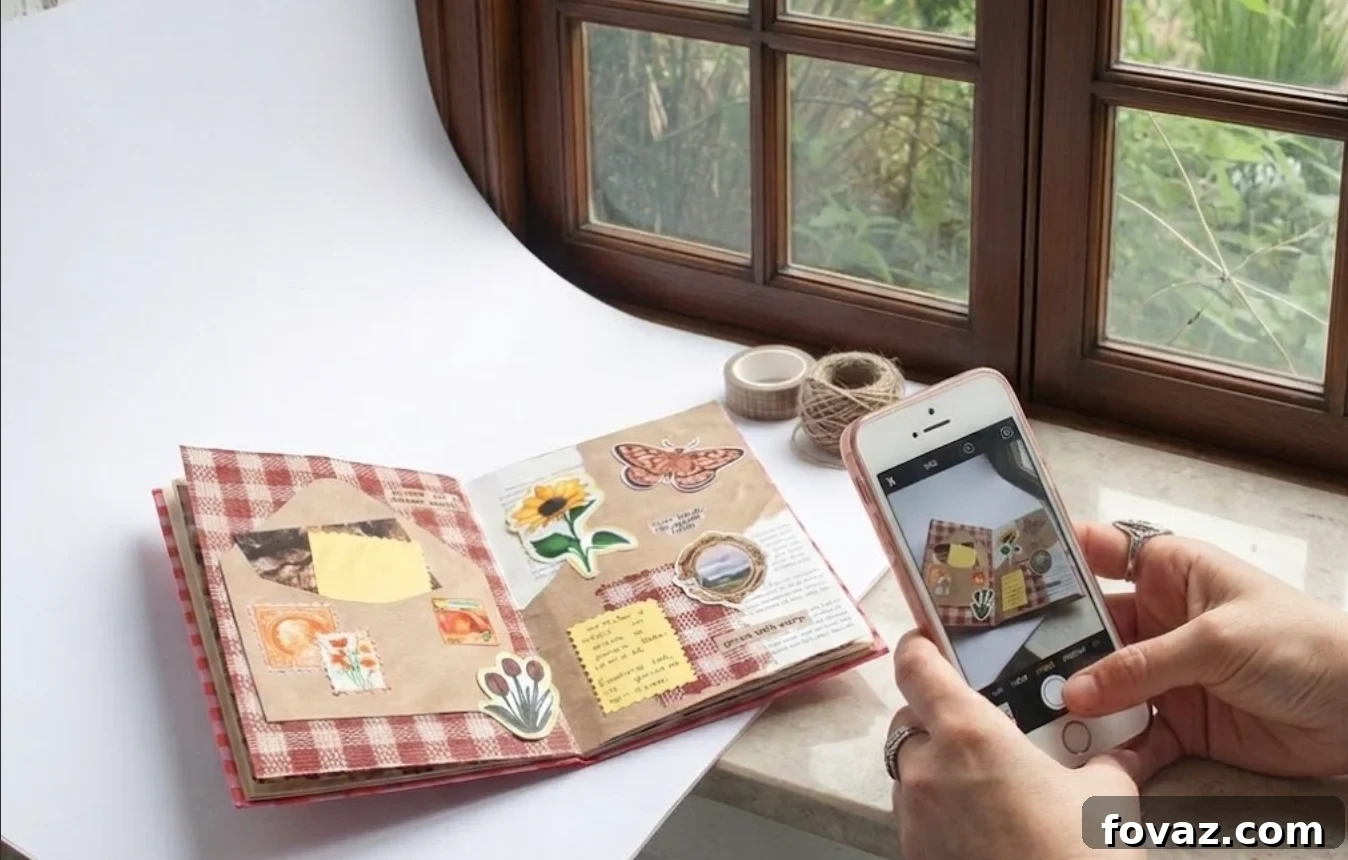
At a Glance: Photograph Junk Journal Products
Window light is the simplest and most effective tool for photographing junk journals at home. North‑facing windows give a steady, soft light throughout the day. East and west windows work well during the right half of the day. Place the journal two to three feet from the glass, turn off overhead lights, and add a white bounce card on the shadow side to lift detail.
Poor photos are the most common reason junk journal listings don’t attract clicks. Many sellers assume they need a ring light, DSLR, or a studio setup. In reality, the best listings are often shot at home on a phone using natural window light. This guide explains how to get consistent, attractive images without buying professional gear.
Why Window Light Works for Junk Journal Product Photos
Overhead room lights tend to flatten texture because they fill shadows from above. That removes the dimensional cues—raised paper layers, aged edges, and stitches—that make a handmade journal look special. Window light arrives at an angle, skimming across surfaces and revealing depth. That angled light is what makes thumbnails stop the scroll.
Before you begin, turn off any overhead lights. That single action improves photos immediately by preventing competing light temperatures and washed‑out shadows.
Which Window Direction Is Best for Photographing Junk Journals?
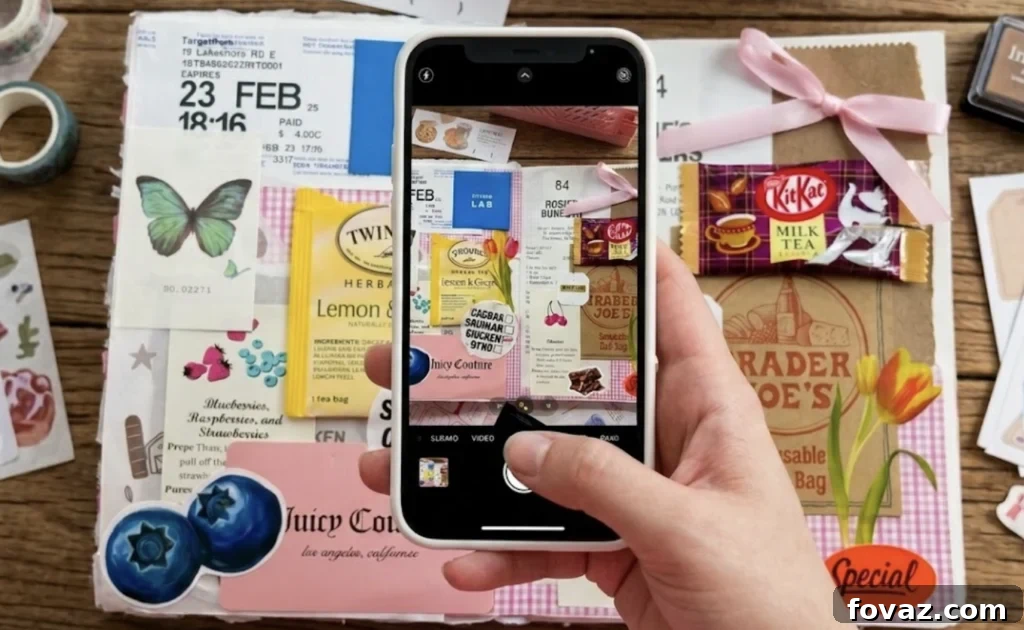
Window direction and time of day matter. Use the window that gives you soft, angled light without harsh glare.
North‑Facing Windows
North windows are ideal: consistent, indirect light all day with no direct sun. That makes repeatable setups easy and predictable.
East and West‑Facing Windows
East windows are best in the morning through late morning; west windows are best from mid‑afternoon onward. Choose the correct half of the day for your window and avoid shooting when the sun is at a harsh angle.
South‑Facing Windows
South windows are bright and direct. If it’s your only option, diffuse the light with a white sheer curtain or shoot on overcast days, which act like a natural diffuser across all windows.
No Good Window?
An open doorway, garage with the door up, or any large opening that lets indirect daylight in can work. Your goal is soft shadows and no distracting glare on the cover.
How to Test the Light Before You Set Up
1. Hold your hand palm down about twelve inches above the shooting surface and check the shadow edge.
2. Sharp, defined shadows mean the light is too direct—diffuse it or choose a different time or window.
3. Soft or faint shadows mean the light is ready. This quick test takes thirty seconds and requires no equipment.
How Far From the Window Should Your Journal Be?
Two to three feet is the sweet spot. Two feet gives brighter, more directional light; three feet softens and dims the light. Don’t go past three feet or you’ll lose the texture that makes window light valuable.
What Surface Should You Shoot Your Junk Journal On?
Good Options
Use what complements the journal: natural linen or cotton for a warm, organic feel; a raw wood plank for depth; kraft paper for an earthy look; or white foam board for a clean, modern presentation. Choose a surface that supports the journal’s style rather than competing with it.
What to Avoid
Avoid glossy or laminated surfaces that cause glare, busy patterns that distract, and bright colors that shift tones. If the background is the first thing your eye notices, change it.
Where to Position the Journal
Place the window to the left or right of the product—not behind the camera—so light crosses the surface at an angle and reveals texture.
How to Fill the Shadow Side Without Buying Anything
Use a bounce card on the shadow side to reflect light back onto the journal. Any white, matte surface will work: white foam board is ideal, but a white hardcover book or cardstock taped to a cereal box will do. Stand it six to eight inches from the journal and angle it slightly toward the product. Take test shots and move the card until the dark side lifts—don’t try to remove all shadow; keep enough for dimension.
Do You Need a Ring Light for Etsy Photos?
Not if you have good natural light. Diffused window light plus a bounce card and a suitable surface delivers professional results. Buy a small ring light only if your space truly lacks workable daylight—basements, tiny frosted windows, or long winters—and you’ve exhausted the natural options.
How Many Photos Should You Take Per Listing?
Visual Consistency Matters
Photos taken in a single session—with the same light, surface, and bounce setup—create a cohesive shop aesthetic that builds trust. Batch your photography so you set up once, shoot multiple journals, then stop. That consistency reads as professional and reliable to buyers.
Shot Sequence for Each Journal
Shot 1: Full cover, overhead flat-lay, centered and uncropped.
Shot 2: Cover at a slight angle from just above eye level to show spine and page depth.
Shot 3: Open pages to reveal interior texture and ephemera.
Shot 4: Detail close-up of a texture, binding, or edge.
Shot 5: Scale shot with a familiar object (pencil, cup) to show actual size.
Five photos fill the standard Etsy slots; shoot up to seven so you have options for the thumbnail and alternate angles.
How to Run the Session
Set up once and run every item in your batch through the same arrangement. Don’t pause to review between journals; shoot them all, then edit. Resetting the setup breaks the visual consistency even if the change seems minor to you.
Four Mistakes That Kill Otherwise Good Photos
Leaving overhead lights on. Mixed light temperatures make images look dark and yellow—always turn overhead lights off before shooting.
Shooting in direct sun. Direct sunlight causes blown highlights and harsh shadows—diffuse it or pick another time or window.
Moving the setup mid‑session. Small shifts in surface or bounce card angle alter the light and make your listings feel inconsistent.
Using an overly textured or bright background. The background should support the product; if it competes, choose a quieter surface.
Before You Publish Your Listing
Ask yourself three quick questions:
- Is the journal the first thing you notice in the photo?
- Does the color match what you’d expect to hold in your hand?
- Is any part of the background pulling your eye away from the product?
If the answers are Yes, Yes, No, list it. The images don’t need to be perfect—just clear, accurate, and clean. Overthinking photography is often what keeps sellers from publishing.
Once your images are live, the next steps are pricing, writing searchable titles, and building a product range that scales without requiring a new handmade journal for every sale. Getting the photos right gets your listings in front of buyers; the rest is running the shop.

A simple, step‑by‑step business guide for makers who know the craft and want to stop giving their work away.
See What’s Inside
FAQs: How to Shoot Great Junk Journal Etsy Photos
What is the best window direction for junk journal photography at home? North‑facing windows are easiest: consistent, soft, indirect light all day. East and west work well during their brighter halves of the day; south windows benefit from a sheer curtain or overcast skies.
Do I need a ring light for Etsy product photography? Not if you have workable daylight. Diffused window light with the right surface and a bounce card produces clean, professional images. Use a ring light only when natural light truly isn’t available.
Can I use my phone camera? Yes. Modern phone cameras have more than enough resolution. In craft photography, light is the limiting factor—not the camera.
What should I put under my journal? Natural linen, raw wood, kraft paper, or white foam board are reliable choices. Keep the background neutral so it supports the journal instead of competing with it.
What time of day is best? It depends on window direction: north works any time, east before late morning, west in the afternoon, and south on overcast days or with diffusion. Use the hand‑shadow test to confirm softness.
How many photos do I need? Take at least five images: full cover, cover at an angle, open pages, a detail crop, and a scale shot. Shoot up to seven for options and thumbnails.
What is a bounce card and do I need one? A bounce card is any white, matte reflector placed on the shadow side to lift dark areas. It’s essential when shooting with a single window. White foam board is ideal, but a book or cardstock works too.
Why do my photos look flat near a window? Usually because overhead lights are still on. Overhead lighting fills shadows and removes texture—turn it off so the window light reveals depth.
Can I photograph without natural light? Yes. If no decent window is available, a small adjustable ring light can substitute. Keep the same rules: light to the side, journal two to three feet from the source, and use a bounce card.