
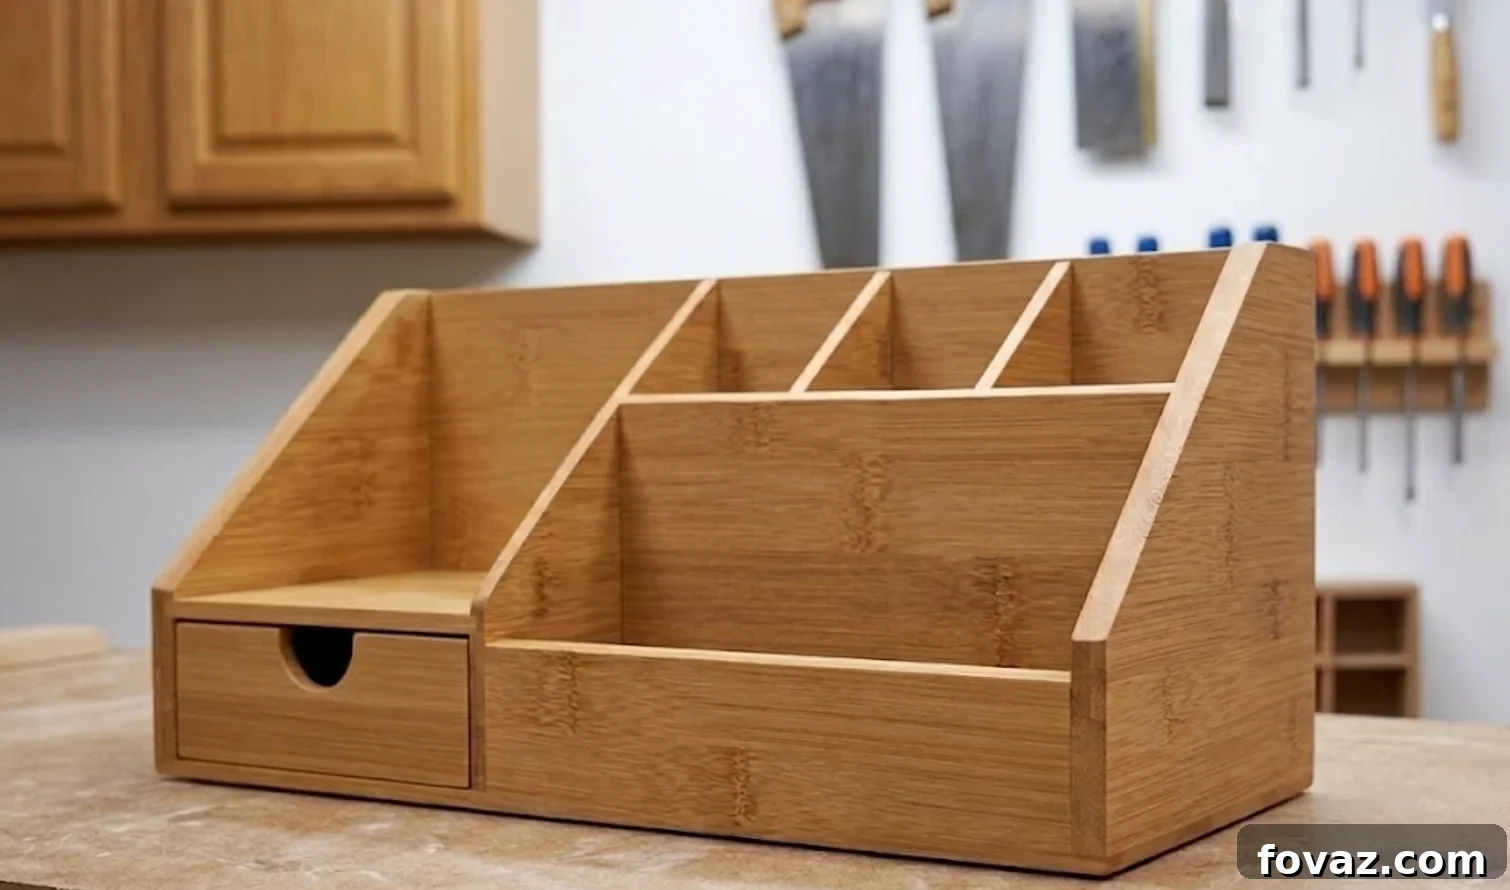
🛠️ At a Glance: DIY Wooden Desk Organizer
- Time Commitment: 3–5 hours (plus drying time)
- Skill Level: Beginner to intermediate
- Estimated Cost: $15–$25 (using standard hobby boards)
This compact desktop organizer is a timeless, practical woodworking project that helps keep your workspace tidy while letting you practice accurate measuring and cutting. It’s designed for hobby boards and simple tools so beginners can build a useful piece in a single afternoon.
⚠️ Safety Reminder
Always wear appropriate PPE—safety glasses, hearing protection, a dust mask and gloves when needed. Keep blades sharp and use push blocks or clamps for small parts. Work in a well-ventilated area and manage dust responsibly.
📋 Materials & Tools List
This plan uses 1/4″ thick stock to avoid complex joinery and to make the project accessible with hobby boards or thin plywood.
Materials
- Wood stock: Two 1/4″ x 6″ x 4′ hobby boards (poplar, pine, or oak).
- Joinery: High-quality wood glue (Titebond II or similar). Because 1/4″ stock is thin, glue with tape clamps is preferred over screws or nails.
- Finishing: 220-grit sandpaper and a low-VOC clear coat or food-safe oil/linseed oil for a durable, eco-friendly finish.
Tools Needed
- Miter saw, table saw, or fine-tooth hand miter saw for straight cuts
- Scroll saw or jigsaw for cutting sloped side profiles
- Blue painter’s tape for clamping thin pieces
- Tape measure and pencil
📐 Precise Cut List
| Component | Qty | Thickness | Width | Length | Shape/Notes |
| A: Bottom Base | 1 | 1/4″ | 6″ | 9-5/8″ | Rectangle |
| B: Side Panels | 2 | 1/4″ | 6″ | 4-1/8″ | Sloped (4-1/8″ back to 1-3/8″ front) |
| C: Back Wall | 1 | 1/4″ | 4-1/8″ | 9-1/8″ | Rectangle |
| D: Back Slot Divider | 1 | 1/4″ | 4-1/8″ | 9-1/8″ | Creates rear paper slot |
| E: Main Center Divider | 1 | 1/4″ | 3-3/4″ | 4-1/8″ | Sloped; separates left and right zones |
| F: Left Storage Shelf | 1 | 1/4″ | 3-3/4″ | 4″ | Sits above the drawer housing |
| G: Right Front Lip | 1 | 1/4″ | 1-3/8″ | 4-7/8″ | Supports right lower tray |
| H: Cubby Dividers | 2 | 1/4″ | 3-3/4″ | 4-1/8″ | Sloped; creates three pen compartments |
| I: Drawer Front | 1 | 1/4″ | 1-5/16″ | 3-15/16″ | Includes 1″ semi-circle finger pull |
| J: Drawer Sides/Back/Bottom | 1 set | 1/4″ | Custom | Custom | Sized slightly smaller than opening for smooth sliding |
If you need help nesting these parts on a sheet, use a cut list optimizer tool to lay out pieces and reduce waste.
🔨 Step-by-Step Instructions
Phase 1: Prep the Sloped Profiles
- Mark the Side Panels (B): On each side piece mark 4-1/8″ at the back edge and 1-3/8″ at the front edge. From the back top corner measure in 1-3/4″ to create a short flat top lip. Draw a line connecting that top-lip point to the front mark.
- Cut the Slope: Cut along the angled line with a jigsaw or hand saw. Clamp both pieces and sand them together so they match precisely.
- Transfer Angle: Use one side panel as a template to trace the same slope onto the main center divider (E) and the two cubby dividers (H), then cut and sand to match.
Phase 2: Core Assembly (Glue-Up)
- Dry Fit: Lay out the bottom base (A) with the back wall (C) and side panels (B) to confirm fit before gluing.
- Install Back Slot: Glue the back wall (C) to the rear edge of the base. Measure 1-3/4″ forward from the back wall and glue the back slot divider (D) parallel to it. Use painter’s tape pulled tight across joints to hold pieces while glue sets.
- Attach Sides: Apply glue to mating edges and attach the two side panels. Use tape clamps to keep seams tight while drying.
Phase 3: Interior Organizers & Drawer
- Set Center & Left Shelf: Glue the main center divider (E) 4″ from the inner left wall. Slide the left storage shelf (F) into place at 1-3/8″ from the base to form the drawer housing.
- Right Cubbies: Glue the right front lip (G) at the front right opening. Space and glue the two cubby dividers (H) evenly—about 1-7/16″ apart—to form three pen compartments.
- Build the Drawer: Assemble the drawer box from the J pieces, keeping it slightly under the opening dimensions so it slides freely. Center and glue the drawer front (I); cut the half-moon finger pull before final assembly for a clean edge.
Phase 4: Sanding & Finishing
- After the glue cures (check manufacturer’s recommended time), remove all tape clamps.
- Sand all exterior surfaces and edges with 220-grit to remove sharp corners and smooth glue squeeze-out.
- Wipe clean, then apply a thin coat of low-VOC clear finish or plant-based oil to protect the wood and highlight the grain.
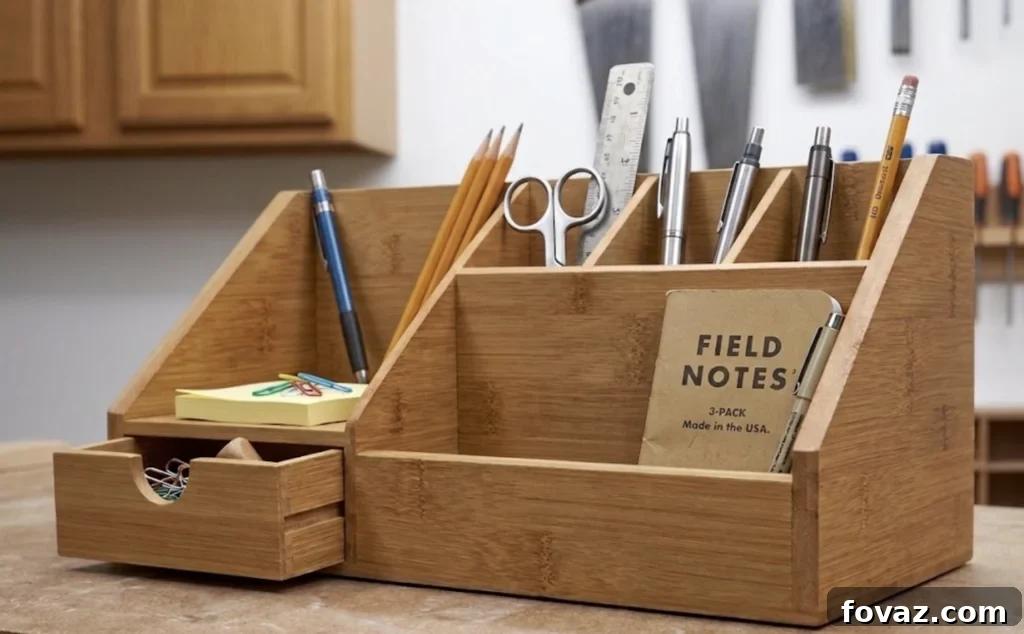
If you’re new to woodworking, choose a few reliable tools and practice with scrap pieces before cutting the final parts. This project teaches basic layout, angled cuts and glue-up techniques while producing a highly useful desk organizer.
DIY Wooden Desk Organizer FAQs
1. Can I use nails or screws instead of glue?
With 1/4″ stock, standard nails and screws are likely to split the wood. A quality wood glue forms a strong bond. For extra mechanical reinforcement, consider a 23-gauge micro-pin nailer or use very small brads in non-visible areas.
2. How do I ensure the drawer slides smoothly?
Allow a small clearance: the cut list reduces the drawer dimensions slightly so it has wiggle room. After finishing, rub beeswax or a candle along the drawer edges to reduce friction.
3. What’s a safe way to cut small angled pieces?
Avoid holding tiny pieces by hand against large power saws. Use a hand miter box, a small scroll saw, or a jigsaw with a push block. Always secure small parts to a sacrificial board when cutting.
4. Can I use 1/2″ plywood instead of 1/4″?
Yes, but you must adjust interior dimensions to account for the extra thickness; otherwise the assembly and proportions will change. Subtract the added thickness from divider and shelf measurements.
5. How do I cut the half-moon finger pull cleanly?
Clamp the drawer front to scrap and use a 1″ Forstner or spade bit positioned so half the bit overlaps the edge. Drill slowly and finish with a sanding block to remove any tear-out.
Quick Poll
What should we build together next?
Not in the choices? Comment below with your idea!