
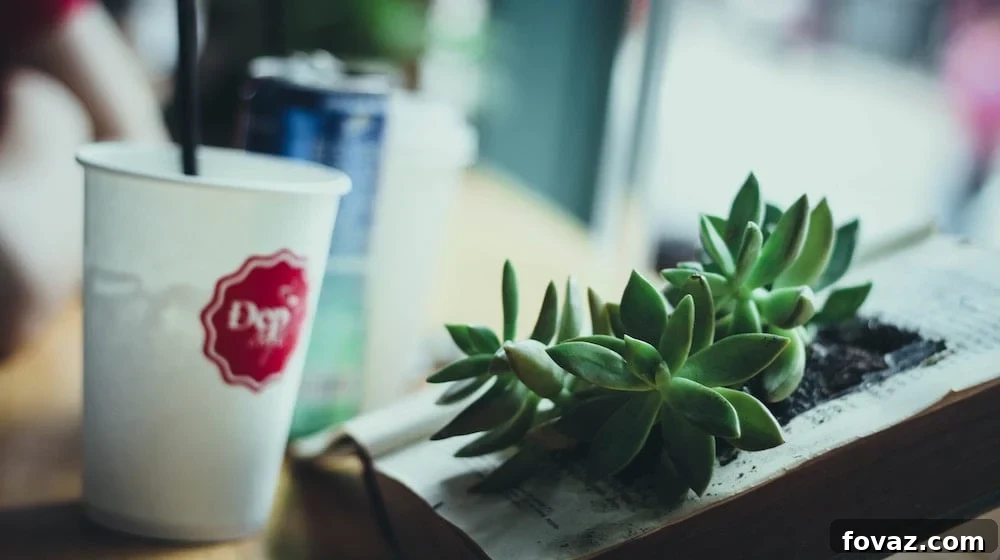
Imagine a vibrant garden, where every plant, no matter how small, shines brightly. Picture blooming flowers and lush greenery meticulously arranged, creating a truly picturesque outdoor sanctuary. Often, the smallest residents of our plant collection, like delicate succulents, can get lost amidst larger, more towering foliage. But there’s a simple, elegant solution to ensure your tiny green treasures always stand out: a beautifully crafted succulent planter.
DIY Wall-Mounted Succulent Planter: A Step-by-Step Guide to Enhance Your Garden and Home Decor
This ingenious DIY succulent planter project not only redefines the aesthetic appeal of your garden or home interior but also provides a secure and stylish spot for your beloved succulents. It’s an exceptional way to maximize your available space, bring natural beauty to your walls, and ensure your small plants receive the attention they deserve. The best part? This rewarding project is surprisingly easy to accomplish, even for beginner DIY enthusiasts. In just six straightforward steps, you can create a custom succulent display that will captivate anyone who sees it.
Transform Your Walls and Garden with This Stunning DIY Succulent Planter
No longer will your charming small plants be overshadowed by their bigger counterparts. This innovative succulent planter allows you to strategically arrange your succulents, optimizing your garden space or adding a unique touch to any indoor wall. It’s an awesome, eye-catching addition that promises to elevate the beauty of your existing landscape or home decor. This DIY project is not only quick to complete but also incredibly satisfying, allowing you to craft something truly unique with your own hands. Ready to get started on this exciting endeavor? Let’s dive in!
Why a DIY Succulent Planter is the Perfect Project for You
Beyond simply providing a home for your succulents, building your own planter offers a myriad of benefits. Firstly, it’s a fantastic way to engage in vertical gardening, which is ideal for small spaces like balconies, patios, or even apartment walls where ground space is limited. By utilizing vertical areas, you can significantly increase your plant collection without cluttering your existing garden beds. Secondly, succulents are renowned for their low-maintenance nature, making them perfect candidates for a decorative planter. They require minimal watering and thrive on sunlight, making this project an investment in long-lasting beauty with little ongoing effort.
Furthermore, a custom-built wooden planter adds a rustic, organic touch to any environment. The natural grain of the wood, combined with the diverse shapes and colors of succulents, creates a living piece of art. This project also allows for immense personalization. You can choose the type of wood, the finish, and the arrangement of your succulents to perfectly match your personal style and existing decor. Imagine the satisfaction of pointing to a beautiful display and proudly saying, “I made that myself!” It’s more than just a planter; it’s a statement piece, a conversation starter, and a testament to your creativity.
Gathering Your Essentials: Supplies and Tools for Your Succulent Planter
Before embarking on any DIY project, ensuring you have all the necessary supplies and tools is crucial for a smooth and enjoyable experience. This preparation will help you stay organized and efficient throughout the building process. All the items listed below are readily available at most hardware stores or online, making it easy to gather everything you need to begin crafting your personalized succulent display.
Supplies:
- 4×4 Wood: This forms the sturdy base of your planter. Choose a type of wood suitable for your environment (e.g., cedar or treated pine for outdoors, or any sturdy wood for indoors).
- Dowels (5/16″ x 16″ recommended): These will be used to create small, stable feet for your planter, allowing for air circulation and protecting surfaces. (Note: The original “5×16″” was interpreted as a standard dowel size like 5/16″ x 16″ for practical use as feet, given the context of the linked video and typical DIY practices).
- Polyacrylic Finish: Essential for waterproofing and protecting the wood, especially if your planter will be exposed to moisture or outdoor elements.
- 2″ Drill Bit (Forstner or Spade Bit): This large bit is used to create the pockets for your succulents.
- 1/4″ Drill Bit (Standard Twist Bit): Crucial for drilling drainage holes and potentially pilot holes for mounting.
- Succulents: The stars of your planter! Choose a variety of sizes and types that complement each other.
- Well-Draining Potting Mix: Essential for succulent health, prevents root rot.
Tools:
- Circular Saw: For precise and efficient cutting of the 4×4 wood. (A miter saw can also be used for even greater accuracy).
- Orbital Sander: To achieve a smooth finish, removing rough edges and splinters.
- Cordless Drill: A versatile tool for all your drilling needs, from creating plant pockets to pilot holes.
- Clamps: Absolutely vital for securing your wood while cutting and drilling, ensuring safety and precision.
- Measuring Tape & Pencil: For accurate marking and measurement.
- Safety Glasses & Gloves: Always prioritize personal safety when working with power tools and wood.
Step-by-Step Guide: Crafting Your Custom Succulent Planter
Follow these detailed steps carefully, and you’ll soon have a stunning, handmade succulent planter ready to display. Each stage is designed to be straightforward, ensuring a successful outcome for your DIY project.
1. Cut the Boards to the Desired Length
Begin by taking your 4×4 wood and measuring a 14-inch long section. This length is ideal for accommodating three small to medium-sized succulents while maintaining a compact and elegant profile. Using your circular saw, carefully cut this section. Since a 4×4 is quite thick, you’ll likely need to make two passes to cut all the way through, ensuring a clean and complete severance. Always use clamps to secure the wood firmly to your workbench before cutting, and wear appropriate safety gear like safety glasses and gloves.
*Pro Tip: If you have access to a miter saw, it will make this cutting step significantly easier and more precise, allowing for perfect 90-degree cuts.
2. Drill Holes for Succulents and Drainage
This step requires precision. Secure your 14-inch cut wood block firmly to your workbench using clamps; this prevents the wood from shifting during drilling, which is crucial for safety and accuracy. Using your large 2-inch drill bit (a Forstner bit is recommended for clean, flat-bottomed holes), drill three evenly spaced holes along the top surface of the wood. Each hole should be approximately 2 1/2 inches deep. These pockets will serve as the cozy homes for your succulents.
Next, flip the 4×4 block onto one of its narrow ends. Using the smaller 1/4-inch drill bit, carefully drill a drainage hole through the center of the block, ensuring it connects all three of the larger succulent pockets. This through-hole is absolutely essential. It allows excess water to escape, preventing waterlogging and protecting your succulents from root rot, which is a common issue for these plants if not properly drained.
3. Sand the Wood to a Smooth Finish
Once all the cutting and drilling are complete, it’s time to refine your planter. Attach a medium-grit sanding pad to your orbital sander and thoroughly sand all surfaces of the wood block. Pay special attention to the edges and inside of the drilled holes to remove any splinters, rough patches, or sharp corners. The goal is to achieve a smooth, tactile finish that is pleasant to touch and visually appealing. After the initial pass, you might want to switch to a finer-grit sanding pad for an even smoother, professional-looking result. This step is not just for aesthetics; it also prepares the wood for a better absorption and adhesion of the protective finish.
4. Apply a Protective Finish
Sealing the wood is a critical step, especially if your planter will be exposed to outdoor elements or regular watering. Apply a generous, even coat of polyacrylic finish to all surfaces of the wooden block. Polyacrylic is an excellent choice as it provides a durable, water-resistant barrier that prevents the wood from absorbing moisture from the soil and plants. This protection is vital for extending the lifespan of your planter, preventing rot, warping, and mold growth. Allow the first coat to dry completely according to the product instructions, then lightly sand with fine-grit sandpaper and apply a second coat for maximum durability and a beautiful, lasting sheen. Ensure the finish cures fully before planting.
5. Create Dowel Feet for the Planter
The original reference to a “plug” for a “5×16″” dowel was ambiguous; however, the associated video demonstrates cutting smaller pieces from a dowel to create feet. Take your 5/16″ diameter dowel (or a similar small dowel, typically purchased in a longer length like 16 inches). Cut several small sections, roughly 1/2 to 1 inch long. These will serve as stable feet for your planter. Drill corresponding small pilot holes on the bottom surface of your planter, near the corners or where you desire the feet to be placed. Carefully insert and secure the dowel feet into these holes using a small amount of wood glue. These feet elevate the planter slightly, allowing for better air circulation underneath and protecting the surface it rests on from moisture damage, whether it’s a wall, shelf, or table.
6. Mount or Position Your Planter
Now that your planter is complete and protected, it’s time to decide on its final placement. If you choose to wall-mount your planter, as demonstrated in the original tutorial, start by identifying two sturdy points on your wall, ideally wall studs for maximum support. Screw two L-brackets securely into the wall at your desired height and spacing. Then, carefully position your finished succulent planter onto the L-brackets. To ensure it’s completely stable and secure, screw the planter from underneath into the L-brackets, using appropriate screws that don’t penetrate the succulent pockets. Alternatively, you can simply let your planter sit beautifully on a garden wall, a windowsill, a shelf, or a patio table, allowing its inherent beauty to enhance any space. The choice is yours, offering ultimate flexibility in decor!
Bringing Your Succulent Planter to Life: Planting and Care
With your magnificent planter now ready, the final and most exciting step is to fill it with your chosen succulents. This is where your vision truly comes to fruition, transforming a wooden block into a vibrant living display.
Planting Your Succulents
Before placing your succulents, ensure you use a high-quality, well-draining potting mix specifically formulated for succulents and cacti. This specialized soil is crucial for preventing water retention, which can lead to root rot. Gently remove your succulents from their nursery pots, being careful not to damage the roots. Place a small amount of soil at the bottom of each drilled pocket, then carefully position your succulent. Fill the remaining space around the roots with more succulent soil, lightly tamping it down to remove air pockets. Avoid overfilling the pockets, leaving a small lip for watering. You can arrange different varieties and sizes to create an aesthetically pleasing composition, playing with colors and textures.
Maintenance and Long-Term Care
Succulents are wonderfully resilient plants, but they do have specific needs to thrive. Provide your planter with plenty of bright, indirect sunlight. If outdoors, choose a spot that receives several hours of sun but is shielded from intense afternoon rays, especially in hot climates. For indoor planters, a south-facing window is often ideal. Water sparingly, only when the soil is completely dry. Overwatering is the most common cause of succulent demise. The drainage hole in your planter will be a huge asset here. During dormant periods (winter for many varieties), reduce watering even further. Periodically check your wooden planter for any signs of wear or damage to the finish, especially if it’s outdoors. Reapply the polyacrylic finish as needed to maintain its protective qualities and ensure the longevity of your beautiful DIY creation.
The Enduring Appeal of Vertical Succulent Gardens
Creating a wall-mounted succulent planter is more than just a craft project; it’s an embrace of a lifestyle that values beauty, sustainability, and personal expression. Vertical succulent gardens are particularly appealing for their ability to maximize space, making lush greenery accessible even in the most urban environments. They serve as stunning focal points, drawing the eye and adding an architectural element to both indoor and outdoor settings. The compact nature of succulents means you can enjoy a diverse collection of unique plants without demanding extensive floor space, offering a unique solution for small apartment balconies, kitchen walls, or entryway decor.
Beyond their practical benefits, these living art pieces contribute significantly to a calming and refreshing atmosphere. Studies have shown that having plants in your living space can reduce stress, improve air quality, and boost overall mood. The act of designing and maintaining your succulent garden can be a meditative and highly rewarding hobby, connecting you with nature in a tangible way. It’s an easy, cost-effective way to infuse your surroundings with natural charm and create a welcoming ambiance that reflects your personal touch.
Customization and Creative Variations
While this tutorial provides a solid foundation, don’t hesitate to let your creativity flourish with customizations. The beauty of DIY lies in making a project uniquely yours. Consider experimenting with different types of wood; for example, reclaimed wood can add a charming, rustic character, while a finely polished hardwood might offer a more modern and sophisticated look. You could also apply various stains or paints before the polyacrylic finish to match specific color schemes in your home or garden. Imagine a pastel-painted planter for a whimsical touch or a dark stain for a dramatic contrast with brightly colored succulents.
The size and shape of your planter can also be modified. If you have a larger collection of succulents, extend the length of your 4×4 and drill more pockets. For a more expansive display, you could create a series of these planters and arrange them in a mosaic pattern on a wall. Additionally, while succulents are ideal, this planter design can also accommodate other small, slow-growing plants like air plants, small herbs, or moss, opening up a world of possibilities for your green thumb. Feel free to adapt the design to fit your specific needs and aesthetic preferences, making each planter a truly personal masterpiece.
There you have it! A comprehensive guide to creating a bespoke succulent planter that adds undeniable charm and character to any space. Whether it’s gracing your garden wall, enhancing a cozy nook indoors, or becoming a vibrant centerpiece on your patio, this project promises to deliver both beauty and satisfaction. You now have more room for your beloved plants, ensuring your succulents are not only well-arranged but also thriving and adding an invigorating burst of life to your home. Craft a planter with more holes if your collection of succulents is extensive, and witness how this simple addition elevates the aesthetics of your entire living environment. This is more than just a planter; it’s a stunning transformation that is sure to bring a smile to anyone who encounters it. We’d love to hear about your experience and see your creations! Tell us what you think about this project in the comments section below!
Watch this video from HomeMadeModern for the full tutorial of this cool project:
Click here for more inspiring DIY garden crafts and ideas.
Like This Project? You’ll Also Love These Related DIY Ideas!
20+ Incredible DIY Garden Projects To Choose From
Fun DIY Projects For Everyone: Basic Guide on Building Your Own Hobbit House
Easy DIY Backyard Project Ideas

Featured Image Via homemade-modern