
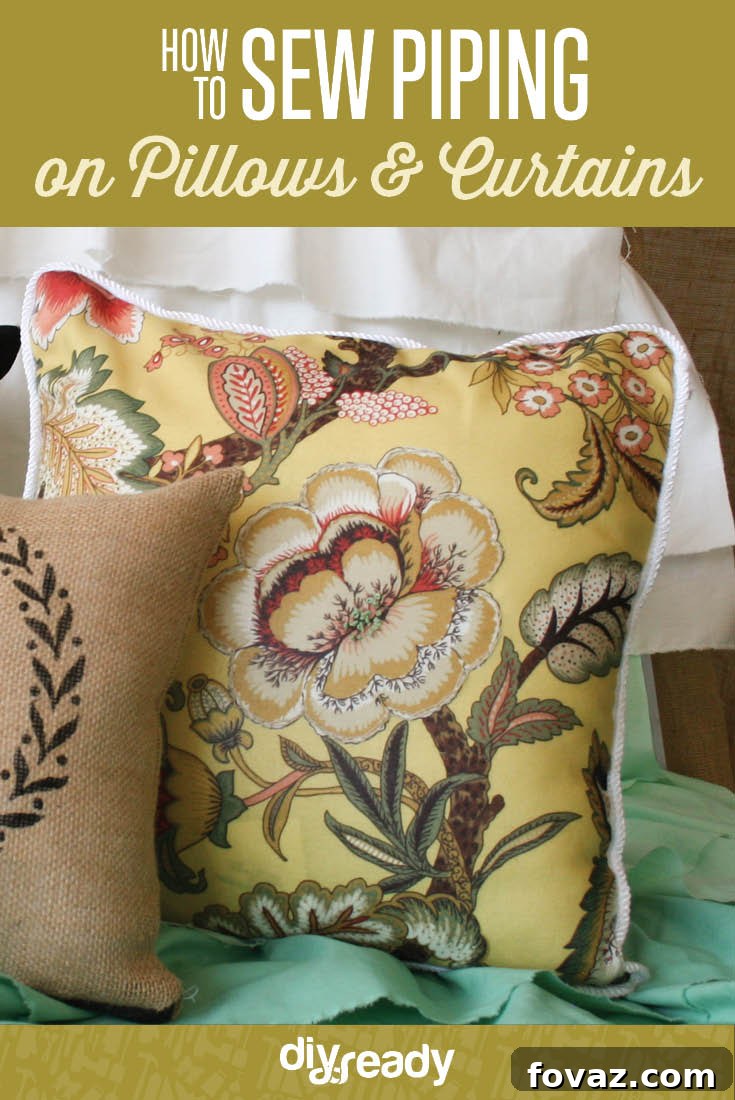
DIY Custom Pillows: How to Sew Piping and Trim for a Professional Finish
Welcome to Project 3 of our comprehensive Home Makeover Tutorial Series, where we’re diving deep into the art of creating stunning custom pillows. This in-depth guide focuses on a simple yet incredibly transformative technique: adding elegant piping or decorative trim to your cushions. Whether you’re aiming for a sophisticated, high-end designer look or a playful, personalized touch, mastering pillow piping is an essential skill that will undoubtedly elevate your home decor and bring immense satisfaction to any DIY enthusiast.
Adding trim, be it classic piping, delicate lace, vibrant fringe, or playful pom-poms, is an amazingly effective way to brighten up any basic pillow. This small detail can add character, introduce contrasting textures and colors, define edges, and give your finished product a polished, store-bought quality – making it look far more expensive than a simple, trim-less pillow. If you’ve ever admired custom-made cushions in high-end boutiques, chances are they featured this subtle yet impactful detail. For those new to sewing piping, starting with a basic piping cord, as demonstrated in this tutorial, is an excellent first step towards achieving professional and beautiful results on your very first project.
Follow along with our detailed written instructions and accompanying video lessons to learn every step of the process. By the end of this tutorial, you’ll be well-equipped to transform your living spaces with beautifully piped and trimmed pillows. Get ready to impress yourself and your guests with your newfound sewing skills and exquisite handmade cushions!
Part 1: Gathering Supplies and Accurate Measuring for Your Piped Pillow Project
The foundation of any successful sewing project lies in meticulous preparation. Before you even think about threading your needle, it’s crucial to gather all necessary materials and take precise measurements. This initial planning stage ensures your pillow cover fits perfectly, your piping looks impeccable, and your overall project progresses smoothly without unexpected hitches.
Essential Pillow Making Supplies You’ll Need:
- Fabric: The star of your pillow! Choose a fabric that not only complements your existing home decor but also suits the pillow’s intended purpose and desired durability. Consider factors like color, pattern, texture, and care instructions. Our fabric measuring guide (HERE) offers valuable insights to help you determine the exact amount you’ll need, factoring in pattern repeats and seam allowances.
- Pillow Form: This is the inner cushion that gives your pillow its plumpness and shape. Ensure you select a pillow form that is the correct size for your intended cover. For a fuller, tauter pillow, many sewers opt to make their cover slightly smaller (e.g., 1 inch) than the pillow form.
- Piping Cord or Pre-made Trim: This is the decorative element that sets your pillow apart. You can either purchase pre-made piping with a fabric casing or buy raw piping cord and cover it with your own bias-cut fabric for a custom look. Alternatively, explore a wide array of decorative trims like playful pom-pom trim, elegant fringe trim, delicate lace trim, or charming ruffle trim for added flair. Ensure you purchase enough length to go around the entire perimeter of your pillow, plus an additional 6-10 inches for joining and finishing.
- Basic Sewing Essentials: A well-stocked sewing kit is indispensable.
- Sewing Machine: A reliable machine is key.
- Zipper Foot or Cording Foot: Absolutely essential for sewing closely and evenly along the piping cord. This specialized foot will make your life much easier and your results much neater.
- All-Purpose Thread: Choose a high-quality thread that matches your fabric and/or piping color.
- Sharp Fabric Scissors: For clean, precise cuts. Avoid using them on paper!
- Measuring Tape or Ruler: For accurate measurements of both your pillow form and fabric.
- Fabric Marker or Tailor’s Chalk: For marking cutting lines, seam allowances, and placement guides on your fabric.
- Sewing Pins or Fabric Clips: To securely hold multiple layers of fabric and trim in place during sewing.
- Iron and Ironing Board: Crucial for pressing seams as you go, which results in a much crisper and more professional finish.
- Seam Ripper: Every sewer’s best friend – for correcting mistakes gracefully!
- Zipper: A closed-end zipper that is at least 2-4 inches shorter than the width of your pillow. A zipper allows for easy insertion and removal of the pillow form, making cleaning your custom pillow covers a breeze.
Accurate Measuring and Fabric Preparation:
To create a perfectly fitting pillow cover, measure your pillow form accurately. For example, if you have an 18×18 inch pillow form, you might cut your fabric pieces to 18.5×18.5 inches (including a 1/2-inch seam allowance on all sides) or slightly smaller for a plump look. Mark your fabric pieces precisely according to these dimensions. Remember to pre-wash and iron your chosen fabric before cutting. This crucial step helps prevent any unwanted shrinking or distortion after your pillow project is completed, ensuring your handmade item retains its beauty for years to come.
Part 2: Expertly Attaching the Zipper and First Piping Section to Your Pillow Panels
This stage is pivotal, as it involves seamlessly integrating both your zipper and the initial application of piping onto your fabric panels. A well-inserted zipper ensures easy removal of your pillow cover for cleaning and changing, while carefully applied piping lays the groundwork for that coveted professional finish. Take your time with these steps for the best results.
Integrating the Zipper for a Seamless Closure:
Begin by preparing the opening for your zipper. This typically involves sewing a temporary basting seam along one edge of your back pillow panel where the zipper will be inserted. Once sewn, press this temporary seam open. Carefully place your zipper, right side down, centered over the pressed-open seam allowance. Using your sewing machine equipped with a specialized zipper foot, stitch the zipper into place. The video tutorial will demonstrate the recommended approach for this project, often a centered zipper application, which offers a clean, discreet closure that is both functional and aesthetically pleasing. The goal is to enclose the zipper neatly within the seam, making it almost invisible when closed.
Attaching the Initial Piping Section:
Next, take one of your main pillow fabric panels (usually the front panel). Align the raw edge of your chosen piping with the raw edge of this fabric panel, ensuring both right sides are facing up or in the same direction. It is incredibly helpful to baste the piping in place first using a long machine stitch or by pinning it securely every few inches. This preliminary step prevents the piping from shifting during the main sewing process. Now, using your zipper foot again, stitch as close as possible to the piping cord itself, but be careful not to stitch *on* the cord. This first stitch secures the piping to one edge of what will become your pillow cover. Pay meticulous attention when you approach corners; for a neat, smooth turn, you might need to make small clips into the seam allowance of the piping tape at the curve of the corner.
Part 3: Final Trim Application and Expert Pillow Cover Assembly
With the zipper skillfully in place and the first section of piping attached to your front panel, it’s now time to incorporate any remaining trim and bring your pillow cover together. This critical step involves carefully joining the front and back panels of your pillow, ensuring that your piping is neatly enclosed and beautifully defined. Precision here is key for a polished final product.
Adding Any Remaining Decorative Trim:
If your specific design involves adding additional trim (like a second layer of piping, a different type of trim, or embellishments) to other edges or specific areas of your back fabric panel, now is the time to do so. Follow similar techniques as you did for the initial piping application, ensuring all raw edges are aligned perfectly and the trim is securely basted or pinned. For a standard piped pillow, you’ll primarily focus on ensuring the second side of the piping is ready to be sandwiched.
Assembling Your Pillow Cover with Trim and Zipper:
Carefully lay one fabric panel (typically the front panel with the initial piping attached, with the piping facing inwards towards the center of the fabric) right side up on your work surface. Now, take the second fabric panel (the back panel, which includes your neatly installed zipper and any additional piping already attached) and place it right side down directly on top of the first panel. Ensure that all raw edges of both fabric pieces are perfectly aligned around the entire perimeter of the pillow. The piping should now be neatly sandwiched between the two fabric layers.
Using plenty of sewing pins or fabric clips, carefully secure all layers together around the entire perimeter of the pillow. Pay special attention to keeping the piping from shifting and ensuring the zipper is properly positioned and aligned. Here’s a crucial tip: when pinning around the zipper area, make sure the zipper is partially open (at least halfway) *inside* the pillow cover. This is absolutely essential! If you sew all around with a fully closed zipper, you won’t be able to turn your pillow cover right side out after sewing, necessitating the use of your seam ripper!
The visual below provides an excellent demonstration of how to meticulously layout your trim and fabric layers before the final sewing stage. It clearly illustrates the correct orientation of the piping when sandwiched between the two fabric pieces, helping you visualize the process and achieve a professional assembly.
This image does a terrific job exemplifying how to layout your trim for sewing, ensuring proper alignment before stitching. image via
Part 4: Precisely Outlining and Sewing the Pillow Sides for a Defined Shape
With your pillow panels carefully prepped and securely pinned, it’s now time for the final stitching that will form the complete structure of your custom pillow cover. This crucial step involves meticulously sewing around the entire perimeter, securing the piping firmly in place and creating those crisp, beautifully defined edges that give a professional, tailor-made finish.
Stitching Around the Pillow’s Perimeter:
Using your sewing machine and, importantly, your zipper foot (or cording foot), begin stitching around the entire outline of your pinned pillow cover. It’s often a good practice to start a few inches away from a corner, rather than directly at it, to ensure a smoother start and finish. Maintain a consistent seam allowance throughout the entire stitching process. Stitch slowly and steadily, guiding the fabric carefully so that your needle consistently runs just to the side of the piping cord, effectively encasing it securely within the seam. This is where the specialized zipper foot truly proves its worth; it allows you to get incredibly close to the cord without accidentally stitching *over* it, which would flatten the piping and detract from its raised effect.
Mastering the Corners for a Sharp Finish:
As you approach each corner of your pillow cover, significantly slow down your stitching speed. Stitch precisely right up to the point where the piping cord begins to turn the corner. With your needle still down in the fabric (this acts as an anchor), lift your presser foot, pivot the fabric precisely 90 degrees, and then lower the presser foot. Continue sewing along the next side. This technique is fundamental for creating sharp, professional-looking corners that truly define the shape of your pillow. Once you have sewn all the way around the pillow, overlap your stitching by an inch or two where you started, and then backstitch securely to reinforce the seam and prevent unraveling.
After all the stitching is complete, carefully trim the seam allowance around the entire perimeter of the pillow, leaving approximately a quarter-inch of fabric. For particularly neat and crisp corners, you can gently clip the very tips of the corner seam allowances diagonally, being extremely careful not to cut through your stitching. This action reduces bulk in the corners, allowing them to turn out much more crisply and lie flat, enhancing the overall professional appearance of your handmade pillow.
Part 5: The Grand Finale – Stuffing, Shaping, and Zipping Up Your Fabulous Piped Pillow
You’re just moments away from revealing your stunning new creation! This final stage is incredibly rewarding, as it transforms your flat fabric cover into a plush, beautifully shaped, and decorative accent that will enhance any room.
Turning the Cover and Shaping the Corners:
First, ensure your zipper is at least halfway open (remember that crucial tip from Part 3!). Reach inside the pillow cover through the zipper opening and gently turn the entire cover right side out. Take your time with this step, especially around the corners. Carefully push out all the corners from the inside using your fingers, the blunt end of a knitting needle, or a specialized point turner tool. Be gentle and deliberate to avoid overstretching the fabric or accidentally poking through your newly sewn seams. Once all the corners are fully extended and have a sharp, defined appearance, give your entire pillow cover a good press with a warm iron, paying special attention to the piped edges. This final pressing step is often overlooked but makes a significant difference in setting the seams and giving your finished cushion a truly polished, custom-made look.
Inserting the Pillow Form and Final Closure:
Now for the most exciting part – inserting your chosen pillow form! Carefully fold or gently squish the pillow form and slide it into the cover through the open zipper. Start by pushing the form into the corners of the cover first, ensuring they are well-filled. Then, gently work the rest of the form inside, adjusting and fluffing it as needed. Distribute the filling evenly to ensure a plump, uniform, and inviting pillow. Once the pillow form is comfortably nestled inside and your pillow has taken on its desired shape, carefully and smoothly zip up the closure. And just like that, you’ve created a fabulous, custom-made piped pillow that exudes elegance and personal style!
After diligently completing these video lessons and following our comprehensive step-by-step instructions, you should now be proudly holding a magnificent, professionally piped pillow! Or perhaps a beautiful cushion adorned with any other shape and size of decorative trim you’ve chosen. Remember, the core technique for adding various types of passementerie – including popular choices like playful pom-pom trim, elegant fringe trim, delicate lace trim, and charming ruffle trim – is largely the same as for piping. The key to success lies in proper setup, careful execution, and a touch of patience. So, choose your materials wisely, prepare your fabric meticulously, and get crafting!
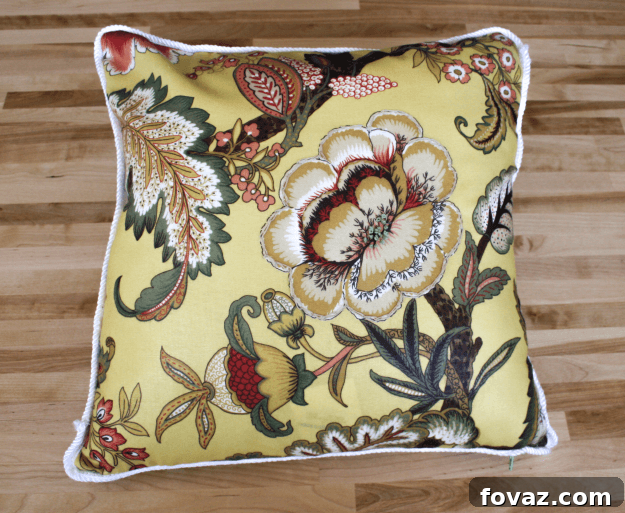
Beyond Piping: Elevating Your Entire Home Decor with DIY Touches
This Project 3, focusing intensely on “How to Add Trim to a Pillow” and “How to Sew on Piping,” is an integral and exciting part of our free Home Makeover Tutorials package, itself nestled within our comprehensive “How to Make Curtains Online Course.” At DIY Projects, our core mission is to empower you, our valued reader, to confidently fill your living spaces with incredible handmade crafts and personalized items that truly reflect your unique style and personality. We firmly believe that learning how to sew your own home decor items, like these stylish and professional-looking pillows, can profoundly transform your home environment and bring an immense sense of personal satisfaction.
Imagine walking into a home where every detail, from the perfectly draped curtains to the beautifully adorned cushions, is thoughtfully tailored exactly to your liking. Picture a personalized, stylish sanctuary created entirely by your own hands. There is an unparalleled joy, pride, and accomplishment in being able to proudly declare, “I made this!” Our earnest hope is that these accessible sewing patterns, detailed tutorials, and creative ideas will inspire you to embark on exciting redecoration projects, ultimately guiding you toward creating the dream home you’ve always envisioned – a space that truly feels like you.
At DIY Projects, we are deeply passionate about inspiring dreams and actively encouraging craftiness in all aspects of life. Don’t let your creative journey end here – continue exploring our vast array of tutorials and guides to further enhance your home and expand your skill set. There are many more valuable lessons in our “How to Make Curtains Series” coming your way, offering even more opportunities to learn and create. Just hit the “next” link below or effortlessly navigate back to the Table of Contents using the provided links to discover even more exciting DIY possibilities and unleash your inner crafter!
CLICK HERE to See What’s Next! >>
<< CLICK HERE to go back to the Table of Contents
We would absolutely love to see how your projects are coming along and celebrate your accomplishments! Share your progress, challenges, and especially your finished masterpieces with us. Send us a shoutout on our social media channels with images of your beautiful work! Join our vibrant and supportive community of crafters on Facebook, get inspired on Pinterest, share your visuals on Instagram, and connect with us on Twitter. Let’s inspire each other to create, decorate, and make our homes truly special, one handmade project at a time!