
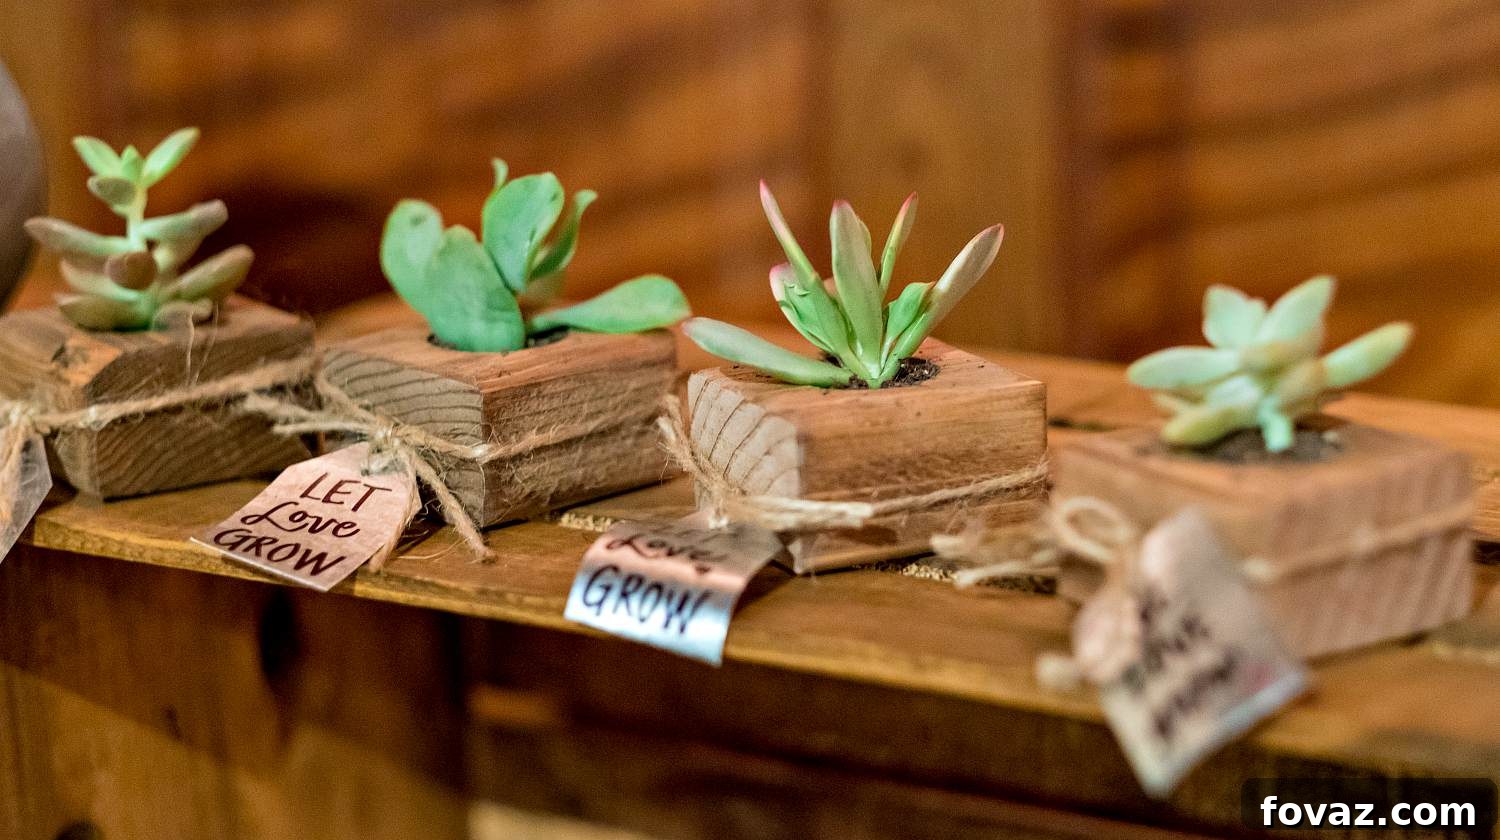
Summer is here, bringing with it longer days, warmer nights, and the perfect excuse to spend more time outdoors. Whether you have a sprawling backyard, a cozy balcony, or a quaint patio, your outdoor space is an extension of your home – a personal sanctuary where memories are made. But transforming this area into an inviting oasis often comes with the misconception of needing a substantial budget. We’re here to tell you that’s simply not true!
Get ready to unlock your creativity and give your outdoor haven a fresh, vibrant look without breaking the bank. This guide provides inspiring, budget-friendly DIY crafts that are not only simple to execute but also add unique charm and personality to your exterior living areas. From delightful succulent planters to enchanting lanterns and rustic comfort, these projects are designed to maximize impact while minimizing cost.
Transform Your Outdoor Oasis: Budget-Friendly DIY Crafts for a Stunning Summer Space
As the sun shines brighter and the temperatures rise, there’s no better time to refresh and revitalize your outdoor living areas. Imagine a beautifully decorated patio or a serene garden nook, perfect for entertaining guests or simply unwinding after a long day. With a little imagination and a few affordable materials, you can create a personalized outdoor retreat that reflects your style and enhances your enjoyment of the season.
We’ve scoured for the most innovative and cost-effective ideas to help you craft an outdoor space you’ll adore. A special thank you to Fix.com for some of the foundational inspiration behind these wonderful projects.
Unleash Your Creativity: 3 Ingenious DIY Projects for Outdoor Enhancement
These three DIY projects are specifically chosen for their simplicity, affordability, and the significant impact they can have on your outdoor aesthetic. Each craft encourages upcycling and repurposing, turning everyday items into extraordinary decor pieces.
1. En-Twined Succulent Gardens: Charming & Eco-Conscious Planters
Succulents are incredibly popular for a good reason: they are beautiful, diverse, and famously low-maintenance, making them ideal for outdoor decor. This project takes an ordinary empty yogurt container and transforms it into an elegant, rustic planter that perfectly complements any garden, patio, or balcony setting. It’s a fantastic way to add a touch of greenery and a handmade feel to your space while giving new life to items that might otherwise be discarded.
What you’ll need to create your unique succulent haven:
- Empty yogurt container (ensure it’s clean and dry)
- Mod Podge (or any strong craft glue/sealant)
For Mod Podge, consider options like this: Amazon – Click to Shop! - Paint Brush
A reliable paint brush can be found here: Amazon – Click to Shop! - Twine (natural jute or hemp twine works best for a rustic look)
Good quality twine options: Amazon – Click to Shop! - Ribbon for Decoration (optional, to add a pop of color or texture)
For decorative ribbon ideas: Amazon – Click to Shop! - Small succulent plants and appropriate potting mix
Crafting these planters is not just about decorating; it’s about mindful repurposing and creating something truly unique. Here’s how to bring these lovely succulent gardens to life:
Step 1: Prepare Your Container
Begin by thoroughly washing your empty yogurt container to remove any residue. Once clean, use scissors or a utility knife to carefully cut off the top third of the container. This creates a sturdy, open vessel that’s perfect for planting and provides a more aesthetically pleasing shape than the original container. Remember to be cautious when cutting, and use appropriate safety measures.
Step 2: Apply the Adhesive Base
With your paint brush, generously apply Mod Podge or your chosen craft glue to the entire outer surface of the container. Ensure an even, consistent layer, as this will serve as the adhesive for your twine. Don’t worry if it looks thick; Mod Podge dries clear.
Step 3: Wrap with Twine
Starting from the bottom edge of the container, firmly wrap the twine around the container, ensuring each strand sits snugly against the previous one. Apply a little more Mod Podge as you go, especially if your twine is thicker or if you want extra adhesion. Continue wrapping until the entire container, from bottom to top, is covered in twine. This step requires a steady hand and a bit of patience to achieve a seamless, professional finish. The rustic texture of the twine instantly elevates the humble yogurt container into a stylish planter.
Step 4: Dry, Decorate, and Plant
Allow the Mod Podge to dry completely, which may take a few hours depending on humidity. Once dry, you can wrap a decorative ribbon around the top or middle of your newly transformed planter for an added touch of flair. Now, it’s time for the best part: planting! Fill the container with a well-draining succulent potting mix and carefully plant your favorite succulents. Consider adding a few small pebbles at the bottom for extra drainage. Place your beautiful, budget-friendly succulent garden in a sunny spot on your patio, deck, or windowsill, and enjoy its natural beauty.
2. Knotted Mason Jar Lantern: Atmospheric Outdoor Lighting
Mason jars are a staple in DIY circles for their versatility and charm. This project transforms a simple mason jar into a captivating hanging lantern, perfect for casting a warm, inviting glow over your outdoor gatherings. Whether you’re hosting an evening barbecue, enjoying a quiet night on the porch, or simply want to add a whimsical touch to your garden, these knotted lanterns provide beautiful ambient lighting. The macrame-inspired knotting technique adds a rustic, artisanal feel, making each lantern a unique piece of decor.
What you’ll need to illuminate your outdoor evenings:
- Mason Jar (any size works, but larger jars offer more visual impact)
- Twine (strong, durable twine is essential for holding the jar securely)
Find suitable twine for this project: Amazon – Click to Shop! - Sewing Pins (or strong clips to hold knots in place while working)
- Candles, LED lights, solar lights, pebbles, or small plants for decoration inside the jar
For decorative filling ideas, see resources like this: DIY Projects
This project might look intricate, but it’s surprisingly straightforward and incredibly rewarding. Here’s how to craft your enchanting mason jar lanterns:
Step 1: Prepare Your Twine Lengths
Start by turning your mason jar upside down. Measure a piece of twine from the top rim, down the side, across the bottom, and back up to the top rim. This gives you the basic length needed to cover the jar. Multiply this length by ten – this will be the length for each of your 8 individual pieces of twine. Precision here ensures you have enough material for the intricate knotting. Cut 8 pieces of twine at this calculated length.
Step 2: Create the Central Knot
Divide your eight pieces of twine into two bunches of four. Lay one bunch horizontally and the other vertically, crossing them at their exact centers. Tie a secure lanyard knot (also known as a diamond knot) at this intersection. This central knot will form the base of your lantern’s netting. Use a sewing pin or a strong clip to pin this knot down to a soft surface (like a pillow or corkboard) to keep the twine stable and tight as you work.
Step 3: Begin the Netting Pattern
With the knot pinned down, measure the diameter of the bottom of your mason jar, then divide that measurement in half. This distance will determine how far from the central knot you begin your first row of knots. Take two adjacent strands from your central knot and tie them together with a simple square knot at this measured distance from the center. Continue this process all the way around the central knot, tying pairs of strands together at the same distance, forming a circular pattern. This creates the initial structure that will cradle the bottom of your jar.
Step 4: Build Up the Sides and Finish
Continue the knotting process. For subsequent rows, take one strand from an adjacent knot and tie it to one strand from the next adjacent knot, creating a continuous netting pattern. Maintain a consistent distance between knots to ensure the net is evenly spaced. Continue tying rows until the netted structure is wide enough to fully cover your mason jar, reaching just below the rim. Once complete, insert your mason jar into the twine net. Gather the remaining lengths of twine at the top and tie them together securely to form a loop, which will serve as the hanger.
Hang your netted lantern from a tree branch, pergola, or shepherd’s hook. The jar can be filled with real or flameless LED candles for a soft glow, solar-powered string lights for energy efficiency, decorative pebbles, or even small, air-purifying plants. These lanterns instantly elevate the atmosphere of any outdoor space, making it feel more magical and inviting.
3. Cup of Joe Pillow: Rustic Comfort from Repurposed Sacks
Add a touch of rustic charm and unparalleled comfort to your outdoor seating with pillows made from repurposed coffee sacks. These unique cushions are not only incredibly budget-friendly but also embody a strong sense of sustainability and character. Each coffee sack tells a story, often adorned with fascinating graphics and country of origin labels, making every pillow a one-of-a-kind statement piece. This project is perfect for adding texture and warmth to a patio bench, outdoor sofa, or even a picnic blanket.
What you’ll need to craft your comfortable coffee sack pillow:
- Empty Coffee Sack (burlap sacks are ideal, clean and aired out to remove coffee aroma)
Find empty coffee sacks: Amazon – Click to Shop! - Sewing Pins
- Sewing Machine (a basic model is sufficient)
Explore sewing machine options: Amazon – Click to Shop! - Needle and Thread (for hand-stitching the final side)
- Pillow insert (or old pillows you wish to repurpose)
For pillow inserts: Amazon – Click to Shop!
Transforming a rugged coffee sack into a cozy outdoor pillow is a simple sewing project that yields impressive results. Here’s your guide:
Step 1: Prepare and Cut the Fabric
First, thoroughly clean your empty coffee sack. Burlap can hold dust and some coffee residue, so a good shake and airing out are recommended. If desired, you can gently hand wash and air dry it. Once clean and completely dry, lay your chosen pillow insert on top of the coffee sack. Carefully cut out the desired area of the sack, leaving about 1.5 inches of extra fabric on all sides (top, bottom, and sides) beyond the dimensions of your pillow insert. This extra allowance is crucial for creating neat seams and ensuring your pillow fits comfortably. Consider which graphics or patterns on the sack you want to showcase.
Step 2: Machine Stitch Three Sides
Fold your cut coffee sack fabric in half, right sides together (if your burlap sack has a distinct “right” side, otherwise either side is fine). Use sewing pins to secure three of the sides, leaving one side completely open. Using your sewing machine, stitch along these three pinned sides, maintaining a consistent seam allowance (e.g., 0.75-1 inch from the edge). Reinforce the beginning and end of each seam with a backstitch for durability. Ensure your stitches are strong, as outdoor pillows can experience more wear and tear.
Step 3: Insert the Pillow
Once the three sides are sewn, turn the pillowcase right-side-out. Gently push out the corners to create a crisp shape. Now, carefully insert your pillow form or old pillow into the newly created coffee sack cover. Take your time to ensure the pillow sits evenly and fills the case completely, giving it a plump, inviting appearance.
Step 4: Hand Stitch the Final Side
With the pillow inserted, fold in the raw edges of the open side by about 1 inch, aligning them neatly. Use sewing pins to hold these folded edges in place, ensuring they create a clean, straight line. Now, using your needle and strong thread, hand stitch this final side closed. A ladder stitch (or invisible stitch) is ideal here, as it creates a nearly seamless closure that is both sturdy and visually appealing.
Place your newly crafted, unique coffee sack pillows on your outdoor living area furniture. They add instant character, a touch of global flair, and most importantly, enhanced comfort for all your outdoor relaxation and entertaining needs.
More Budget-Friendly Ideas to Enhance Your Outdoor Space
Beyond these fantastic DIY projects, there are countless ways to infuse charm and functionality into your outdoor living areas without a hefty price tag. Consider these additional tips to further elevate your backyard, patio, or balcony:
- Embrace Upcycling and Repurposing: Look around your home for items that can be given a new life outdoors. Old tires can become colorful planters, wooden pallets can transform into furniture, and vintage crates can serve as rustic storage or display shelves.
- Strategic Lighting: Beyond mason jar lanterns, solar-powered string lights or path lights offer an ambient glow without increasing your electricity bill. Fairy lights can be draped over pergolas, fences, or potted plants for a magical effect.
- Container Gardening: Don’t limit yourself to succulents! Herb gardens in repurposed containers, vibrant annuals in painted buckets, or even small fruit trees in large pots can add life, color, and functionality. Mixing different heights and textures creates visual interest.
- Add Color with Textiles: Old blankets can become picnic throws, disused curtains can be transformed into outdoor privacy screens, and inexpensive outdoor rugs can define zones and add warmth. A fresh coat of exterior paint on old furniture can dramatically change its look.
- DIY Water Features: A small, simple water feature can add a calming sound and attract birds. Consider repurposing a large ceramic pot or old birdbath into a mini fountain with a small, inexpensive pump.
- Vertical Gardening: Maximize small spaces by growing plants vertically. Pallet gardens, hanging planters, or even shoe organizers can be used to grow herbs, flowers, or small vegetables on a wall or fence.
With these ideas and a willingness to get creative, your outdoor space can become a vibrant, inviting haven that you’ll cherish all summer long and beyond.
Did you enjoy these budget-friendly ideas on how to spruce up your outdoor space? We’d love to hear your thoughts! Share your favorite DIY outdoor projects or any tips you have in the comments section below!
Stay connected with us on Facebook, Twitter, Pinterest and Instagram!
Suggested Reading:
Want more outdoor tips and DIY ideas? Check out more of our posts:
26 DIY Mason Jar Crafts You Can Make in Under an Hour
DIY Room Decor with String Lights You Can Use Year-Round
DIY Wind Turbine | The 14 Coolest Generators to Make for Living off The Grid