
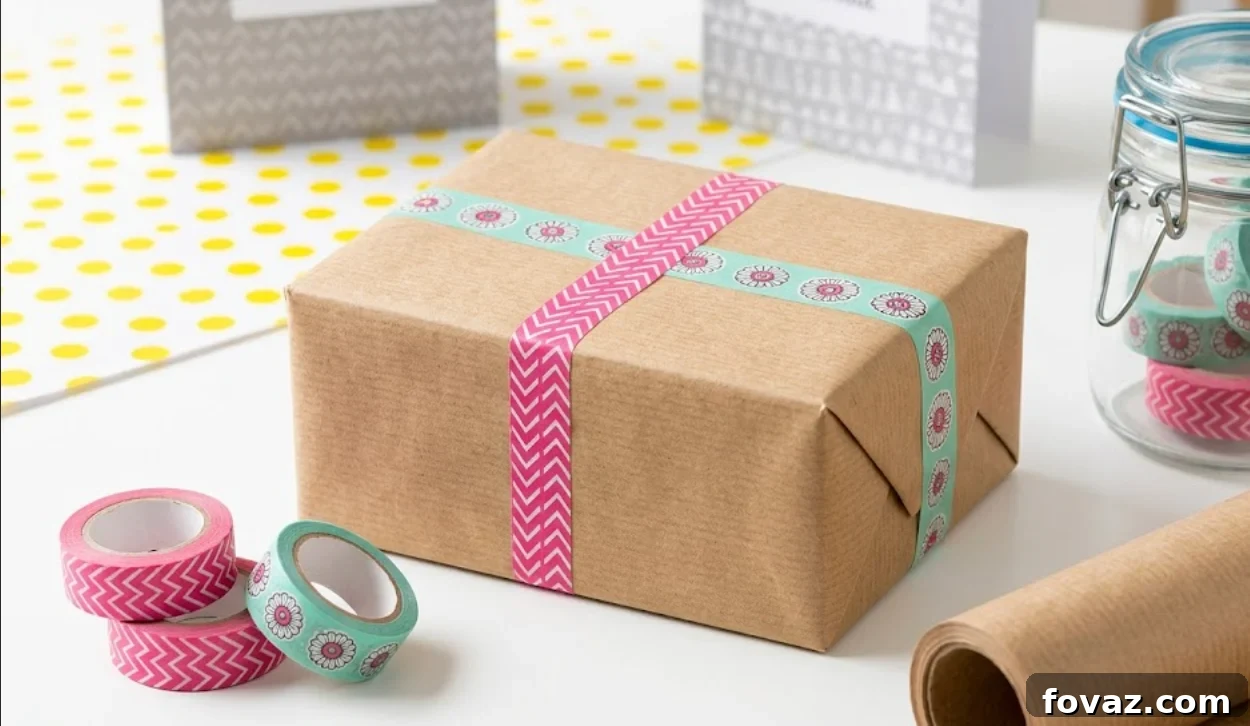
At a Glance
- Transform simple kraft or matte paperboard boxes into polished presentation pieces—no single-use wrapping waste required.
- Move beyond predictable seasonal wrapping with versatile geometric layouts, bohemian motifs, and celebratory patterns suitable for any occasion.
- Every design includes a concise materials list and step-by-step instructions for easy assembly.
Have a great gift but the packaging feels flat? Whether it’s for a birthday, holiday, family get-together, or just because, a washi tape-decorated gift box instantly elevates the presentation. With a few rolls of tape and simple tools, you can create custom, stylish wraps that look professional and feel personal. Here’s how to wrap with flair.
5 Creative Washi Tape Gift Wrap Ideas
Below are five trending, visually striking designs popular on DIY feeds, with quick instructions to guide your next project.
1. The Faux Birthday Candles Layout
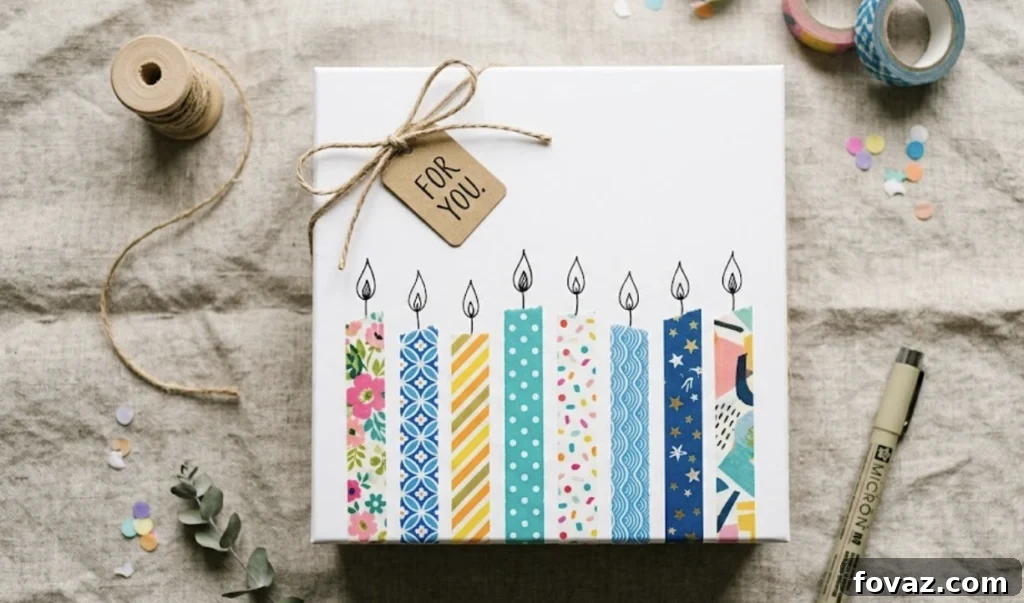
A playful, graphic approach that turns a plain surface into a minimalist celebration.
Materials: Plain matte white gift box, fine-tip black marker, and 4–5 complementary patterned or brightly colored washi tapes.
Step-by-Step:
- Wipe the box lid to remove dust so the tape adheres smoothly.
- Cut 4–5 vertical strips of washi tape at varying heights (about 2″ to 3.5″).
- Place the strips side-by-side in a parallel line, spacing them roughly 1/4″ apart.
- Draw a small vertical wick above each strip with a fine-tip black marker, then add a tiny teardrop shape for the flame.
2. The Boho Arch & Sunset Geometric Layout
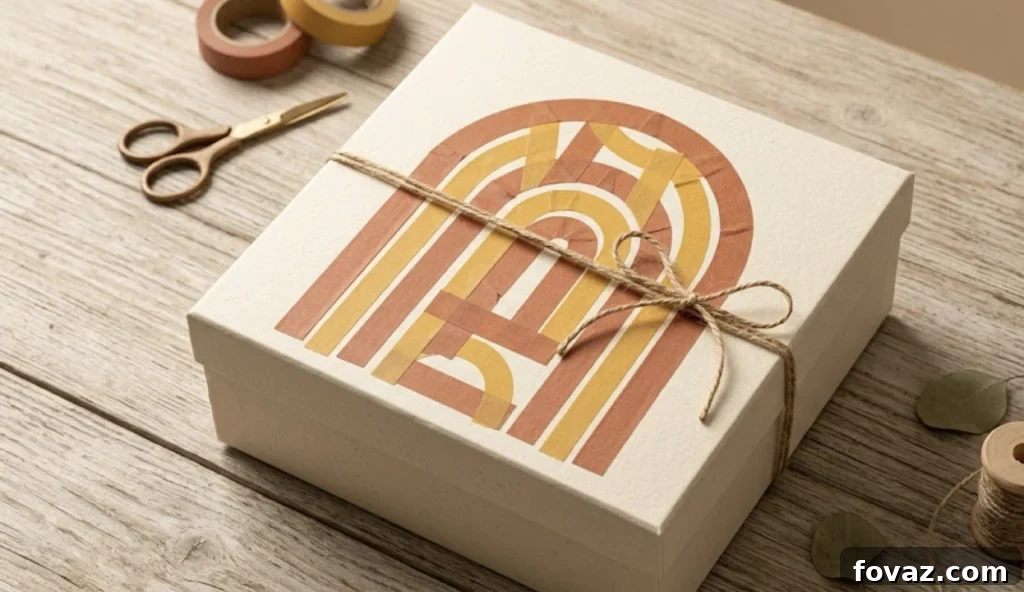
An earthy, mid-century modern look that avoids seasonal clichés and embraces subtle color blocking.
Materials: Light cream or neutral kraft box, scissors, and wide terracotta, mustard yellow, and sage green washi tapes.
Step-by-Step:
- Cut a wide piece of terracotta tape into a smooth 3″ semi-circle and center it on the lid.
- Cut ultra-thin (about 3mm) mustard yellow strips into 1/2″ lengths.
- Arrange the thin yellow strips radiating from the top edge of the terracotta arch to suggest sun rays.
- Add small horizontal sage green tape accents at the arch base to anchor the composition.
3. The Interlocking Tartan Plaid Grid
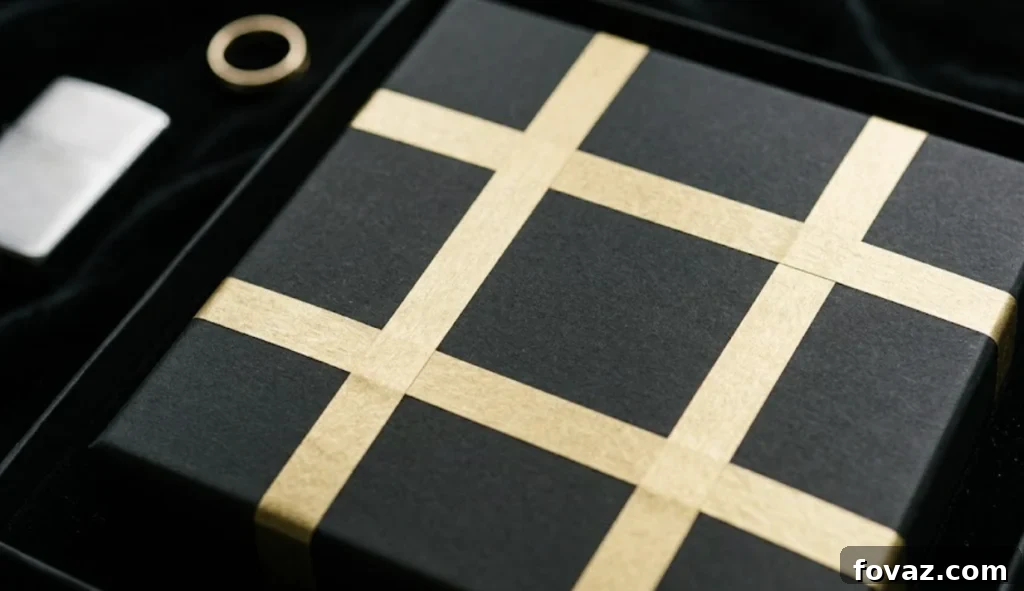
A refined high-contrast grid that mimics woven designer ribbon while remaining flat and polished.
Materials: Matte black gift box, precision craft knife, and two rolls of metallic gold or silver foiled washi tape.
Step-by-Step:
- Apply two parallel vertical lines of thin metallic tape in the left-third of the lid, about 1/2″ apart.
- Place two matching horizontal lines across the upper-third quadrant to intersect at right angles.
- Carefully trim and lift alternating intersections with a craft knife to create an over-under woven effect.
- Wrap tape neatly over the lid edges for a seamless finish.
4. The 3D Bunting Banner
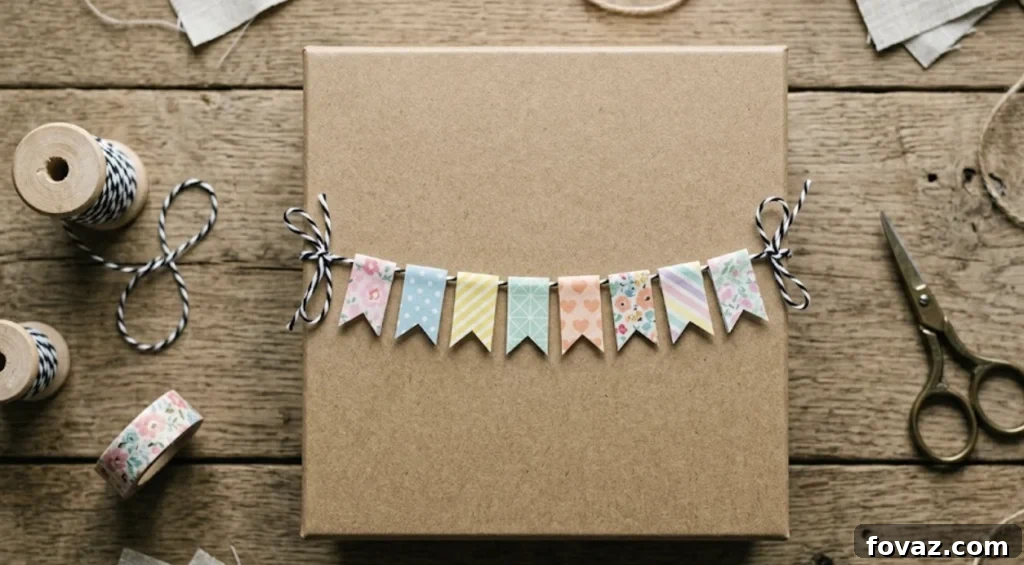
A whimsical three-dimensional banner that adds movement and charm to plain packaging.
Materials: Square brown kraft box, baker’s twine, scissors, and 3–4 rolls of patterned pastel washi tape.
Step-by-Step:
- Drape a length of twine in a gentle curve across the lid and secure the ends beneath the lid’s inner lip with tape.
- Cut several 1″ strips of pastel washi tape.
- Fold each strip over the twine so the adhesive sticks to itself, trapping the twine inside the fold.
- Trim the bottom of each folded flag into a sharp inverted “V” for classic bunting shapes.
5. The Diagonal Color-Block Accent
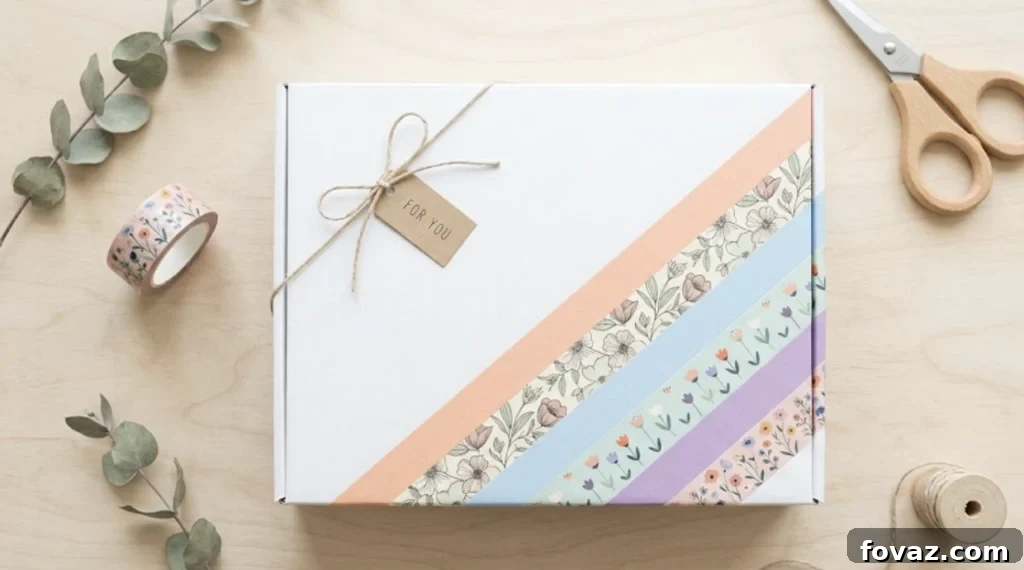
An asymmetrical contemporary design that balances bold pattern with clean negative space.
Materials: White rectangular gift box, scissors, 1″ wide floral or botanical washi tape, and assorted solid-color pastel tapes.
Step-by-Step:
- Mark a 45-degree baseline across the bottom-right corner of the lid.
- Apply the widest floral tape along this line and smooth it flat.
- Lay subsequent pastel solid and accent tapes parallel to the first, extending toward the corner tip.
- Trim any overhang neatly along the box perimeter, leaving most of the white lid exposed for contrast.
5 Frequently Asked Questions (FAQs)
1. What kind of box works best for a washi tape gift box idea?
Plain, uncoated matte paperboard or recycled kraft boxes work best. The unvarnished surface lets the low-tack adhesive of washi tape grip securely. Avoid glossy or laminated boxes, as slick coatings can cause tape edges to lift over time.
2. Will washi tape peel off on its own during transit or handling?
Washi tape has a gentle, repositionable adhesive and can lift on highly textured surfaces or at sharp corners. To keep designs secure for shipping, burnish the tape firmly with a thumbnail or a bone folder after application. For added durability, seal the design with a thin layer of decoupage glue or a matte spray sealer.
3. How do I achieve perfectly clean, crisp edges without tearing the tape?
For clean edges use sharp craft scissors or a precision utility knife with a metal ruler as a straightedge. When cutting on the box with a craft knife, apply light pressure to slice the tape without scoring the box beneath.
4. Can the recipient reuse a box decorated with this method?
Yes. One advantage of washi tape is that it often peels away cleanly without leaving sticky residue or tearing the paper. If you haven’t sealed the design with glue or spray, the recipient can usually remove the tape and reuse the box.
5. What is the easiest way to coordinate tape patterns so the box doesn’t look cluttered?
Balance scale and palette. Choose a cohesive color story (earth tones, pastels, or metallics) and pair one busy pattern with two or three solid or micro-patterned tapes. That creates visual harmony and an intentional high-end look.