
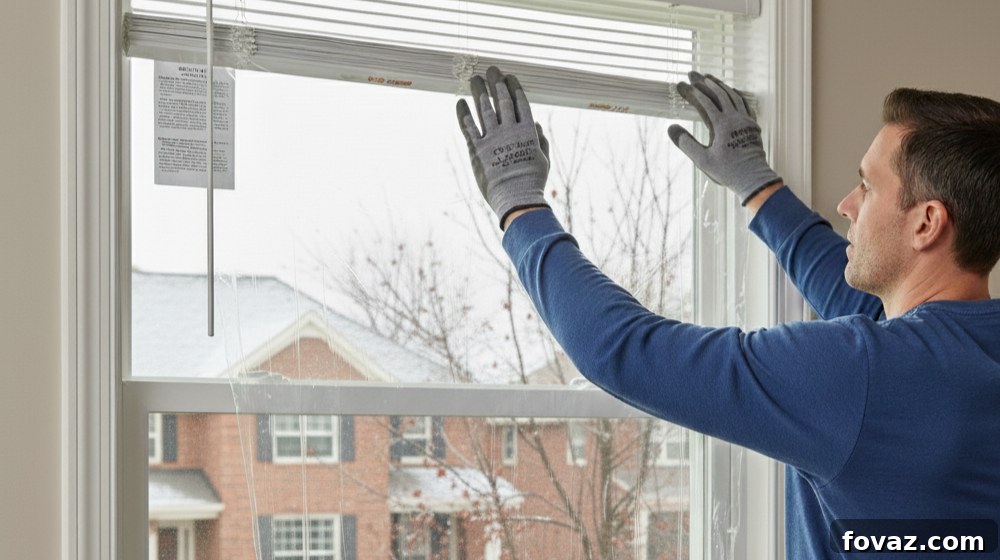
As the chill of winter approaches each year, many homeowners brace themselves for higher energy bills and the potential for costly repairs. But what if you could proactively prepare your home, saving money, enhancing comfort, and preventing damage before the first snowflake falls? Winterizing your home is not just about survival; it’s about smart, cost-effective maintenance that ensures your sanctuary remains warm, safe, and efficient throughout the coldest months. This comprehensive guide will walk you through essential DIY steps to get your home winter-ready, transforming potential seasonal stresses into peace of mind.
Your Essential DIY Winterization Checklist: Four Key Steps to Prepare Your Home
Winter can be particularly harsh on your wallet, bringing unwelcome surges in energy and fuel bills, not to mention the potential for expensive repairs like burst pipes or roof damage from snow and ice. This season, empower yourself and protect your finances by taking a few proactive, often inexpensive, steps to winterize your home. These preparations can lead to significant savings and prevent major headaches in the long run.
1. Master Gutter Maintenance: The First Line of Defense Against Winter Damage
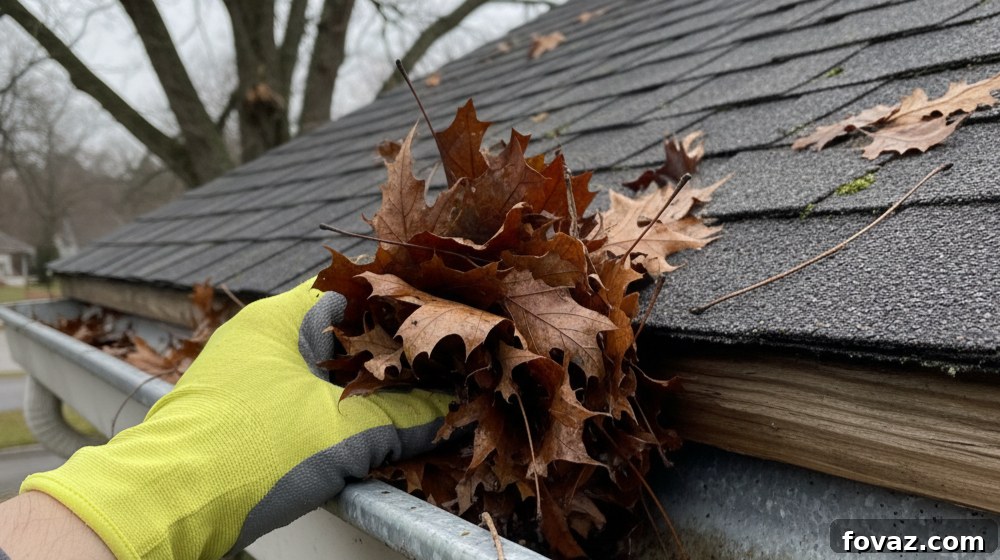
While clearing out gutters might not be the most glamorous home maintenance task, it is undeniably one of the most critical projects you can undertake to winterize your home. Clogged gutters are a primary culprit behind ice dams and destructive icicles, which can wreak havoc on your roof, attic, and even your home’s foundation. When water and melted snow cannot flow freely through your gutters and downspouts, they back up, freeze, and expand. This expansion can lift shingles, cause leaks in your attic, and lead to extensive water damage.
Before winter truly sets in and the first flurries begin, dedicate time to thoroughly cleaning out all leaves, acorns, small branches, and other accumulated debris. Ensure downspouts are also clear and directing water away from your home’s foundation. Consider adding gutter guards to minimize future debris buildup, making subsequent cleanings easier. This simple, preventative measure can save you thousands in potential roof and structural repairs.
2. Optimize Your Heating System for Peak Winter Performance and Savings
Regardless of your home’s heating system type – be it a furnace, boiler, or heat pump – there are vital steps you can take to significantly enhance its efficiency, ensuring maximum warmth and minimal energy expenditure this winter. Begin with a thorough visual inspection of your furnace or heating unit. Look for any loose panels, unusual sounds, signs of dirt accumulation, scorching marks, or indications of pest activity. Any concerning observations warrant immediate attention from a certified heating, ventilation, and air conditioning (HVAC) professional.
One of the easiest and most impactful tasks is regularly changing your air filters. Dirty filters restrict airflow, forcing your system to work harder, which consumes more energy and shortens its lifespan. Replace filters every 1 to 3 months, or more frequently if you have pets, allergies, or a large household. Clean filters not only boost efficiency and longevity but also improve indoor air quality, contributing to a healthier home environment.
If you have a central heating system, ensuring your air ducts are properly sealed and insulated is paramount. Leaky or uninsulated ducts, especially those running through unheated spaces like attics or crawl spaces, can lose a significant amount of heated air before it even reaches your living areas. Sealing ducts with mastic sealant or metallic foil tape, and then insulating them, can reduce energy waste by approximately 20-30%, potentially saving you hundreds of dollars annually. This crucial step in your home winterization strategy ensures that the warmth your system generates is delivered effectively to every room.
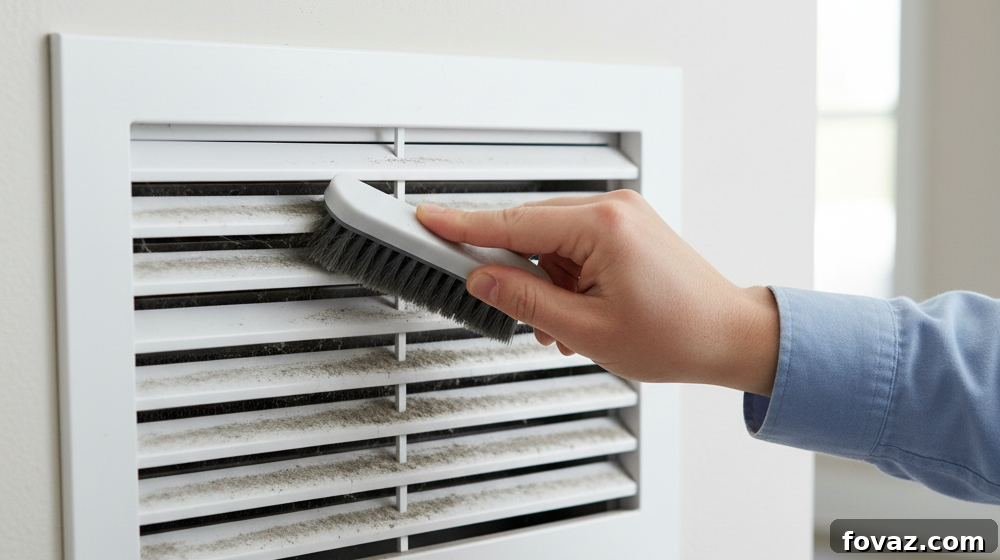
While optimizing your ducts, also check your air registers (vents). A common misconception is that closing vents in unused rooms saves energy. However, completely closing too many registers can put undue strain on your heating system, potentially reducing its overall efficiency and ability to adequately heat the rest of your home. If you choose to close vents in sparingly used areas, ensure you don’t close more than 30-40% of them to maintain balanced airflow and prevent system damage. For optimal heating, ensure furniture and drapes do not obstruct any registers, allowing heated air to circulate freely. Consider scheduling a professional tune-up for your heating system before the cold weather hits to ensure all components are functioning optimally and identify any potential issues early.
3. Seal the Envelope: Insulating Windows and Doors for Maximum Heat Retention
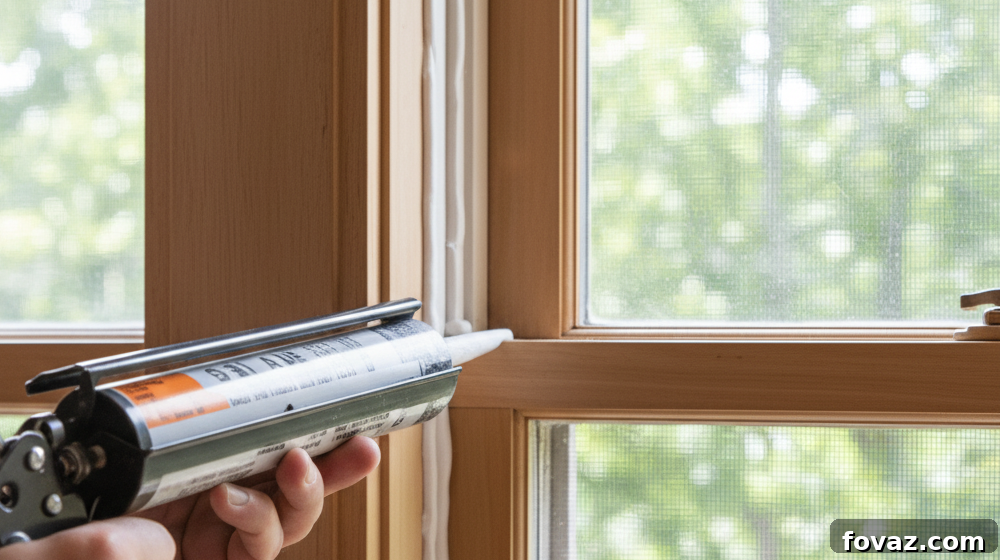
Even in newly constructed homes, and especially in older residences, significant heat loss can occur around poorly sealed windows and doors. These gaps and drafts are notorious for allowing warm air to escape and cold air to infiltrate, dramatically increasing your energy consumption. Fortunately, there are numerous effective and affordable DIY fixes you can implement to significantly improve your home’s insulation and drastically reduce your winter energy bills.
Start by identifying air leaks. Hold a lit incense stick or a damp hand near windows and doors on a windy day; if the smoke wavers or you feel a draft, you’ve found a leak. For small cracks and gaps in window and door frames, applying new caulking is a highly effective solution. Choose an appropriate caulk (silicone for longevity and water resistance, acrylic latex for paintability) and apply it neatly both inside and outside the window casing. For moving parts like window sashes and door frames, weatherstripping is essential. Various types are available, including adhesive-backed foam, V-strip (tension seal), and rubber or silicone tubular gaskets. Select the type best suited for your specific window or door to create a tight seal when closed.
Beyond sealing, consider adding layers of insulation to your windows. Window insulation film kits are inexpensive and create an air pocket that acts as an insulating barrier. Cellular shades, with their unique honeycomb design, trap air and provide excellent insulation. Layered or insulated curtains, made from heavy fabric, can block drafts and provide an additional thermal barrier when drawn. For an immediate, charming, and eco-friendly solution, draft snakes (fabric tubes filled with rice or sand) can be placed at the bottom of doors and windows to block incoming cold air. Implementing these insulation strategies will not only lower your heating costs but also contribute to a more consistently comfortable indoor temperature, preventing those chilly drafts that make a room feel cold even when the thermostat is set high.
4. Protect Your Investment: Proper Pool Winterization for Longevity
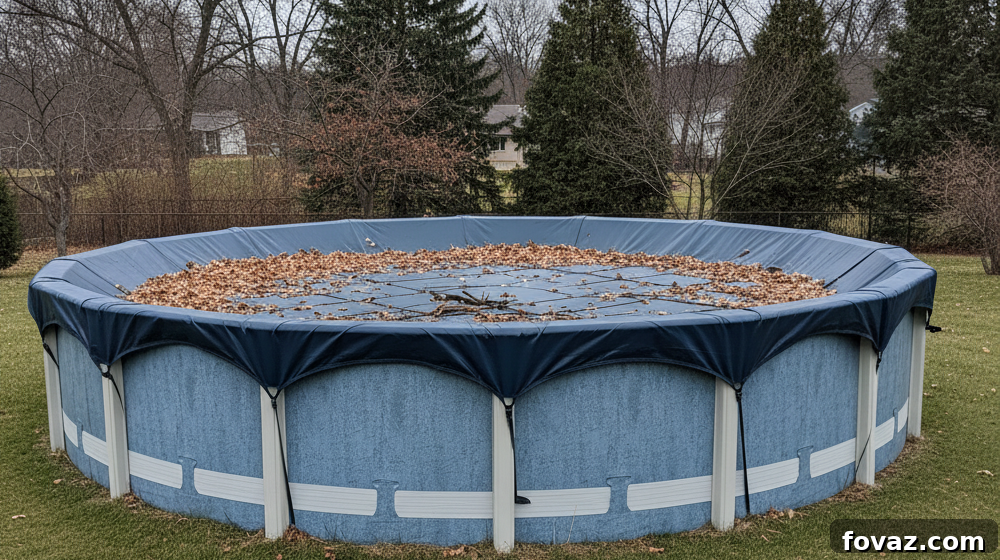
Your home’s interior isn’t the only aspect requiring attention for winter. If you own a swimming pool, proper winterization is crucial to protect your investment from freezing temperatures and prevent costly damage to its structure, plumbing, and equipment. While the specific needs of pools can vary, a general sequence of steps ensures comprehensive protection during the harsh winter months.
Approximately one week before your anticipated closing date, add a phosphate remover to your pool water. This helps to reduce phosphate levels, which are a primary food source for algae, minimizing the likelihood of an algae bloom during dormancy. Following this, thoroughly brush the pool walls and vacuum the bottom to remove all debris, leaves, and sediment. This meticulous cleaning prevents organic matter from decomposing and staining the pool liner or plaster over winter.
Next, reduce your pool’s water level. The exact level depends on your pool type and cover, but typically it’s lowered to below the skimmer opening. In regions prone to freezing, balancing the pool chemistry is vital; ensure pH, alkalinity, and calcium hardness are within optimal ranges. Then, shock the pool with a super-chlorinating treatment to kill any remaining bacteria and algae. Don’t forget to backwash your filter thoroughly to remove trapped debris and clean the filter media.
Crucially, drain all pool lines and equipment to prevent water from freezing and cracking pipes. Use an air compressor to blow out water from the skimmers, return lines, and filter system. Once drained, add pool-grade antifreeze to any remaining water in the lines for added protection against residual moisture. If you live in an area with prolonged freezing temperatures, install an air pillow under your winter cover. This inflatable pillow absorbs the pressure from expanding ice, protecting the pool walls from stress. Finally, secure a sturdy winter cover over your pool, ensuring it’s properly tensioned to keep out debris and protect against the elements. While professional pool closing services are available, closing the pool yourself can be a significant money-saver with a little planning and effort.
By investing a small amount of time, effort, and money in these proactive winterization projects before the cold season arrives, you can ensure your home is well-prepared, significantly reducing the risk of costly damage and boosting energy efficiency. Being proactive is always better than being reactive when it comes to safeguarding your most valuable asset.
Beyond the basics, ensuring your plumbing system is ready for winter is key to preventing those dreaded frozen pipes. Check out these useful tips from YouTuber JayKay18 on how to prepare your plumbing:
Winter can be a magical season, but its magic can quickly fade if your home isn’t adequately prepared. The unforgiving nature of ice and freezing temperatures poses a serious threat to your gutters, pipes, heating systems, and overall home structure. Don’t wait for things to take a turn for the worse; embrace a proactive approach. By following these essential winterization tips, you can effectively winter-proof your home right now, ensuring a cozy, energy-efficient, and damage-free experience throughout the colder months.
Thanks for reading our comprehensive guide on how to winterize your home this season! Which of these vital steps will you prioritize first? Share your winterization plans and tips in the comments below!
While you’re tackling these critical home projects, why not extend your efforts to organizing your seasonal items? Discover 13 Clever Winter Gear Organization Ideas to keep your cold-weather essentials tidy and accessible!
Stay connected with us for more DIY inspiration and home maintenance tips on Facebook, Twitter, Pinterest and Instagram!
Featured image via American WSD