
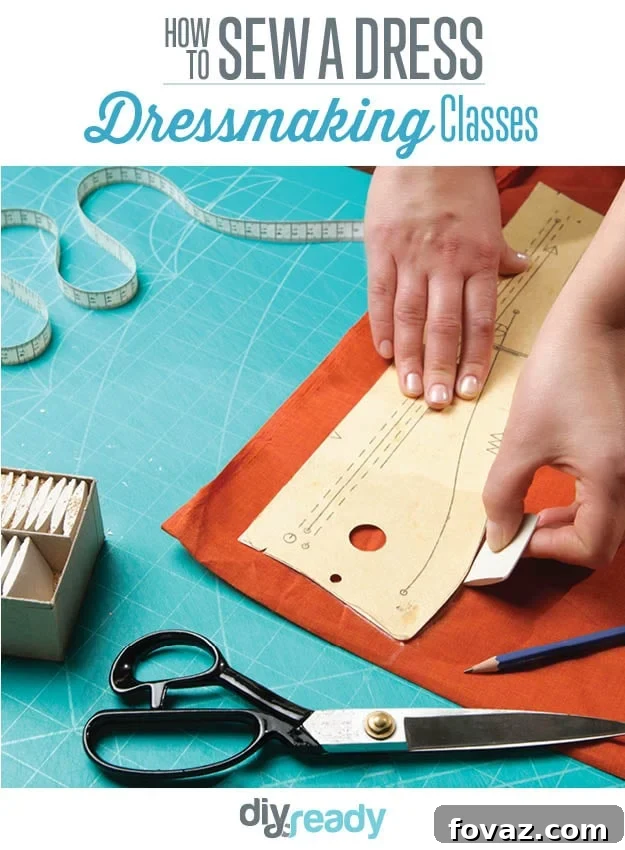
How to Make a Dress | Dressmaking Classes
Lesson 8 – How to Sew a Dress Without a Pattern
Congratulations on completing the foundational lessons of dressmaking! You’ve mastered essential tools, stitches, finishing techniques, and even created your very first garment. This journey has equipped you with invaluable skills, and now it’s time to unlock a new level of creative freedom: crafting a dress without relying on a commercial pattern. This lesson will empower you to design and sew truly unique pieces, allowing for complete customization and a perfect fit.
If the idea of sewing without a pre-made pattern seems daunting, fear not! This approach is not only achievable but incredibly rewarding. It’s a fantastic way to understand garment construction from the ground up, tailor clothing precisely to your body, and even repurpose beloved items. Imagine replicating the perfect fit of your favorite dress or shirt, but with new fabric and your own personal design twists. That’s the power you’ll gain today.
What You’ll Discover in This Lesson:
- How to draft custom pattern pieces directly from an existing garment.
- Expert techniques for laying out your pattern pieces efficiently on fabric for cutting.
- The critical importance and proper method of adding seam allowance to your patterns.
- Strategies for effectively reusing and adapting your self-made pattern pieces for future projects.
This lesson is designed to demystify the pattern-making process, making it accessible to every aspiring dressmaker. You’ll learn how to break down an existing garment into its core components, creating a blueprint that perfectly matches its shape and your desired fit. Get ready to transform your sewing journey with newfound confidence and endless creative possibilities.
The Art of Patternless Dressmaking: From Concept to Creation
Sewing a dress without a traditional pattern isn’t about guesswork; it’s about understanding the fundamental shapes that make up a garment and translating them into fabric. This method is often preferred by seasoned sewers for its flexibility and by beginners looking for a more intuitive approach. It allows you to create garments that truly fit your body, avoiding the common pitfalls of standard sizing.
Step 1: Preparing for Your Patternless Project
Before you even think about fabric, proper preparation is key. Gathering the right tools and selecting the ideal “template” garment will set you up for success. This method thrives on accuracy, so take your time with each preliminary step.
- Choosing Your Template Garment: Select an existing dress, top, or even a combination of pieces that fit you exceptionally well and have the silhouette you wish to replicate. A simple A-line dress, a well-fitting t-shirt, or a basic skirt are excellent starting points. Avoid overly complex designs with intricate pleating, excessive ruffles, or unusual dart placements for your first patternless project. The garment should be clean, pressed, and laid as flat as possible.
- Essential Tools for Drafting: You’ll need a large roll of paper (kraft paper, tracing paper, or even newspaper taped together works), a pencil or fabric marker, a long ruler, a French curve (optional, but helpful for necklines/armholes), sharp fabric scissors, pins, and measuring tape.
- Fabric Selection: Choose a fabric similar in drape and weight to your template garment, especially for your first attempt. This will help ensure the final dress behaves as expected. Always pre-wash and press your chosen fabric before cutting to prevent shrinkage and ensure accurate measurements.
Step 2: Drafting Your Custom Pattern Pieces from an Existing Garment
This is where the magic begins. You’ll essentially “deconstruct” the shape of your chosen garment onto paper. Remember that most garments have a front, back, and often sleeves. For symmetrical garments, you typically only need to trace half of the front and back pieces, as the other half will be cut on the fold of the fabric.
- Preparing the Garment for Tracing: Lay your template garment flat and smooth on your large sheet of paper. Ensure there are no wrinkles or creases that could distort its shape. If the garment has side seams, align one side seam perfectly straight. For symmetrical garments, fold it neatly in half, aligning the center front/back and shoulder seams.
- Tracing the Main Body Pieces (Front and Back):
- Carefully trace around the outer edges of the garment. Pay close attention to the neckline, shoulder seams, armholes, side seams, and hemline.
- For the front piece, if tracing a half, trace from the center fold line, across the shoulder, down the armhole, and along the side seam to the hem.
- Repeat for the back piece. Ensure you mark which is the front and which is the back, and indicate the grainline (parallel to the center fold).
- If your garment has darts (tapered folds of fabric used for shaping), carefully mark their positions and lengths. You’ll transfer these to your new pattern pieces.
- Tracing Sleeves (If Applicable): If your dress includes sleeves, detach them (mentally, not physically!) from the main body. Lay a sleeve flat and trace its shape, noting the sleeve cap (the curved top part that attaches to the armhole), underarm seam, and cuff. Ensure you mark the top of the sleeve cap to align it correctly later.
- Tracing Other Components: If your garment has a collar, waistband, or facings (fabric pieces used to finish raw edges like necklines or armholes), trace these separately as well. You might need to unpick a seam slightly to flatten these components for accurate tracing.
Step 3: Crucial Step – Adding Seam Allowance
This is perhaps the most critical step to remember when drafting patterns without a commercial guide. Seam allowance is the extra fabric around the edges of your pattern pieces that you will use to sew the garment together. Without it, your final dress will be too small!
- Understanding Seam Allowance: Commercial patterns typically include a standard seam allowance (often 5/8 inch or 1.5 cm), but when you draft your own, you must add it yourself. This allowance gives you room to sew and also to make minor adjustments during fitting.
- How Much to Add:
- Side Seams, Shoulder Seams, Sleeve Seams, Center Back/Front Seams: A standard allowance of 1/2 inch (1.25 cm) to 5/8 inch (1.5 cm) is generally safe. For beginners, a slightly wider allowance (e.g., 3/4 inch or 2 cm) can provide more room for error during sewing.
- Necklines and Armholes: These curves require a slightly narrower allowance, typically 3/8 inch (1 cm) to 1/2 inch (1.25 cm), as a wider allowance can be difficult to ease around curves.
- Hems: Hems usually require a more generous allowance, ranging from 1 inch (2.5 cm) to 2 inches (5 cm), depending on the desired hem style.
- Marking and Measuring: Using your ruler, carefully measure and mark the chosen seam allowance evenly around all edges of your traced pattern pieces. Draw a new, outer line representing the cutting line. The inner line (your traced garment outline) will be your sewing line.
- Adding Notches and Markings: Transfer any darts or pleat markings from your template garment. Add notches (small V-shaped cuts or marks) along the seams to help you align pieces accurately during sewing, especially on sleeves and curved seams. Don’t forget to mark the grainline on each pattern piece, ensuring it’s parallel to the selvage of your fabric when cutting.
Step 4: Laying Out Your Pattern Pieces for Cutting
Efficient fabric layout saves material and ensures your garment hangs correctly. Understanding fabric grain and how to position your pieces is crucial.
- Prepare Your Fabric: Lay your pre-washed and pressed fabric flat on a large, clean surface. Understand the fabric grain:
- Selvage: The finished edges of the fabric that run parallel to the warp threads (the strongest threads).
- Grainline: The direction of the warp threads, typically running parallel to the selvage. Most pattern pieces are placed with their grainline parallel to the selvage for optimal drape and stability.
- Cross-grain: The threads that run perpendicular to the selvage.
- Bias: A 45-degree angle to the selvage, which offers maximum stretch and drape (useful for certain styles, but not for basic pattern drafting).
- Folding the Fabric: For symmetrical pieces cut on the fold, fold your fabric lengthwise, selvage to selvage. Ensure the fold is straight and even. For pieces that are not on the fold or require a single layer, simply lay the fabric flat in a single layer.
- Placing Pattern Pieces: Carefully arrange your pattern pieces on the fabric.
- Place pieces marked “on fold” directly along the folded edge of the fabric.
- Align all grainline markings on your pattern pieces parallel to the selvage of your fabric using a ruler or measuring tape. This is vital for the garment to hang correctly.
- Try to fit all pieces onto the fabric efficiently, minimizing waste. Play around with different orientations before pinning.
- Ensure you have enough pieces of each part (e.g., two sleeves, one front, one back, unless specified otherwise).
- Pinning Securely: Once satisfied with the layout, pin each pattern piece firmly to the fabric. Place pins perpendicular to the cutting line, every few inches, to prevent the fabric from shifting while cutting.
Step 5: Precision Cutting and Transferring Markings
Accurate cutting is paramount for a successful outcome. Even slightly uneven cuts can impact how your garment fits and sews together.
- Sharp Scissors are a Must: Use sharp fabric shears for clean, precise cuts. Avoid using them on paper, as this will dull them quickly.
- Cut Along the Outer Lines: Carefully cut along the outermost lines of your pattern pieces (your seam allowance lines), cutting through both layers of fabric if folded. Take slow, deliberate cuts, avoiding jagged edges.
- Transferring Markings: Before unpinning the pattern pieces from the fabric, transfer all critical markings. This includes:
- Darts: Use tailor’s chalk, a washable fabric marker, or tailor’s tacks to mark the dart legs and points on the wrong side of your fabric.
- Notches: Snip tiny V-shaped notches into the seam allowance at the marked points (do not cut into the sewing line).
- Buttonholes, Pockets, etc.: Mark any other design details as needed.
Step 6: Assembling Your Dress – Bringing Your Vision to Life
Once all your pieces are cut and marked, the sewing process begins. While this lesson focuses on pattern creation, a brief overview of assembly is helpful.
- Order of Operations: Generally, you’ll start with darts (if any), then shoulder seams, side seams, attach sleeves, finish the neckline, and finally hem the garment.
- Basting and Fitting: It’s highly recommended to baste (sew with long, temporary stitches) the main seams first. This allows you to try on the garment and make any necessary fit adjustments before sewing permanent seams.
- Seam Finishes: Don’t forget to finish your seams (e.g., with a serger, zigzag stitch, or French seams) to prevent fraying and ensure durability.
- Attention to Detail: Take your time with pressing seams open or to one side, installing zippers or closures, and achieving a professional finish on necklines and hems.
Tips and Tricks for Successful Patternless Sewing
- Start Simple: Begin with basic shapes like a shift dress, an A-line silhouette, or a simple tunic. As you gain confidence, you can tackle more complex designs.
- Make a Muslin (Toile): For more complex projects or when using expensive fabric, sew a test garment from inexpensive fabric (calico or an old sheet). This “muslin” allows you to test the fit and make pattern adjustments without risking your final fabric.
- Deconstruct and Learn: Study ready-to-wear garments. How are the seams constructed? How are collars attached? How are sleeves set in? This visual learning is incredibly valuable.
- Embrace Imperfection: Your first patternless garment might not be perfect, and that’s okay! Each project is a learning opportunity. Celebrate your progress and newfound skills.
- Personalize and Innovate: Once you master the basics, you can start modifying your patterns. Add pockets, change the neckline, alter sleeve lengths, or experiment with different skirt styles. The possibilities are endless.
The Benefits of Sewing a Dress Without a Pattern
Beyond the satisfaction of creating something with your own hands, patternless sewing offers numerous advantages:
- Perfect Custom Fit: Tailor your garment precisely to your unique body measurements and preferences, leading to a much better fit than standard sizes can offer.
- Unleashed Creativity: You are the designer! Experiment with styles, modify existing designs, and bring your unique fashion vision to life without being constrained by commercial patterns.
- Cost-Effective: Save money by not purchasing patterns. You can also utilize fabric scraps or upcycle old garments.
- Deeper Understanding of Construction: This method forces you to think about how garments are put together, enhancing your overall sewing knowledge and problem-solving skills.
- Sustainable Fashion: It encourages mindful consumption, allows for fabric repurposing, and empowers you to create lasting, custom pieces rather than fast fashion items.
Step 7: Reusing and Adapting Your Custom Pattern Pieces
One of the greatest benefits of drafting your own patterns is building a personal library of custom-fitted blocks. These aren’t just one-off templates; they are valuable assets for future projects.
- Storage is Key: Store your drafted paper patterns carefully. Roll them up or fold them neatly and label them clearly (e.g., “A-line Dress, Size Small, My Measurements”). Using sturdier paper or even transferring them to oak tag can increase their longevity.
- Modification for New Styles: Your basic front and back bodice and skirt pieces can be modified in countless ways. Want a V-neck instead of a round neck? Simply draw a new neckline on your existing pattern. Want a gathered skirt instead of a straight one? Keep the waistband but add width to the skirt pattern. You can change sleeve lengths, add pleats, create different hemlines, or even combine a bodice from one pattern with a skirt from another.
- Building a Pattern Block Library: Over time, you’ll accumulate a set of “slopers” or basic blocks that perfectly fit your body. These can be the foundation for almost any design you can imagine, allowing you to draft new styles quickly and efficiently.
By learning how to sew a dress without a pattern, you’ve not only acquired a new skill but have also gained immense creative freedom. This lesson is a testament to your growing expertise and willingness to explore beyond the conventional. Keep experimenting, keep creating, and enjoy the limitless possibilities that patternless dressmaking offers!