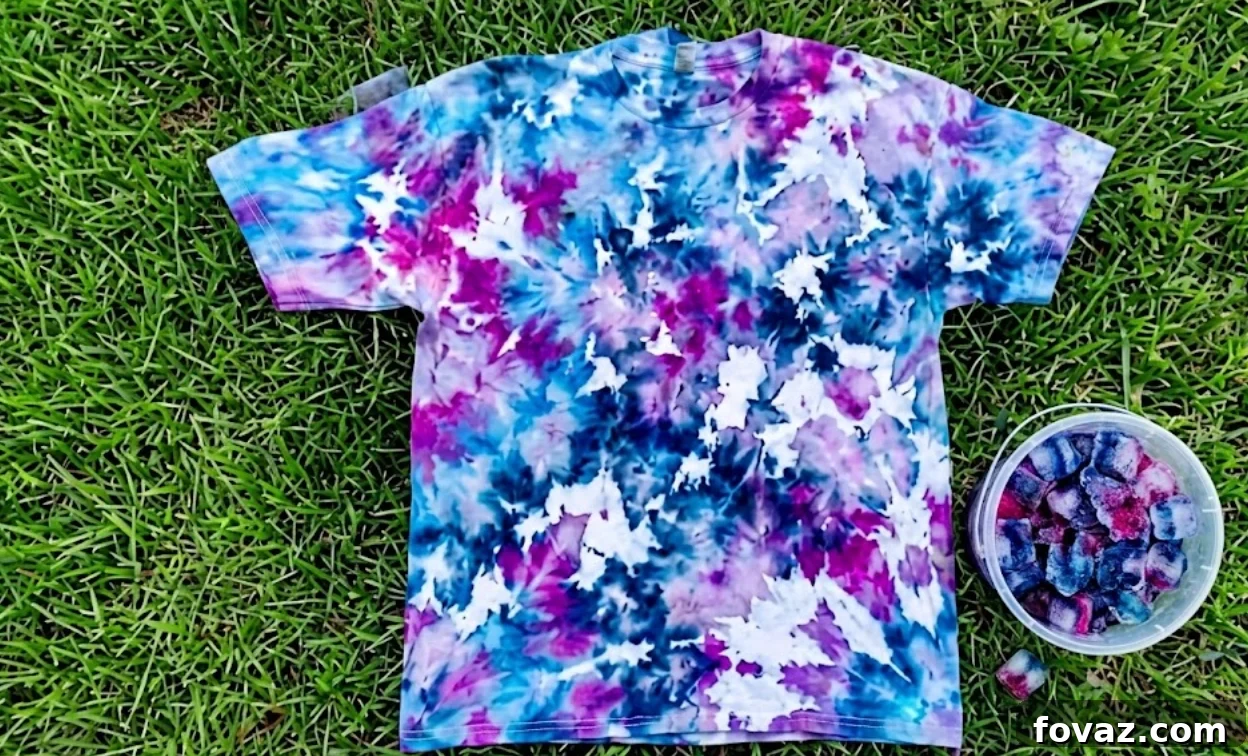
At a Glance: Ice Dye Shirt
- Time Required: 30 minutes active prep | 12–24 hours passive melting and curing time.
- Skill Level: Beginner.
- Adult + Kid Notes: A wonderful collaborative family craft. Children enjoy crumpling the fabric and building the ice mound. Because dry dye powder and soda ash can irritate skin and lungs if inhaled or mishandled, adults should mix chemicals and handle the powder application while children take part in safe steps.
Safety Reminder: Always wear PPE—rubber gloves, safety goggles, and an N95 dust mask when handling dry dye powder. Use chemicals responsibly and supervise children at all times.
What is the Ice Dye Technique?
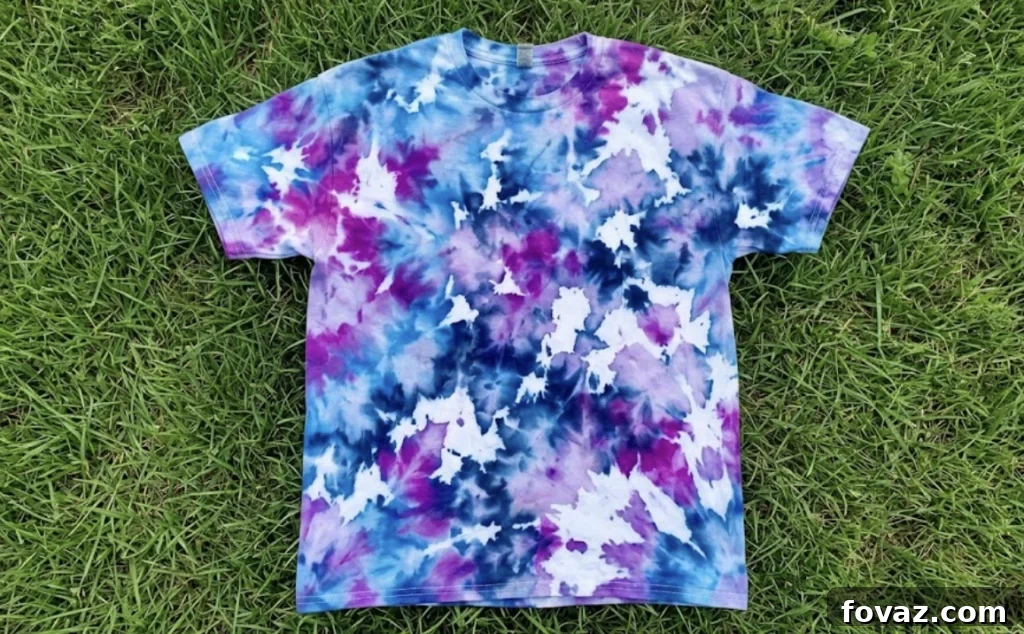
Ice dyeing is a textile coloring technique that uses dry fiber-reactive dye powder sprinkled on top of ice placed over prepared fabric. As the ice slowly melts, it dissolves the dye and carries pigments into the fibers in a gradual, controlled way. The result is soft, watercolor-like blends, natural gradients, and often a striking “color splitting” effect where mixed hues separate into their component pigments as they travel through the melting ice.
Ice Dye vs. Traditional Tie Dye
| Feature | Traditional Tie Dye | Ice Dye |
| Dye Form | Liquid (mixed with water) | Dry powder |
| Application | Squeeze bottles applied on fabric | Sprinkled over a layer of ice |
| Control | High control; defined geometric patterns | Lower control; fluid, unpredictable patterns |
| Look | Saturated blocks of color | Soft, mottled watercolor textures |
| Negative Space | Defined by tight bindings | Forms naturally as ice melts |
Materials & Tools List
Materials
- Fabric: One 100% cotton white t-shirt (organic or recycled cotton preferred for sustainability). Fiber-reactive dyes will not properly bond to synthetic blends.
- Fixative: Soda ash (sodium carbonate) to pre-treat the fabric and raise pH for a permanent dye bond.
- Dye Powder: Fiber-reactive dye in dry powder form. Choose two or three harmonious colors for best results (for example, fuchsia and turquoise).
- Ice: 7–10 pounds of ice cubes. Cubed ice creates broader watercolor pools, while crushed ice produces finer speckling.
Tools Needed
- Wire rack: A cooling rack or baking grate to keep the fabric elevated above the catch basin.
- Catch basin: A plastic tub or deep tray to collect runoff as the ice melts.
- Soak bucket: A standard plastic bucket for the soda ash soak.
- Application tool: A small spoon or shaker for dusting dye powder over the ice.
Technical Specifications & Precise Dimensions
- Soda ash solution ratio: 1 cup soda ash per 1 gallon of warm water.
- Soak duration: 20 minutes.
- Ice depth: Approximately 2 inches of ice evenly covering the crumpled fabric.
- Dye dosage: About 1 teaspoon per color for a single t-shirt to maintain vibrant colors while preserving white negative space.
- Cure time: 12 to 24 hours, depending on room temperature and melting rate.
These basic specifications help ensure consistent results. Adjust dye amounts and ice depth when scaling up or changing garment sizes, and always test on scrap fabric if you need to experiment with different color combinations.
Step-by-Step Instructions (Beginner & Kid-Friendly)
Phase 1: Fiber Activation (Adult Supervision)
- Mix 1 gallon of warm water with 1 cup of soda ash until completely dissolved.
- Fully submerge the white cotton shirt in the solution.
- Soak for 20 minutes to raise the fabric’s pH and prepare fibers to bond with the dye.
- Wring out the shirt so it is uniformly damp but not dripping.
Phase 2: The Crumple Layout (Kid-Friendly)
- Lay the damp shirt flat on a clean work surface.
- Gather and scrunch the fabric randomly toward the center to make a loose, rumpled mound.
- Avoid using rubber bands or twine; a loose crumple allows the melt to form natural white spaces and soft color transitions.
- Carefully transfer the crumpled shirt to the wire rack placed over the catch basin.
Phase 3: The Ice Shield (Kid-Friendly)
- Pile ice cubes evenly over the crumpled shirt until the fabric is hidden beneath about 2 inches of ice.
- Ensure coverage is consistent so the melting pattern flows across the whole garment.
Phase 4: Powder Application (Adult Step)
- Put on an N95 dust mask and gloves before opening dye containers.
- Use a spoon or shaker to lightly dust one chosen color over half the ice mound.
- Apply the second color over the other half, leaving about a 1-inch overlap where the two meet to encourage organic blending into secondary shades.
- Work carefully to avoid creating clouds of powder; once the powder contacts the ice it will no longer be airborne.
Phase 5: The Melting Process
- Place the entire assembly in a warm, undisturbed area (about 70°F or higher is ideal).
- Let the ice melt naturally for 12–24 hours. Do not use an external heat source to speed melting; slower melt creates nicer gradients and color separation.
Finishing & Washing
- When the ice has fully melted, move the shirt to a sink and rinse under cold running water until the runoff runs mostly clear, removing loose surface pigments.
- Wash the shirt alone in a washing machine on a hot cycle with a mild detergent to set the bonded color.
- Dry in a dryer or hang to air dry. After washing, your colors should remain vibrant and fixed.
Eco Notes
Reduce water waste by turning off the faucet while manipulating the garment during rinsing. Choose non-toxic, fiber-reactive dyes and avoid synthetic microplastic products to help protect waterways. Prefer organic or recycled 100% cotton garments to improve sustainability and achieve the best dye results.
The crumple ice-dye method is a low-effort, high-reward craft that yields professional-looking, one-of-a-kind garments. It’s ideal for family projects, small-batch apparel, or custom gifts. If you plan to dye larger items or batches, test dye amounts and soak times first to refine measurements for consistent results.
FAQs
Q: Can I use liquid dyes with the ice method?
A: No. Liquid dyes run immediately and dilute across the ice, often producing muddy or washed-out colors. Ice dyeing depends on dry powder melting slowly into the fiber.
Q: Why did my colors turn brown or gray?
A: Brown or gray results usually come from mixing complementary colors (opposite hues on the color wheel). To avoid muddy tones, choose analogous colors—those next to each other on the wheel—so blends remain vibrant.
Q: Is this safe to do indoors with children?
A: Yes, if an adult applies the dry dye while wearing an N95 mask and gloves. Once the powder is on the ice, it’s no longer prone to becoming airborne, and the remaining steps are safe for children under supervision.