
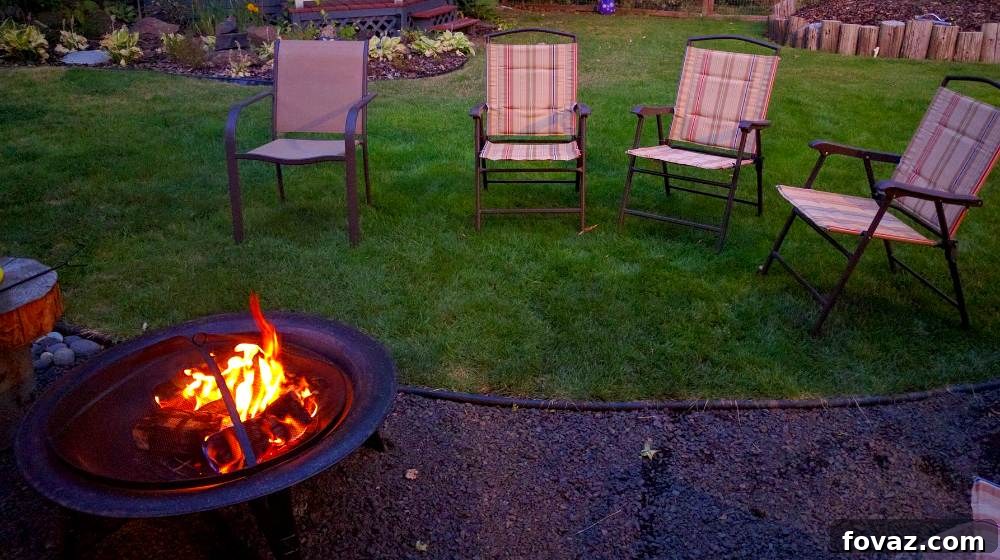
DIY Propane Fire Pit: Craft Your Own Outdoor Oasis Using a Flower Pot
Envision a serene evening in your backyard, filled with warmth, laughter, and the mesmerizing dance of flames. A propane fire pit is the perfect centerpiece for such moments, offering instant ambiance and clean heat without the mess of wood. However, purchasing a high-quality fire pit can often come with a substantial price tag. This comprehensive guide empowers you to bypass the expense by building your very own stylish and functional propane fire pit using a surprisingly simple and affordable item: a sturdy flower pot.
This DIY project is designed for everyone, from novice crafters to experienced DIY enthusiasts. We’ll delve into selecting the right materials, ensuring crucial safety measures, and guiding you through each construction step. Get ready to transform your outdoor living space into a welcoming retreat, perfect for cozy gatherings, s’mores, or simply unwinding under the stars.
RELATED: 25 Creative DIY Outdoor Fireplace Ideas To Combat The Winter Chill
Why Choose a DIY Flower Pot Propane Fire Pit?
Using a flower pot as the foundation for your propane fire pit isn’t just an ingenious cost-saving hack; it offers a multitude of benefits that elevate it above other DIY options:
- Unbeatable Cost-Effectiveness: The most compelling reason for this DIY approach is the dramatic reduction in cost. High-quality propane fire pits can easily cost hundreds, if not thousands, of dollars. By repurposing a readily available and inexpensive flower pot, you keep your expenses to a minimum while achieving a premium look and feel.
- Unique & Customizable Aesthetics: Unlike generic store-bought options, a flower pot fire pit allows for immense personalization. You can choose from various pot materials—terracotta, ceramic, or concrete—and a spectrum of colors and finishes to perfectly complement your garden or patio decor. This ensures your fire pit is not just functional but also a distinctive piece of art.
- Enhanced Portability: While not as light as a camping lantern, a flower pot fire pit often offers greater portability than permanent structures. Once the propane tank is removed, the main unit can be moved relatively easily to different zones of your outdoor space, allowing for flexible arrangements for various occasions or seasonal changes.
- Simplified Construction: This project avoids complex masonry, welding, or specialized tools. The steps are straightforward, making it an accessible and rewarding weekend project for most homeowners. You’ll gain a sense of accomplishment without significant technical hurdles.
- Clean & Convenient Burning: Propane burns cleanly, producing no smoke, ash, embers, or the distinct smell associated with wood fires. This translates to a more enjoyable experience for everyone, minimal cleanup, and no lingering odors on your clothes or patio furniture. Starting and stopping the flame is as simple as turning a valve, offering instant warmth at your command.
Essential Materials for Your Homemade Propane Fire Pit
Successful construction begins with selecting the right components. Focus on durability, heat resistance, and safety when sourcing your materials. Here’s a detailed breakdown:
- Large, Sturdy Flowerpot:
- Material: Opt for heat-resistant, non-combustible materials like terracotta, ceramic, concrete, or glazed clay. Avoid plastic pots entirely.
- Size: Crucially, the pot must be taller than your standard 20-pound propane tank (approximately 18-20 inches tall) to fully conceal it. The diameter should be wide enough to comfortably fit the tank with some breathing room for air circulation.
- Circular Wood Panel:
- Purpose: This serves as a sturdy internal platform.
- Size: Its diameter must be larger than the opening of your flowerpot so it can rest securely on the pot’s inner rim.
- Material: Use marine-grade plywood or treated outdoor wood for weather resistance. Ensure it’s thick enough (e.g., 3/4 inch) to support the weight of the burner assembly and decorative media.
- Propane Fire Pit Kit:
- Components: A complete kit typically includes a stainless steel burner ring or pan, a flexible gas hose, a regulator (for connecting to the propane tank), and an ignition system (match lit, push-button spark, or electronic).
- Certifications: Always choose a kit that is safety certified (e.g., CSA approved in North America) to ensure it meets rigorous safety standards.
- BTU Rating: The British Thermal Unit (BTU) rating indicates the burner’s heat output. Select one that suits your desired flame size and is compatible with a 20-pound propane tank.
- Standard 20-Pound Propane Tank: This is the same tank used for most gas grills. Ensure it’s in good condition, full, and has a valid certification date.
- Metal Pizza Pan (or similar metal sheet):
- Purpose: This acts as a protective base for your decorative media and helps evenly distribute the flame from the burner.
- Size: Its diameter should be slightly smaller than the wood panel but large enough to fully cover the burner ring.
- Fire-Rated Decorative Media:
- Fire Glass: Provides a contemporary, sparkling aesthetic, available in a vast array of colors and shapes. It’s excellent for reflecting light and heat.
- Lava Rocks: Offers a more rustic, natural campfire appearance. These porous rocks excel at retaining and radiating heat.
CRITICAL SAFETY WARNING: Never use ordinary garden stones, river rocks, or gravel. These can contain trapped moisture that, when heated, turns to steam and causes the rocks to violently explode, posing a severe safety hazard. Always use media specifically designed and rated for fire pits.
Essential Tools for Construction:
- Power Drill: Necessary for creating holes.
- Hole Saw Kit: You’ll need various sizes for the burner and key valve holes. Ensure you have bits appropriate for wood and, if applicable, masonry bits for your flowerpot material (ceramic, concrete).
- Measuring Tape or Ruler: For precise measurements.
- Pencil or Marker: For marking drilling points.
- Safety Glasses: Non-negotiable for eye protection during drilling.
- Work Gloves: For handling materials and protecting hands.
- Adjustable Wrench: For securing gas line connections.
- Leak Detector Solution: A spray bottle with soapy water (dish soap and water mix) for checking gas connections.
Step-by-Step Guide: Building Your Ultimate DIY Flower Pot Fire Pit
Step 1: Planning Your Ignition System and Overall Layout
Careful planning is the foundation of a successful and safe fire pit. Consider these aspects before making any permanent modifications:
- Ignition Type Selection:
- Match Lit: The most basic and cost-effective. You’ll manually ignite the burner with a long match or lighter after turning on the gas. Simple, but requires careful reach.
- Push-Button Spark Ignition: Offers greater convenience and safety. A battery-powered igniter creates a spark to light the gas with a single button press, eliminating the need for an external flame source.
- Electronic Ignition: The most advanced option, often with remote control capabilities and automatic safety shut-offs. While more expensive and complex to install, it provides ultimate ease of use and enhanced safety features.
- Flowerpot Material Considerations: Understand the properties of your pot. Terracotta is porous and easier to drill but might be more brittle. Ceramic and concrete are denser, requiring specific masonry drill bits and careful, slow drilling to prevent cracks.
- Optimal Placement: Decide on the permanent or semi-permanent location for your fire pit. It must be on a level, non-combustible surface (like concrete or pavers), away from any overhanging structures, low-hanging branches, wooden fences, or other flammable materials. Always maintain ample clearance, typically at least 10 feet from structures. Check local fire codes and HOA regulations regarding outdoor flame features.
Step 2: Precisely Drilling Essential Holes
Accuracy in this step is crucial for both safety and the structural integrity of your fire pit. Double-check all measurements before drilling.
- Burner Hole (Wood Panel & Pizza Pan):
- Measure the diameter of the central connection point on your fire pit burner.
- Use a hole saw of that exact size to drill a clean, centered hole through both the wood panel and the metal pizza pan. This hole must be large enough for the burner’s gas line to pass through freely but snug enough to help stabilize the burner.
- Ventilation Holes (Lower Side of Flowerpot):
- This is a critical safety feature. Drill at least 3-4 evenly spaced holes (approximately 1 inch in diameter) around the lower perimeter of your flowerpot, just above its base.
- These ventilation holes prevent heat from building up inside the pot around the propane tank, which could lead to dangerous pressure increases. They ensure proper airflow, allowing any potential gas leaks to dissipate safely instead of pooling.
- Use a masonry drill bit if your pot is ceramic or concrete, starting slow and applying steady pressure.
- Key Valve Hole (Upper Side of Flowerpot):
- Identify the ideal location for your fire pit’s key valve, typically near the top rim of the flowerpot for easy access.
- Consult your fire pit kit’s instructions for the exact diameter required for the key valve. Usually, a 1-inch hole saw is sufficient.
- Drill this hole cleanly, again using the appropriate bit for your pot’s material.
Safety Reminder: Always wear safety glasses when drilling. When drilling into ceramics or concrete, place the pot on a stable surface and use a firm, even pressure to avoid cracking.
Step 3: Assembling the Burner and Gas Lines
This phase involves handling gas components, demanding meticulous attention to the manufacturer’s instructions and rigorous leak testing.
Begin by carefully unpacking your propane fire pit kit. Follow the kit’s specific instructions for assembling the burner ring or pan. This generally involves connecting the flexible gas hose to the burner unit. Use an adjustable wrench to securely tighten all threaded connections, but be cautious not to overtighten, which can strip threads or damage components. Route the gas line through the central holes you drilled in the wood panel and pizza pan, ensuring it can reach the propane tank comfortably without kinks or undue strain.
Crucial Leak Test (Pre-Tank Connection): Before connecting any part of your assembly to the propane tank, perform an initial leak test. Mix dish soap and water in a spray bottle. Spray this solution liberally over all the connections you’ve just made on the burner and hose. Briefly open the gas regulator (if it’s attached to the hose) to allow a small amount of gas into the line (do NOT open the main tank valve yet). If any bubbles appear at the connection points, there is a leak. Tighten the connection, reapply the solution, and check again until absolutely no bubbles are present. Address all leaks immediately before proceeding.
RELATED: 25 Hearty Breakfast Recipes To Try On Your Next Camping Trip
Step 4: Assembling the Structural Components
With your holes drilled and burner assembled, it’s time to put everything together, creating the stable platform for your flame.
Carefully place your 20-pound propane tank inside the flowerpot, ensuring it stands upright and is stable on the bottom. The gas line from your burner assembly should extend upwards through the pot. Next, gently lower the drilled wood panel onto the flowerpot’s rim, making sure it sits level and securely. The gas line should pass cleanly through its central hole. Position the drilled metal pizza pan directly on top of the wood panel, again guiding the gas line through. Finally, place your assembled burner unit onto the pizza pan, ensuring its central connection aligns with and passes through the holes in both the wood panel and the pizza pan. This layering provides stability and helps to lock the internal components in place.
Now, connect the gas line from your burner assembly to the key valve that will be installed in the side of the flowerpot. Secure the key valve firmly in its drilled opening according to its instructions. Lastly, connect the regulator hose from your fire pit kit to the main valve on the propane tank. Hand-tighten this connection first, then give it a final snug turn with a wrench. Perform a final, thorough leak test on all connections, especially the one to the propane tank, using your soapy water solution before proceeding to the next step.
Step 5: Adding Your Decorative Fixings (Fire Media)
This is where your fire pit begins to showcase its personality and style. Choose your decorative media carefully and with safety in mind.
Carefully pour your chosen fire-rated decorative media (fire glass or lava rocks) onto the pizza pan. Distribute it evenly, ensuring it completely covers the burner ring while still allowing the flames to emerge freely. The media should be deep enough to conceal the burner but not so excessively piled that it smothers the flame or impedes gas flow. If using fire glass, handle it with gloves, as the edges can be sharp.
Reiterating Critical Safety: As previously emphasized, it is paramount to avoid using common outdoor stones such as river rocks, pebbles, or garden gravel. These non-fire-rated stones can contain hidden moisture. When subjected to intense heat from the burner, this moisture rapidly converts to steam, causing the rocks to expand explosively. This creates a dangerous projectile hazard. Always invest in fire glass or lava rocks specifically designed and treated for use in propane fire pits.
Step 6: Essential Safety Checks, Operation, and Maintenance
Owning a propane fire pit comes with the responsibility of safe operation and regular maintenance to ensure its longevity and your family’s safety.
- Pre-Operation Inspection: Before each use, visually inspect all gas line connections, hoses, and the burner for any signs of wear, cracks, kinks, or damage. Confirm the propane tank is upright, stable, and securely connected. If you notice any issues or have doubts, perform a quick soap-and-water leak test on all connections.
- Lighting Your Fire Pit:
- Ensure the key valve on your fire pit is in the “off” position.
- Slowly and fully open the main valve on your propane tank.
- For Match Lit Systems: Hold a long lighter or match near the burner, then slowly turn the key valve to introduce gas until the burner ignites.
- For Push-Button Spark Systems: Turn the key valve slightly to allow gas flow, then repeatedly press the ignition button until the burner lights.
- Adjust the flame height to your desired level using the key valve.
- Shut-Down Procedure: Always reverse the lighting steps. First, turn off the main valve on your propane tank completely. Allow the remaining gas in the line to burn off, then turn the key valve on the fire pit to the “off” position. This purges the gas line, enhancing safety.
- Routine Maintenance:
- Propane Level: Regularly check your propane tank’s fuel level. Many tanks have gauges, or you can use the hot water method (pour warm water down the side; the condensation line indicates the gas level).
- Cleaning: Periodically clean the burner and decorative media. Dust, leaves, or debris can accumulate. Use a soft brush for the burner. Fire glass can be washed with mild soap and water (ensure it’s thoroughly dry before reusing).
- Inspections: At least twice a month during seasons of frequent use, thoroughly inspect all components—hoses, connections, burner—for any signs of corrosion, rust, blockages, or wear. Replace damaged parts immediately.
- Propane Tank Safety Guidelines:
- Never store or use propane tanks indoors or in any enclosed, poorly ventilated space.
- Always keep the propane tank upright and on a stable surface.
- Store spare tanks outdoors, in a shaded, well-ventilated area, away from direct sunlight and any heat sources.
- Transport tanks securely and upright in your vehicle.
Step 7: Enjoy Your Easy DIY Propane Fire Pit
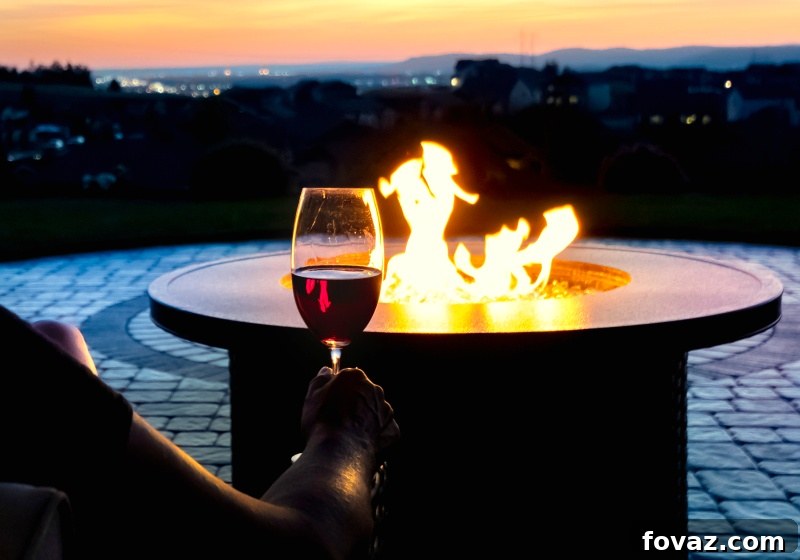
Congratulations! You’ve successfully completed the rewarding journey of building your own custom, budget-friendly propane fire pit. Take a moment to appreciate your craftsmanship and the cozy ambiance it creates. Now, invite your loved ones, pull up some comfortable chairs, and let the warm, inviting glow of your handmade creation become the centerpiece for countless memorable evenings.
This ingenious solution not only bypasses the high cost of retail fire pits but also provides the added flexibility of a relatively portable unit, allowing you to easily reposition your source of warmth and light wherever it’s most desired in your outdoor living space. Enjoy the ease, beauty, and comfort your new DIY propane fire pit brings!
Watch this video from Reviews Vid for other inspiring tabletop fire pit ideas to spark your creativity:
What ignition types do you prefer for your outdoor fire pits, and have you incorporated any unique materials into your DIY projects? Share your experiences, creative ideas, and safety tips in the comments section below!
Further Reading & DIY Inspiration:
- Learn How To Make Fire Starters Out Of Egg Cartons And Dryer Lint
- Make Your Own Fire Starter At Home | 11 Easy DIY Fire Starter Ideas
- DIY Organic Insecticides You Can Make At Home In 9 Effective Ways
Are you a passionate DIYer with a knack for crafting and sharing? DIY Projects needs YOUR talent! Click here to learn how you can contribute to our community and write for us.
Stay connected and inspired with the latest DIY trends and project ideas! Follow us on Facebook, Twitter, Pinterest, and Instagram for daily inspiration!