
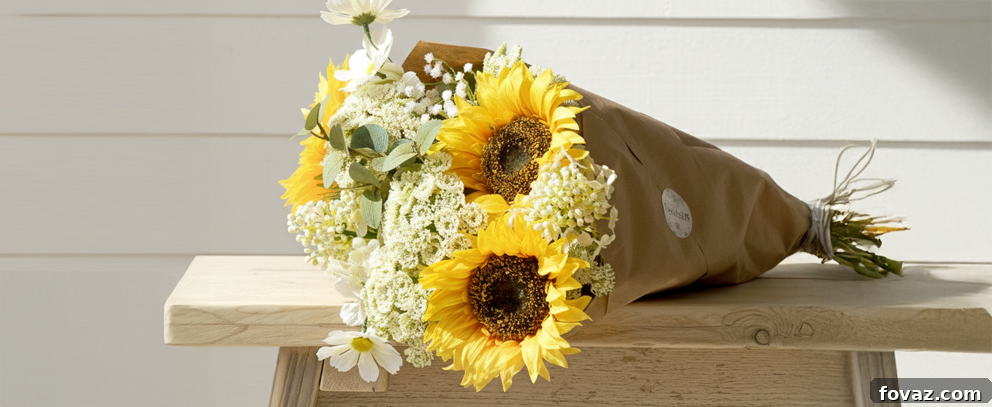
Crafting Love: Make a Timeless Paper Bouquet and Sentimental Shadow Box with Free Valentine Printables
- Discover two incredibly thoughtful and budget-friendly Valentine’s Day DIY projects designed specifically for beginners, using exclusive free printable templates.
- Craft an exquisite paper flower bouquet in approximately 60 minutes, mastering the unique “pencil-curl” method to create stunning, realistic blooms that boast eternal freshness.
- Construct a heartwarming 3D shadow box in just 45 minutes, transforming a cherished photograph into gallery-worthy art with clever foam spacers and a custom heart-shaped mat.
- Utilize common craft supplies such as quality cardstock, a reliable hot glue gun, and sharp scissors—items you likely already have on hand—making these projects accessible and affordable.
- Elevate your creations with expert tips, including subtly scenting your paper flowers for a sensory surprise and adding playful confetti to your shadow box for an interactive, boutique appeal.
Valentine’s Day often brings a familiar routine: expensive, short-lived flowers and a box of chocolates that feel more like an obligation than a heartfelt gesture. This year, break away from the predictable and create something truly meaningful. We invite you to craft two beautiful projects that are not only budget-friendly but also imbued with personal touch and lasting sentiment.
Imagine gifting a paper bouquet that symbolizes everlasting love, its vibrant petals never wilting, or presenting a custom shadow box that immortalizes a cherished memory in a stunning, three-dimensional display. Both of these engaging DIY projects can be completed in under 60 minutes, making them perfect for even the busiest crafters. Best of all, they are designed for beginners, ensuring a rewarding experience with professional-looking results.
Our exclusive, free Valentine paper craft printable templates take the guesswork out of measuring and cutting, streamlining the creative process. So, dedicate an hour this weekend to crafting a unique Valentine’s Day gift that will be treasured for years to come, turning a simple day into a memorable occasion filled with personal artistry.
- Offers a wide spectrum of 25 vibrant colors, perfect for crafting larger and brighter projects.
- Ideal for a variety of everyday uses, including colorful documents, flyers, school assignments, and diverse crafting endeavors.
Buy on Amazon
(As an Amazon Associate, we earn from qualifying purchases.)
Project 1: The Forever Paper Bouquet – Blooms That Last a Lifetime
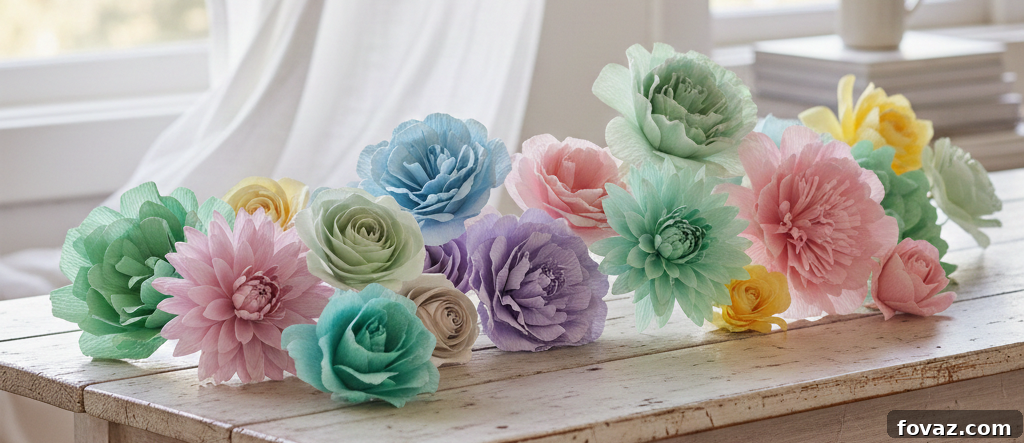
Time: Approximately 60 Minutes | Skill Level: Beginner
There’s an undeniable charm in a handmade gift, especially when it’s a bouquet of flowers that defies time. Unlike fresh blooms that eventually fade, a paper flower bouquet stands as an enduring symbol of affection, a tangible memory that never wilts. This project transforms simple cardstock into a sophisticated, textured floral masterpiece, perfect for Valentine’s Day or any occasion that calls for a lasting token of love.
- Print Your Petal Kit with Precision. Begin your journey by downloading our exclusive [Forever Bouquet Petal Kit] templates. For optimal results and a luxurious feel, print these templates directly onto 65lb cardstock. The weight of this paper is crucial; it provides enough body to hold shape without being too difficult to curl. To create a truly stunning bouquet, we recommend a thoughtful mix of colors: “Dusty Rose” for a soft, romantic base, “Deep Crimson” for passionate accents, and a vibrant “Cream” to add brightness and contrast, resulting in a cohesive and visually striking arrangement.
- Master the Art of the “Pencil-Curl” Method. The secret to transforming flat paper into lifelike flowers lies in this simple yet effective technique. Flat, uncurled paper can often give a craft an amateurish look, but properly curled petals elevate it to a work of art. Take a standard pencil—or even a thin dowel or knitting needle—and gently roll the top edges of each heart-shaped petal outward. This action subtly breaks the paper fibers, making the paper more pliable and creating a natural, realistic “cup” shape that beautifully mimics the delicate curvature of a real rose petal. Experiment with varying degrees of curl for added realism.
- Thoughtfully Build Each Bloom. Once your petals are perfectly curled, it’s time to assemble your flowers. Start with the smallest petals from your kit. Apply a dab of hot glue to the base of each small petal and carefully wrap them tightly around the very top of a sturdy wooden skewer, forming the delicate inner “bud” of your rose. As you progress, begin layering the medium and then the larger petals outward. The key is to stagger each new layer, ensuring that they effectively fill any gaps left by the previous layer. This creates a full, voluminous, and organic look, mimicking the natural growth pattern of a real flower.
- Wrap Your Bouquet “Florist Style” for Professional Presentation. Don’t underestimate the power of presentation. Simply handing over a bundle of “sticks” diminishes the effort and artistry you’ve invested. Elevate your handmade bouquet by arranging and securing your finished stems into an elegant kraft paper cone. Once neatly bundled, tie off the cone with a luxurious, heavy silk ribbon. This professional finishing touch not only adds a touch of sophistication but also communicates the care and thoughtfulness behind your unique, handcrafted gift, making it far more impressive than a generic store-bought alternative.
- Mist for Memory: Adding a Sensory Secret. Here’s a pro-tip that will truly set your paper bouquet apart: a subtle sensory element. Lightly spritz your finished paper flowers with a high-quality floral-scented perfume or a few drops of your favorite essential oil mixed with water. The porous nature of the paper will beautifully absorb and hold the scent, releasing a delicate fragrance over time. This unexpected aromatic touch adds an extra layer of delight and creates a lasting sensory memory, making your eternal paper bouquet even more enchanting and personal.
Pro-Tips for Your Paper Bouquet:
- Vary Petal Sizes and Shapes: While our template provides heart-shaped petals, consider experimenting with slightly different cuts or sizes for additional texture and variety within your bouquet.
- Add Greenery: Incorporate paper leaves or delicate green cardstock cutouts to the base of your blooms for a more natural and realistic appearance.
- Glitter or Glimmer: For a touch of sparkle, gently apply a fine layer of glitter glue to the edges of some petals before curling.
- Secure Stems: If your wooden skewers feel too flimsy, you can reinforce them by wrapping floral tape around them or using a thicker dowel.
- A professional-quality, five-ply self-healing cutting mat designed for exceptional durability and longevity.
- Features a precise grid system with detailed 1/2″ grid lines and 1/8″ marks, plus integrated 45° and 60° angle guides for accurate cutting.
Buy on Amazon
Project 2: The Sentimental Shadow Box – Frame Your Cherished Memories in 3D
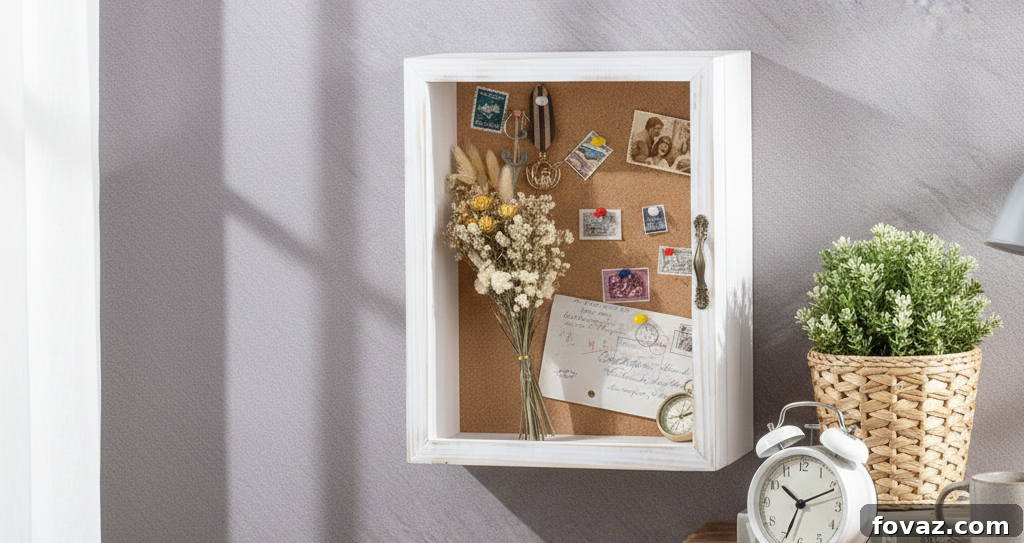
Time: Approximately 45 Minutes | Skill Level: Very Easy
A shadow box is far more than a simple picture frame; it’s a dynamic keepsake, a miniature gallery designed to preserve and celebrate precious memories. The magic of a shadow box truly comes alive with effective “matting,” which we’ll enhance with a unique paper window. This project guides you in transforming a standard 4×6 photograph into a captivating three-dimensional work of art, perfect for gifting this Valentine’s Day.
- Embrace Simplicity: Skip the Ruler with Our Template. Measuring and hoping for perfect symmetry can be frustrating. For a flawless result, start by acquiring an 8×8-inch shadow box. Then, download our specialized [Heart-Mat Template]. This free Valentine paper craft printable eliminates all the guesswork, providing you with a perfectly proportioned and precisely centered heart-shaped window for your photo, ensuring a professional and polished look without the fuss of complex measurements.
- Precisely Cut Your Decorative Window. With your chosen cardstock ready, carefully trace the heart shape from the template onto its surface. For impeccably clean and sharp edges—a critical detail that elevates the perceived quality of your craft—use a sharp craft knife. This beautifully cut mat layer acts as a visual frame, expertly drawing the eye directly to the cherished memory within, making your gifted photograph the undeniable focal point of the entire display. Take your time with this step for the best outcome.
- Create Mesmerizing 3D Depth: The Professional Touch. This is the “pro” secret that transforms a flat photo into a dynamic, three-dimensional art piece. Avoid the common mistake of gluing your photo flat against the mat. Instead, apply small foam spacers or double-stacked foam tape to the back edges of your mat before mounting the photograph. This simple technique creates a subtle yet impactful physical shadow between the mat window and the picture itself, significantly enhancing the visual depth and adding that sought-after three-dimensional effect that makes your shadow box truly stand out.
- Fill the Void with Playful Surprises. Before you seal the back of your shadow box, consider adding a charming, interactive element to the empty space. Drop in a handful of loose paper petals, a pinch of sparkling gold confetti, or even tiny glitter hearts. As the recipient moves the framed shadow box, these delightful fillers will shift and dance, creating a whimsical, boutique-style interaction. This unexpected movement adds a layer of playful elegance and surprise, making your gift not just something to look at, but something to engage with.
- Snap the Backer and Seal with a Heartfelt Note. Once your photo is perfectly placed and your chosen fillers are nestled inside, carefully place the backer onto the shadow box and secure it firmly. If your shadow box comes with a wall-safe hook, attach it securely. For an extra touch of personal sentiment that will make your gift even more special, take a moment to write a heartfelt message, the date, or a small anecdote on the back of the frame. This personal inscription ensures your handmade shadow box becomes a cherished keepsake for years to come.
Enhance Your Shadow Box with These Creative Ideas:
- Layered Backgrounds: Instead of a plain back, add a patterned paper or a collage of smaller photos behind your main image for extra visual interest.
- Small Mementos: If space allows, tuck in tiny, flat mementos like a concert ticket stub, a dried flower from a special occasion, or a small, meaningful charm.
- LED String Lights: For an enchanting glow, consider carefully integrating a tiny, battery-operated LED string light kit around the inside edge of the shadow box.
- Themed Fillers: Tailor your loose fillers to the theme of the photo. For a travel photo, add tiny paper airplanes; for a baby photo, tiny footprints.
Your Essential Valentine Paper Craft Shopping List
Before the Valentine’s Day rush, take a moment to check your craft drawer for these fundamental essentials. Having your supplies ready ensures a smooth and enjoyable crafting experience.
| Material | Purpose | Pro-Tip |
| 65–80 lb Cardstock | To shape delicate petals & sturdy mats | Opt for a matte finish; it invariably looks more sophisticated and expensive than glossy. Consider specialty papers for added texture. |
| Hot Glue Gun (Low-Temp) | For fast, secure, and clean assembly | A low-temp gun is ideal for delicate paper, preventing unsightly “glue strings” and protecting your fingers from burns. |
| 8×8 Shadow Box Frame | The elegant base for Project #2 | Front-loading boxes simplify adding dynamic fillers like confetti or small mementos. Look for options with sturdy backings. |
| Foam Tape/Spacers | Crucial for creating stunning 3D depth | Double-stacking creates an even more dramatic shadow effect. Ensure they are acid-free for photo preservation. |
| Craft Knife & Cutting Mat | For precision cutting of mats and details | Essential for achieving clean, sharp edges on your photo mat. Always use a self-healing mat to protect your surfaces. |
| Wooden Skewers | The foundation for your paper flower stems | Choose sturdy skewers that can adequately support your paper blooms. You can paint them green for a more natural floral look. |
| Ribbon (Silk or Satin) | For elegant bouquet wrapping and embellishment | A luxurious ribbon instantly elevates the presentation of your bouquet. Select colors that complement your paper flowers. |
| Floral-Scented Spray/Oil | To add a delightful sensory dimension | A light mist adds an unexpected, charming touch. Always test on a scrap piece of paper first to ensure the scent and effect are perfect. |
- Bonds instantly, creating a clean, strong, and wrinkle-free hold on various materials.
- Safe and effective for use on paper, precious photographs, cardstock, and other crafting elements without causing damage.
Buy on Amazon
Forget Store-Bought, Embrace Handmade: Your Valentine’s Day Masterpiece Awaits
In a world of mass-produced gifts, the true value of a handmade creation shines brightest. Valentine’s Day presents often fall into two distinct categories: those that are hastily bought and quickly forgotten, and those that are thoughtfully crafted and cherished for a lifetime. By utilizing our free Valentine paper craft printables and dedicating just an hour or so this weekend, you are ensuring your gift belongs firmly in the latter category. These unique paper bouquets and sentimental shadow boxes are not just gifts; they are declarations of love, carefully made to be proudly displayed and admired for years to come, long after the chocolates are gone and the fresh flowers have faded.
DOWNLOAD YOUR FREE VALENTINE PAPER CRAFT PRINTABLES HERE
Frequently Asked Questions About Valentine Paper Craft Projects
Q: How long do paper flowers last compared to real roses?
Paper flowers are permanently vibrant and resilient; they will never wilt, brown, or perish. With appropriate care, primarily by keeping them away from moisture and direct sunlight, they can last indefinitely, serving as a beautiful and enduring keepsake gift that truly stands the test of time.
Q: What type of paper works best for paper bouquet projects?
For optimal results, 65-80 lb matte cardstock is highly recommended. A matte finish lends a more expensive and elegant appearance compared to glossy paper, and its weight is perfect for holding delicate curls without the petals flopping. Experiment with a harmonious mix of colors like dusty rose, deep crimson, and cream to add natural dimension and visual interest to your bouquet.
Q: Can beginners make professional-looking Valentine’s Day crafts?
Absolutely, yes! Both of these projects are specifically designed with beginners in mind and can be completed in under 60 minutes. The inclusion of free printable templates eliminates any need for precise measuring or guesswork, allowing you to concentrate fully on the enjoyable process of assembly and adding your unique creative flourishes, ensuring professional-looking results even for novice crafters.
Q: What size shadow box is best for a 4×6 photo gift?
An 8×8-inch shadow box is the ideal size for beautifully displaying a 4×6 photo, especially when paired with decorative matting. When selecting your shadow box, consider choosing front-loading models as they significantly simplify the process of adding playful fillers such as confetti or loose paper petals, enhancing the interactive appeal of your gift.
Q: How do you make paper flowers look realistic instead of flat?
The key to realistic paper flowers lies in the “pencil-curl” method. By gently rolling the edges of each petal outward around a standard pencil, you effectively break the paper fibers, allowing them to take on a natural, soft “cup” shape that closely mimics real rose petals. Additionally, layering your petals in staggered positions rather than directly on top of each other will further enhance the depth and lifelike appearance of your finished bloom.