
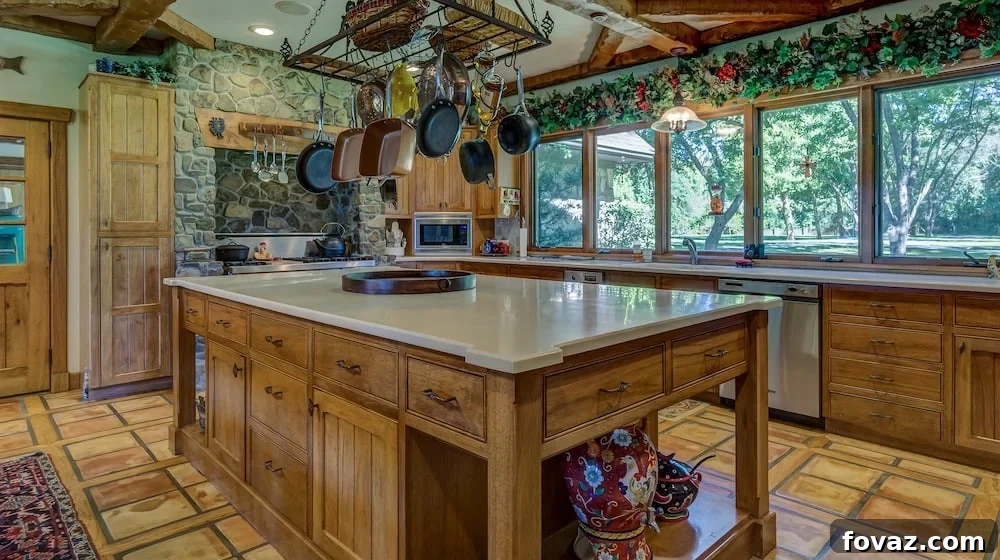
Build Your Own Mobile Butcher Block Kitchen Island: A Comprehensive DIY Guide
Embarking on a DIY kitchen project can be incredibly rewarding, transforming your space and adding significant functionality. Among the most popular and impactful home improvements is the creation of a custom kitchen island. While elegant marble countertops often grace magazine pages and television screens, their hefty price tags and permanent installation can be prohibitive. This guide introduces a superior, more versatile alternative: a mobile butcher block kitchen island. Its unique design offers unparalleled flexibility, allowing you to reconfigure your kitchen layout as needed and enjoy a dynamic, efficient workspace. This project, while challenging, is designed as a template; you can easily adjust its dimensions and features to perfectly suit your specific kitchen and personal style.
Why a DIY Mobile Butcher Block Kitchen Island?
A custom-built butcher block kitchen island stands out for several compelling reasons. Firstly, its mobility provides an advantage that fixed countertops simply cannot match. Need more prep space near the oven? Roll it over. Hosting a gathering and want a central buffet station? Position it perfectly. Its versatility makes it an invaluable asset in any kitchen, big or small. Secondly, butcher block countertops offer a warm, natural aesthetic that brings an inviting charm to your home. They are durable, easy to maintain, and can even be refreshed over time, offering longevity that few other materials can boast. Lastly, undertaking this DIY project yourself results in substantial cost savings compared to purchasing a pre-made island or commissioning a custom piece. Beyond the financial benefits, there’s immense satisfaction in crafting a functional and beautiful piece of furniture with your own hands, tailored precisely to your needs.
Mastering the DIY Butcher Block Kitchen Island: A Weekend Project
While this project can be completed in an intensive weekend, it demands careful attention to detail and a methodical approach. It’s a project that will test your patience and craftsmanship, but the enduring utility and aesthetic appeal of the finished island will undeniably make you declare, “It was absolutely worth it!” If you’re searching for a fulfilling DIY kitchen endeavor that will keep you engaged and productive, look no further. This comprehensive guide will walk you through every step, from gathering your materials to applying the final finish, ensuring you achieve a professional-looking and highly functional mobile kitchen island.
Supplies for Your Custom Kitchen Island:
- Butcher Block Countertop: 1 pc. – 25⅝-by-96⅝-inch piece (This forms the top and bottom surfaces of your island. Ensure it’s a high-quality, food-safe butcher block if you plan to use it for direct food preparation.)
- ½-inch Iron Threaded Pipe & Fittings: (These robust pipes form the structural frame of your island, providing both strength and an industrial aesthetic. The specific lengths and types of fittings are crucial for creating the shelves, legs, and towel bar.)
- Pipe Lengths:
- 1 pc. – 36-inch (Main horizontal support for the towel bar side)
- 6 pcs. – 18-inch (Vertical supports for shelves and top structure)
- 2 pcs. – 12-inch (Shelf supports)
- 4 pcs. – 6-inch (Shorter vertical supports)
- 6 pcs. – 5-inch (Additional vertical supports)
- 2 pcs. – 4½-inch (Specific supports for the towel bar structure)
- 6 pcs. – 2-inch (Small connectors for various joints)
- Elbows: 2 pcs. – ½-inch iron threaded pipe elbows (Used for creating corners and turns in the pipe structure.)
- Flanges: 8 pcs. – ½-inch iron threaded pipe flanges (These circular fittings provide stable bases for the legs and connection points to the butcher block surfaces.)
- Tees: 14 pcs. – ½-inch iron threaded pipe tees (T-shaped fittings allowing pipes to connect at a 90-degree angle, essential for constructing the shelf rungs and main frame.)
- Pipe Lengths:
- Oak Board: 1 pc. – 1×10 oak board (8-footer) (This will be cut to form the interior shelves of your island.)
- Wood Screws (Flat-head): 4 pcs. – 1-inch No. 10 flat-head wood screws (For securing the flanges and shelf boards. Ensure they are suitable for hardwood.)
- Wood Screws (Pan-head): 1-inch No. 10 pan-head wood screws (Specifically for securing the casters to the bottom of the island.)
- Wood Glue: High-quality wood glue (Used for joining the shelf boards securely.)
- Beeswax: (A small amount for lubricating screws, making them easier to drive into dense wood.)
- Mineral Oil: Food-grade mineral oil (Essential for finishing and protecting the butcher block surface, enhancing its durability and appearance.)
Tools for Precision and Efficiency:
- Random-Orbit Sander: With 100-, 120-, and 180-grit discs (For achieving smooth edges and surfaces on your butcher block and shelf boards.)
- Drill/Driver: (An indispensable tool for drilling pilot holes and driving screws.)
- Driver Bit Set: (To match your chosen screws.)
- Belt: (A sturdy belt or strap for temporarily holding pipe rungs together during assembly.)
- Rafter Square: (For making accurate 90-degree cuts and measurements.)
- 1/8-inch Bit with Countersink: (For drilling pilot holes and creating a recess for screw heads to sit flush with the surface.)
- Combination Square: (Useful for marking and checking squareness and depth.)
- Measuring Tape: (For all your crucial measurements.)
- Clamps: Various sizes (Essential for securing materials during cutting, drilling, and gluing.)
- Straightedge: (A reliable guide for making straight cuts with your circular saw.)
- Painter’s Tape: (To protect wood edges during cutting and prevent chipping.)
- Circular Saw: (For precise cuts on the butcher block and oak boards.)
Steps: Step-by-Step Guide to Building Your Kitchen Island
1. Prepare and Cut the Butcher Block Top and Bottom
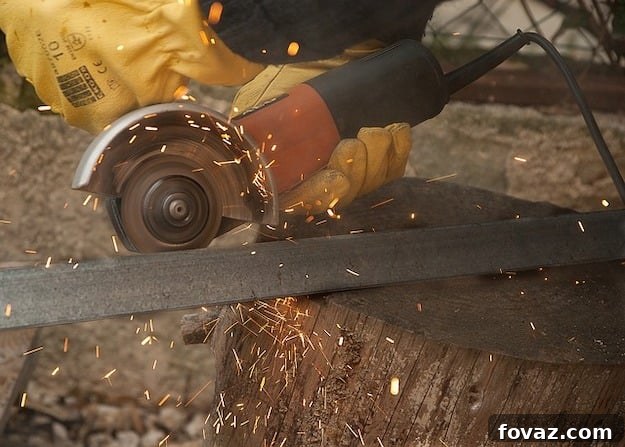
Begin by carefully setting your large butcher block countertop face down on a stable, clean work surface. Precision at this stage is paramount. Measure and mark your first cut line, ensuring it aligns with your desired island dimensions. To prevent unsightly chipping of the wood during cutting, apply a strip of painter’s tape along the entire cut line. Use a T-square to draw a crisp, straight line directly over the tape. Before cutting, mark the edge of your circular saw’s shoe on the countertop. Clamp a sturdy straightedge firmly along this offset mark, ensuring it serves as a reliable guide for your saw. Make the first cut slowly and steadily. For the second piece, use the previously cut portion as a template to ensure identical dimensions. Repeat the marking, taping, and cutting process, ensuring both your top and bottom butcher block pieces are perfectly sized and square.
2. Smooth the Edges for a Refined Finish
Once your butcher block pieces are cut to size, the next crucial step is to achieve perfectly smooth and safe edges. Attach a 100-grit disc to your random-orbit sander and thoroughly sand all cut edges. This initial pass will remove any splinters, rough patches, or slight imperfections from the cutting process. After the 100-grit sanding, move to a 120-grit disc to refine the surface further, followed by a 180-grit disc for a beautifully smooth, ready-to-finish feel. Take your time, applying even pressure and moving the sander consistently to avoid creating divots or uneven areas. Smooth edges not only look professional but also prevent snags and enhance safety.
3. Organize and Lay Out the Pipes
Before assembly, it’s highly beneficial to organize all your iron threaded pipes and fittings. Lay them out on your work surface according to the assembly diagram you’ve mentally or physically created. This pre-assembly visualization helps you confirm you have all the necessary pieces and understand how they fit together. Group similar pipe lengths and fitting types. Inspect each piece for any manufacturing defects or debris within the threads, which could hinder smooth assembly. Having everything neatly arranged will significantly streamline the upcoming construction process and prevent confusion.
4. Assemble the Initial Pipe Rungs
Begin by assembling the pieces for what will become your first shelf rung. Thread the pipes into the appropriate ‘T’ fittings and elbows, tightening them by hand until snug. This first rung is critical, as its width will serve as the template for all subsequent horizontal rungs, ensuring consistency throughout the frame. Next, assemble the bottom or base rung of your island. This will form the foundation upon which the entire structure rests. Carefully align the ‘T’ fittings on the bottom rung by tightening or loosening them until they precisely stack and align with the first shelf rung you just assembled. This alignment is crucial for a stable and symmetrical structure. Finally, thread the flanges onto the ends of the pipe pieces that will serve as the feet of the bottom rung. Measure carefully to ensure all these foot pieces are of exactly the same height, which will prevent your island from wobbling. For easier assembly and to keep the frame stable, temporarily screw these bottom flanges to your work surface.
5. Build the Main Structure Upwards
With the base and first shelf rung established and their widths confirmed to be identical, it’s time to build the frame upwards. Thread the designated vertical pipes into the ‘T’ fittings of the bottom rung. Ensure these pipes are securely tightened. Next, place the fittings for the second rung onto the top of these vertical pipes. Carefully adjust and tighten or loosen these fittings until the second rung perfectly matches the width and alignment of the first rung. Set the second rung securely in place on top of the vertical pipes. As you add more vertical sections and rungs, it’s helpful to loop a strong belt or strap around the rungs. This will temporarily hold everything in place and prevent the frame from splaying outwards while you continue building. Continue this process, progressively adding vertical pipes and horizontal rungs, ensuring each section is level and plumb. Work your way up until you reach the final set of flanges that will ultimately attach to the underside of the top butcher block counter.
6. Construct the Towel Bar Side
Now, shift your focus to building the distinct towel bar side of the island. This section is constructed similarly to the ladder-like side you’ve already assembled, utilizing the appropriate pipe lengths and ‘T’ fittings to create the bar. Pay close attention to ensuring the center ‘T’ fittings on this side are at the same height as their counterparts on the ladder side, maintaining the overall levelness of the structure. Carefully adjust the flanges on both the ladder side and the towel bar side until they are perfectly aligned and at the same height, ensuring the entire frame is balanced and ready to receive the top butcher block. Once confirmed, you can remove the temporary screws securing the flanges of the ladder side to your work surface.
7. Install the Stretcher Piece
The stretcher piece adds crucial stability and rigidity to your island frame, particularly across the longer span. Lay the partially assembled frame down, ensuring the center ‘T’ fitting is pointing upwards and is easily accessible. Carefully attach the designated stretcher pipe piece into this ‘T’ fitting. Thread it in securely, ensuring it creates a strong, horizontal brace across the frame. This piece helps prevent any lateral movement or racking of the structure, making your island more robust and durable.
8. Secure the Towel Bar Side to the Frame
With the stretcher in place, it’s time to fully integrate the towel bar side into the main structure of your island. Carefully lift and align the towel bar side with the rest of the frame. Connect any remaining open threads or ‘T’ fittings, ensuring a snug and secure connection. Double-check that all components are tightly threaded together. The aim here is to create a unified, robust pipe frame that is square, level, and ready to support the butcher block surfaces. This step completes the pipe assembly, giving you a strong, industrial-style base for your mobile kitchen island.
9. Cut the Shelf Boards to Fit
Now, turn your attention to the oak board that will form your shelves. Measure the exact internal distance between the pipe rungs where your shelves will sit. Transfer these precise measurements onto your 1×10 oak board. Use a combination square and a pencil to draw clean, straight cut lines. Clamp the board securely to your workbench, ensuring it won’t shift during cutting. Using your circular saw and a straightedge guide, carefully cut along the marked lines. For the second, shorter shelf board, measure the distance between the inside shelf rungs again, ensuring it fits perfectly within its designated section of the frame. Cut this shorter board to the appropriate length. Accuracy here ensures your shelves sit flush and look aesthetically pleasing.
10. Join the Shelf Boards for a Seamless Look
For shelves that are wider than your 1×10 oak board, you’ll need to join multiple pieces. To ensure correct spacing and alignment before gluing, lay out your cut shelf boards. Use spare pipe pieces or scraps of wood as spacers to achieve the correct gap between boards, if applicable, and mark the long board for reference. Apply a generous, even layer of high-quality wood glue along the edges of the boards that will be joined. Bring the boards together, aligning them carefully, and then clamp them tightly using several clamps. Allow the glue to cure according to the manufacturer’s instructions, typically a few hours. Once the glue has dried, drill pilot holes every 10 inches or so around the perimeter of the joined boards, and then secure them further with wood screws. This creates a strong, unified shelf unit.
11. Build the Island: Attaching Butcher Block to Frame
Carefully lay one of your cut butcher block pieces (this will be the bottom) on your work surface, face down. Position the assembled pipe frame precisely on top of it. Use a combination square to ensure that all the flanges are perfectly even and aligned with the edges of the butcher block, and that the frame is square to the butcher block. This meticulous alignment is crucial for a stable and aesthetically pleasing island. Once satisfied with the positioning, mark the screw holes through the flanges. Drill pilot holes using your 1/8-inch bit with countersink. Here’s a valuable tip: dip each wood screw into beeswax before driving it. The beeswax acts as a lubricant, making it significantly easier to drive the screws into the dense hardwood of the butcher block, reducing effort and preventing stripping. Drive the screws to secure the bottom butcher block to the frame. Now, carefully place the upper butcher block countertop onto the frame. Align the top flanges underneath, marking and drilling pilot holes as before. Again, use the beeswax tip for the screws, and secure the top butcher block firmly in place. Ensure all connections are tight and secure.
12. Install the Casters for Mobility
To give your kitchen island its signature mobility, it’s time to install the casters. Carefully tip the entire island onto one of its sides, ensuring it’s stable and won’t fall. Mark the precise location for each caster on the underside of the bottom butcher block, typically near the corners for maximum stability. Drill pilot holes for the caster screws, making sure not to drill all the way through the butcher block. Once the pilot holes are ready, position each caster and secure it firmly with the 1-inch No. 10 pan-head wood screws. Ensure all casters are installed securely and are aligned to allow for smooth rolling.
13. Place the Shelves and Apply the Final Finish
Gently tip the island back upright and roll it into its desired position. Now, carefully slide your newly constructed and joined shelf boards into their designated rungs within the pipe frame. They should fit snugly and rest securely. For the finishing touch on your beautiful butcher block surface, apply a generous amount of food-grade mineral oil. Use a clean cloth to rub the oil evenly into the wood grain, allowing it to penetrate deeply. Mineral oil conditions the wood, protects it from moisture, and enhances its natural beauty. After about an hour, wipe off any excess oil with a clean, dry cloth. Repeat this oiling process periodically (e.g., monthly) to maintain the butcher block’s condition and longevity. This final step not only protects your investment but also brings out the rich character of the wood.
You’re Ready for Some Cooking and Entertaining!
There you have it! Your very own, handcrafted mobile butcher block kitchen island is complete. Say goodbye to cramped countertops and cluttered work surfaces, and welcome the newfound freedom and convenience of a truly versatile kitchen workspace. This island will not only serve as a dedicated prep station but also as an elegant serving area or a practical storage solution. The industrial charm of the pipe frame combined with the warmth of the butcher block creates a piece that is both highly functional and visually striking. If you’re looking to further personalize this project, consider exploring different materials for the shelving or even the legs, such as reclaimed wood or creatively repurposed pallets, to add an even more unique touch. Remember, this guide is a flexible template, encouraging you to adapt and innovate to make this island truly yours.
For a visual guide and additional tips, check out This Old House’s full video tutorial of this DIY project:
Feeling inspired for more home improvement? Click here for more exciting DIY kitchen projects to elevate your culinary space.