
Craft Your Own Automatic Airsoft Gun: The Ultimate Soda Bottle DIY Project
Embark on an exciting journey into the world of DIY projects with this comprehensive guide to building your very own automatic airsoft gun using readily available materials, primarily a soda bottle. This project is a fantastic way to engage with hands-on crafting, learn basic engineering principles, and experience the satisfaction of creating a functional item from everyday objects. Whether you’re a seasoned DIY enthusiast or a curious beginner, this step-by-step tutorial will walk you through the process of constructing a simple yet effective airsoft device that operates on compressed air.
Creating a homemade airsoft gun is not just about the final product; it’s about the ingenuity, problem-solving, and practical skills you develop along the way. This guide focuses on clarity, safety, and an enjoyable building experience, ensuring that you can follow along with confidence and precision. Get ready to transform a humble soda bottle into an impressive, rapid-fire airsoft shooter!
Important Safety Information: Always Prioritize Safety
Before beginning any project that involves projectiles, tools, or compressed air, it is paramount to understand and adhere to strict safety guidelines. Your safety, and the safety of those around you, must always be your top priority. This homemade airsoft gun, while a fun DIY project, is capable of firing projectiles at high speeds and can cause injury if not handled responsibly.
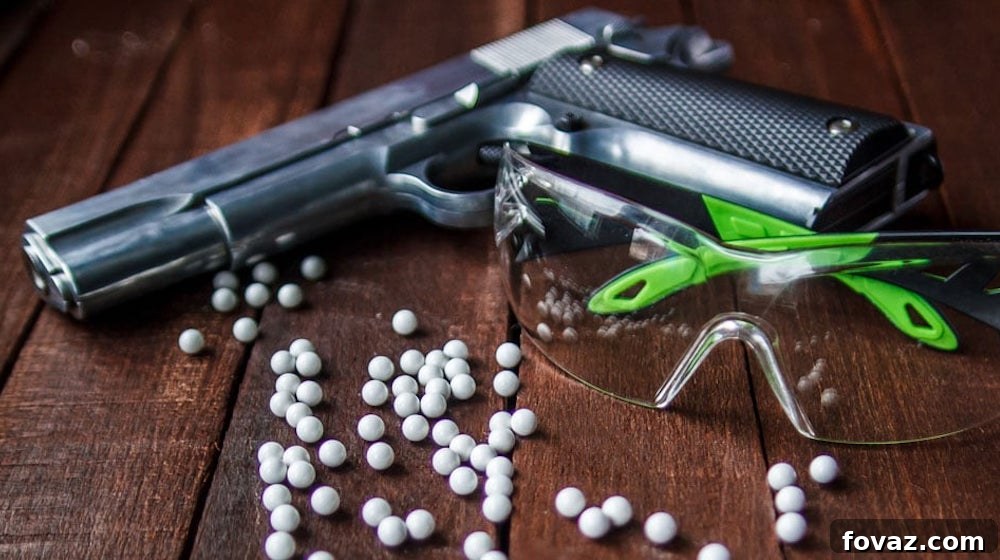
- Eye Protection is Non-Negotiable: Always wear appropriate safety glasses or goggles when constructing, testing, and operating your airsoft gun. Airsoft BBs can ricochet or stray, and eye injuries are a significant risk.
- Responsible Use Only: Never aim or fire your airsoft gun at people, pets, or any living creature. This device is for target practice only, in a safe, controlled environment.
- Adult Supervision: If minors are involved in this project, direct adult supervision is absolutely essential at all stages, from construction to testing and operation.
- Understand Your Local Laws: Airsoft devices may be subject to specific regulations or laws in your area. Familiarize yourself with and comply with all local, state, and national laws regarding airsoft guns and projectile devices.
- Secure Testing Environment: Always test your airsoft gun in a designated area where there is no risk of property damage or injury. Use appropriate backstops to contain fired BBs.
- Handle Tools with Care: Razor knives, lighters, and hot glue guns can cause injury. Always exercise caution and follow manufacturer instructions for tool use.
By strictly following these safety precautions, you can ensure a safe and enjoyable DIY experience.
Why Build Your Own DIY Automatic Airsoft Gun?
The allure of building a DIY project like an automatic airsoft gun extends beyond just having a functional device. There are several compelling reasons why enthusiasts choose to embark on such a creative endeavor:
- Cost-Effectiveness: Commercial airsoft guns can be expensive. By utilizing inexpensive and recycled materials, you can construct a functional equivalent for a fraction of the cost, making it an accessible hobby for many.
- Understanding Mechanics: The building process offers invaluable insights into basic physics and mechanical principles, such as air pressure, projectile motion, and sealing techniques. It’s a hands-on learning experience that simplifies complex concepts.
- Skill Development: From precise cutting and careful gluing to troubleshooting and fine-tuning, this project enhances a range of practical skills. It fosters patience, attention to detail, and problem-solving abilities.
- Personalization and Customization: Unlike off-the-shelf products, your homemade airsoft gun can be customized in various ways. You can experiment with different bottle sizes, barrel lengths, or even aesthetic modifications to truly make it your own.
- Satisfaction of Creation: There’s immense satisfaction in taking simple materials and transforming them into a functioning, engaging device. It’s a testament to human ingenuity and the spirit of DIY.
Watch Our Video Tutorial for a Visual Guide
To provide an even clearer understanding of the construction process and to see the automatic airsoft gun in action, we’ve prepared a comprehensive video tutorial. This visual guide complements our written instructions, offering detailed demonstrations of each step and showcasing how the final product performs. It’s highly recommended to watch the video before you start building to familiarize yourself with the process.
Click here to watch our video on how to build and operate your DIY Automatic Airsoft Gun
Essential Materials and Tools You Will Need
Gathering all your supplies before you begin is crucial for a smooth and uninterrupted building process. Most of these items are easily found at local hardware stores, craft shops, or even around your home.
Main Components:
- 1-Liter Plastic Bottle with Cap: This forms the main body and air chamber of your airsoft gun. A sturdy plastic bottle, such as those used for soda or water, is ideal due to its ability to withstand internal air pressure. Ensure it has a screw-on cap that seals tightly.
- Metal Pipe for Barrel: The barrel guides the airsoft BBs. A thin, straight metal pipe (e.g., from an old antenna, pen casing, or specific tubing) with an inner diameter slightly larger than your airsoft BBs (typically 6mm) will provide the best trajectory.
- Air Compressor Nozzle Kit: This is the crucial component for introducing and releasing compressed air. These kits are readily available at automotive or hardware stores and typically include various attachments, one of which will serve as your trigger mechanism.
- Airsoft BBs: Standard 6mm plastic airsoft pellets are your ammunition. Ensure they are of good quality to prevent jamming and ensure consistent firing.
Other Supplies and Tools:
- Hot Glue Gun and Glue Sticks (or Super Glue): Essential for creating airtight seals and securing components firmly. Hot glue is often preferred for its quick setting time and gap-filling properties, but super glue can offer a stronger bond on certain materials.
- Lighter: Used cautiously to heat the metal pipe, allowing it to easily melt through the plastic cap for barrel insertion.
- Pliers: Necessary for tightening the air compressor nozzle components and for gripping small parts securely.
- Razor Knife (or Utility Knife): For precise cutting of the plastic bottle. Always use with extreme caution and on a protected surface.
- Air Compressor: The power source for your automatic airsoft gun. A standard home air compressor capable of delivering consistent pressure will be needed for testing and operation.
- Safety Glasses/Goggles: As mentioned, absolutely mandatory for eye protection during all stages of the project.
- Work Gloves: Recommended for protecting your hands during cutting and gluing.
- Marking Pen: For accurately marking cutting points on the bottle.
Step-by-Step Construction Guide: Building Your Airsoft Gun
Follow these detailed instructions carefully to construct your automatic airsoft gun. Take your time with each step to ensure accuracy and a secure build.
STEP 1: Preparing Your Bottle – Cleaning and Drying
The first crucial step is to prepare your 1-liter plastic bottle. Thoroughly wash out the inside of the bottle with soap and water to remove any sticky residues or foreign particles. Leftover sugar or syrup can interfere with the BBs’ movement or weaken glue bonds. After washing, ensure the bottle is completely dry, both inside and out. Moisture can compromise the adhesive properties of hot glue or super glue, leading to potential air leaks. A clean, dry bottle ensures optimal performance and durability for your airsoft gun’s air chamber.
STEP 2: Assembling the Air Nozzle – Ensuring an Airtight Seal
Take your air compressor nozzle kit and carefully screw together its various parts according to the manufacturer’s instructions. The goal is to create a single, integrated nozzle unit that can be easily controlled. Once assembled by hand, use pliers to tighten all connections firmly. This step is critical for preventing air leaks, which would significantly reduce the power and effectiveness of your airsoft gun. A tight, leak-free nozzle assembly ensures that all compressed air is directed efficiently when triggered.
STEP 3: Creating the Air Nozzle Port – Precision Cutting
Now, it’s time to create the opening for your trigger mechanism on the bottle. Hold the top portion of your assembled air nozzle against the side of the bottle. Choose a location near the center of the bottle, which will allow for comfortable handling and activation. With a permanent marker, carefully trace a circle around the tip of the nozzle on the bottle’s surface. Using your razor knife, meticulously cut out this circle. The hole should be snug, allowing the air nozzle to fit tightly through it. A precise cut minimizes gaps and makes sealing much easier in a later step. Exercise extreme caution when using the razor knife.
STEP 4: Preparing the Barrel Port in the Cap – A Secure Barrel Foundation
The bottle cap will serve as the mounting point for your barrel. To create the barrel port, carefully heat one end of the metal pipe you’re using as your barrel with a lighter. Once sufficiently hot (it should be able to melt plastic), press the heated end directly through the center of the plastic bottle cap. The heat will create a perfectly sized, circular hole. If your chosen barrel is made of plastic or you prefer not to use heat, you can carefully cut a small “X” into the center of the cap with your razor knife and gradually widen it until the barrel fits snugly. Ensure the barrel is inserted straight through the cap for accurate firing.
STEP 5: Final Assembly and Sealing – Bringing It All Together
This is where your airsoft gun truly begins to take shape. First, carefully insert the assembled air nozzle through the hole you cut in the bottle. Using your hot glue gun, apply a generous amount of hot glue around the base of the nozzle where it meets the bottle, both inside and out. Ensure a complete and airtight seal, as any small gap will lead to significant pressure loss. Allow this to dry and harden completely. Next, firmly hot glue the barrel to the inside of the bottle cap, ensuring it’s straight and well-supported. Apply glue around the barrel where it passes through the cap, creating another secure, airtight seal. Let this dry thoroughly. Once both components are securely glued and dry, add your airsoft BBs into the bottle through its opening. Finally, screw the cap with the barrel attached onto the bottle, ensuring it’s fastened tightly. Your airsoft gun is now structurally complete!
STEP 6: Testing and Fine-Tuning Your Creation – The Moment of Truth
With your automatic airsoft gun assembled, it’s time for the exciting test phase! First, ensure you are wearing your safety glasses and are in a safe, designated testing area with a proper backstop. Connect your air compressor to the air nozzle. Start with low pressure and gradually increase it. Observe how the BBs are propelled. Fire a few test shots to check the range, accuracy, and consistency of the gun. During testing, listen carefully for any hissing sounds, which would indicate an air leak. If you detect leaks, carefully apply more hot glue to seal the affected areas and allow it to dry before retesting. You might also want to adjust the BBs load or barrel position slightly to optimize performance. Fine-tuning is a normal part of any DIY project, so be patient and make adjustments as needed to achieve the best results.
Tips for Enhanced Performance and Customization
Once you’ve successfully built and tested your basic soda bottle airsoft gun, you might consider some enhancements to improve its performance or customize its appearance:
- Barrel Length and Material: Experiment with different barrel lengths. A longer, perfectly smooth barrel might increase accuracy and muzzle velocity up to a certain point. Different materials like brass tubing can offer a smoother internal surface than some metals, reducing friction.
- Bottle Size and Type: While a 1-liter bottle is recommended, a larger bottle could potentially hold more air, leading to more shots or higher pressure. Conversely, a smaller, thicker plastic bottle might withstand higher pressures for single-shot power. Always be mindful of the bottle’s structural integrity.
- Advanced Trigger Mechanism: For more advanced builders, consider integrating a lever or push-button mechanism connected to the air nozzle for a more ergonomic trigger feel. This would involve a bit more crafting and potentially modifying the nozzle itself.
- Aesthetics: Personalize your airsoft gun with paint, grip tape, or even attach a rudimentary sight. Ensure any modifications do not interfere with the functionality or safety of the device.
- BB Feeding System: For truly automatic firing, the BBs need to be fed consistently into the barrel. This is the most challenging aspect. Simple gravity feeding works for basic ‘automatic’ firing (where BBs drop into the barrel after each shot), but for true rapid-fire, a more sophisticated spring-loaded or vibratory feeder would be required, pushing the project into a much more complex realm. For this guide, ‘automatic’ refers to the ability to fire multiple BBs without manual reloading after the initial load.
Final Important Safety Reminders
We cannot stress enough the importance of safety when dealing with any projectile device. This DIY airsoft gun is a fantastic project, but it is not a toy. Always treat it with the respect and caution due to any device capable of firing projectiles.
- Eye protection, eye protection, eye protection! Never operate or be near this device without safety glasses.
- Never point at anyone. Keep fingers off the trigger until ready to fire at a safe target.
- Store securely. When not in use, keep the airsoft gun disassembled or stored in a way that prevents unauthorized access, especially by children.
- Regular Checks: Periodically inspect your airsoft gun for any signs of wear, damage, or loose seals. Address any issues promptly to maintain safety and performance.
Conclusion: The Reward of DIY Innovation
Congratulations! You’ve successfully built your own automatic airsoft gun from a soda bottle. This project not only provides a fun and functional device but also instills a deeper appreciation for the principles of engineering and the power of creative problem-solving. From gathering materials to fine-tuning your creation, each step offers a unique learning opportunity and the satisfaction of bringing an idea to life.
Embrace the spirit of DIY, continue to explore, and always remember to prioritize safety in all your crafting adventures. We hope this guide has inspired you to undertake more exciting projects and see the potential in everyday objects. Share your creations and experiences with fellow enthusiasts!