
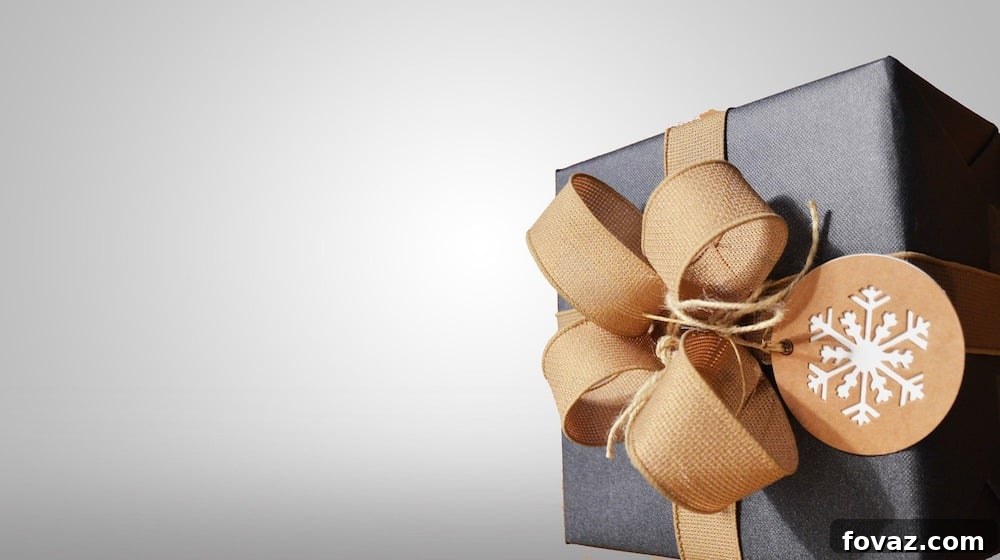
Ever wondered how to craft a beautiful bow from a simple length of ribbon? You’re in the right place! This comprehensive guide will show you a surprisingly fast and effortless method to create stunning, professional-looking bows every single time. Get ready to elevate your gift wrapping, home decor, and crafting projects with perfectly tied DIY bows!
Mastering the Art of Ribbon Bow Making: Your Ultimate Guide
Whether you’re a seasoned crafter with years of experience or just starting your DIY journey, knowing how to make a perfect bow is an invaluable skill. From wrapping a special present to adding a decorative touch to your home, a handmade bow brings a unique charm that store-bought versions simply can’t match. Many people struggle with creating symmetrical, full, and elegant bows, often settling for pre-made options that lack personality. But what if there was a foolproof method to craft a flawless bow, consistently and with ease? Say goodbye to flimsy, disappointing bows and embrace the satisfaction of creating gorgeous, tailor-made ribbon bows for every occasion.
Bows hold a special place in my heart – I confess, I’m a little obsessed with their timeless elegance and versatility! That’s why I’m incredibly excited to share this detailed bow-making tutorial with you. It’s designed to be super easy to follow, ensuring you can create perfect bows quickly and confidently. This guide focuses on a simple, yet highly effective, “no-sew” technique that yields stunning results, making it ideal for beginners and experienced crafters alike. You’ll be amazed at how effortlessly you can transform a simple length of ribbon into a captivating decorative accent.
Why Learn to Make Your Own Ribbon Bows?
The appeal of making your own bows goes far beyond just saving a few dollars. Here’s why mastering this craft is a rewarding endeavor:
- Personalization: Store-bought bows often lack the specific color, texture, or pattern you envision. Crafting your own allows for endless customization to perfectly match your project, gift, or decor theme.
- Cost-Effectiveness: While an initial investment in a few spools of ribbon might seem like a small cost, it quickly becomes more economical than continually purchasing individual pre-made bows, especially for frequent gift-givers or decorators.
- Quality and Durability: You control the quality of materials. By choosing good ribbon and securing your bows properly, you can create pieces that are more robust and long-lasting than many mass-produced alternatives.
- Therapeutic and Rewarding: There’s a genuine sense of accomplishment and creative joy that comes from making something beautiful with your own hands. The process itself can be a relaxing and meditative activity.
- Versatility: Once you learn the core technique, you can adapt it to create bows for countless applications – from festive holiday decorations to chic hair accessories, elegant wedding embellishments, and charming scrapbook additions.
Essential Supplies for Crafting the Perfect Bow
Before we dive into the steps, gather these basic tools. The beauty of this craft is how few supplies you actually need:
- Ribbon: The star of our show! Choose a ribbon that suits your project. Wired ribbons are often easier for beginners as they hold their shape beautifully, but satin, grosgrain, organza, or even burlap ribbons work wonderfully too. Consider the width and texture based on the desired look of your bow.
- Sharp Scissors: A good pair of fabric scissors will ensure clean, crisp cuts, preventing fraying and giving your bow a professional finish.
- Floral Wire, Twist Tie, or String: A small piece of thin wire (like floral wire or even a bread tie) or a strong piece of string/thread will be essential for securely cinching the center of your bow.
- Measuring Tape or Ruler (Optional but Recommended): Useful for ensuring consistent loop sizes and tail lengths, especially when making multiple bows.
- Hot Glue Gun (Optional): Handy for attaching your finished bow to gifts, wreaths, or other projects, or for securing any loose ends if desired.
Your Step-by-Step Guide: How to Make a No-Sew Perfect Bow — Fast and Easy!
This method is renowned for its simplicity and the consistently beautiful results it produces. Follow these steps carefully, and you’ll be creating stunning bows in no time.
- Prepare Your Ribbon: Begin by unrolling a generous amount of ribbon from the spool. You’ll want more than you think you need initially to avoid running out mid-process. Do not cut the ribbon from the spool yet.
- Create the First Loop: Take one end of the ribbon and form a loop of your desired size. This will be one of the top loops of your bow. Hold the base of this loop firmly between your thumb and forefinger.
- Form the Second Loop: Bring the ribbon across the center, over the first loop, and form a second loop on the opposite side, matching the size of the first. Again, hold it securely at the center point. Ensure the “pretty” side of the ribbon is always facing outwards if you’re using a single-sided ribbon. You may need to twist the ribbon at the center to achieve this.
- Continue Adding Loops: Repeat this process, creating additional loops on alternating sides. For a fuller bow, you’ll want at least 2-3 loops on each side. The more loops you add, the fuller and more luxurious your bow will appear. Keep the loops even in size for a symmetrical look.
- Create the Tails: Once you have the desired number of loops, extend a length of ribbon downwards from the center point for one tail. Now, cut the ribbon from the spool, leaving a matching length for the second tail.
- Secure the Center: While still holding all the loops and tails tightly at the center, take your floral wire, twist tie, or strong string. Wrap it securely around the pinched center of the bow multiple times. Twist the wire or tie the string tightly to cinch the bow firmly in place. This is crucial for the bow to hold its shape.
- Fluff and Shape: Now for the fun part! Gently pull and separate each loop, fluffing them outwards to give your bow volume and dimension. Arrange the loops evenly, ensuring no two loops are stuck together. Adjust the tails to hang nicely.
- Trim the Tails: For a professional finish, cut the ends of your bow tails. You can cut them at an angle, create a V-notch (dovetail), or simply trim them straight, depending on your preference and the ribbon type.
Learn how to make a no-sew perfect bow — fast and easy! Watch the video tutorial below for a visual guide that complements these written steps, making the process even clearer.
Tips for Crafting Flawless Bows Every Time
- Choose the Right Ribbon: Wired ribbons are fantastic for beginners as they allow you to shape and re-shape your loops easily. For softer, flowing bows, opt for satin or sheer organza.
- Practice Makes Perfect: Don’t get discouraged if your first few bows aren’t flawless. Each attempt will improve your technique and understanding of how the ribbon behaves.
- Maintain Symmetry: Try to make your loops as even in size as possible. This ensures a balanced and aesthetically pleasing bow.
- Cinch Tightly: The tighter you secure the center with wire or string, the better your bow will hold its shape and volume.
- Fluff with Care: Gentle yet firm fluffing is key. Don’t be afraid to manipulate the loops to create the desired fullness.
- Consider Layering: For a more elaborate bow, try layering different types or colors of ribbon. You can either make separate bows and stack them, or incorporate multiple ribbons into a single bow-making process by holding them together as you form the loops.
Creative Applications for Your Beautiful Handmade Bows
Once you’ve mastered the technique, a world of creative possibilities opens up. Here are just a few ways to use your stunning handmade bows:
- Gift Wrapping: The most classic use! A handmade bow instantly elevates any gift, making it feel more thoughtful and special for birthdays, holidays, weddings, and anniversaries.
- Hair Accessories: Attach smaller bows to hair clips, headbands, or elastic ties for charming and personalized hair adornments.
- Home Decor: Adorn wreaths, garlands, curtain tie-backs, vases, or even chair backs for special events. Use seasonal ribbons to match holiday themes.
- Fashion Accents: Sew or pin bows onto clothing items, bags, or shoes to add a touch of unique style.
- Craft Projects: Incorporate bows into scrapbooking, card making, DIY ornaments, or other decorative crafts.
- Event Decorations: Use bows to decorate banquet halls, wedding aisles, pews, or party favors, adding an elegant and cohesive touch to your celebration.
Love this post and found the tutorial helpful? We’d love to hear from you! Please let us know in the comments below. Your feedback helps us create more content you’ll enjoy!
Expand Your Crafting Skills: More Bow-Making Tutorials You’ll Love
If you enjoyed learning how to make this versatile ribbon bow, you might be interested in exploring other bow styles and techniques to further enhance your crafting repertoire: