
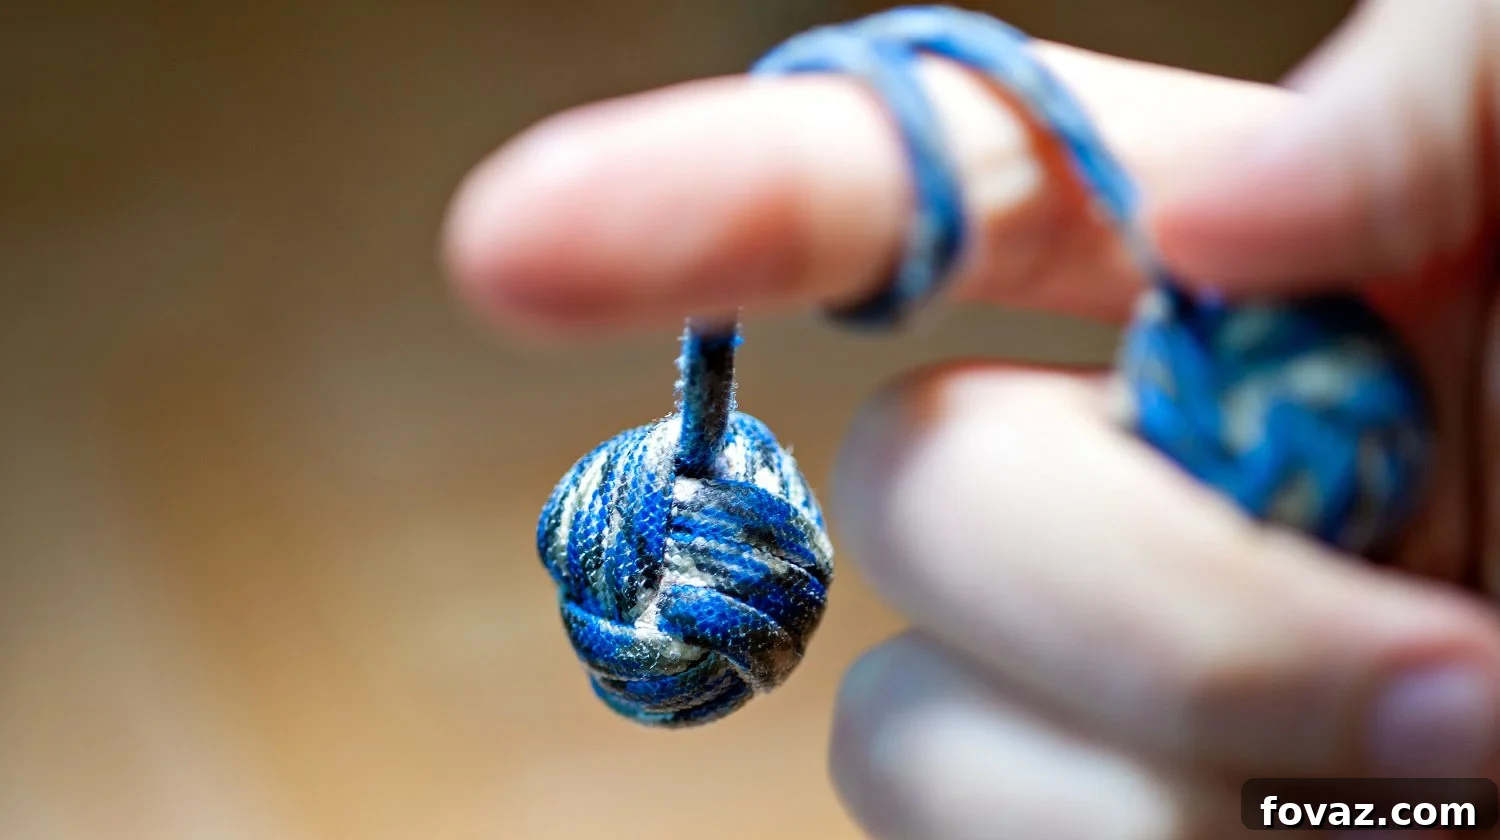
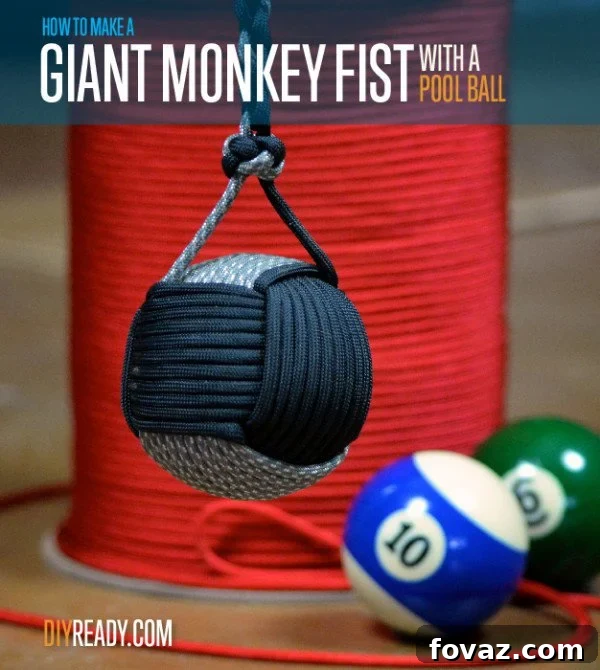
Welcome to an exhilarating DIY paracord project tutorial where you’ll discover how to craft a formidable giant monkey fist using paracord and a standard pool ball. This comprehensive guide will walk you through every step, from selecting your materials to tying the final knots, transforming simple components into a powerful and versatile tool.
Whether you’re looking for a unique survival item, a practical self-defense accessory, or simply a fascinating knotting challenge, this project promises to deliver. Dive into the world of paracord crafting and learn to create a robust and aesthetically pleasing giant monkey fist that could prove invaluable in various situations.
RELATED: Master the Art of Paracord: How To Make A Paracord Belt
In this article, you’ll learn:
- What Exactly Is a Monkey Fist?
- Essential Tools and Materials You Will Need
- Step-by-Step Guide: How to Make Your Giant Monkey Fist
- Achieving the Perfect Tightness
- Crafting a Secure Lanyard and Handle
How to Make a Giant Monkey Fist from a Pool Ball: The Ultimate DIY Paracord Project
Embark on a rewarding journey to construct a giant monkey fist, a powerful and practical item that serves multiple purposes. This guide will specifically focus on using a pool ball as the core, providing a substantial weight and solid foundation for your paracord creation. By the end of this tutorial, you’ll have a robust, handmade tool that not only looks impressive but also boasts significant utility.
What Exactly Is a Monkey Fist? History, Uses, and Benefits
A monkey’s fist, also known as a monkey’s paw, is an intricate knot that visually resembles a small, tightly clenched fist. Historically, this knot has been a staple in maritime applications, primarily used at the end of a heaving line. Sailors would tie a monkey’s fist around a weight (like a stone or a piece of lead) and attach it to a lighter line, allowing them to throw the line a greater distance to another ship or dock. This simple yet effective method enabled the transfer of heavier mooring lines with ease.
Beyond its nautical origins, the monkey’s fist has evolved to serve various purposes across different fields. In climbing, a smaller version might be used as a makeshift anchor or for throwing lines. It has also found its way into tactical and survival gear, often carried as a discrete self-defense tool or an emergency rope when unravelled. Its compact size and dense core make it an effective deterrent, providing a significant impact when swung. For the DIY enthusiast, it’s a fascinating project that hones knot-tying skills and results in a highly functional item.
A “giant” monkey fist, especially one crafted around a pool ball, dramatically increases its practical applications. Weighing in at a hefty 6 ounces (or more, depending on the specific pool ball), this larger version offers enhanced stopping power for self-defense situations. It’s surprisingly easy to conceal and carries enough kinetic energy to deter or slow down an attacker, providing crucial time for escape. Furthermore, in a survival scenario, should you need a long length of sturdy rope, unraveling your giant monkey fist can provide several feet of durable 550 paracord, which is invaluable for shelter building, trapping, or creating emergency repairs. This project is not just about making a knot; it’s about crafting a multi-functional piece of survival and self-defense equipment.
Essential Tools and Materials You Will Need
To successfully complete your giant monkey fist project, gathering the right materials and tools beforehand is crucial. Precision in cord length and the quality of your paracord will directly impact the final product. Here’s a detailed list of what you’ll need:
- Pool ball: This will serve as the core of your monkey fist, providing the necessary weight and density. A standard billiard ball is ideal due to its smooth surface and uniform weight.
- 18 feet of 550 paracord (main color): This is your primary cord and will form the majority of the knot. The 550 designation refers to its breaking strength of 550 pounds, making it incredibly durable.
- 10 feet of 550 paracord (complementary color): This secondary cord will create a visually appealing contrast and can help distinguish different layers during the weaving process, especially for beginners.
- 8 feet of 550 paracord (for lanyard and handle): This separate piece is dedicated to crafting the extended handle and lanyard, enhancing the usability and grip of your monkey fist.
- Monkey fist jig: While not strictly essential, a jig significantly simplifies the process, ensuring consistent loop size and tension, which is vital for a neat and symmetrical knot. It provides a stable framework for your initial wraps.
- Sharp scissors: For clean cuts on the paracord ends. Dull scissors can fray the cord, making it harder to work with.
- Lighter or matches: To melt and fuse the paracord ends, preventing fraying and securely joining strands.
Need supplies? Check out my recommendations below:
Felson Billiard Supply Pool Table Billiard Ball Set
Art Number Style Pool Table Billiard Ball Set
#8 Ball Regulation Size 2 1/4″ Pool Table Billiard Replacement
550 Paracord – Five Colors 100 Feet Total
Rothco Type III Commercial Paracord (Black, 550-Pound/100-Feet)
For smaller monkey fists, consider:
Avler™ 1″ (25.4mm) Chrome Steel Bearing Balls for Paracord Monkey Fist Center (Pack of 10)
Enhance your monkey fist with key rings:
KEY-BAK #500 Premium Quick Release, Pull-Apart Key Accessory with 2 Split Rings
How to Make a Giant Monkey Fist: Step-by-Step DIY Instructions
Follow these detailed steps carefully to construct your own giant monkey fist. Patience and precision are key to achieving a professional-looking and functional knot.
Step 1. Prepare and Connect Paracord Strands
To begin, we need to prepare the paracord for weaving. Take the ends of your main color (e.g., black) and complementary color (e.g., grey) paracord. Ensure these ends are cut cleanly to facilitate a smooth fusion. The goal is to create one continuous, two-toned strand for the main knot, allowing for easier handling and a clear distinction between layers.
Step 2. Melt and Fuse Paracord Ends
Carefully hold the freshly cut ends of both paracord pieces. Using your lighter, gently melt about half an inch of each end until the nylon material becomes gooey and slightly shiny. Immediately and firmly press the two melted ends together, twisting them slightly to ensure a strong bond. Allow the fused joint to cool completely before handling. This creates a single, durable strand for weaving, eliminating the need to tie knots within the core structure.
Safety Tip: Always exercise caution when working with fire. Perform this step in a well-ventilated area and keep a glass of water nearby in case of accidental burns.
Step 3. Set Up Your Monkey Fist Jig for Weaving
Now, let’s prepare your jig for the initial wraps. Position your monkey fist jig on a stable surface. Locate the merged paracord section. Line this merged part up in the center, between the two pegs closest to you on the inside of the jig. Orient your paracord so your main color (e.g., black) is on the right side and your complementary color (e.g., grey) is on the left. This initial setup establishes the starting point and ensures proper alignment for the subsequent weaving stages.
Step 4. Weaving the First Layer: The Vertical Loops
Begin the intricate weaving process with your complementary color (grey) paracord. Hold the main (black) strand firmly in your right hand to keep it secure and out of the way. With your left hand, take the grey strand and wrap it outwards and around the four pegs of the jig in a counter-clockwise direction. Each full pass around the four pegs constitutes one loop. You will repeat this motion 10 more times, bringing your total to 11 loops. This creates the first layer of vertical wraps that will eventually encompass the pool ball. After completing all 11 loops, make a single loop around one of the pegs to temporarily secure the grey strand and prevent it from unraveling while you prepare for the next step.
Helpful Hint: Maintain consistent tension with each loop. This ensures an even and symmetrical knot, making the tightening process much smoother later on.
Step 5. Introducing the Core: Placing the Pool Ball and Starting Horizontal Loops
With the initial 11 vertical loops of the complementary color carefully maintained on the jig, gently place your pool ball directly in the center of these loops. Hold the ball in place with one hand to prevent it from shifting. Now, take the main color (black) cord. You will begin to wrap this black cord up and over the existing grey loops, creating the second set of wraps, which will run horizontally around the ball.
Step 6. Weaving the Second Layer: The Horizontal Loops
Continue with the black strand (your main color) and repeat the wrapping process, but this time, wrap it in a clockwise direction. Ensure that these black loops pass on the *outside* of the previously made grey (complementary color) loops. Similar to the first layer, you will wrap the black paracord around the ball 11 times. By the time you complete these 11 horizontal loops, the pool ball should be securely nestled within the expanding paracord cage, often holding itself in place without constant manual support. These wraps are crucial for defining the shape and securing the core.
Helpful Hint: As you wrap each layer of paracord to form your monkey fist knot, strive to keep every loop neatly positioned next to its neighbors. Avoid allowing any loops to overlap, as this can lead to an uneven knot and make the tightening process significantly more challenging later on. Precision here will pay off in the final appearance and integrity of your knot.
Keep a steady hand and continue wrapping until you have completed all 11 passes, carefully guiding the cord around the pool ball in the center. The growing knot should start to take a visible, structured form.
RELATED: Create a Stylish Accessory: Learn To Make A Paracord Dog Collar
Step 7. Completing the Weave: The Encapsulating Loops
Now, we move on to the final set of loops, continuing with the black strand to fully encapsulate the pool ball. This layer is critical for locking the core in place and adding density to the knot. For these wraps, you will weave the black strand so it passes on the *inside* of the grey (vertical) loops but *around* the black (horizontal) loops you just created. This series of loops will effectively hug the pool ball tightly, securing it within the knot. Grab the end of your black paracord. Thread it up and inside the grey vertical loops. Next, guide it over the black horizontal loops, then back down on the inside of the grey loops. This action creates a diagonal path, pulling the knot together. Thread the cord back under the pool ball, bringing it behind the pool ball and then inside the grey loops once more. Repeat this precise threading and wrapping motion until you have completed 11 loops in this final direction. This completes the knot’s basic structure, enclosing the pool ball securely.
Achieving the Perfect Tightness
Once the basic knot structure is formed, the next crucial phase is tightening. This step requires patience and a systematic approach to ensure a firm, symmetrical, and aesthetically pleasing monkey fist.
Step 8. Initial Tightening: Removing from Jig and Gentle Snugging
You have now successfully formed the monkey fist knot! Carefully remove it from the jig, ensuring that the loops do not unravel or shift excessively. At this stage, you will begin the tightening process. It’s paramount that you do not over-tighten any single strand during this first round. The goal is to gently snug each loop, gradually reducing slack throughout the entire knot. This is a deliberate, slow process that you will need to repeat a couple of times to achieve the desired firmness. If you pull too tightly too early, the cords will likely overlap and pinch, making it extremely difficult to achieve an even and neat appearance. Pay particular attention to the loops on each ‘edge’ of the knot. Excessive tension here can deform the underlying loops. Take your time, working systematically around the knot, striving to maintain symmetry and an even distribution of tension.
Step 9. Systematic Tightening: Following the Strand Around
Continue to systematically follow the strands around the fist, gradually increasing the tension. Start with the grey paracord at the corner where you made your very first loop. Gently pull the complementary side of that strand upwards to snug that corner. Then, trace that same grey cord as it emerges from another point on the knot and pull the slack through. This is the essence of systematic tightening: you follow one continuous strand, pulling the slack through each segment until it’s taken up, then move to the next strand. Be patient; this can be a slow, iterative process, often requiring you to go around the entire knot multiple times. As you pull and tighten, the knot should visibly compress and begin to take on its final, dense form. Continue this process all around the ball, moving from strand to strand, ensuring each loop is equally tight. Eventually, your monkey fist will become incredibly firm and compact, with all loops tightly aligned and evenly distributed. The black cord sections will also need the same meticulous attention. A perfectly tightened monkey fist will feel solid and have a uniform surface without any loose areas or visible overlaps.
Crafting a Secure Lanyard and Handle
With your monkey fist knot firmly tightened, it’s time to add the functional elements: the lanyard and handle. These components enhance grip, retention, and overall usability.
Step 10. The Foundation: Tying a Diamond Knot
To create a robust base for your lanyard and handle, you will first tie a diamond knot using the two paracord pieces that emerged from your tightened monkey fist. Align these two cords neatly next to each other. Take the black strand and form a loop over itself. Next, bring the grey strand underneath the black loop, then over the top of the black strand, and finally back under the black strand again. Now, thread the grey strand over the bottom part of the black loop, underneath itself, and then back over the top part of the black loop. Gently pull the grey strand slightly to snug these initial loops. Then, pull the grey strand around and under, bringing it up through the center of the black loop. Ensure it ends up on top of the other grey strand that’s already in place. As you gently tighten, you’ll see the beginnings of a diamond shape forming. Now, return to your black strand. Grab its end. Loop the black strand on the left side of the developing knot, over the grey strand, and under all the other pieces. Pull it up through the center of the knot, just as you did with the grey strand. At this point, the diamond knot structure should be clearly visible. Carefully begin to tighten the entire diamond knot by pulling each of the four strands one by one, gradually drawing the knot closer to the base of the monkey fist until it is snug and forms a distinct diamond shape.
Step 11. Creating the Lanyard with a Seesaw Knot
With the diamond knot complete, we’ll now craft the lanyard using the third, 8-foot piece of paracord. Fold this 8-foot piece in half to create a loop at its midpoint. Thread this loop around the grey cord extending from your diamond knot. Now, take the black cord on the right (from the original two strands) and thread it behind the grey loop you just created and up through the new loop formed by the folded 8-foot piece. Pull all four strands gently to snug the knot. The principle of the seesaw knot is to always work with the highest strand. So, identify the highest-positioned strand, which should now be the black one on the top left. Grab this top-left black strand from your new piece. Wrap it behind the existing cords and bring it up through the center of the two right pieces (the grey and black strands). Bring it back to the left side and pull all four strands to tighten the knot. Next, the grey strand will be the highest. Wrap the grey strand back behind the other cords, then pull it through the middle of the two left strands. Pull the grey strand back to the right side, and once again, pull all four strands to tighten. Continue to repeat this alternating seesaw pattern, always working with the highest strand and pulling all four strands to tighten after each pass, until your lanyard reaches your desired length.
Step 12. Crafting the Handle with a Cobra Weave
Once your lanyard is the desired length, you’ll create a robust handle using the cobra weave (also known as the Solomon bar or square knot). The two central strands that emerged from your monkey fist (black and grey) will serve as the core of this weave. Take the two remaining long pieces of the 8-foot cord (the ends from the lanyard) and pull them to opposite sides. Start with the left piece: bring it underneath the two central strands and then over the right strand. Next, take the right strand, bring it over the two central strands, and then over and through the loop formed on the left side. Pull both active strands firmly to tighten the first cobra knot. Now, reverse the process: start with the right piece. Bring it under the central strands and over the left piece. Then, take the left strand, bring it over the central strands, and down through the loop formed on the right side. Pull firmly to tighten. Continue this alternating pattern (left-over-right, then right-over-left) to create the distinctive, interlocking pattern of the cobra weave. This will form a comfortable, durable handle that provides excellent grip and control.
Step 13. Finishing Up Your Giant Monkey Fist
Continue the cobra weave until your handle reaches the desired length, ensuring it feels comfortable and secure in your hand. Once satisfied, finish the ends by cutting the working paracord strands close to the last knot. Using your lighter, carefully melt the cut ends and press them down onto the main knot or handle to fuse them in place. This prevents fraying and secures the weave. For the black and grey central strands that run through the handle, tie a simple overhand knot at the very end of your handle. Trim any excess cord and carefully melt and fuse these ends as well. Your giant monkey fist, complete with a sturdy handle and lanyard, is now finished!
This video from Armin Hirmer will show you how to use the monkey fist:
Congratulations! You have successfully created a powerful and versatile DIY giant monkey fist. This project not only enhances your knot-tying skills but also equips you with a multi-purpose tool. Not only is a giant monkey fist perfect for personal training, offering a unique grip strength challenge, but it also serves as an exceptionally effective self-defense tool, providing a sense of security and preparedness.
Beyond its immediate utility, remember the inherent survival value. If ever caught in a situation where a long, strong rope is needed, unraveling this homemade giant monkey fist will yield a significant length of durable 550 paracord. This resource can be critical for shelter building, creating traps, or improvising repairs. So, whether for peace of mind, practical application, or simply the satisfaction of a challenging craft, creating your own giant monkey fist is a truly rewarding endeavor.
Will you give this DIY giant monkey fist a try? We’d love to hear about your experience! Share how it went and feel free to post photos of your unique creation in the comments section below!
Up Next:
- Four Badass Paracord Knots | Essential Paracord Projects & DIY Skills
- Master the Quick Deploy: How to Make a Paracord Bracelet (Blaze Bar Style)
- Unleash Your Creativity: How to Make a Macrame Lawn Chair | DIY Projects
Stay connected with the DIY community! Follow us on Facebook, Twitter, Pinterest, and Instagram for more inspiring projects and tutorials!
Editor’s Note: This post was originally published on February 5, 2014, and has been meticulously updated for enhanced quality, improved clarity, and continued relevancy in the world of DIY paracord projects.